manual radio set JEEP COMMANDER 2010 1.G User Guide
[x] Cancel search | Manufacturer: JEEP, Model Year: 2010, Model line: COMMANDER, Model: JEEP COMMANDER 2010 1.GPages: 78, PDF Size: 7.31 MB
Page 14 of 78

WARNING!
• Persons who are unable to feel pain to the skin because of advanced age, chronicillness, diabetes, spinal cord injury, medication, alcohol use, exhaustion or other
physical condition must exercise care when using the seat heater. It may cause
burns even at low temperatures, especially if used for long periods of time.
• Do not place anything on the seat that insulates against heat, such as a blanket or cushion. This may cause the seat heater to overheat. Sitting in a seat that has
been overheated could cause serious burns due to the increased surface
temperature of the seat.
CAUTION!
Repeated overheating of the seat could damage the heating element and/or degrade
the material of the seat.
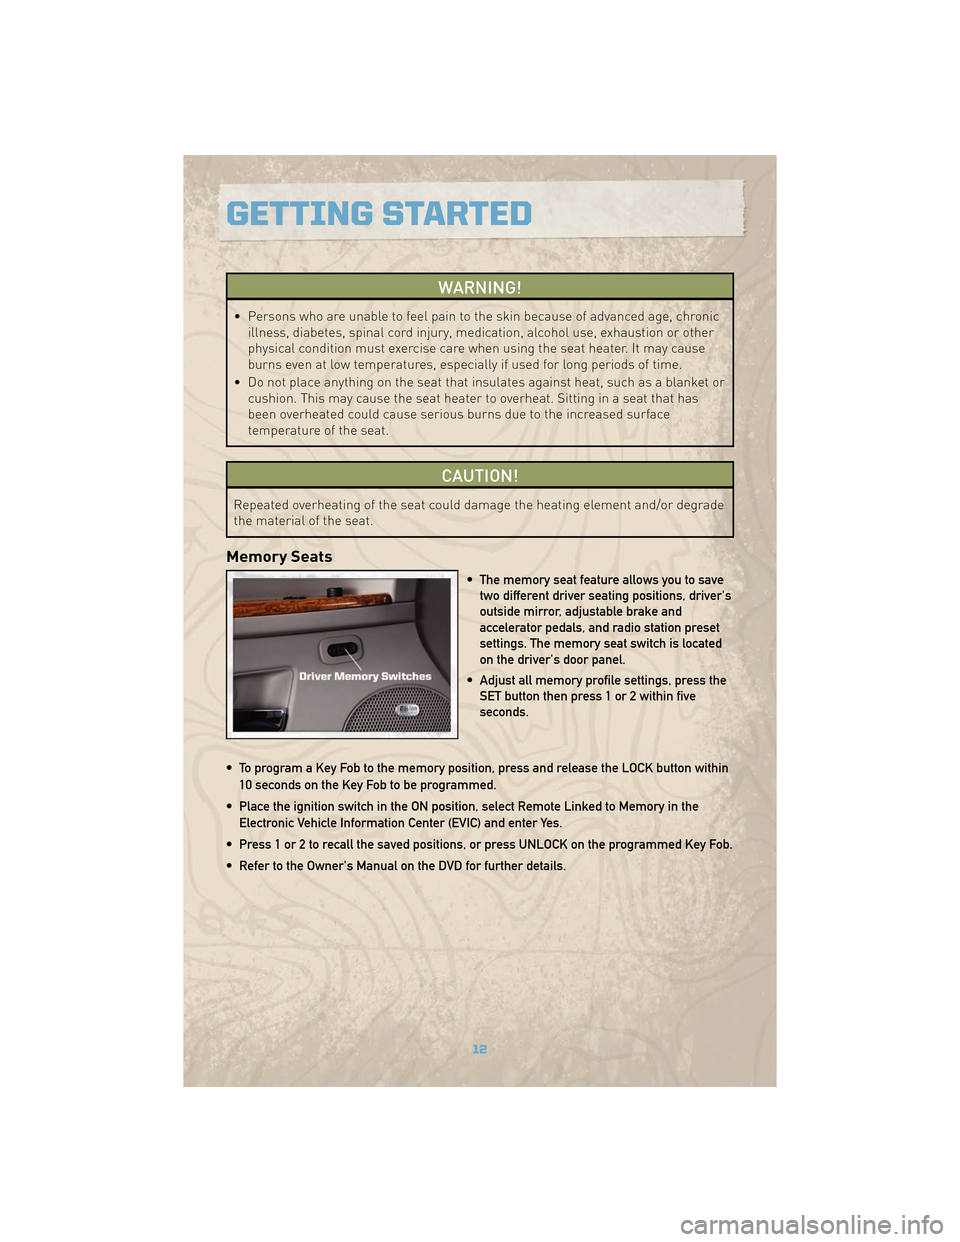
Memory Seats
• The memory seat feature allows you to savetwo different driver seating positions, driver's
outside mirror, adjustable brake and
accelerator pedals, and radio station preset
settings. The memory seat switch is located
on the driver's door panel.
• Adjust all memory profile settings, press the SET button then press 1 or 2 within five
seconds.
• To program a Key Fob to the memory position, press and release the LOCK button within 10 seconds on the Key Fob to be programmed.
• Place the ignition switch in the ON position, select Remote Linked to Memory in the Electronic Vehicle Information Center (EVIC) and enter Yes.
• Press 1 or 2 to recall the saved positions, or press UNLOCK on the programmed Key Fob.
• Refer to the Owner's Manual on the DVD for further details.
GETTING STARTED
12
Page 34 of 78

Operation Of The Touch-Screen Radio
• To view a DVD video press the OPEN/CLOSE hard-key and insert the disc. Playback willbegin automatically after the DVD is recognized by the disc drive. If playback does not
begin automatically follow these steps:
• Press the MENU hard-key, then touch the REAR VES™ soft-key. If a chapter list appears on the right side of the screen touch the HIDE LIST soft-key to display the
Rear VES™ Control screen.
• Touch the 1 soft-key to select an audio channel, then touch the DISC soft-key in the MEDIA column.
SIRIUS Backseat TV™
• Press the MENU hard-key, then touch the Rear VES™ soft-key. If a chapter list appearson the right side of the screen, touch the HIDE LIST soft key to display the Rear VES™
Control screen.
• Touch the 1 soft-key to select an audio channel, then touch the TV soft-key in the RADIO column to select SIRIUS Backseat TV™.
Operation Of The Remote
• The remote control operates similarly to any DVD remote you have used before andallows the rear seat passengers to change stations, tracks, discs and audio/video modes.
• The remote control is designed to control either channel by using the selector switch located on the right side of the remote.
• Pressing the power button will turn the VES™ system ON/OFF.
• Pressing the MODE button causes the Mode Selection menu to appear on the VES™ screen. Use the remote control arrow buttons to scroll through the available modes, then
press ENTER to select the desired mode.
SIRIUS Backseat TV™
• To view SIRIUS Backseat TV™ set the remote control channel selector switch tochannel 1. Press the MODE button, then using the arrow buttons select TV and
press ENTER.
Auxiliary Audio/Video Input Jacks
• The Aux jacks are located on the rear of the center console.
• Connect the video game or other external media devices to the AUX jacks following thecolor coding for VES™ jacks.
• Using either the touch-screen radio or remote control, select AUX from the Rear VES™ Control or Mode Selection screen.
• Refer to “uconnect™ studios” in the uconnect™ user's manual on the DVD for further details.
ELECTRONICS
32
Page 39 of 78

Changing The Volume
• Start a dialogue by pressing the Phone button, then adjust the volume during a
normal call.
• Use the radio ON/OFF VOLUME rotary knob to adjust the volume to a comfortable level while the uconnect™ system is speaking. Please note the volume setting for uconnect™
is different than the audio system.
NOTE: To access the tutorial, press the uconnect™ hard-key. After the BEEP, say
“tutorial”. Press any hard-key or touch the display to cancel the tutorial.
VOICE RECOGNITION
• The Voice Recognition (VR) system allows you to control your AM, FM radio, satellite radio, disc player, and a memo recorder. When you press the VR button
, you will
hear a beep. The beep is your signal to give a command. If you do not say a command
within a few seconds, the system will present you with a list of options. If you ever wish
to interrupt the system while it lists options, press the VR button
, listen for the BEEP,
and say your command.
• Please refer to uconnect™ tunes in the uconnect™ User's Manual on the DVD for further details.
Changing The Volume
• Start a dialogue by pressing the VR button, then say a command (e.g., “tutorial”).
• Use the radio ON/OFF VOLUME rotary knob to adjust the volume to a comfortable level while the Voice Recognition system is speaking. Please note the volume setting for Voice
Recognition is different than the audio system.
WARNING!
Any voice commanded system should be used only in safe driving conditions and all
attention should be kept on the roadway ahead. Failure to do so may result in an
accident causing serious injury or death.
NOTE: To access the tutorial, press the VR button
. After the BEEP, say “tutorial”.
Press any hard-key or touch the display to cancel the tutorial.
37
ELECTRONICS