steering wheel JEEP COMPASS 2013 1.G User Guide
[x] Cancel search | Manufacturer: JEEP, Model Year: 2013, Model line: COMPASS, Model: JEEP COMPASS 2013 1.GPages: 116, PDF Size: 2.71 MB
Page 3 of 116
INTRODUCTION/WELCOME
WELCOME FROM CHRYSLER
GROUP LLC.................. 2
CONTROLS AT A GLANCE
DRIVER COCKPIT ............... 6
INSTRUMENT CLUSTER .......... 8
GETTING STARTED
KEYFOB ................... 10
REMOTE START............... 11
THEFT ALARM ................ 11
SEATBELT .................. 12
SUPPLEMENTAL RESTRAINT
SYSTEM (SRS) — AIR BAGS ....... 13
CHILD RESTRAINTS ............ 14
FRONT SEATS ................ 16
REAR SEATS ................ 18
TILT STEERING COLUMN ......... 18
HEATEDSEATS ............... 19
OPERATING YOUR VEHICLE
ENGINE BREAK-IN
RECOMMENDATIONS ........... 20
TURN SIGNAL/LIGHTS LEVER ...... 21
WIPER/WASHER LEVER .......... 22
SPEED CONTROL .............. 23
CONTINUOUSLY VARIABLE AUTOMATIC
TRANSMISSION (CVT) ........... 24
MANUAL CLIMATE CONTROLS ...... 24
AUTOMATIC TEMPERATURE
CONTROLS (ATC) .............. 25
POWER SUNROOF ............. 26
WIND BUFFETING ............. 27
ELECTRONICS
YOUR VEHICLE'S SOUND SYSTEM . . . 28
Uconnect®130 ............... 30
Uconnect®130 WITH SiriusXM
SATELLITE RADIO .............. 32
Uconnect
®230 ............... 35
Uconnect®430/430N ........... 38
SiriusXM SATELLITE RADIO/TRAVEL
LINK ...................... 48
STEERING WHEEL AUDIO CONTROLS.. 52
iPod®/USB/MP3 CONTROL ........ 52
Uconnect®Phone .............. 53
Uconnect®VOICE COMMAND ....... 57
Bluetooth®STREAMING AUDIO ..... 59
ELECTRONIC VEHICLE INFORMATION
CENTER (EVIC) ............... 60
PROGRAMMABLE FEATURES ....... 61
UNIVERSAL GARAGE DOOR OPENER
(HomeLink
®) ................. 62
POWER INVERTER ............. 65
POWER OUTLET .............. 66
OFF-ROAD CAPABILITIES
FOUR-WHEEL DRIVE OPERATION . . . 67
UTILITY
TRAILER TOWING WEIGHTS (MAXIMUM
TRAILER WEIGHT RATINGS) ....... 69
RECREATIONAL TOWING
(BEHIND MOTORHOME, ETC.) ..... 69
WHAT TO DO IN EMERGENCIES
ROADSIDE ASSISTANCE.......... 70
INSTRUMENT CLUSTER WARNING
LIGHTS .................... 70
IF YOUR ENGINE OVERHEATS ...... 74
AUTOMATIC TRANSMISSION
OVERHEATING ............... 75
JACKING AND TIRE CHANGING ..... 75
JUMP-STARTING PROCEDURES ..... 81
SHIFT LEVER OVERRIDE ......... 83
TOWING A DISABLED VEHICLE ..... 84
FREEING A STUCK VEHICLE ....... 85
EVENT DATA RECORDER (EDR) ..... 86
MAINTAINING YOUR VEHICLE
OPENING THE HOOD........... 87
ENGINE COMPARTMENT ......... 88
FLUIDS AND CAPACITIES ........ 90
MAINTENANCE SCHEDULE ....... 91
MAINTENANCE RECORD ......... 95
FUSES ..................... 96
TIRE PRESSURES ............. 97
WHEEL AND WHEEL TRIM CARE .... 98
EXTERIOR BULBS ............. 98
CONSUMER ASSISTANCE
CHRYSLER GROUP LLC
CUSTOMER CENTER ........... 99
CHRYSLER CANADA INC.
CUSTOMER CENTER ........... 99
ASSISTANCE FOR THE HEARING
IMPAIRED .................. 99
PUBLICATIONS ORDERING ....... 99
REPORTING SAFETY DEFECTS IN THE
50 UNITED STATES AND
WASHINGTON, D.C. ........... 100
MOPAR ACCESSORIES
AUTHENTIC ACCESSORIES
BY MOPAR®................ 101
INDEX.................. 102
FAQ(HowTo?)
FREQUENTLY ASKED QUESTIONS . . . 105
TABLE OF CONTENTS
Page 15 of 116
SUPPLEMENTAL RESTRAINT SYSTEM (SRS) — AIR BAGS
• This vehicle has Advanced Front Air Bags for both the driver and right frontpassenger as a supplement to the seat belt restraint system. The Advanced Front
Air Bags will not deploy in every type of collision.
• Advanced Front Air Bags are designed to provide additional protection by supplementing the seat belts in certain frontal collisions depending on several
factors, including the severity and type of collision. Advanced Front Air Bags are
not expected to reduce the risk of injury in rear, side, or rollover collisions.
• This vehicle is equipped with Supplemental Side Air Bag Inflatable Curtains to protect the driver, front and rear passengers sitting next to a window.
• This vehicle may be equipped with Supplemental Seat-Mounted Side Air Bags to provide enhanced protection to help protect an occupant during a side impact.
•
If the Air Bag Warning Lightis not on during starting, stays on, or turns on while
driving, have the vehicle serviced by an authorized service center immediately.
• Refer to the Owner's Manual on the DVD for further details regarding the Supplemental Restraint System (SRS).
WARNING!
• Relying on the air bags alone could lead to more severe injuries in a collision.
The air bags work with your seat belt to restrain you properly. In some
collisions, the air bags won’t deploy at all. Always wear your seat belts even
though you have air bags.
• Being too close to the steering wheel or instrument panel during Advanced
Front Air Bag deployment could cause serious injury, including death. Air bags
need room to inflate. Sit back, comfortably extending your arms to reach the
steering wheel or instrument panel.
• Being too close to the Supplemental Side Air Bag Inflation Curtain and/or
Seat-Mounted Side Air Bag during deployment could cause you to be severely
injured or killed.
•
Supplemental Side Air bag Inflatable Curtains and Supplemental Seat-Mounted
Side Air Bags need room to inflate. Do not lean against the door or window.
Sit upright in the center of the seat.
• Do not drive your vehicle after the air bags have developed. If you are involved
in another collision, the air bags will not be in place to protect you.
• After any collision, the vehicle should be taken to an authorized dealer
immediately.
GETTING STARTED
13
Page 20 of 116
REAR SEATS
Folding Rear Seatback
•To fold each rear seatback, pull the strap
forward to move the seatback forward
and flat.
Reclining Rear Seatback
• To recline each rear seatback, pull the strap forward just enough to re-
lease the seatback latch. Then push
the seatback to a reclined position,
approximately 35 degrees maximum,
and release the strap.
WARNING!
Be certain that the seatback is securely locked into position. If the seatback is not
securely locked into position, the seat will not provide the proper stability for child
seats and/or passengers. An improperly latched seat could cause serious injury.
TILT STEERING COLUMN
• The tilt lever is located on the steeringcolumn, below the turn signal lever.
• Push down on the lever to unlock the steering column.
• With one hand firmly on the steering wheel, move the steering column up or
down as desired.
• Pull upward on the lever to lock the column firmly in place.
WARNING!
Do not adjust the steering column while driving. Adjusting the steering column
while driving, or driving with the steering column unlocked, could cause the driver
to lose control of the vehicle. Be sure the steering column is locked before driving
your vehicle. Failure to follow this warning may result in severe injury or death.
GETTING STARTED
18
Page 25 of 116
SPEED CONTROL
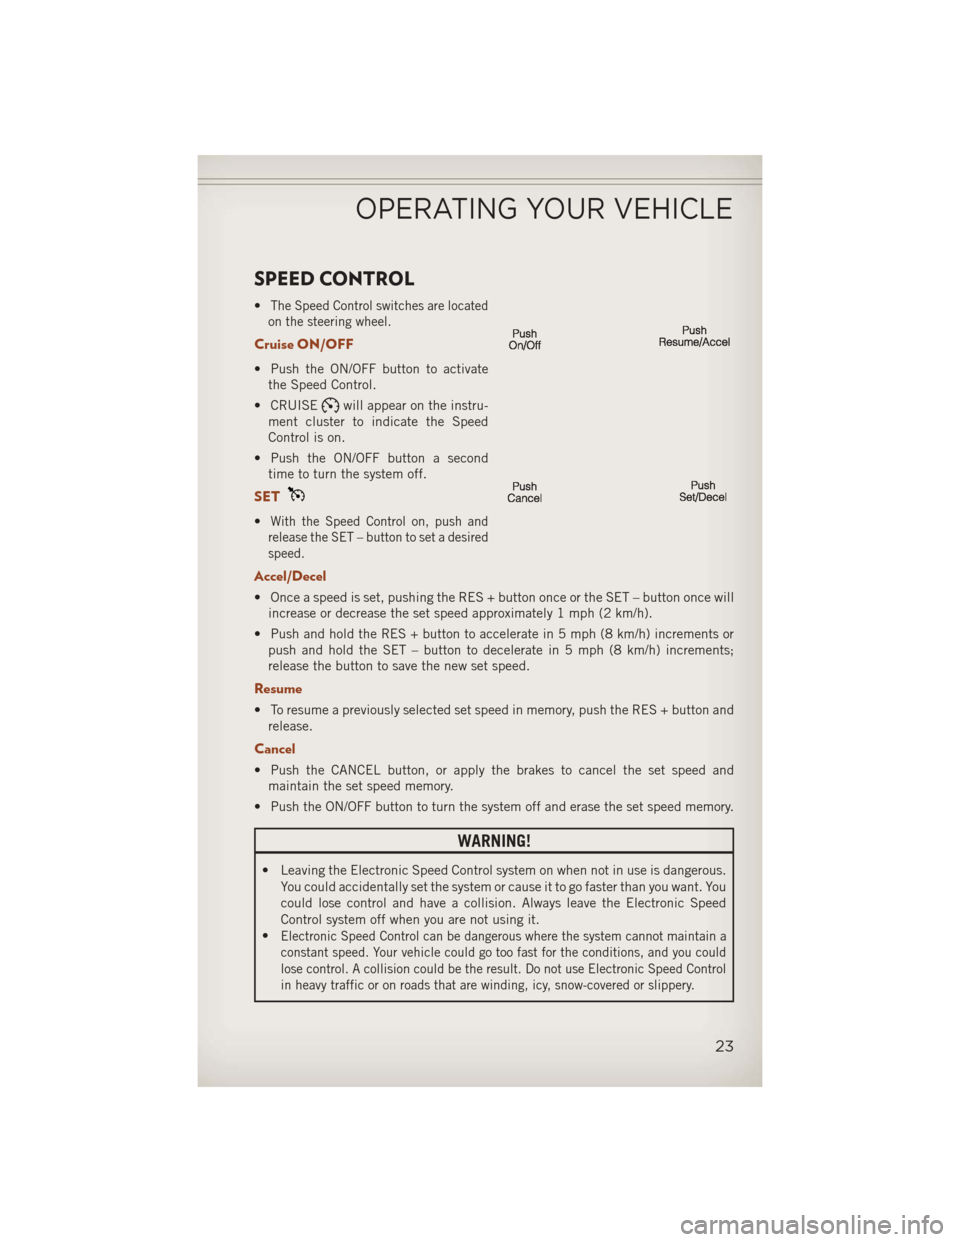
•The Speed Control switches are located
on the steering wheel.
Cruise ON/OFF
• Push the ON/OFF button to activate the Speed Control.
• CRUISE
will appear on the instru-
ment cluster to indicate the Speed
Control is on.
• Push the ON/OFF button a second time to turn the system off.
SET
•With the Speed Control on, push and
release the SET – button to set a desired
speed.
Accel/Decel
• Once a speed is set, pushing the RES + button once or the SET – button once will increase or decrease the set speed approximately 1 mph (2 km/h).
• Push and hold the RES + button to accelerate in 5 mph (8 km/h) increments or push and hold the SET – button to decelerate in 5 mph (8 km/h) increments;
release the button to save the new set speed.
Resume
• To resume a previously selected set speed in memory, push the RES + button andrelease.
Cancel
• Push the CANCEL button, or apply the brakes to cancel the set speed andmaintain the set speed memory.
• Push the ON/OFF button to turn the system off and erase the set speed memory.
WARNING!
• Leaving the Electronic Speed Control system on when not in use is dangerous. You could accidentally set the system or cause it to go faster than you want. You
could lose control and have a collision. Always leave the Electronic Speed
Control system off when you are not using it.
•
Electronic Speed Control can be dangerous where the system cannot maintain a
constant speed. Your vehicle could go too fast for the conditions, and you could
lose control. A collision could be the result. Do not use Electronic Speed Control
in heavy traffic or on roads that are winding, icy, snow-covered or slippery.
OPERATING YOUR VEHICLE
23
Page 54 of 116
STEERING WHEEL AUDIO CONTROLS
•The steering wheel audio controls are
located on the rear surface of the steer-
ing wheel.
Right Switch
•Press the switch up or down to increase
or decrease the volume.
• Press the button in the center to change modes AM/FM/CD/SAT.
Left Switch
• Press the switch up or down to search for the next listenable station or select the
next or previous CD track.
• Press the button in the center to select the next preset station (radio) or to change CDs if equipped with a CD Changer.
iPod®/USB/MP3 CONTROL
• There are many ways to play music from iPod®/MP3 players or USB devices
through your vehicle's sound system.
• The remote USB port, located within the front storage area, allows you to plug an iPod
®into the vehicle's sound system.
• Non-Touch-Screen Radios: To hear audio from devices connected to the USB port, press the “AUX” button on the radio faceplate.
• Touch-Screen Radios: To hear audio from devices connected to the USB port, press the “MEDIA” hard-key, then touch the “AUX” or “iPod
®” soft-key.
• When connected to this feature: •
The iPod®can be controlled using the
radio buttons to Play, Browse, and List
the iPod
®or external devices contents.
• The iPod®battery charges when
plugged into the USB port (if sup-
ported by the specific audio device).
• Compatible iPod
®devices may also
be controllable using voice commands. Refer to the Owner's Manual on the DVD
for details.
ELECTRONICS
52
Page 59 of 116
Uconnect® VOICE COMMAND
Voice Command Operation
•The Uconnect®Voice Command system allows you to control your AM, FM radio,
satellite radio, disc player, HDD, Uconnect®Phone, a memo recorder, and supported
portable media devices.
• When you press the “Voice Command” buttonlocated on the radio
faceplate or steering wheel, you will hear a beep. The beep is your signal to give a
command. If you do not say a command within a few seconds, the system will
present you with a list of options. If you ever wish to interrupt the system while it
lists options, press the “Voice Command” button
, listen for the BEEP, and
say your command.
NOTE:
Visit http://www.driveuconnect.com/features/voiceCommand/ for more info on which
voice command features apply to your vehicle
•
Start a dialogue by pressing the “Voice Command” button, you will hear a
beep. The beep is your signal to give a command. Below are a list of voice commands
for each of the different modes.
Common Voice Commands (Examples)
While In: Voice Command Example:
Main Menu “Radio AM” (to switch to the AM radio mode)
“Radio FM” (to switch to the FM radio mode)
“Satellite Radio” (to switch to the Satellite radio mode) “Disc” (to switch to the disc mode)
“USB” (to switch to the USB mode)
“Bluetooth Streaming” (to switch to the Bluetooth Streaming mode)
“Memo” (to switch to the memo recorder)
“System Setup” (to switch to system setup)
ELECTRONICS
57
Page 62 of 116
ELECTRONIC VEHICLE INFORMATION CENTER (EVIC)
•The EVIC features a driver interactive
display that is located in the instrument
cluster. Pressing the controls on the
steering wheel allows the driver to select
vehicle information and Personal Set-
tings. For additional information, refer
to Programmable Features in this guide.
• Press and release the MENU button and the mode displayed will change
between Compass/Temperature, Trip,
System Status, and Personal settings.
• Press the DOWN
button to scroll through sub menus (i.e., Trip Functions, Avg.
Fuel Economy, DTE, Elapsed Time, and Units).
• Press and release the COMPASS
button for instant access to the Compass/
Temperature screens.
•
Press the SELECTbutton to RESET Trip Functions and change Personal Settings.
Compass Calibration
• This compass is self-calibrating, which eliminates the need to set the compass manually. When the vehicle is new, the compass may appear erratic and the EVIC
will display “CAL” until the compass is calibrated.
• You may also calibrate the compass by completing one or more 360 degree turns (in an area free from large metal or metallic objects) until the “CAL” message
displayed in the EVIC turns off. The compass will now function normally.
ELECTRONICS
60
Page 87 of 116
FREEING A STUCK VEHICLE
• If your vehicle becomes stuck in mud, sand or snow, it can often be moved by arocking motion. Turn your steering wheel right and left to clear the area around the
front wheels. Then move the shift lever back and forth between REVERSE and
DRIVE. Using minimal accelerator pedal pressure to maintain the rocking motion,
without spinning the wheels, is most effective.
NOTE:
To improve the vehicle's traction when starting off in deep snow, sand or gravel,
it may be desirable to switch the Electronic Stability Control (ESC) to “Partial Off”
mode by momentarily pressing the ESC Off
switch. For further information on
ESC, refer to the Owner's Manual on the DVD.
CAUTION!
• When “rocking” a stuck vehicle by moving between REVERSE and DRIVE, do not spin the wheels faster than 15 mph (24 km/h), or drivetrain damage may
result.
• Revving the engine or spinning the wheels too fast may lead to transmission
overheating and failure. It can also damage the tires. Do not spin the wheels
above 30 mph (48 km/h) while in gear (no transmission shifting occurring).
WARNING!
Fast spinning tires can be dangerous. Forces generated by excessive wheel speeds
may cause tire damage or failure. A tire could explode and injure someone. Do not
spin your vehicle's wheels faster than 30 mph (48 km/h) when you are stuck.
Do not let anyone near a spinning wheel, no matter what the speed.
WHAT TO DO IN EMERGENCIES
85
Page 100 of 116
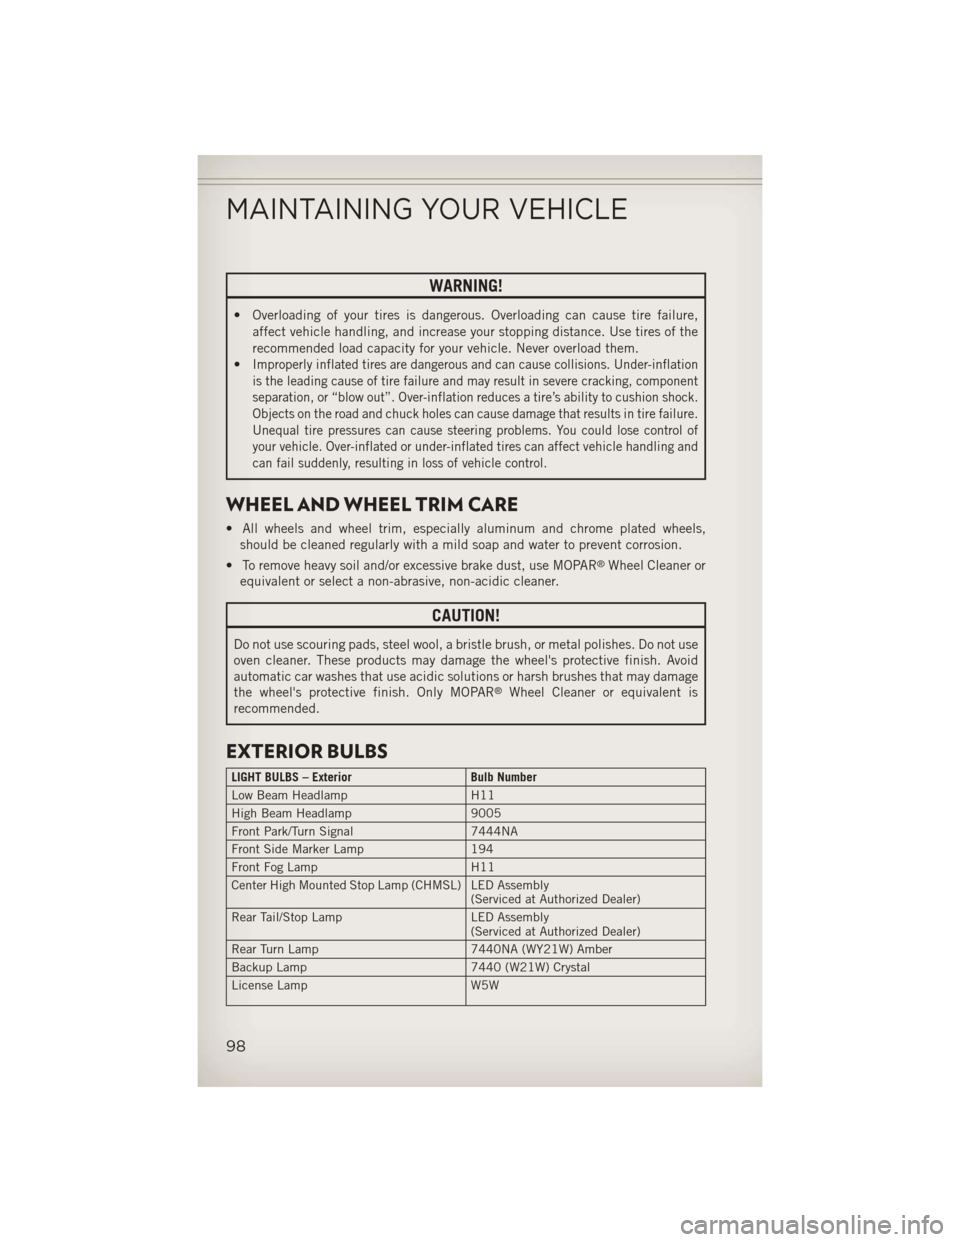
WARNING!
• Overloading of your tires is dangerous. Overloading can cause tire failure,affect vehicle handling, and increase your stopping distance. Use tires of the
recommended load capacity for your vehicle. Never overload them.
•
Improperly inflated tires are dangerous and can cause collisions. Under-inflation
is the leading cause of tire failure and may result in severe cracking, component
separation, or “blow out”. Over-inflation reduces a tire’s ability to cushion shock.
Objects on the road and chuck holes can cause damage that results in tire failure.
Unequal tire pressures can cause steering problems. You could lose control of
your vehicle. Over-inflated or under-inflated tires can affect vehicle handling and
can fail suddenly, resulting in loss of vehicle control.
WHEEL AND WHEEL TRIM CARE
• All wheels and wheel trim, especially aluminum and chrome plated wheels, should be cleaned regularly with a mild soap and water to prevent corrosion.
• To remove heavy soil and/or excessive brake dust, use MOPAR
®Wheel Cleaner or
equivalent or select a non-abrasive, non-acidic cleaner.
CAUTION!
Do not use scouring pads, steel wool, a bristle brush, or metal polishes. Do not use
oven cleaner. These products may damage the wheel's protective finish. Avoid
automatic car washes that use acidic solutions or harsh brushes that may damage
the wheel's protective finish. Only MOPAR
®Wheel Cleaner or equivalent is
recommended.
EXTERIOR BULBS
LIGHT BULBS – Exterior Bulb Number
Low Beam Headlamp H11
High Beam Headlamp 9005
Front Park/Turn Signal 7444NA
Front Side Marker Lamp 194
Front Fog Lamp H11
Center High Mounted Stop Lamp (CHMSL) LED Assembly (Serviced at Authorized Dealer)
Rear Tail/Stop Lamp LED Assembly
(Serviced at Authorized Dealer)
Rear Turn Lamp 7440NA (WY21W) Amber
Backup Lamp 7440 (W21W) Crystal
License Lamp W5W
MAINTAINING YOUR VEHICLE
98
Page 105 of 116
Jacking Instructions..........76
Jack Location ..............75
Jack Operation ...........75,76
Jump Starting ..............81
KeyFob.................10
Key Fob Programmable Features . . .61
Lane Change and Turn Signals ....21
Lane Change Assist ..........21
LATCH (Lower Anchors and Tether forCHildren).............14
Lights Engine Temperature Warning . . .72
Headlights .............21
Park .................21
Tire Pressure Monitoring
(TPMS) ...............70
Transmission Warning .......73
TurnSignal .............21
Warning (Instrument Cluster
Description) .............8
Locks Liftgate, Tailgate ..........10
Maintenance Record ..........95
MaintenanceSchedule ........91
Malfunction Indicator Light (CheckEngine) ...........72
MOPAR
®Accessories .........101
Navigation Voice Prompt Volume . . .45
New Vehicle Break-In Period .....20
OilChangeIndicator..........74
Oil, Engine Capacity ..............90
Outlet Power ................66
Overheating, Engine ..........74
Panic Alarm ...............10
Placard, Tire and Loading Information .............97
Power Inverter ...............65
Outlet (Auxiliary Electrical
Outlet) ...............66 Seats ................16
Steering
..............90
Preparation for Jacking ........76
Programmable Electronic Features . .61
Rain Sensitive Wiper System .....22
Rear Seat, Folding ...........18
Recreational Towing ..........69
Remote Starting System ........11
Replacement Bulbs ..........98
Reporting Safety Defects .......100
RollOverWarning ............4
Schedule,Maintenance........91
Seat Belts ................12
Seats ...................16
Adjustment .............16
Folding Front Passenger .....17
Heated ...............19
Power ................16
Rear Folding ............18
Shift Lever Override ..........83
Signals, Turn ..............21
SpareTire................75
SparkPlugs...............90
Speed Control Accel/Decel ............23
Cancel ...............23
Distance Setting (ACC Only) . . .23
Starting Remote ...............11
Steering TiltColumn .............18
Steering Wheel Audio Controls ....52
Supplemental Restraint System - Airbag ...........13
Theft System Arming ..........11
Theft System Disarming ........11
Tilt Steering Column ..........18
Tires Air Pressure ............97
Changing ..............75
Jacking ...............75
SpareTire .............75
Towing..................69 Disabled Vehicle ..........84
Recreational ............69
INDEX
103