JEEP COMPASS 2015 1.G Owners Manual
Manufacturer: JEEP, Model Year: 2015, Model line: COMPASS, Model: JEEP COMPASS 2015 1.GPages: 560, PDF Size: 11.51 MB
Page 291 of 560
•The audio device can be controlled using the radio
buttons to Play, Browse, and List the iPod® contents.
•The audio device battery charges when plugged into
the USB/AUX connector (if supported by the specific
audio device).
Controlling The iPod® Or External USB Device
Using Radio Buttons
To get into the iPod®/USB/MP3 control mode and
access a connected audio device, either push the “AUX”
button on the radio faceplate or push the VR button and
say#USB#or#Switch to USB.#Once in the iPod®/USB/
MP3 control mode, audio tracks (if available from audio
device) start playing over the vehicle’s audio system.
Play Mode
When switched to iPod®/USB/MP3 control mode, the
iPod® or external USB device automatically starts Play
mode. In Play mode, the following buttons on the radio
faceplate may be used to control the iPod® or external
USB device and display data:
•Use theTUNEcontrol knob to select the next or
previous track.
•Turning it clockwise (forward) by one click, while
playing a track, skips to the next track or push the VR
button and say#Next Track.#
•Turning it counterclockwise (backward) by one click,
will jump to the previous track in the list or push the
VR button and say#Previous Track.#
4
UNDERSTANDING YOUR INSTRUMENT PANEL 289
Page 292 of 560
•Jump backward in the current track by pushing and
holding the <
track.
•Jump forward in the current track by pushing and
holding theFF>> button.
•A single push backward <
jump backward or forward respectively, for five sec-
onds.
•Use the <
previous or next track. Pushing theSEEK>> button
during play mode will jump to the next track in the
list, or push the VR button and say#Next or Previous
Track.#
•While a track is playing, push theINFObutton to see
the associated metadata (artist, track title, album, etc.)
for that track. Pushing theINFObutton again jumps to
the next screen of data for that track. Once all screens
have been viewed, the lastINFObutton push will go
back to the play mode screen on the radio.
•Pushing theREPEATbutton will change the audio
device mode to repeat the current playing track or
push the VR button and say#Repeat ON#or#Repeat
Off.#
•Push theSCANbutton to use iPod®/USB/MP3 de-
vice scan mode, which will play the first ten seconds of
each track in the current list and then forward to the
next song. To stop SCAN mode and start playing the
desired track, when it is playing the track, push the
SCANbutton again. During Scan mode, pushing the
<
and next tracks.
290 UNDERSTANDING YOUR INSTRUMENT PANEL
Page 293 of 560
•RNDbutton (available on sales code RES radio only):
Pushing this button toggles between Shuffle ON and
Shuffle OFF modes for the iPod® or external USB
device, or push the VR button and say#Shuffle ON#or
#Shuffle Off.#If theRNDicon is showing on the radio
display, then the shuffle mode is ON.
List Or Browse Mode
During Play mode, pushing any of the buttons described
below, will bring up List mode. List mode enables
scrolling through the list of menus and tracks on the
audio device.
TUNEcontrol knob: TheTUNEcontrol knob functions in
a similar manner as the scroll wheel on the audio device
or external USB device.
•Turning it clockwise (forward) and counterclockwise
(backward) scrolls through the lists, displaying the
track detail on the radio display. Once the track to be
played is highlighted on the radio display, push the
TUNEcontrol knob to select and start playing the
track. Turning theTUNEcontrol knob fast will scroll
through the list faster. During fast scroll, a slight delay
in updating the information on the radio display may
be noticeable.
During all List modes, the iPod® displays all lists in
“wrap-around” mode. So if the track is at the bottom of
the list, just turn the wheel backward (counterclockwise)
to get to the track faster.
4
UNDERSTANDING YOUR INSTRUMENT PANEL 291
Page 294 of 560
In List mode, the radioPRESETbuttons are used as
shortcuts to the following lists on the iPod® or external
USB device:
•Preset 1 – Playlists
•Preset 2 – Artists
•Preset 3 – Albums
•Preset 4 – Genres
•Preset 5 – Audiobooks
•Preset 6 – Podcasts
Pushing a PRESET button will display the current list on
the top line and the first item in that list on the second
line.
To exit List mode without selecting a track, push the
samePRESETbutton again to go back toPlay mode.
LISTbutton: TheLISTbutton will display the top level
menu of the iPod® or external USB device.
•Turn theTUNEcontrol knob to list the top-menu item
to be selected and push theTUNEcontrol knob. This
will display the next sub-menu list item on the audio
device, then follow the same steps to go to the desired
track in that list. Not all iPod® or external USB device
sub-menu levels are available on this system.
MUSIC TYPEbutton: TheMUSIC TYPEbutton is an-
other shortcut button to the genre listing on your audio
device.
CAUTION!
•Leaving the iPod® or external USB device (or any
supported device) anywhere in the vehicle in ex-
treme heat or cold can alter the operation or dam-
age the device. Follow the device manufacturer ’s
guidelines.
(Continued)
292 UNDERSTANDING YOUR INSTRUMENT PANEL
Page 295 of 560
CAUTION!(Continued)
•Placing items on the iPod® or external USB device,
or connections to the iPod® or external USB device
in the vehicle, can cause damage to the device
and/or to the connectors.
WARNING!
Do not plug in or remove the iPod® or external USB
device while driving. Failure to follow this warning
could result in an accident.
Bluetooth® Streaming Audio (BTSA)
Music can be streamed from your cellular phone to the
Uconnect® phone system.
Refer to the Uconnect® Radio Supplement for further
information on Bluetooth® connectivity.
Controlling BTSA Using Radio Buttons
To enter BTSA mode, push either “AUX” button on the
radio or push the VR button and say “Bluetooth Streaming
Audio.”
Play Mode
When switched to BTSA mode, some audio devices can
start playing music over the vehicle’s audio system, but
some devices require the music to be initiated on the device
first, then it will get streamed to the Uconnect® phone
system. Seven devices can be paired to the Uconnect®
phone system, but just one can be selected and played.
Selecting A Different Audio Device
1. Push the PHONE button to begin.
2. After the#Ready#prompt and following the beep, say
#Setup#, then say#Select Audio Devices.#
3. Say the name of the audio device or ask the
Uconnect® phone system to list the audio devices.
4
UNDERSTANDING YOUR INSTRUMENT PANEL 293
Page 296 of 560
Next Track
Use the SEEK UP button, or push the VR button on the
radio and say “Next Track,” to jump to the next music
track on your cellular phone.
Previous Track
Use the SEEK DOWN button, or push the VR button on
the radio and say “Previous Track,” to jump to the
previous music track on your cellular phone.
Browse
Browsing is not available on a Bluetooth® Streaming
Audio (BTSA) device. Only the current song that is
playing will display info.
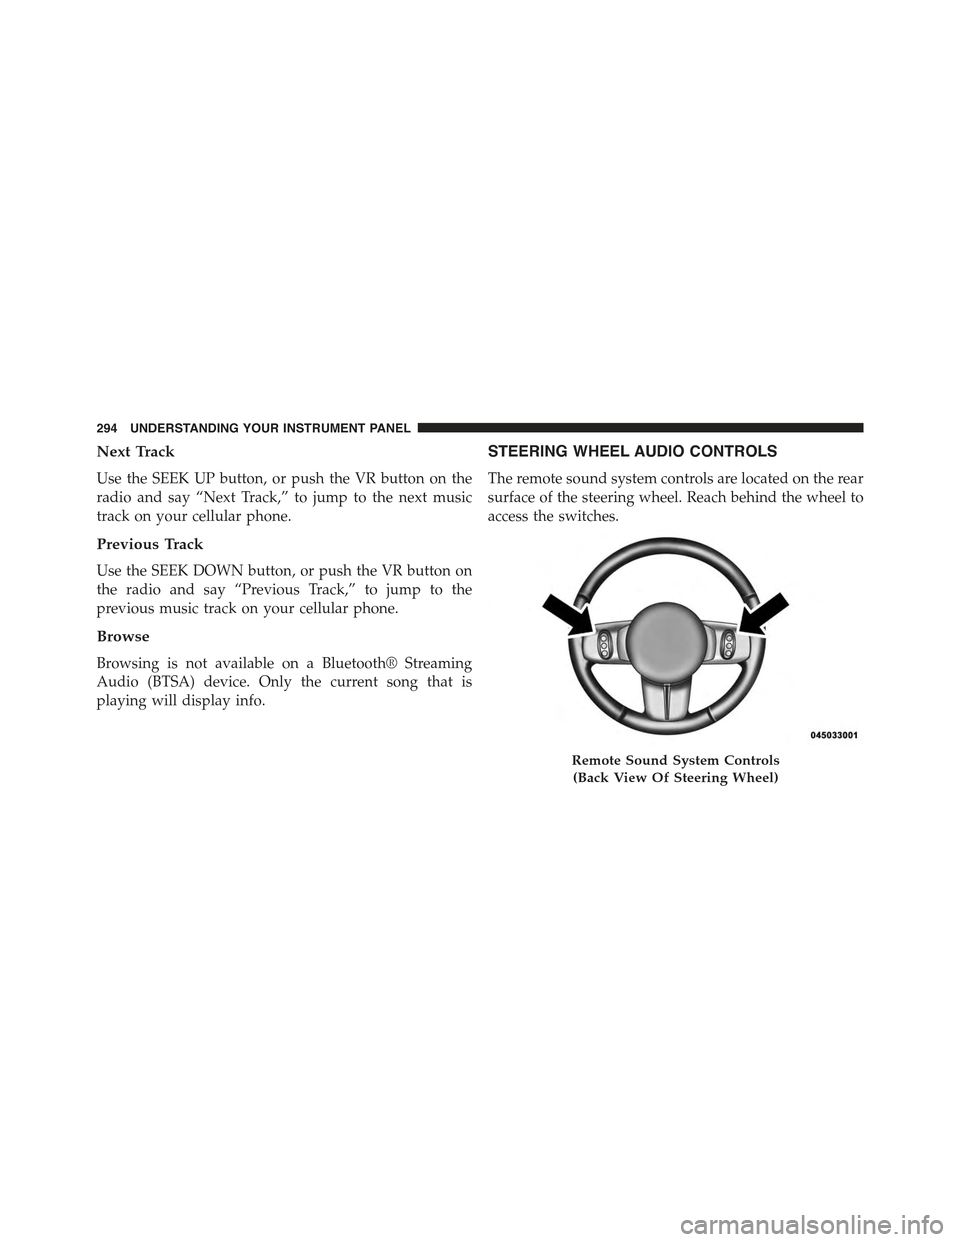
STEERING WHEEL AUDIO CONTROLS
The remote sound system controls are located on the rear
surface of the steering wheel. Reach behind the wheel to
access the switches.
Remote Sound System Controls
(Back View Of Steering Wheel)
294 UNDERSTANDING YOUR INSTRUMENT PANEL
Page 297 of 560
The right-hand control is a rocker-type switch with a
pushbutton in the center and controls the volume and
mode of the sound system. Pressing the top of the rocker
switch will increase the volume, and pressing the bottom
of the rocker switch will decrease the volume.
Pressing the center button will make the radio switch
between the various modes available (AM/FM/SAT/
CD/HDD/AUX/VES, etc.).
The left-hand control is a rocker-type switch with a
pushbutton in the center. The function of the left-hand
control is different depending on which mode you are in.
The following describes the left-hand control operation in
each mode.
Radio Operation
Pushing the top of the switch will “Seek” up for the next
listenable station and pushing the bottom of the switch
will “Seek” down for the next listenable station.
The button located in the center of the left-hand control
will tune to the next preset station that you have pro-
grammed in the radio preset button.
CD Player
Pushing the top of the switch once will go to the next
track on the CD. Pushing the bottom of the switch once
will go to the beginning of the current track, or to the
beginning of the previous track if it is within eight
seconds after the current track begins to play.
If you push the switch up or down twice, it plays the
second track; three times, it will play the third, etc.
The center button on the left side rocker switch has no
function for a single-disc CD player. However, when a
multiple-disc CD player is equipped on the vehicle, the
center button will select the next available CD in the
player.
4
UNDERSTANDING YOUR INSTRUMENT PANEL 295
Page 298 of 560
CD/DVD DISC MAINTENANCE
To keep a CD/DVD in good condition, take the following
precautions:
1.Handle the disc by its edge; avoid touching the surface.
2. If the disc is stained, clean the surface with a soft cloth,
wiping from center to edge.
3. Do not apply paper or tape to the disc; avoid scratch-
ing the disc.
4. Do not use solvents such as benzene, thinner, cleaners,
or anti-static sprays.
5. Store the disc in its case after playing.
6. Do not expose the disc to direct sunlight.
7. Do not store the disc where temperatures may become
too high.
NOTE:If you experience difficulty in playing a particular
disc, it may be damaged (e.g., scratched, reflective coat-
ing removed, a hair, moisture or dew on the disc)
oversized, or have protection encoding. Try a known
good disc before considering disc player service.
RADIO OPERATION AND MOBILE PHONES
Under certain conditions, the mobile phone being on in
your vehicle can cause erratic or noisy performance from
your radio. This condition may be lessened or eliminated
by relocating the mobile phone antenna. This condition is
not harmful to the radio. If your radio performance does
not satisfactorily “clear” by the repositioning of the
antenna, it is recommended that the radio volume be
turned down or off during mobile phone operation when
not using Uconnect® (if equipped).
296 UNDERSTANDING YOUR INSTRUMENT PANEL
Page 299 of 560
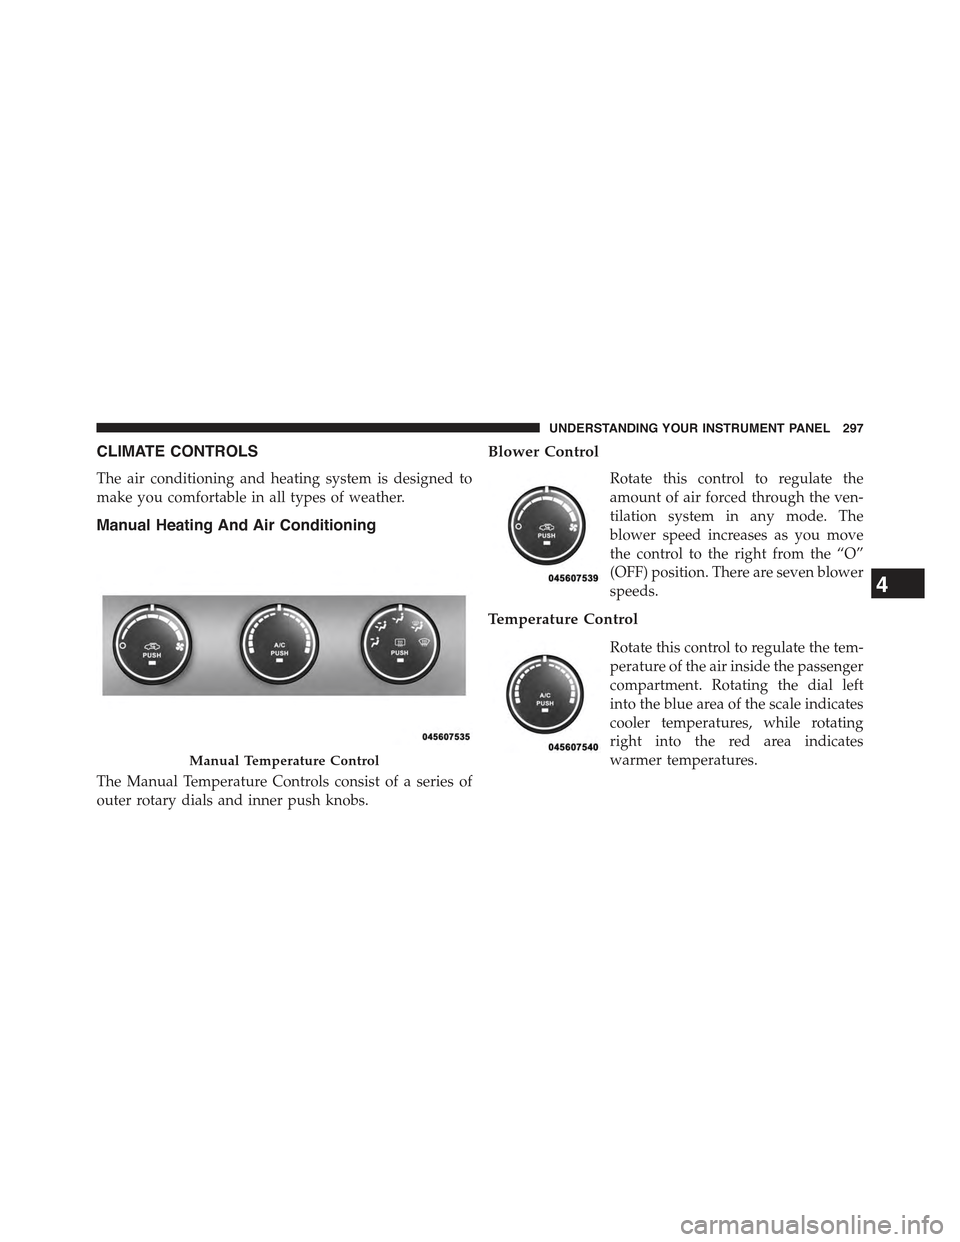
CLIMATE CONTROLS
The air conditioning and heating system is designed to
make you comfortable in all types of weather.
Manual Heating And Air Conditioning
The Manual Temperature Controls consist of a series of
outer rotary dials and inner push knobs.
Blower Control
Rotate this control to regulate the
amount of air forced through the ven-
tilation system in any mode. The
blower speed increases as you move
the control to the right from the “O”
(OFF) position. There are seven blower
speeds.
Temperature Control
Rotate this control to regulate the tem-
perature of the air inside the passenger
compartment. Rotating the dial left
into the blue area of the scale indicates
cooler temperatures, while rotating
right into the red area indicates
warmer temperatures.Manual Temperature Control
4
UNDERSTANDING YOUR INSTRUMENT PANEL 297
Page 300 of 560
NOTE:If your air conditioning performance seems lower
than expected, check the front of the A/C condenser
located in front of the radiator for an accumulation of dirt
or insects. Clean with a gentle water spray from behind
the radiator and through the condenser. Fabric front
fascia protectors may reduce airflow to the condenser,
reducing air conditioning performance.
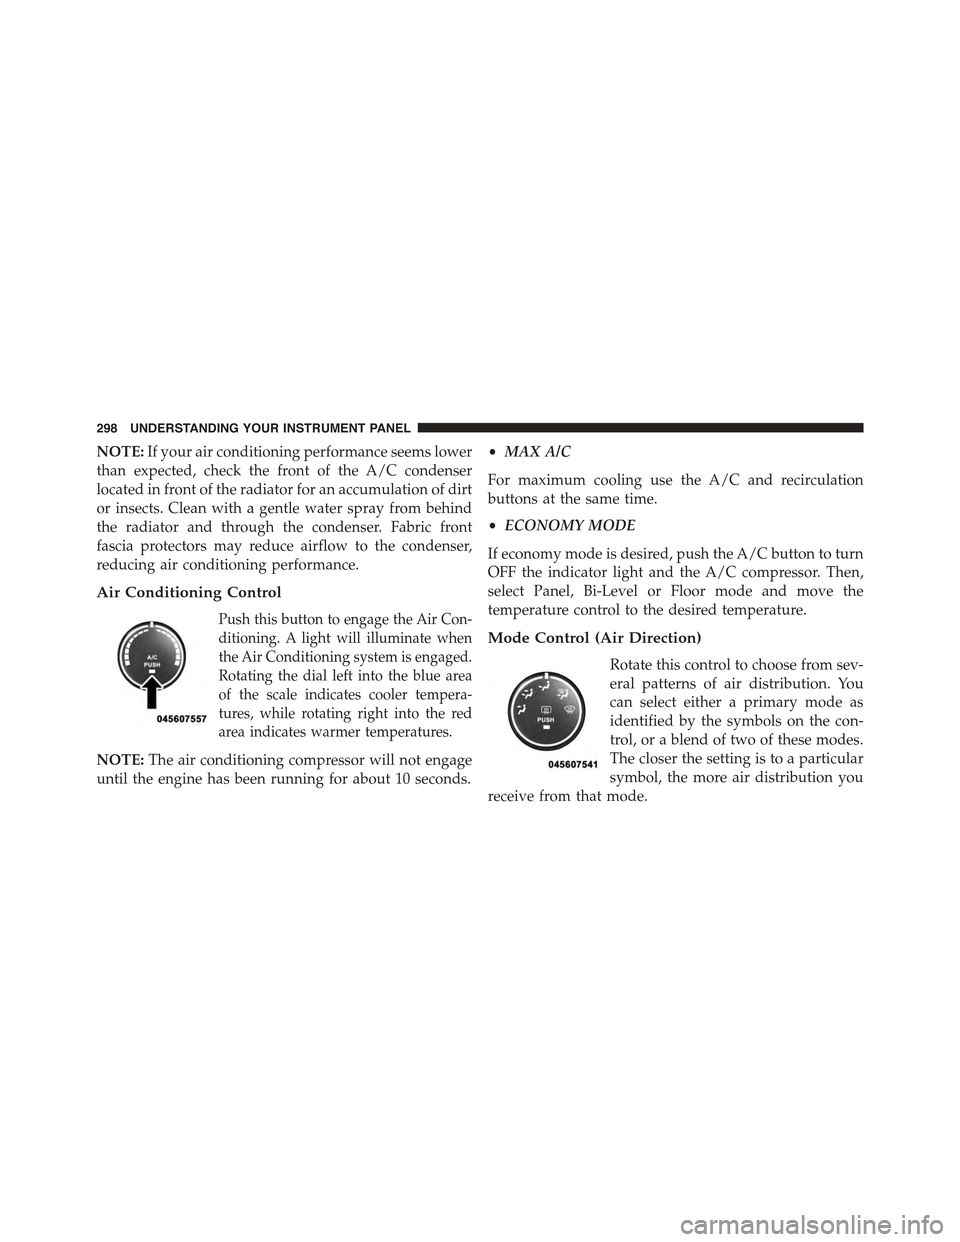
Air Conditioning Control
Push this button to engage the Air Con-
ditioning. A light will illuminate when
the Air Conditioning system is engaged.
Rotating the dial left into the blue area
of the scale indicates cooler tempera-
tures, while rotating right into the red
area indicates warmer temperatures.
NOTE:The air conditioning compressor will not engage
until the engine has been running for about 10 seconds.
•MAX A/C
For maximum cooling use the A/C and recirculation
buttons at the same time.
•ECONOMY MODE
If economy mode is desired, push the A/C button to turn
OFF the indicator light and the A/C compressor. Then,
select Panel, Bi-Level or Floor mode and move the
temperature control to the desired temperature.
Mode Control (Air Direction)
Rotate this control to choose from sev-
eral patterns of air distribution. You
can select either a primary mode as
identified by the symbols on the con-
trol, or a blend of two of these modes.
The closer the setting is to a particular
symbol, the more air distribution you
receive from that mode.
298 UNDERSTANDING YOUR INSTRUMENT PANEL