check engine JEEP COMPASS 2015 1.G Owners Manual
[x] Cancel search | Manufacturer: JEEP, Model Year: 2015, Model line: COMPASS, Model: JEEP COMPASS 2015 1.GPages: 560, PDF Size: 11.51 MB
Page 17 of 560
SENTRY KEY®
The Sentry Key® Immobilizer System prevents unau-
thorized vehicle operation by disabling the engine. The
system does not need to be armed or activated. Operation
is automatic, regardless of whether the vehicle is locked
or unlocked.
The system uses ignition keys that have an embedded
electronic chip (transponder) to prevent unauthorized
vehicle operation. Therefore, only keys that are pro-
grammed to the vehicle can be used to start and operate
the vehicle. The system will shut the engine off in two
seconds if someone uses an invalid key to try to start the
engine.
NOTE:A key that has not been programmed is also
considered an invalid key, even if it is cut to fit the
ignition switch lock cylinder for that vehicle.
During normal operation, after turning on the ignition
switch, the Vehicle Security Light will turn on for three
seconds for a bulb check. If the light remains on after the
bulb check, it indicates that there is a problem with the
electronics. In addition, if the Vehicle Security Light
begins to flash after the bulb check, it indicates that
someone used an invalid key to try to start the engine.
Either of these conditions will result in the engine being
shut off after two seconds.
If the Vehicle Security Light turns on during normal
vehicle operation (vehicle running for longer than 10
seconds), it indicates that there is a fault in the electron-
ics. Should this occur, have the vehicle serviced as soon
as possible by an authorized dealer.
2
THINGS TO KNOW BEFORE STARTING YOUR VEHICLE 15
Page 28 of 560
NOTE:If the RKE transmitter is equipped with a screw,
reinstall and tighten the screw until snug.
General Information
This device complies with Part 15 of the FCC rules and
RSS 210 of Industry Canada. Operation is subject to the
following conditions:
•This device may not cause harmful interference.
•This device must accept any interference received,
including interference that may cause undesired op-
eration.
NOTE:Changes or modifications not expressly approved
by the party responsible for compliance could void the
user’s authority to operate the equipment.
If your RKE transmitter fails to operate from a normal
distance, check for these two conditions:
1. A weak battery in the transmitter. The expected life of
the battery is a minimum of three years.
2. Closeness to a radio transmitter such as a radio station
tower, airport transmitter, and some mobile or CB
radios.
REMOTE STARTING SYSTEM — IF EQUIPPED
This system uses the Remote Keyless Entry
(RKE) transmitter to start the engine conve-
niently from outside the vehicle while still
maintaining security. The system has a range of
approximately 300 ft (91 m). Obstructions between the
vehicle and RKE transmitter may reduce this range.
26 THINGS TO KNOW BEFORE STARTING YOUR VEHICLE
Page 75 of 560
While the air bag system is designed to be maintenance
free, if any of the following occurs, have an authorized
dealer service the air bag system immediately.
•The Air Bag Warning Light does not come on during
the four to eight seconds when the ignition switch is
first turned to the ON/RUN position.
•The Air Bag Warning Light remains on after the four to
eight-second interval.
•The Air Bag Warning Light comes on intermittently or
remains on while driving.
NOTE:If the speedometer, tachometer, or any engine
related gauges are not working, the Occupant Restraint
Controller (ORC) may also be disabled. In this condition
the air bags may not be ready to inflate for your protec-
tion. Have an authorized dealer service the air bag
system immediately.
WARNING!
Ignoring the Air Bag Warning Light in your instru-
ment panel could mean you won’t have the air bags
to protect you in a collision. If the light does not come
on as a bulb check when the ignition is first turned
on, stays on after you start the vehicle, or if it comes
on as you drive, have an authorized dealer service the
air bag system immediately.
2
THINGS TO KNOW BEFORE STARTING YOUR VEHICLE 73
Page 104 of 560
Periodic Safety Checks You Should Make Outside
The Vehicle
Tires
Examine tires for excessive tread wear and uneven wear
patterns. Check for stones, nails, glass, or other objects
lodged in the tread or sidewall. Inspect the tread for cuts
and cracks. Inspect sidewalls for cuts, cracks and bulges.
Check the wheel nuts for tightness. Check the tires
(including spare) for proper cold inflation pressure.
Lights
Have someone observe the operation of brake lights and
exterior lights while you work the controls. Check turn
signal and high beam indicator lights on the instrument
panel.
Door Latches
Check for positive closing, latching, and locking.
Fluid Leaks
Check area under vehicle after overnight parking for fuel,
engine coolant, oil, or other fluid leaks. Also, if gasoline
fumes are detected or if fuel, power steering fluid (if
equipped), or brake fluid leaks are suspected, the cause
should be located and corrected immediately.
102 THINGS TO KNOW BEFORE STARTING YOUR VEHICLE
Page 216 of 560
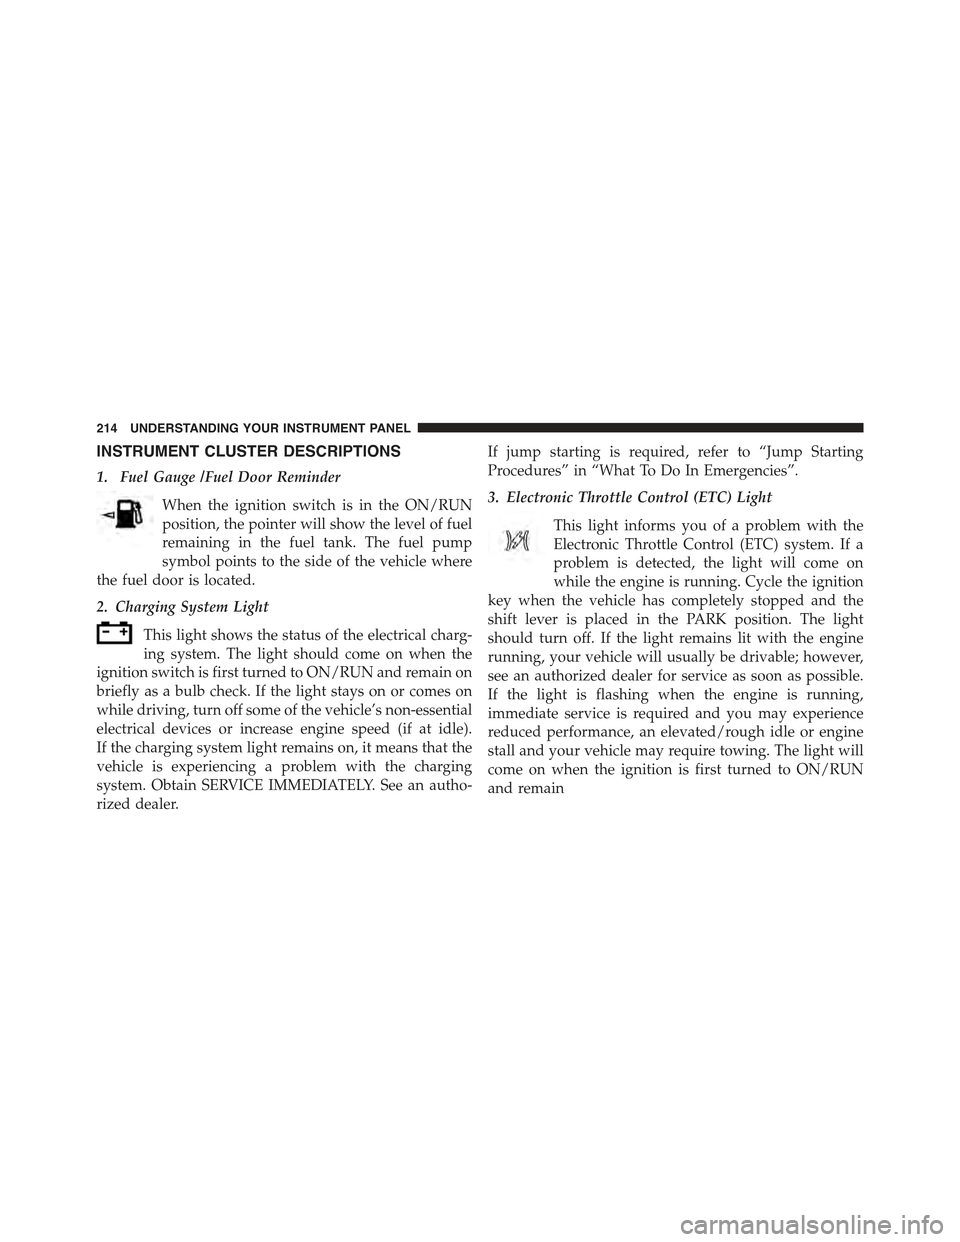
INSTRUMENT CLUSTER DESCRIPTIONS
1. Fuel Gauge /Fuel Door Reminder
When the ignition switch is in the ON/RUN
position, the pointer will show the level of fuel
remaining in the fuel tank. The fuel pump
symbol points to the side of the vehicle where
the fuel door is located.
2. Charging System Light
This light shows the status of the electrical charg-
ing system. The light should come on when the
ignition switch is first turned to ON/RUN and remain on
briefly as a bulb check. If the light stays on or comes on
while driving, turn off some of the vehicle’s non-essential
electrical devices or increase engine speed (if at idle).
If the charging system light remains on, it means that the
vehicle is experiencing a problem with the charging
system. Obtain SERVICE IMMEDIATELY. See an autho-
rized dealer.
If jump starting is required, refer to “Jump Starting
Procedures” in “What To Do In Emergencies”.
3. Electronic Throttle Control (ETC) Light
This light informs you of a problem with the
Electronic Throttle Control (ETC) system. If a
problem is detected, the light will come on
while the engine is running. Cycle the ignition
key when the vehicle has completely stopped and the
shift lever is placed in the PARK position. The light
should turn off. If the light remains lit with the engine
running, your vehicle will usually be drivable; however,
see an authorized dealer for service as soon as possible.
If the light is flashing when the engine is running,
immediate service is required and you may experience
reduced performance, an elevated/rough idle or engine
stall and your vehicle may require towing. The light will
come on when the ignition is first turned to ON/RUN
and remain
214 UNDERSTANDING YOUR INSTRUMENT PANEL
Page 217 of 560
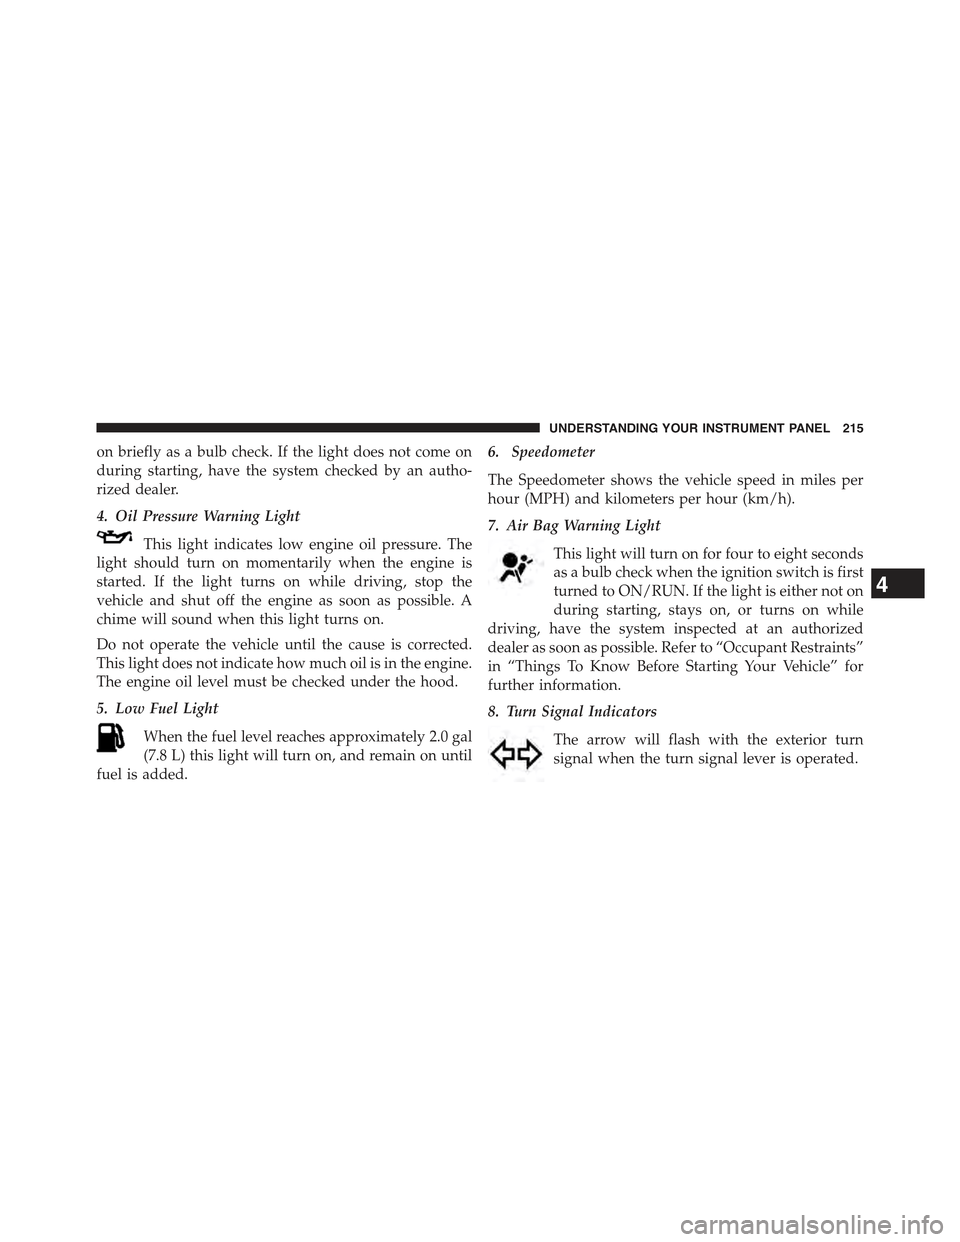
on briefly as a bulb check. If the light does not come on
during starting, have the system checked by an autho-
rized dealer.
4. Oil Pressure Warning Light
This light indicates low engine oil pressure. The
light should turn on momentarily when the engine is
started. If the light turns on while driving, stop the
vehicle and shut off the engine as soon as possible. A
chime will sound when this light turns on.
Do not operate the vehicle until the cause is corrected.
This light does not indicate how much oil is in the engine.
The engine oil level must be checked under the hood.
5. Low Fuel Light
When the fuel level reaches approximately 2.0 gal
(7.8 L) this light will turn on, and remain on until
fuel is added.
6. Speedometer
The Speedometer shows the vehicle speed in miles per
hour (MPH) and kilometers per hour (km/h).
7. Air Bag Warning Light
This light will turn on for four to eight seconds
as a bulb check when the ignition switch is first
turned to ON/RUN. If the light is either not on
during starting, stays on, or turns on while
driving, have the system inspected at an authorized
dealer as soon as possible. Refer to “Occupant Restraints”
in “Things To Know Before Starting Your Vehicle” for
further information.
8. Turn Signal Indicators
The arrow will flash with the exterior turn
signal when the turn signal lever is operated.
4
UNDERSTANDING YOUR INSTRUMENT PANEL 215
Page 227 of 560
oil change indicator system (after performing the sched-
uled maintenance), refer to the following procedure:
1. Turn the ignition switch to the ON/RUN position (do
not start the engine).
2. Fully depress the accelerator pedal, slowly, three times
within 10 seconds.
3. Turn the ignition switch to the OFF/LOCK position.
NOTE:If the indicator message illuminates when you
start the engine, the oil change indicator system did not
reset. If necessary, repeat this procedure.
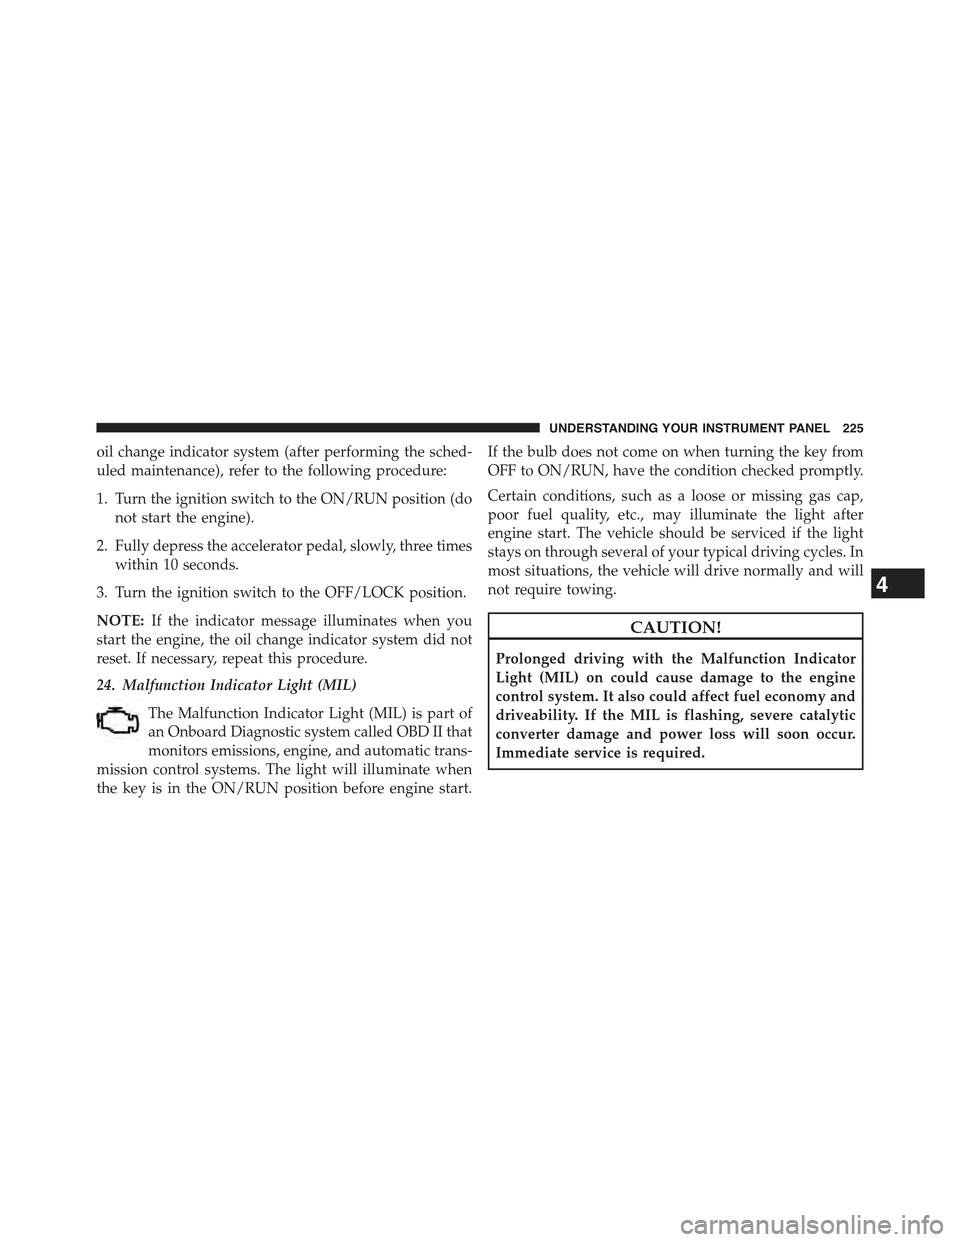
24. Malfunction Indicator Light (MIL)
The Malfunction Indicator Light (MIL) is part of
an Onboard Diagnostic system called OBD II that
monitors emissions, engine, and automatic trans-
mission control systems. The light will illuminate when
the key is in the ON/RUN position before engine start.
If the bulb does not come on when turning the key from
OFF to ON/RUN, have the condition checked promptly.
Certain conditions, such as a loose or missing gas cap,
poor fuel quality, etc., may illuminate the light after
engine start. The vehicle should be serviced if the light
stays on through several of your typical driving cycles. In
most situations, the vehicle will drive normally and will
not require towing.
CAUTION!
Prolonged driving with the Malfunction Indicator
Light (MIL) on could cause damage to the engine
control system. It also could affect fuel economy and
driveability. If the MIL is flashing, severe catalytic
converter damage and power loss will soon occur.
Immediate service is required.
4
UNDERSTANDING YOUR INSTRUMENT PANEL 225
Page 300 of 560
NOTE:If your air conditioning performance seems lower
than expected, check the front of the A/C condenser
located in front of the radiator for an accumulation of dirt
or insects. Clean with a gentle water spray from behind
the radiator and through the condenser. Fabric front
fascia protectors may reduce airflow to the condenser,
reducing air conditioning performance.
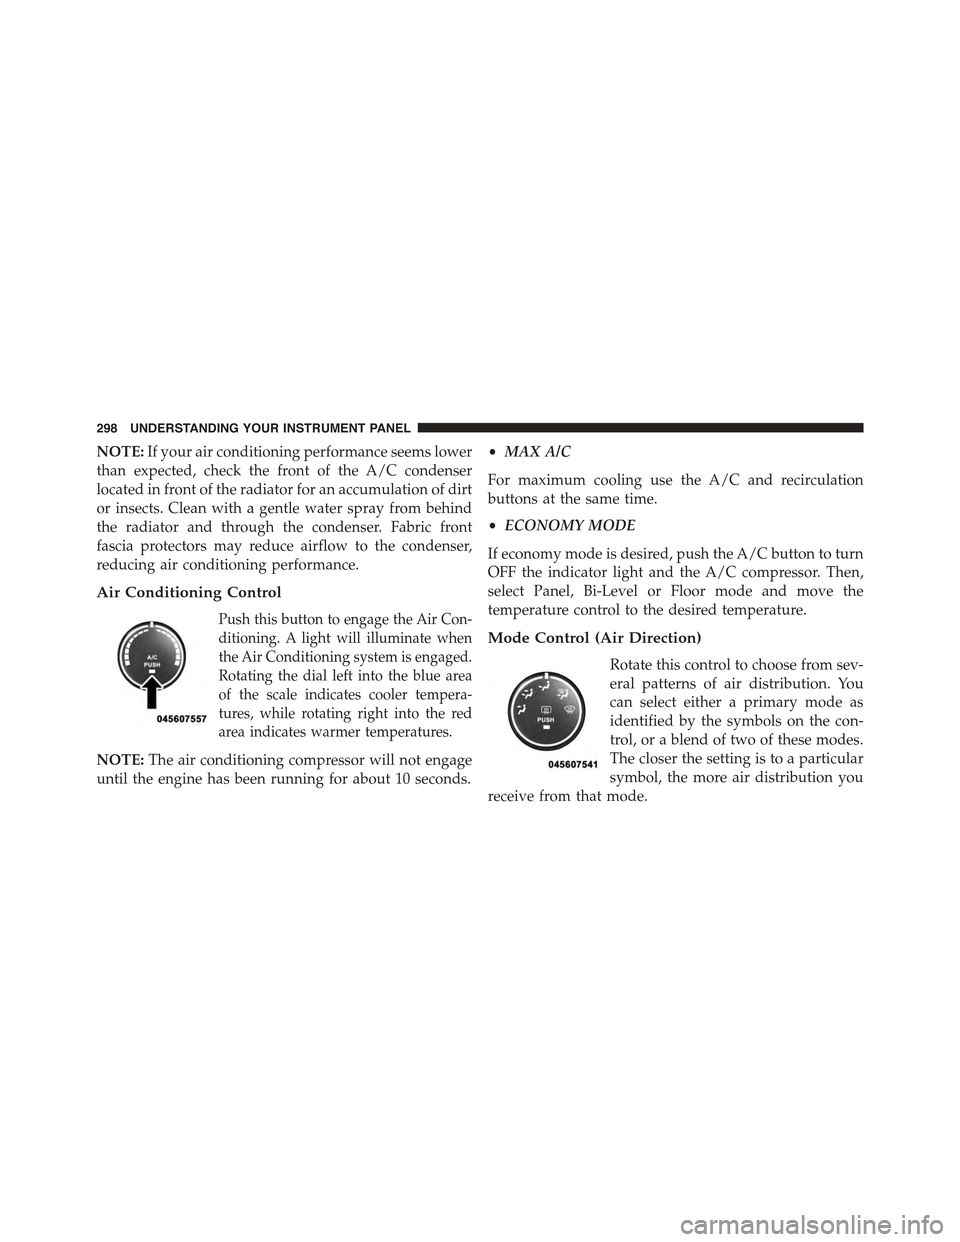
Air Conditioning Control
Push this button to engage the Air Con-
ditioning. A light will illuminate when
the Air Conditioning system is engaged.
Rotating the dial left into the blue area
of the scale indicates cooler tempera-
tures, while rotating right into the red
area indicates warmer temperatures.
NOTE:The air conditioning compressor will not engage
until the engine has been running for about 10 seconds.
•MAX A/C
For maximum cooling use the A/C and recirculation
buttons at the same time.
•ECONOMY MODE
If economy mode is desired, push the A/C button to turn
OFF the indicator light and the A/C compressor. Then,
select Panel, Bi-Level or Floor mode and move the
temperature control to the desired temperature.
Mode Control (Air Direction)
Rotate this control to choose from sev-
eral patterns of air distribution. You
can select either a primary mode as
identified by the symbols on the con-
trol, or a blend of two of these modes.
The closer the setting is to a particular
symbol, the more air distribution you
receive from that mode.
298 UNDERSTANDING YOUR INSTRUMENT PANEL
Page 328 of 560
WARNING!
•Never use the PARK position as a substitute for the
parking brake. Always apply the parking brake
fully when parked to guard against vehicle move-
ment and possible injury or damage.
•Your vehicle could move and injure you and others
if it is not in PARK. Check by trying to move the
shift lever out of PARK with the brake pedal
released. Make sure the transmission is in PARK
before leaving the vehicle.
•It is dangerous to shift out of PARK or NEUTRAL
if the engine speed is higher than idle speed. If
your foot is not firmly pressing the brake pedal,
the vehicle could accelerate quickly forward or in
reverse. You could lose control of the vehicle and
(Continued)
WARNING!(Continued)
hit someone or something. Only shift into gear
when the engine is idling normally and your foot is
firmly pressing the brake pedal.
•Unintended movement of a vehicle could injure
those in or near the vehicle. As with all vehicles,
you should never exit a vehicle while the engine is
running. Before exiting a vehicle, always apply the
parking brake, shift the transmission into PARK,
turn the engine OFF, and remove the ignition key.
Once the key is removed, the transmission is
locked in PARK, securing the vehicle against un-
wanted movement.
•When leaving the vehicle, always remove the igni-
tion key from the vehicle and lock the vehicle.
(Continued)
326 STARTING AND OPERATING
Page 335 of 560
PARK (P)
This range supplements the parking brake by locking the
transmission. The engine can be started in this range.
Never attempt to use PARK while the vehicle is in
motion. Apply the parking brake when leaving the
vehicle in this range.
When parking on a level surface, you may shift the
transmission into PARK first, and then apply the parking
brake.
When parking on a hill, apply the parking brake before
shifting the transmission to PARK, otherwise the load on
the transmission locking mechanism may make it diffi-
cult to move the shift lever out of PARK. As an added
precaution, turn the front wheels toward the curb on a
downhill grade and away from the curb on an uphill
grade.
WARNING!
•Never use the PARK position as a substitute for the
parking brake. Always apply the parking brake
fully when parked to guard against vehicle move-
ment and possible injury or damage.
•Your vehicle could move and injure you and others
if it is not in PARK. Check by trying to move the
shift lever out of PARK with the brake pedal
released. Make sure the transmission is in PARK
before leaving the vehicle.
•It is dangerous to shift out of PARK or NEUTRAL if
the engine speed is higher than idle speed. If your
foot is not firmly pressing the brake pedal, the
vehicle could accelerate quickly forward or in re-
verse. You could lose control of the vehicle and hit
someone or something. Only shift into gear when
the engine is idling normally and your foot is firmly
pressing the brake pedal.
(Continued)
5
STARTING AND OPERATING 333