engine JEEP COMPASS 2017 2.G Owners Manual
[x] Cancel search | Manufacturer: JEEP, Model Year: 2017, Model line: COMPASS, Model: JEEP COMPASS 2017 2.GPages: 429, PDF Size: 3.46 MB
Page 6 of 429
INTRODUCTION
Congratulations on selecting your new FCA US LLC ve-
hicle. Be assured that it represents precision workmanship,
distinctive styling, and high quality.
This is a specialized utility vehicle. It can go places and
perform tasks that conventional passenger cars are not
intended. It handles and maneuvers differently from many
passenger cars both on-road and off-road, so take time to
become familiar with your vehicle.
The two-wheel drive version of this vehicle was designed
for on-road use only. It is not intended for off-road driving
or use in other severe conditions suited for a four-wheel
drive vehicle.
Before you start to drive this vehicle, read the Owner’s
Manual. Be sure you are familiar with all vehicle controls,
particularly those used for braking, steering, transmission,
and transfer case shifting. Learn how your vehicle handles
on different road surfaces. Your driving skills will improve
with experience. When driving off-road or working the
vehicle, don’t overload the vehicle or expect the vehicle to
overcome the natural laws of physics. Always observe
federal, state, provincial and local laws wherever you
drive.As with other vehicles of this type, failure to operate this
vehicle correctly may result in loss of control or a collision.
Refer to “Driving Tips” in “Starting And Operating” for
further information.
This Owner’s Manual has been prepared with the assis-
tance of service and engineering specialists to acquaint you
with the operation and maintenance of your vehicle. It is
supplemented by Warranty Information, and various
customer-oriented documents. Please take the time to read
these publications carefully. Following the instructions and
recommendations in this manual will help assure safe and
enjoyable operation of your vehicle.
NOTE: After reviewing the owner information, it should
be stored in the vehicle for convenient referencing and
remain with the vehicle when sold.
When it comes to service, remember that your authorized
dealer knows your Jeep® vehicle best, has factory-trained
technicians and genuine MOPAR® parts, and cares about
your satisfaction.
ROLLOVER WARNING
Utility vehicles have a significantly higher rollover rate
than other types of vehicles. This vehicle has a higher
ground clearance and a higher center of gravity than many
4 INTRODUCTION
Page 12 of 429
FRONT VIEW
Front View
1 — Hood/Engine Compartment
2 — Windshield
3 — Headlights4 — Wheels/Tires
5 — Exterior Mirrors
6 — Doors
10 GRAPHICAL TABLE OF CONTENTS
Page 24 of 429
3. Push the key and cylinder inward and rotate the key tothe LOCK position.
4. Remove the key from the ignition. NOTE:
If you try to remove the key before you place the
gear selector in PARK, the key may become trapped
temporarily in the ignition. If this occurs, place the gear
selector in PARK, rotate the key clockwise slightly, and
then remove the key as described above. If a malfunction
occurs, the system will trap the key in the ignition to warn
you that this safety feature is inoperable. The engine can be
started and stopped but the key cannot be removed until
you obtain service.
WARNING!
• Before exiting a vehicle, always shift the automatic
transmission into PARK or the manual transmission
into FIRST gear or REVERSE, apply the parking
brake, turn the engine OFF, remove the key fob from
the ignition and lock your vehicle.
• Never leave children alone in a vehicle, or with
access to an unlocked vehicle.
• Allowing children to be in a vehicle unattended is
dangerous for a number of reasons. A child or others
could be seriously or fatally injured. Children
should be warned not to touch the parking brake,
brake pedal or the gear selector.
(Continued)
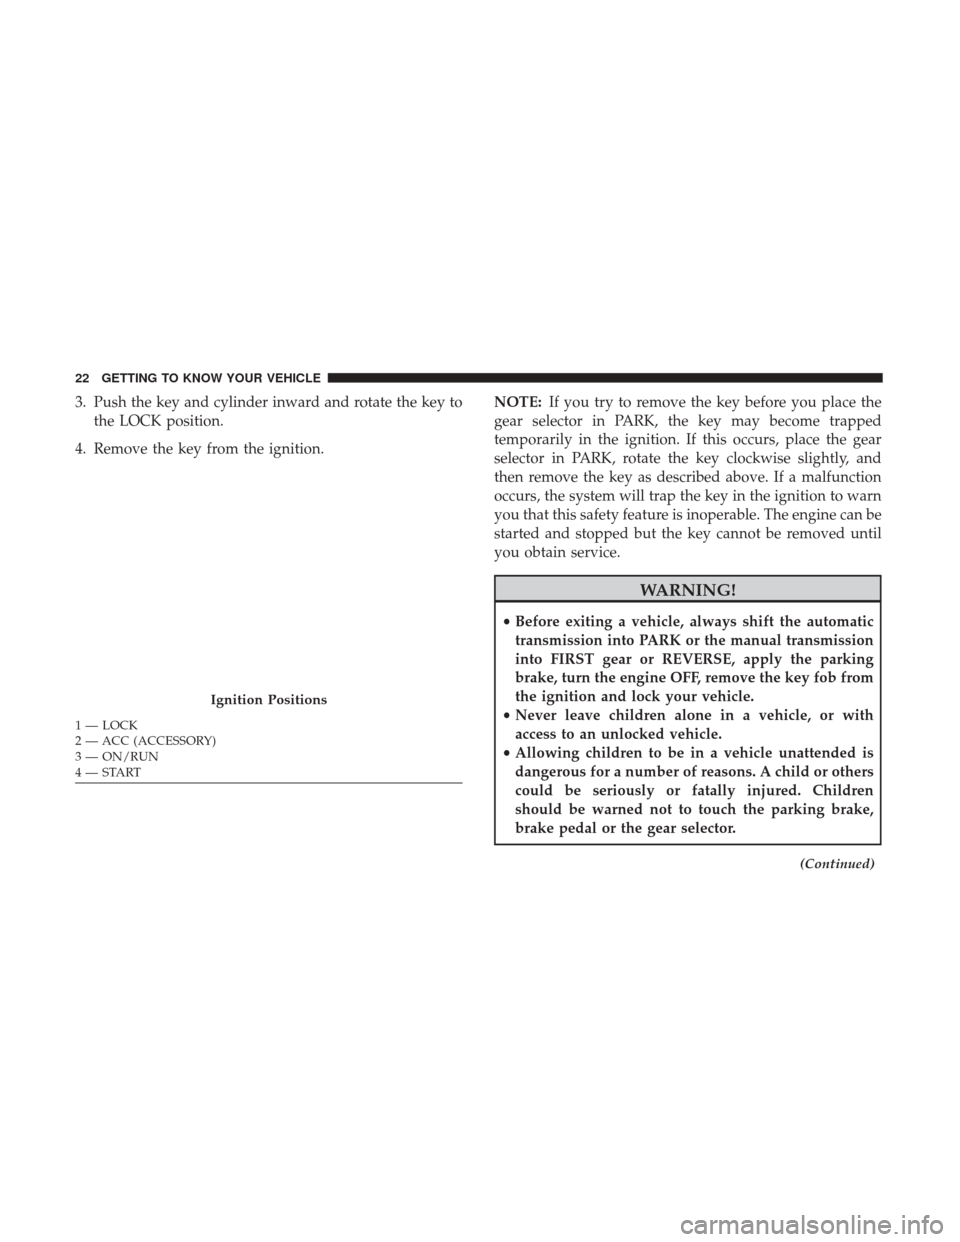
Ignition Positions
1 — LOCK
2 — ACC (ACCESSORY)
3 — ON/RUN
4 — START 22 GETTING TO KNOW YOUR VEHICLE
Page 25 of 429
WARNING!(Continued)
•Do not leave the key fob in or near the vehicle, or in
a location accessible to children. A child could oper-
ate power windows, other controls, or move the
vehicle.
• Do not leave children or animals inside parked
vehicles in hot weather. Interior heat build-up may
cause serious injury or death.
CAUTION!
Always remove the key fobs from the vehicle and lock
all doors when leaving the vehicle unattended.
Key Fob-In-Ignition Reminder
Opening the driver’s door when the key is in the ignition
and the ignition position is LOCK or ACC sounds a signal
to remind you to remove the key.
NOTE: With the driver’s door open and the key in the
ignition, the power door locks will not lock, and key fob
will not function.
SENTRY KEY
The Sentry Key Immobilizer System prevents unauthor-
ized vehicle operation by disabling the engine. The system
does not need to be armed or activated. Operation is
automatic, regardless of whether the vehicle is locked or
unlocked.
The system uses key fobs that have an embedded electronic
chip (transponder) to prevent unauthorized vehicle opera-
tion. Therefore, only key fobs that are programmed to the
vehicle can be used to start and operate the vehicle. The
system will shut the engine off in two seconds if someone
uses an invalid key to try to start the engine.
NOTE: A key fob that has not been programmed is also
considered an invalid key, even if it is cut to fit the ignition
or lock cylinder for that vehicle.
During normal operation, after placing the ignition in the
on position, the Vehicle Security Light will turn on for three
seconds for a bulb check. If the light remains on after the
bulb check, it indicates that there is a problem with the
electronics. In addition, if the Vehicle Security Light begins
to flash after the bulb check, it indicates that someone used
an invalid key to try to start the engine. Either of these
conditions will result in the engine being shut off after two
seconds.
3
GETTING TO KNOW YOUR VEHICLE 23
Page 29 of 429
REMOTE STARTING SYSTEM — IF EQUIPPED
This system uses the key fob to remote start the
engine conveniently from outside the vehicle,
while still maintaining security. The system has a
range of approximately 328 ft (100 m). Obstruc-
tions between the vehicle and key fob may reduce this
range.
NOTE:
• The vehicle must be equipped with an automatic trans-
mission to be equipped with Remote Start.
• Obstructions between the vehicle and the key fob may
reduce this range.
How To Use Remote Start
All of the following conditions must be met before the
engine will remote start:
•Gear selector in PARK
• Doors closed
• Hood closed •
Hazard switch off
• Brake switch inactive (brake pedal not pushed)
• Ignition key removed from ignition
• Battery at an acceptable charge level
• PANIC button not pushed
• System not disabled from previous remote start event
• Vehicle Security Alarm not active
WARNING!
•Do not start or run an engine in a closed garage or
confined area. Exhaust gas contains Carbon Monox-
ide (CO) which is odorless and colorless. Carbon
Monoxide is poisonous and can cause serious injury
or death when inhaled.
• Keep key fobs away from children. Operation of the
Remote Start System, windows, door locks or other
controls could cause serious injury or death.
3
GETTING TO KNOW YOUR VEHICLE 27
Page 30 of 429
Remote Start Abort Message Display
The following messages will display if the vehicle fails to
remote start or exits remote start prematurely:
•Remote Start Aborted — Door Open
• Remote Start Aborted — Hood Open
• Remote Start Aborted — L/Gate Open
• Remote Start Aborted — Fuel Low
• Remote Start Aborted — System Fault
The message stays active until the ignition is placed in the
ON/RUN position.
To Enter Remote Start
Push and release the Remote Startbutton on the key
fob twice within five seconds. The vehicle doors will
lock, the parking lights will flash, and the horn will
chirp twice (if programmed). Then, the engine will start
and the vehicle will remain in the Remote Start mode for
a 15-minute cycle.
NOTE:
• The park lamps will turn on and remain on during
Remote Start mode.
• For security, power window and power sunroof opera-
tion (if equipped) are disabled when the vehicle is in the
Remote Start mode.
• If your power door locks were unlocked, Remote Start
will automatically lock the doors.
• The engine can be started two consecutive times (two
15-minute cycles) with the key fob. However, the igni-
tion must be placed in the ON/RUN position before you
can repeat the start sequence for a third cycle.
Remote Start will also cancel if any of the following occur:
• The engine stalls or RPM exceeds 2500.
• Any engine warning lamps come on.
• Low Fuel Light turns on.
• The hood is opened.
• The hazard switch is pushed.
• The transmission is moved out of PARK.
• The brake pedal is pushed.
28 GETTING TO KNOW YOUR VEHICLE
Page 31 of 429
To Exit Remote Start Mode Without Driving The
Vehicle
Push and release the Remote Startbutton one time or
allow the engine to run for the entire 15-minute cycle.
NOTE: To avoid unintentional shut downs, the system will
disable the one time push of the Remote Start
button
for two seconds after receiving a valid Remote Start
request.
To Exit Remote Start Mode And Drive The Vehicle
Before the end of the 15-minute cycle, push and release the
unlock
button on the key fob to unlock the doors and
disarm the Vehicle Security Alarm (if equipped). Then,
insert the key into the ignition and place the ignition in
the ON/RUN position.
NOTE: The ignition must be placed in the ON/RUN
position in order to drive the vehicle.
DOOR LOCKS
Manual Door Locks
Use the manual door lock knob to lock the doors from
inside the vehicle. If the lock knob is down when the door is closed, the door will lock. Make sure the keys are not
inside the vehicle before closing the door.
WARNING!
•
For personal security and safety in the event of an
collision, lock the vehicle doors as you drive as well
as when you park and leave the vehicle.
• Never leave children alone in a vehicle, or with
access to an unlocked vehicle. Allowing children to
be in a vehicle unattended is dangerous for a number
(Continued)
Manual Door Lock Knob
3
GETTING TO KNOW YOUR VEHICLE 29
Page 33 of 429
Auto Lock Doors Programming
The Automatic Door Locks feature can be enabled or
disabled as follows:
•For vehicles equipped with the instrument cluster dis-
play, refer to “Instrument Cluster Display — If
Equipped/Personal Settings (Customer Programmable
Features)” in “Getting To Know Your Instrument Panel”
for further information.
• For vehicles not equipped with the instrument cluster
display, perform the following procedure:
1. Close all doors and place the key in the ignition.
2. Within 15 seconds, place the ignition between LOCK and ON/RUN and then back to LOCK four times,
ending up in the LOCK position (do not start the
engine).
3. Within 30 seconds, push the power door LOCK switch to lock the doors.
4. A single chime will indicate the completion of the programming. 5. Repeat these steps if you want to return this feature
to its previous setting.
NOTE:
• If you do not hear the chime, it means that the system
did not enter the programming mode and you will need
to repeat the procedure.
• Use the Automatic Door Lock feature in accordance with
local laws.
Automatic Unlock Doors On Exit
The doors will unlock automatically if:
•The Automatic Unlock Doors On Exit feature is enabled.
• The transmission was in gear, and the vehicle speed
returned to 0 MPH (0 km/h).
• The transmission is in NEUTRAL or PARK.
• The driver’s door is opened.
• The doors were not previously unlocked.
3
GETTING TO KNOW YOUR VEHICLE 31
Page 34 of 429
Automatic Unlock Doors On Exit Programming
The Automatic Unlock Doors On Exit feature can be
enabled or disabled as follows:
•For vehicles equipped with the instrument cluster dis-
play, refer to “Instrument Cluster Display — If
Equipped/Personal Settings (Customer-Programmable
Features)” in “Getting To Know Your Instrument Panel”
for further information.
• For vehicles not equipped with the instrument cluster
display, perform the following procedure:
1. Close all doors and place the key in the ignition.
2. Within 15 seconds, place the ignition between LOCK and ON/RUN and then back to LOCK five times,
ending up in the ON/RUN position (do not start the
engine).
3. Within 30 seconds, push the power door UNLOCK switch to unlock the doors. 4. A single chime will indicate the completion of the
programming.
5. Repeat these steps if you want to return this feature to its previous setting.
NOTE:
• If you do not hear the chime, it means that the system
did not enter the programming mode and you will need
to repeat the procedure.
• Use the Automatic Unlock Doors On Exit feature in
accordance with local laws.
Child-Protection Door Lock System — Rear Doors
To provide a safer environment for small children riding in
the rear seats, the rear doors are equipped with Child-
Protection Door Lock system.
32 GETTING TO KNOW YOUR VEHICLE
Page 49 of 429
Sun Visor “Slide-On-Rod” Feature — If Equipped
The sun visors may be extended out to provide more
coverage of the side glass.
EXTERIOR LIGHTS
Headlights And Parking Lights
Turn the end of the multifunction lever to the first detent to
turn on the parking lights. Turn the end of the lever to the
second detent to turn on the headlights.
Daytime Running Lights — If Equipped
The high beam lights will come on as Daytime Running
Lights (lower intensity), whenever the ignition is ON, the
engine is running, the headlight switch is off, the parking
brake is off, the turn signal is off, and the gear selector is in
any position except PARK.
High/Low Beam Switch
Push the multifunction lever away from you to switch the
headlights to high beam. Pull the multifunction lever
toward you to switch the headlights back to low beam.
Flash-To-Pass
You can signal another vehicle with your headlights by
lightly pulling the multifunction lever toward you. This
will turn on the high beam headlights until the lever is
released.
NOTE:If the multifunction lever is held in the flash-to-
pass position for more than 20 seconds, the high beams will
shut off. If this occurs, wait 30 seconds for the next
flash-to-pass operation.
Headlight Control
3
GETTING TO KNOW YOUR VEHICLE 47