transmission fluid JEEP GRAND CHEROKEE 2004 WK / 3.G Owners Manual
[x] Cancel search | Manufacturer: JEEP, Model Year: 2004, Model line: GRAND CHEROKEE, Model: JEEP GRAND CHEROKEE 2004 WK / 3.GPages: 344, PDF Size: 6.09 MB
Page 131 of 344

either too high or too low. Examine the gages carefully,
and follow the instructions above for each indicated
problem.
NOTE:When the ignition switch is turned to OFF, the
fuel gage, voltmeter, oil pressure, and temperature gages
will not show any readings. When the engine is not
running, turn the ignition switch to ON to obtain accu-
rate readings.
12. Part Time Indicator Light
This light alerts the driver that the vehicle is in
the PART TIME four±wheel drive mode, and
the front and rear driveshafts are mechanically
locked together forcing the front and rear wheels to rotate
at the same speed.
13. Transmission Over Temperature Warning Light
This light indicates that there is excessive transmis-
sion fluid temperature that might occur with severe
usage such as trailer towing or snow plowing. If this lightcomes on, stop the vehicle and run the engine at idle or
faster, with the transmission in N (Neutral) until the light
goes off.
14. Temperature Gage
Indicates engine coolant temperature. Any read-
ing within the normal range indicates that the
cooling system is operating satisfactorily.
The gage pointer will likely indicate a higher temperature
(above center scale) when driving in hot weather, up
mountain grades, or when towing a trailer. It should not
be allowed to exceed the upper limits of the normal
operating range.
If the pointer rises to the 260É (Hot) mark, pull over and
stop the vehicle. Do not turn the engine off. Idle the
vehicle with the air conditioning turned off, until the
pointer drops back into the normal range.
UNDERSTANDING YOUR INSTRUMENT PANEL 131
4
Page 185 of 344

Over Temperature Mode
The transmission electronics constantly monitor the
transmission oil temperature. If the transmission gets too
hot, the transmission will change the way it shifts to help
control the condition. This may result in a slightly
different feeling or response during normal operation in
D (Drive) position. If the transmission becomes hot
enough the O/D OFF indicator light and TRANS OVER
TEMP warning light in the instrument cluster may come
on. After the transmission cools down, it will return to
normal operation.
Torque Converter Clutch
A feature designed to improve fuel economy has been
added to the automatic transmission of this vehicle. A
clutch within the torque converter engages automatically
at calibrated speeds. This may result in a slightly differ-
ent feeling or response during normal operation in high
gear. When the vehicle speed drops or during accelera-
tion, the clutch automatically and smoothly disengages.NOTE:
²The torque converter clutch will not engage until the
transmission fluid and engine coolant are warm (usu-
ally after 1±3 miles (1.6±4.8 km) of driving). Because
engine speed is higher when the torque converter
clutch is not engaged, it may seem as if the transmis-
sion is not shifting into ªOverdriveº when cold. This is
considered a normal condition. Pressing the ªO/D
OFFº switch will show that the transmission is able to
shift into and out of ªOverdrive.º
²If the vehicle has not been driven for several days, the
first few seconds of operation after shifting the trans-
mission into gear may seem sluggish. This is due to the
transmission fluid partially draining from the torque
converter into the transmission. This is considered a
normal condition and will not cause damage to the
transmission. The torque converter will refill within 5
seconds of shifting from P (Park) into any other gear
position.
STARTING AND OPERATING 185
5
Page 231 of 344

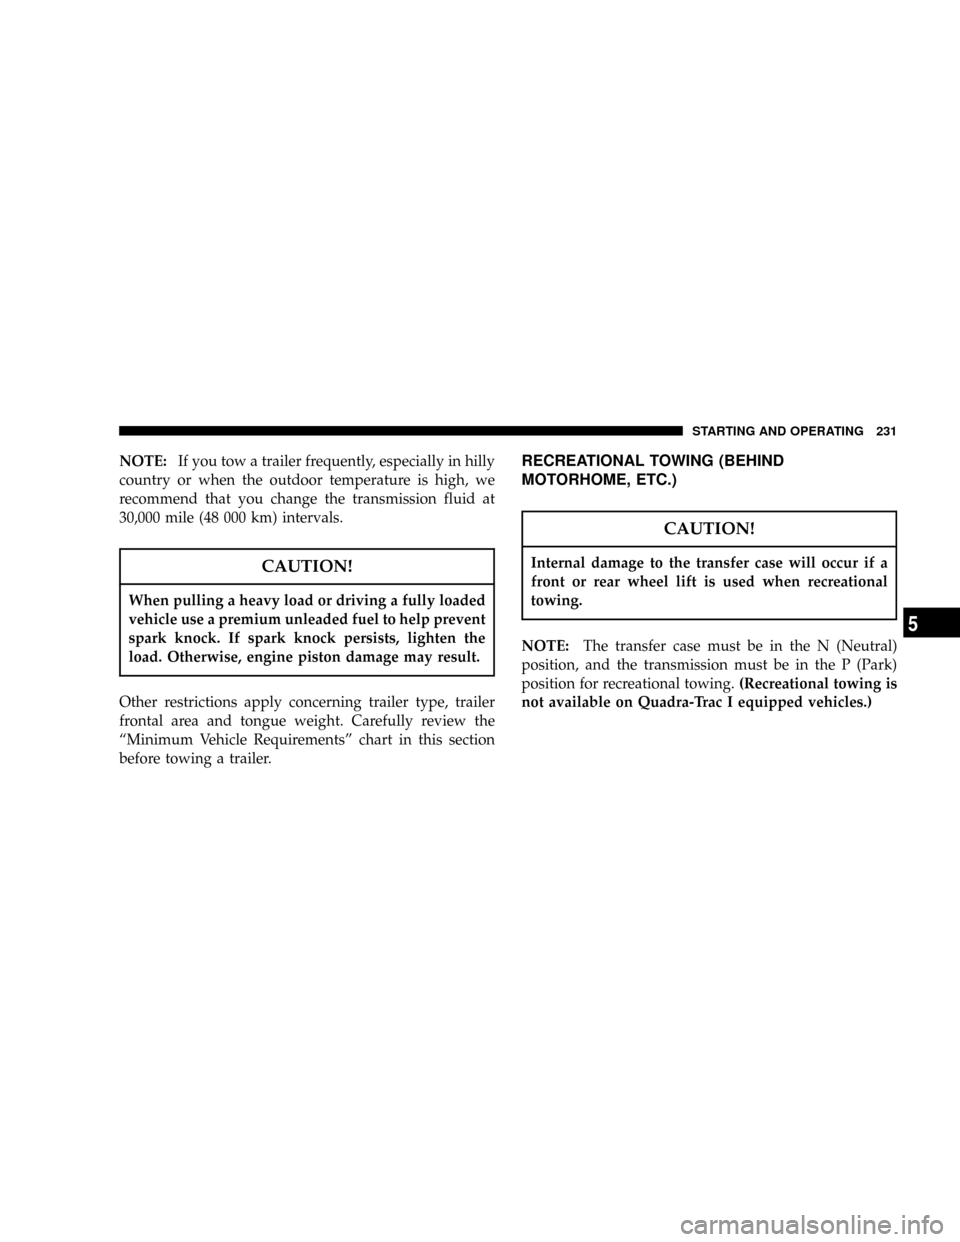
NOTE:If you tow a trailer frequently, especially in hilly
country or when the outdoor temperature is high, we
recommend that you change the transmission fluid at
30,000 mile (48 000 km) intervals.
CAUTION!
When pulling a heavy load or driving a fully loaded
vehicle use a premium unleaded fuel to help prevent
spark knock. If spark knock persists, lighten the
load. Otherwise, engine piston damage may result.
Other restrictions apply concerning trailer type, trailer
frontal area and tongue weight. Carefully review the
ªMinimum Vehicle Requirementsº chart in this section
before towing a trailer.
RECREATIONAL TOWING (BEHIND
MOTORHOME, ETC.)
CAUTION!
Internal damage to the transfer case will occur if a
front or rear wheel lift is used when recreational
towing.
NOTE:The transfer case must be in the N (Neutral)
position, and the transmission must be in the P (Park)
position for recreational towing.(Recreational towing is
not available on Quadra-Trac I equipped vehicles.)
STARTING AND OPERATING 231
5
Page 250 of 344

NDriveline And Steering Component
Lubrication..........................267
NBody Lubrication.....................267
NWindshield Wiper Blades................268
NWindshield Washers Ð Front And Rear.....268
NExhaust System......................269
NCooling System.......................269
NHoses And Vacuum/Vapor Harnesses.......274
NBrake System........................274
NAutomatic Transmission................277
NTransfer Case........................280
NFront/Rear Axle Fluid..................281NAppearance Care And Protection From
Corrosion...........................281
mFuse Panel...........................286
NInterior Fuses........................286
NUnderhood Fuses
(Power Distribution Center)..............288
mVehicle Storage........................289
mReplacement Bulbs......................289
mFluid Capacities........................291
mRecommended Fluids, Lubricants And Genuine
Parts................................292
NEngine.............................292
NChassis............................293
250 MAINTAINING YOUR VEHICLE
Page 277 of 344

WARNING!
Overfilling the brake fluid reservoir can result in
spilling brake fluid on hot engine parts and the
brake fluid catching fire.
Use only brake fluid that has been in a tightly closed
container to avoid contamination from foreign matter. Do
not allow petroleum base fluid to contaminate the brake
fluid as seal damage will result.
Automatic Transmission
Selection of Lubricant
It is important that the proper lubricant is used in the
transmission to assure optimum transmission perfor-
mance. Use only manufacturer's recommended transmis-
sion fluid, refer to Recommended Fluids, Lubricants, andGenuine Parts for correct fluid type. It is important that
the transmission fluid be maintained at the prescribed
level using the recommended fluid.
CAUTION!
Using a transmission fluid other than the manufac-
turer's recommended fluid may cause deterioration
in transmission shift quality and/or torque converter
shudder. Using a transmission fluid other than the
manufacturer's recommended fluid will result in
more frequent fluid and filter changes. Refer to
Recommended Fluids, Lubricants, and Genuine
Parts for correct fluid type.
Fluid Level Check ± 4.0L Engines (42RE)
This fluid level should be checked when the engine is
fully warmed up and the fluid in the transmission is
heated to its normal operating temperature. Operation of
MAINTAINING YOUR VEHICLE 277
7
Page 278 of 344

the transmission with an improper fluid level will greatly
reduce the life of the transmission and of the fluid.
To check the automatic transmission fluid level properly,
the following procedure must be used:
1. The vehicle must be on level ground.
2. The engine should be running at curb idle speed for a
minimum of 60 seconds.
3. Fully apply parking brake.
4. Apply the brakes and shift the transmission into P
(Park).
5. The fluidMUSTbe checked with the transmission in
P (Park) to be sure that the fluid is accurate.
6. Wipe the dipstick clean and reinsert until seated.
Remove dipstick and note reading.At normal operating temperature (approximately 180É F
(82É C), the fluid level is correct if it is in the HOT region
(cross-hatched area) on the oil level indicator. The fluid
level indicator should be in the COLD region at 70É F (21É
C) fluid temperature.
If the fluid level is low, add sufficient fluid to bring to the
proper level. Refer to Recommended Fluids, Lubricants
and Genuine Parts for correct fluid type.
Fluid is added through the dipstick tube.
NOTE:To prevent dirt and water from entering the
transmission after checking or replenishing fluid, make
certain that the dipstick cap is properly reseated.
Fluid Level Check ± 4.7L Engines (5±45RFE)
Check the fluid level while the transmission is at normal
operating temperature 180ÉF (82ÉC). This occurs after at
278 MAINTAINING YOUR VEHICLE
Page 279 of 344

least 15 miles (25 km) of driving. At normal operating
temperature the fluid cannot be held comfortably be-
tween the fingertips.
To check the automatic transmission fluid level properly,
the following procedure must be used:
1. Operate the engine at idle speed and normal operating
temperature.
2. The vehicle must be on level ground.
3. Fully apply the parking brake and press the brake
pedal.
4. Place the gear selector momentarily in each gear
position ending with the lever in P (Park).
5. Remove the dipstick, wipe it clean and reinsert it until
seated.
6. Remove the dipstick again and note the fluid level on
both sides. The fluid level should be between the ªHOTº(upper) reference holes on the dipstick at normal operat-
ing temperature. Verify that solid coating of oil is seen on
both sides of the dipstick. If the fluid is low, add as
required into the dipstick tube.Do not overfill.After
adding any quantity of oil through the oil fill tube, wait
a minimum of two (2) minutes for the oil to fully drain
into the transmission before rechecking the fluid level.
NOTE:If it is necessary to check the transmissionbelow
the operating temperature, the fluid level should be
between the two ªCOLDº (lower) holes on the dipstick
with the fluid at approximately 70ÉF (21ÉC) (room tem-
perature). If the fluid level is correctly established at
room temperature, it should be between the ªHOTº
(upper) reference holes when the transmission reaches
180ÉF (82ÉC). Remember it is best to check the level at the
normal operating temperature.
MAINTAINING YOUR VEHICLE 279
7
Page 280 of 344

CAUTION!
Be aware that if the fluid temperature is below 50ÉF
(10ÉC) it may not register on the dipstick. Do not add
fluid until the temperature is elevated enough to
produce an accurate reading.
7. Check for leaks. Release parking brake.
To prevent dirt and water from entering the transmission
after checking or replenishing fluid, make certain that the
dipstick cap is properly reseated. It is normal for the
dipstick cap to spring back slightly from its fully seated
position, as long as its seal remains engaged in the
dipstick tube.
Special Additives
The manufacturer recommends against the addition of
any additives to the transmission. Exception to this
policy is the use of special dyes to aid in detecting fluid
leaks.
Transfer Case
Fluid Level Check
Inspect the transfer case for fluid leaks. If a fluid leak is
found, the transfer case fluid level can be checked by
removing the filler plug located on the back side of the
transfer case. The fluid level should be at the bottom edge
of the filler plug hole when the vehicle is in a level
position.
Adding Fluid
Add fluid at the filler hole until it runs out of the hole
when the vehicle is in a level position.
280 MAINTAINING YOUR VEHICLE
Page 293 of 344

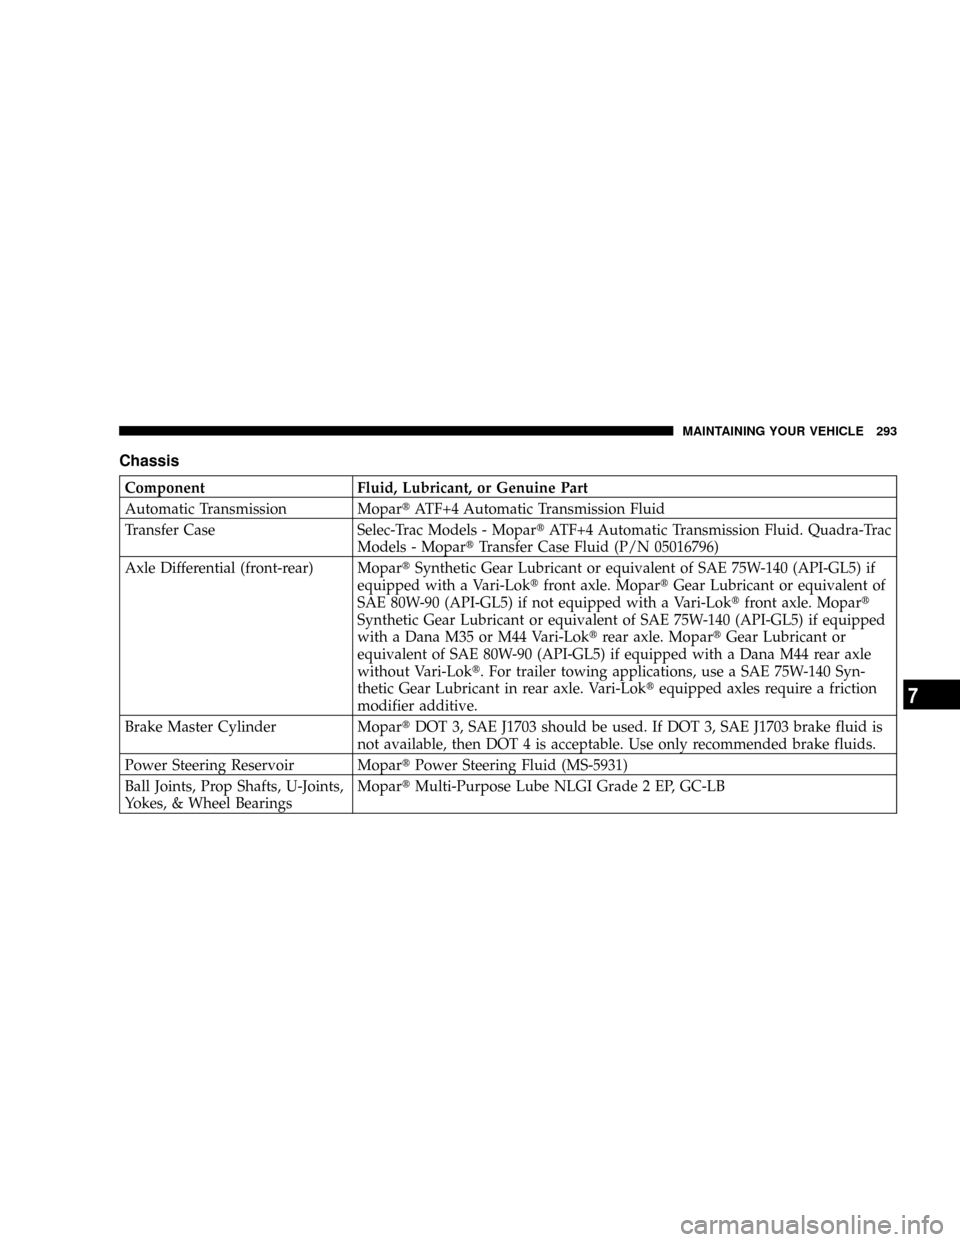
Chassis
Component Fluid, Lubricant, or Genuine Part
Automatic Transmission MopartATF+4 Automatic Transmission Fluid
Transfer Case Selec-Trac Models - MopartATF+4 Automatic Transmission Fluid. Quadra-Trac
Models - MopartTransfer Case Fluid (P/N 05016796)
Axle Differential (front-rear) MopartSynthetic Gear Lubricant or equivalent of SAE 75W-140 (API-GL5) if
equipped with a Vari-Loktfront axle. MopartGear Lubricant or equivalent of
SAE 80W-90 (API-GL5) if not equipped with a Vari-Loktfront axle. Mopart
Synthetic Gear Lubricant or equivalent of SAE 75W-140 (API-GL5) if equipped
with a Dana M35 or M44 Vari-Loktrear axle. MopartGear Lubricant or
equivalent of SAE 80W-90 (API-GL5) if equipped with a Dana M44 rear axle
without Vari-Lokt. For trailer towing applications, use a SAE 75W-140 Syn-
thetic Gear Lubricant in rear axle. Vari-Loktequipped axles require a friction
modifier additive.
Brake Master Cylinder MopartDOT 3, SAE J1703 should be used. If DOT 3, SAE J1703 brake fluid is
not available, then DOT 4 is acceptable. Use only recommended brake fluids.
Power Steering Reservoir MopartPower Steering Fluid (MS-5931)
Ball Joints, Prop Shafts, U-Joints,
Yokes, & Wheel BearingsMopartMulti-Purpose Lube NLGI Grade 2 EP, GC-LB
MAINTAINING YOUR VEHICLE 293
7
Page 298 of 344

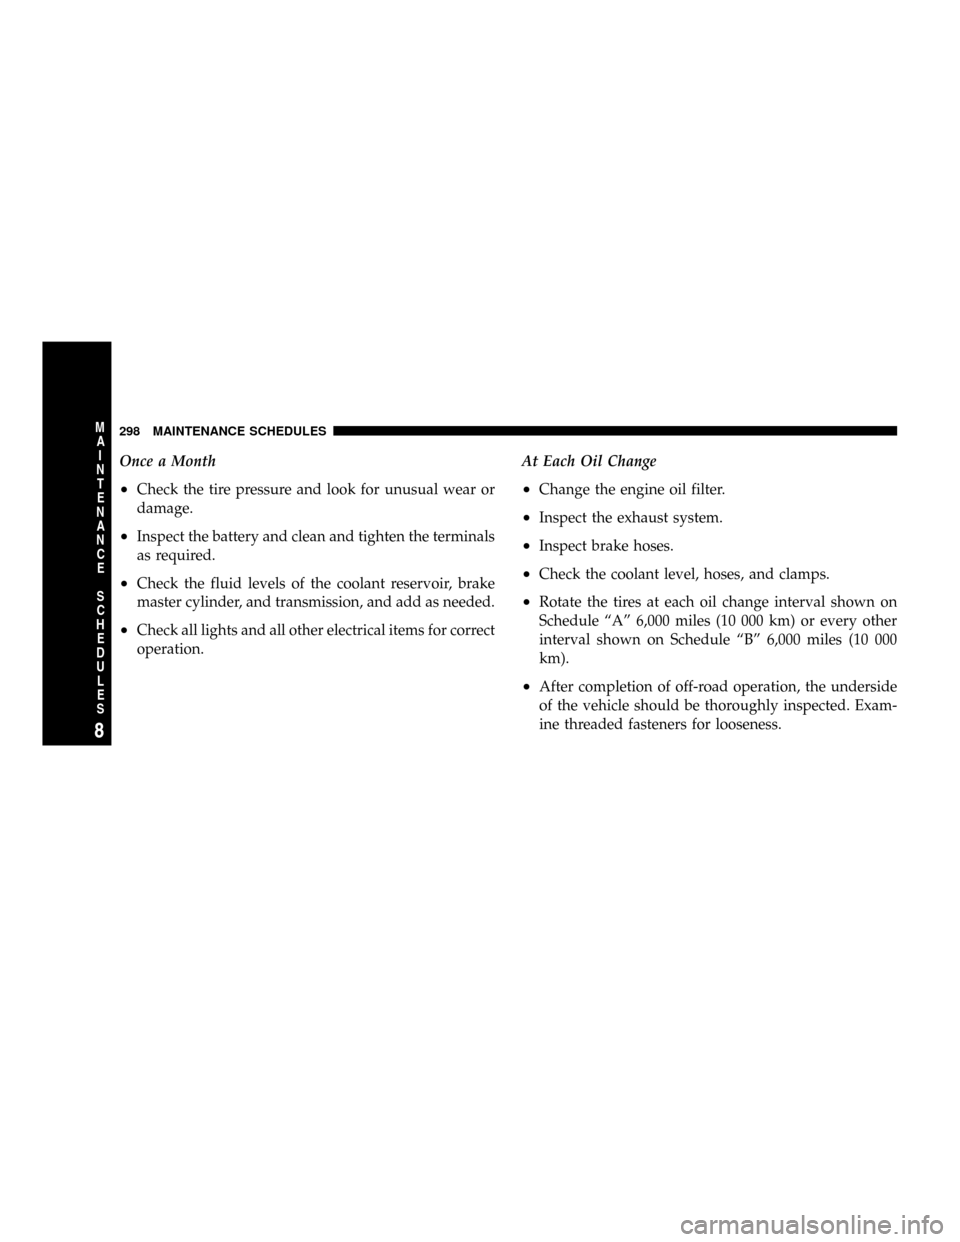
Once a Month
²Check the tire pressure and look for unusual wear or
damage.
²Inspect the battery and clean and tighten the terminals
as required.
²Check the fluid levels of the coolant reservoir, brake
master cylinder, and transmission, and add as needed.
²Check all lights and all other electrical items for correct
operation.At Each Oil Change
²Change the engine oil filter.
²Inspect the exhaust system.
²Inspect brake hoses.
²Check the coolant level, hoses, and clamps.
²Rotate the tires at each oil change interval shown on
Schedule ªAº 6,000 miles (10 000 km) or every other
interval shown on Schedule ªBº 6,000 miles (10 000
km).
²After completion of off-road operation, the underside
of the vehicle should be thoroughly inspected. Exam-
ine threaded fasteners for looseness.
298 MAINTENANCE SCHEDULES
8
M
A
I
N
T
E
N
A
N
C
E
S
C
H
E
D
U
L
E
S