service JEEP GRAND CHEROKEE 2010 Owner handbook (in English)
[x] Cancel search | Manufacturer: JEEP, Model Year: 2010, Model line: GRAND CHEROKEE, Model: JEEP GRAND CHEROKEE 2010Pages: 350, PDF Size: 4.58 MB
Page 170 of 350
from an authorized dealer. Refer to “Adaptive
Cruise Control (ACC)” in “Understanding
The Features Of Your Vehicle” (if equipped).
• Coolant low
• Service air suspension system
• Oil change due
• Key in ignition
• Lights on
• Key in Ignition Lights On
• Ignition or Accessory On
• Ignition or Accessory On. Lights On
• Turn signal on
• Park assist on
• Warning object detected
• Memory 1 profile set
• Memory 2 profile set
• Memory system unavailable — Not in Park
• Memory system unavailable — Seatbelt
buckled •
Memory 1 profile recall
• Memory 2 profile recall
• Wrong Key
• Damaged Key
• Key not programmed
• Function currently unavailable — Power Lift-
gate
• Unlock to operate — Power Liftgate
• Put in Park to operate — Power Liftgate
• Automatic high beams on
• Automatic high beams off
• Service Four Wheel Drive System
• Four Wheel Drive System in neutral
• ECO — Fuel Saver Indicator
• TERRAIN SETTINGS — AUTOMATIC
• TERRAIN SETTINGS — ROCK
• TERRAIN SETTINGS — SAND/MUD
• TERRAIN SETTINGS — SNOW
• TERRAIN SETTINGS — SPORT •
Sport Not Available in 4 Low 4 High is
Required
• Rock Not Available in 4 Low 4 High is
Required
• To Tow Vehicle Safely, Read Neutral Shift
Procedure in Owners Manual
• For 4x4 Low Slow Below 5 MPH or 8 KPH Put
Trans in N Press 4 Low
• For 4x4 High Slow Below 5 MPH or 8 KPH
Put Trans in N Press 4 Low
• Terrain System Settings Not Available
• Raising Vehicle Ride Height (with icon)
• Lowering Vehicle Ride Height (with icon)
• Normal Vehicle Ride Height — This message
is displayed (for 5 seconds) when the ve-
hicle has achieved the Normal Vehicle Ride
Height.
• Off Road Ride Height Leve l 1 — This mes-
sage is displayed (for 5 seconds) when the
vehicle has achieved the Off Road Height
Level 1.
166
Page 171 of 350
•Off Road Ride Height Leve l 2 — This mes-
sage is displayed (for 5 seconds) when the
vehicle has achieved the Off Road Height
Level 2.
• Vehicle Lowered To Entry/Exit (Park) Height
— This message is displayed (for 5 sec-
onds) when the vehicle has achieved the
Park Height.
• Entry/Exit (Park) Height in Progress — This
message is displayed (for 5 seconds) when
the request is made to go into Entry/Exit
Height while the vehicle speed is between
15 and 25 mph. This shows that the request
has been recognized and will lower to Entry/
Exit height when vehicle is below 15 mph.
• Service Air Suspension System — This is
displayed when a fault has occurred in the
system. The system will have limited opera-
tion at that point.
• Immediate Air Suspension Service/Repair
Required — This is displayed when a fault
has occurred in the system which results in a
complete system shutdown. The system will
be non operational at that point. •
Reduce Speed To Maintain Selected Ride
Height — This message is displayed in ad-
vance warning to the driver that the vehicle
will be moved to the next lower preset posi-
tion unless the speed is reduced.
• Selected Ride Height Not Permitted — The
vehicle speed is too high to enter one of the
preset levels (Entry/Exit Level/Off Road Ride
Height Level 1/Off Road Ride Height Level
2).
• Air Suspension System Cooling Down –
Please Wait — This message is displayed if
the compressor temperature level is too
high. Level control is suspended until the
compressor has cooled down.
• Vehicle Cannot Be Lowered – Door Open —
This message is displayed if a door or the
liftgate is ajar and level control is sus-
pended.
• Air Suspension Temporarily Disabled For
Jacking And Tire Change
• Aerodynamic Ride Height — This is dis-
played (for 5 seconds) when the vehicle has
achieved the Aerodynamic Height.EVIC White Telltale LightsThis area will show reconfigurable white cau-
tion telltales. These telltales include:
• Shift Lever Status
The shift lever status “P,R,N,D,L,5,4,3,2,1” are
displayed indicating the shift lever position.
Telltales “5,4,3,2,1” indicate the Electronic
Range Select (ERS) feature has been engaged
and the gear selected is displayed. For further
information on ERS, refer to “Starting And Op-
erating”
• Electronic Speed Control ON
This light will turn on when the
electronic speed control is ON. For
further information, refer to “Elec-
tronic Speed Control” in “Under-
standing The Features Of Your Ve-
hicle”.
• Electronic Speed Control SET
This light will turn on when the
electronic speed control is SET.
For further information, refer to
“Electronic Speed Control” in “Un-
derstanding The Features Of Your
Vehicle”.
167
Page 172 of 350
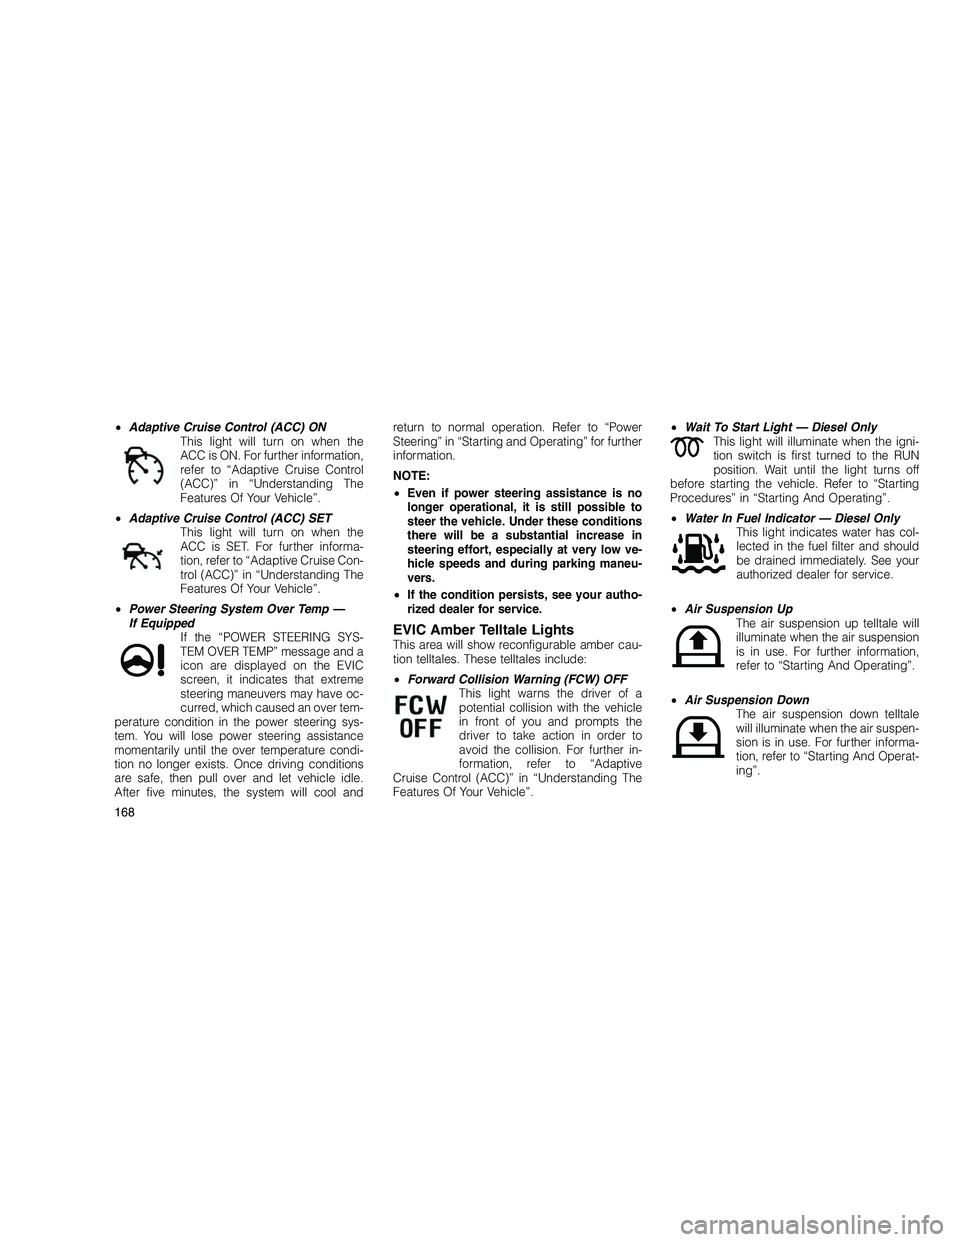
•Adaptive Cruise Control (ACC) ON
This light will turn on when the
ACC is ON. For further information,
refer to “Adaptive Cruise Control
(ACC)” in “Understanding The
Features Of Your Vehicle”.
• Adaptive Cruise Control (ACC) SET
This light will turn on when the
ACC is SET. For further informa-
tion, refer to “Adaptive Cruise Con-
trol (ACC)” in “Understanding The
Features Of Your Vehicle”.
• Power Steering System Over Temp —
If Equipped If the “POWER STEERING SYS-
TEM OVER TEMP” message and a
icon are displayed on the EVIC
screen, it indicates that extreme
steering maneuvers may have oc-
curred, which caused an over tem-
perature condition in the power steering sys-
tem. You will lose power steering assistance
momentarily until the over temperature condi-
tion no longer exists. Once driving conditions
are safe, then pull over and let vehicle idle.
After five minutes, the system will cool and return to normal operation. Refer to “Power
Steering” in “Starting and Operating” for further
information.
NOTE:
•
Even if power steering assistance is no
longer operational, it is still possible to
steer the vehicle. Under these conditions
there will be a substantial increase in
steering effort, especially at very low ve-
hicle speeds and during parking maneu-
vers.
• If the condition persists, see your autho-
rized dealer for service.
EVIC Amber Telltale LightsThis area will show reconfigurable amber cau-
tion telltales. These telltales include:
• Forward Collision Warning (FCW) OFF
This light warns the driver of a
potential collision with the vehicle
in front of you and prompts the
driver to take action in order to
avoid the collision. For further in-
formation, refer to “Adaptive
Cruise Control (ACC)” in “Understanding The
Features Of Your Vehicle”. •
Wait To Start Light — Diesel Only
This light will illuminate when the igni-
tion switch is first turned to the RUN
position. Wait until the light turns off
before starting the vehicle. Refer to “Starting
Procedures” in “Starting And Operating”.
• Water In Fuel Indicator — Diesel Only
This light indicates water has col-
lected in the fuel filter and should
be drained immediately. See your
authorized dealer for service.
• Air Suspension Up
The air suspension up telltale will
illuminate when the air suspension
is in use. For further information,
refer to “Starting And Operating”.
• Air Suspension Down
The air suspension down telltale
will illuminate when the air suspen-
sion is in use. For further informa-
tion, refer to “Starting And Operat-
ing”.
168
Page 173 of 350
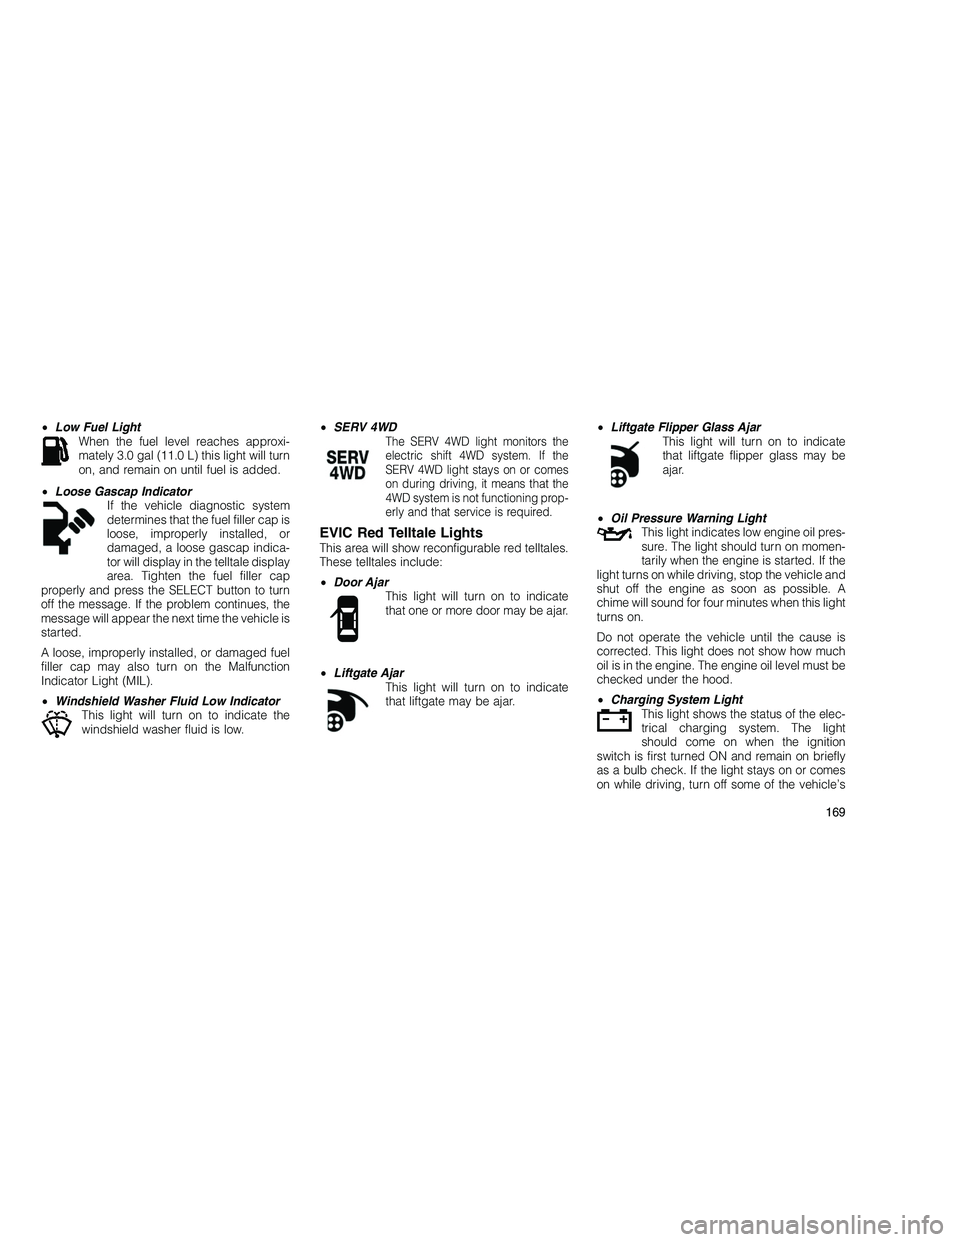
•Low Fuel Light
When the fuel level reaches approxi-
mately 3.0 gal (11.0 L) this light will turn
on, and remain on until fuel is added.
• Loose Gascap Indicator
If the vehicle diagnostic system
determines that the fuel filler cap is
loose, improperly installed, or
damaged, a loose gascap indica-
tor will display in the telltale display
area. Tighten the fuel filler cap
properly and press the SELECT button to turn
off the message. If the problem continues, the
message will appear the next time the vehicle is
started.
A loose, improperly installed, or damaged fuel
filler cap may also turn on the Malfunction
Indicator Light (MIL).
• Windshield Washer Fluid Low Indicator
This light will turn on to indicate the
windshield washer fluid is low. •
SERV 4WDThe SERV 4WD light monitors the
electric shift 4WD system. If the
SERV 4WD light stays on or comes
on during driving, it means that the
4WD system is not functioning prop-
erly and that service is required.
EVIC Red Telltale LightsThis area will show reconfigurable red telltales.
These telltales include:
•Door Ajar
This light will turn on to indicate
that one or more door may be ajar.
• Liftgate Ajar
This light will turn on to indicate
that liftgate may be ajar. •
Liftgate Flipper Glass Ajar
This light will turn on to indicate
that liftgate flipper glass may be
ajar.
• Oil Pressure Warning Light
This light indicates low engine oil pres-
sure. The light should turn on momen-
tarily when the engine is started. If the
light turns on while driving, stop the vehicle and
shut off the engine as soon as possible. A
chime will sound for four minutes when this light
turns on.
Do not operate the vehicle until the cause is
corrected. This light does not show how much
oil is in the engine. The engine oil level must be
checked under the hood.
• Charging System Light
This light shows the status of the elec-
trical charging system. The light
should come on when the ignition
switch is first turned ON and remain on briefly
as a bulb check. If the light stays on or comes
on while driving, turn off some of the vehicle’s
169
Page 174 of 350
non-essential electrical devices or increase en-
gine speed (if at idle). If the charging system
light remains on, it means that the vehicle is
experiencing a problem with the charging sys-
tem. Obtain SERVICE IMMEDIATELY. See an
authorized dealer.
If jump starting is required, refer to “Jump
Starting Procedures” in “What To Do In Emer-
gencies”.
•Electronic Throttle Control (ETC) Light
This light informs you of a problem
with the Electronic Throttle Control
(ETC) system. The light will come
on when the ignition is first turned
ON and remain on briefly as a bulb
check. If the light does not come
on during starting, have the system checked by
an authorized dealer.
If a problem is detected, the light will come on
while the engine is running. Cycle the ignition
key when the vehicle has completely stopped
and the shift lever is placed in the PARK
position. The light should turn off.
If the light remains lit with the engine running
your vehicle, will usually be drivable, however, see an authorized dealer for service as soon as
possible. If the light is flashing when the engine
is running, immediate service is required and
you may experience reduced performance, an
elevated/rough idle or engine stall and your
vehicle may require towing.
•
Engine Temperature Warning Light
This light warns of an overheated en-
gine condition. As temperatures rise
and the gauge approaches H,this
indicator will illuminate and a single
chime will sound after reaching a set threshold.
Further overheating will cause the temperature
gauge to pass H,the indicator will continuously
flash and a continuous chime will occur until
the engine is allowed to cool.
If the light turns on while driving, safely pull
over and stop the vehicle. If the A/C system is
on, turn it off. Also, shift the transmission into
NEUTRAL and idle the vehicle. If the tempera-
ture reading does not return to normal, turn the
engine off immediately and call for service.
Refer to “If Your Engine Overheats” in “What To
Do In Emergencies” for more information. •
Transmission Temperature Light
This light indicates that there is
excessive transmission fluid tem-
perature that might occur with se-
vere usage such as trailer towing.
It may also occur when operating
the vehicle in a high torque con-
verter slip condition, such as 4-wheel-drive
operation (e.g., snow plowing, off- road opera-
tion). If this light comes on, stop the vehicle and
run the engine at idle or faster, with the trans-
mission in NEUTRAL until the light goes off.
CAUTION!
Continuous driving with the Transmission
Temperature Indicator illuminated will eventu-
ally cause severe transmission damage or
transmission failure.
170
Page 189 of 350
the left-hand control is different depending on
which mode you are in.
The following describes the left-hand control
operation in each mode.
Radio OperationPressing the top of the switch will “Seek” up for
the next listenable station and pressing the
bottom of the switch will “Seek” down for the
next listenable station.
The button located in the center of the left-hand
control will tune to the next preset station that
you have programmed in the radio preset
pushbutton.
CD PlayerPressing the top of the switch once will go to
the next track on the CD. Pressing the bottom of
the switch once will go to the beginning of the
current track, or to the beginning of the previ-
ous track if it is within one second after the
current track begins to play.
If you press the switch up or down twice, it
plays the second track; three times, it will play
the third, etc.The center button on the left side rocker switch
has no function for a single-disc CD player.
However, when a multiple-disc CD player is
equipped on the vehicle, the center button will
select the next available CD in the player.
CD/DVD DISC MAINTENANCETo keep a CD/DVD in good condition, take the
following precautions:
1. Handle the disc by its edge; avoid touching
the surface.
2. If the disc is stained, clean the surface with
a soft cloth, wiping from center to edge.
3. Do not apply paper or tape to the disc; avoid
scratching the disc.
4. Do not use solvents such as benzene, thin-
ner, cleaners, or anti-static sprays.
5. Store the disc in its case after playing.
6. Do not expose the disc to direct sunlight.
7. Do not store the disc where temperatures
may become too high.
NOTE:
If you experience difficulty in playing a par-
ticular disc, it may be damaged (i.e.,
scratched, reflective coating removed, a
hair, moisture or dew on the disc) oversized,
or have protection encoding. Try a known
good disc before considering disc player
service.
RADIO OPERATION AND MOBILE
PHONES
Under certain conditions, the mobile phone
being on in your vehicle can cause erratic or
noisy performance from your radio. This condi-
tion may be lessened or eliminated by relocat-
ing the mobile phone antenna. This condition is
not harmful to the radio. If your radio perfor-
mance does not satisfactorily “clear” by the
repositioning of the antenna, it is recom-
mended that the radio volume be turned down
or off during mobile phone operation.
CLIMATE CONTROLSThe Air Conditioning and Heating System is
designed to make you comfortable in all types
of weather.
185
Page 196 of 350
Operating Tips
Window Fogging
Windows will fog on the inside when the humid-
ity inside the vehicle is high. This often occurs
in mild or cool temperatures when it’s rainy or
humid. In most cases, turning the air condition-
ing (pressing the A/C button) on will clear the
fog. Adjust the temperature control, air direc-
tion, and blower speed to maintain comfort.
As the temperature gets colder, it may be
necessary to direct air onto the windshield.
Adjust the temperature control and blower
speed to maintain comfort. Higher blower
speeds will reduce fogging. Interior fogging on
the windshield can be quickly removed by
selecting the DEFROST mode.Regular cleaning of the inside of the windows
with a non-filming cleaning solution (vinegar
and water works very well) will help prevent
contaminates (cigarette smoke, perfumes, etc.)
from sticking to the windows. Contaminates
increase the rate of window fogging.
Summer Operation
NOTE:
In some cases during high temperature
trailer tow operation the Air Conditioning
system performance may be reduced. This
is to help protect the engine from overheat-
ing during the high load condition.
Your air conditioning system is also equipped
with an automatic recirculation system. When
the system senses a heavy load or high heat
conditions, it may use partial Recirculation A/C
mode to provide additional comfort.Winter Operation
When operating the system during the winter
months, make sure the air intake, located di-
rectly in front of the windshield, is free of ice,
slush, snow, or other obstructions.
Vacation Storage
Anytime you store your vehicle, or keep it out of
service (i.e. vacation) for two weeks or more,
run the air conditioning system at idle for about
five minutes in the fresh air and high blower
setting. This will ensure adequate system lubri-
cation to minimize the possibility of compressor
damage when the system is started again.
192
Page 220 of 350
speed remains between 15 mph (24 km/h)
and 25 mph (40 km/h) for greater than
60 seconds, or the vehicle speed exceeds
25 mph (40 km/h) the Park Mode change will
be cancelled. To exit Park Mode, press the
“Up” button once while in Park Mode or drive
the vehicle over 15 mph (24 km/h).
The Selec-Terrain™ switch will automatically
change the vehicle to the proper height based
on the position of the Selec-Terrain™ switch.
The height can be changed from the default
Selec-Terrain™ setting by normal use of the air
suspension buttons. Refer to “Selec-Terrain™”
in “Starting and Operating” for further informa-
tion.
The system requires that the engine be running
for all changes. When lowering the vehicle all of
the doors, including the liftgate, must be
closed. If a door is opened at any time while the
vehicle is lowering the change will not be
completed until the open door(s) is closed.
The Quadra-Lift™ air suspension system uses
a lifting and lowering pattern which keeps the
headlights from incorrectly shining into oncom-
ing traffic. When raising the vehicle, the rear of the vehicle will move up first and then the front.
When lowering the vehicle, the front will move
down first and then the rear.
After the engine is turned off, it may be noticed
that the air suspension system operates briefly,
this is normal. The system is correcting the
position of the vehicle to ensure a proper
appearance.
To assist with changing a spare tire, the
Quadra-Lift™ air suspension system has a fea-
ture which allows the automatic leveling to be
disabled. Press and hold both the “Up” and
“Down” buttons simultaneously between 5 and
10 seconds, a message will appear in the EVIC
stating leveling has been disabled immediately
after both buttons have been released. Refer to
“Electronic Vehicle Information Center (EVIC)”
in “Understanding Your Instrument Panel” for
further information. Driving the vehicle over
5 mph (8 km/h) will return the air suspension to
normal operation. Refer to “Jacking and Tire
Changing” in “What To Do In Emergencies” for
further information.WARNING!
The air suspension system uses a high pres-
sure volume of air to operate the system. To
avoid personal injury or damage to the sys-
tem, see your authorized dealer for service.
Electronic Vehicle Information
Center (EVIC) Display Messages
When the appropriate conditions exist, a mes-
sage will appear in the EVIC display. Refer to
“Electronic Vehicle Information Center (EVIC)”
in “Understanding Your Instrument Panel” for
further information.
An audible chime will be heard whenever a
system error has been detected.
OperationThe indicator lamps 3 through 6 will illuminate
to show the current position of the vehicle.
Flashing indicator lamps will show a position
which the system is working to achieve. When
raising, if multiple indicator lamps are flashing
on the “Up” button, the highest flashing indica-
tor lamp is the position the system is working to
achieve. When lowering, if multiple indicators
216
Page 224 of 350
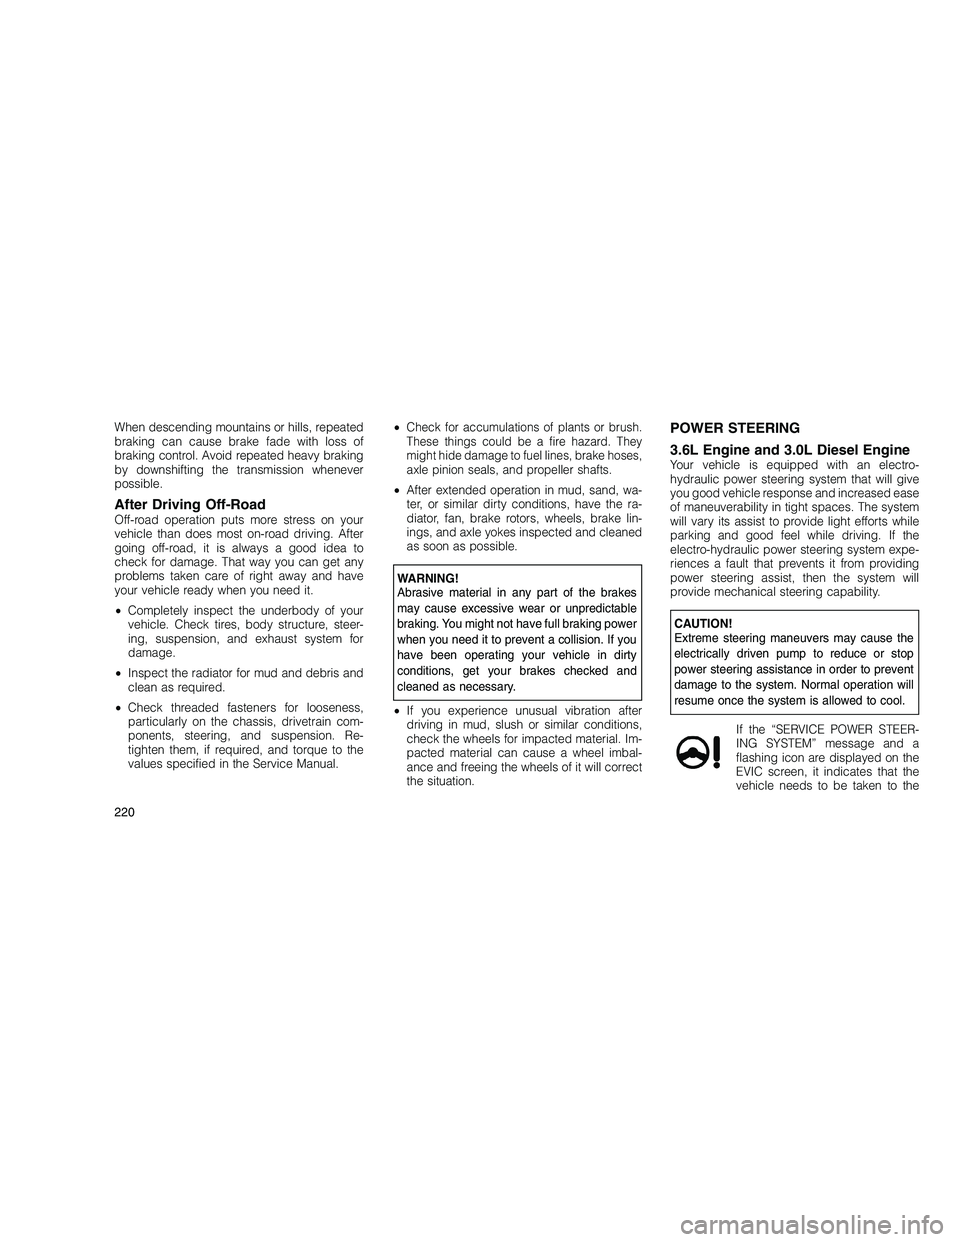
When descending mountains or hills, repeated
braking can cause brake fade with loss of
braking control. Avoid repeated heavy braking
by downshifting the transmission whenever
possible.
After Driving Off-RoadOff-road operation puts more stress on your
vehicle than does most on-road driving. After
going off-road, it is always a good idea to
check for damage. That way you can get any
problems taken care of right away and have
your vehicle ready when you need it.
•Completely inspect the underbody of your
vehicle. Check tires, body structure, steer-
ing, suspension, and exhaust system for
damage.
• Inspect the radiator for mud and debris and
clean as required.
• Check threaded fasteners for looseness,
particularly on the chassis, drivetrain com-
ponents, steering, and suspension. Re-
tighten them, if required, and torque to the
values specified in the Service Manual. •
Check for accumulations of plants or brush.
These things could be a fire hazard. They
might hide damage to fuel lines, brake hoses,
axle pinion seals, and propeller shafts.
• After extended operation in mud, sand, wa-
ter, or similar dirty conditions, have the ra-
diator, fan, brake rotors, wheels, brake lin-
ings, and axle yokes inspected and cleaned
as soon as possible.
WARNING!
Abrasive material in any part of the brakes
may cause excessive wear or unpredictable
braking. You might not have full braking power
when you need it to prevent a collision. If you
have been operating your vehicle in dirty
conditions, get your brakes checked and
cleaned as necessary.
• If you experience unusual vibration after
driving in mud, slush or similar conditions,
check the wheels for impacted material. Im-
pacted material can cause a wheel imbal-
ance and freeing the wheels of it will correct
the situation.
POWER STEERING
3.6L Engine and 3.0L Diesel Engine
Your vehicle is equipped with an electro-
hydraulic power steering system that will give
you good vehicle response and increased ease
of maneuverability in tight spaces. The system
will vary its assist to provide light efforts while
parking and good feel while driving. If the
electro-hydraulic power steering system expe-
riences a fault that prevents it from providing
power steering assist, then the system will
provide mechanical steering capability.
CAUTION!
Extreme steering maneuvers may cause the
electrically driven pump to reduce or stop
power steering assistance in order to prevent
damage to the system. Normal operation will
resume once the system is allowed to cool.
If the “SERVICE POWER STEER-
ING SYSTEM” message and a
flashing icon are displayed on the
EVIC screen, it indicates that the
vehicle needs to be taken to the
220
Page 225 of 350
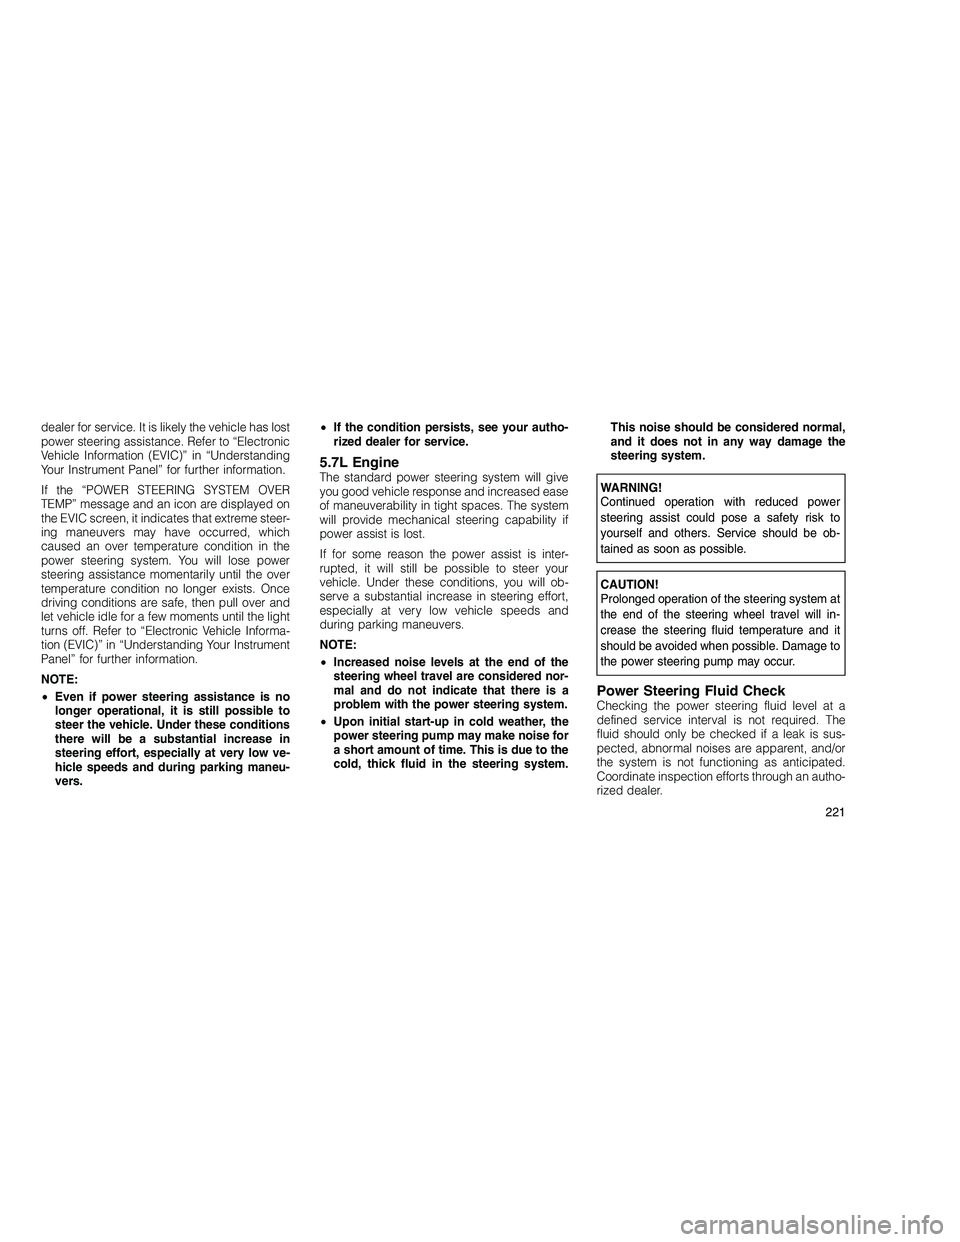
dealer for service. It is likely the vehicle has lost
power steering assistance. Refer to “Electronic
Vehicle Information (EVIC)” in “Understanding
Your Instrument Panel” for further information.
If the “POWER STEERING SYSTEM OVER
TEMP” message and an icon are displayed on
the EVIC screen, it indicates that extreme steer-
ing maneuvers may have occurred, which
caused an over temperature condition in the
power steering system. You will lose power
steering assistance momentarily until the over
temperature condition no longer exists. Once
driving conditions are safe, then pull over and
let vehicle idle for a few moments until the light
turns off. Refer to “Electronic Vehicle Informa-
tion (EVIC)” in “Understanding Your Instrument
Panel” for further information.
NOTE:
•Even if power steering assistance is no
longer operational, it is still possible to
steer the vehicle. Under these conditions
there will be a substantial increase in
steering effort, especially at very low ve-
hicle speeds and during parking maneu-
vers. •
If the condition persists, see your autho-
rized dealer for service.
5.7L EngineThe standard power steering system will give
you good vehicle response and increased ease
of maneuverability in tight spaces. The system
will provide mechanical steering capability if
power assist is lost.
If for some reason the power assist is inter-
rupted, it will still be possible to steer your
vehicle. Under these conditions, you will ob-
serve a substantial increase in steering effort,
especially at very low vehicle speeds and
during parking maneuvers.
NOTE:
• Increased noise levels at the end of the
steering wheel travel are considered nor-
mal and do not indicate that there is a
problem with the power steering system.
• Upon initial start-up in cold weather, the
power steering pump may make noise for
a short amount of time. This is due to the
cold, thick fluid in the steering system. This noise should be considered normal,
and it does not in any way damage the
steering system.WARNING!
Continued operation with reduced power
steering assist could pose a safety risk to
yourself and others. Service should be ob-
tained as soon as possible.
CAUTION!
Prolonged operation of the steering system at
the end of the steering wheel travel will in-
crease the steering fluid temperature and it
should be avoided when possible. Damage to
the power steering pump may occur.
Power Steering Fluid CheckChecking the power steering fluid level at a
defined service interval is not required. The
fluid should only be checked if a leak is sus-
pected, abnormal noises are apparent, and/or
the system is not functioning as anticipated.
Coordinate inspection efforts through an autho-
rized dealer.
221