ECO mode JEEP GRAND CHEROKEE 2016 WK2 / 4.G Owner's Manual
[x] Cancel search | Manufacturer: JEEP, Model Year: 2016, Model line: GRAND CHEROKEE, Model: JEEP GRAND CHEROKEE 2016 WK2 / 4.GPages: 276, PDF Size: 10.84 MB
Page 57 of 276
Distance Setting (ACC Only)
The specified following distance for ACC can be set by varying the distance setting
between four bars (longest), three bars (long), two bars (medium) and one bar (short).
Using this distance setting and the vehicle speed, ACC calculates and sets the
distance to the vehicle ahead. This distance setting displays in the DID.
• To increase the distance setting, push the Distance Setting—Increase button andrelease. Each time the button is pushed, the distance setting increases by one bar
(longer).
• To decrease the distance setting, push the Distance Setting—Decrease button and release. Each time the button is pushed, the distance setting decreases by one
bar (shorter).
ACC Operation At Stop
If the ACC system brings your vehicle to a standstill while following a target vehicle,
if the target vehicle starts moving within two seconds of your vehicle coming to a
standstill, your vehicle will resume motion without the need for any driver action.
If the target vehicle does not start moving within two seconds of your vehicle coming
to a standstill, the driver will either have to push the RES (resume) button, or apply
the accelerator pedal to reengage the ACC to the existing Set Speed.
While the ACC system is holding your vehicle at a standstill, if the driver seatbelt is
unbuckled or the driver door is opened, the parking brake will be activated, and the
ACC system will be cancelled.
Changing Modes (ACC Only)
If desired, the Adaptive Cruise Control mode can be turned off and the system can be
operated as a normal (Fixed Speed) Speed Control mode. When in the normal (Fixed
Speed) Speed Control mode the distance setting feature will be disabled and the
system will maintain the speed you set.
• To change between the different cruise control modes, push the ADAPTIVECRUISE CONTROL (ACC) ON/OFF button which turns the ACC and the normal
(Fixed Speed) Speed Control OFF.
• Pushing the normal (Fixed Speed) SPEED CONTROL ON/OFF button will result in turning ON (changing to) the normal (Fixed Speed) Speed Control mode.
Refer to your Owner's Manual on the DVD for further information.
OPERATING YOUR VEHICLE
55
Page 58 of 276
WARNING!
Adaptive Cruise Control (ACC) is a convenience system. It is not a substitute for
active driving involvement. It is always the driver’s responsibility to be attentive of
road, traffic, and weather conditions, vehicle speed, distance to the vehicle ahead;
and, most importantly, brake operation to ensure safe operation of the vehicle
under all road conditions. Your complete attention is always required while driving
to maintain safe control of your vehicle. Failure to follow these warnings can result
in a collision and death or serious personal injury.
The ACC system:
• Does not react to pedestrians, oncoming vehicles, and stationary objects (e.g.,a stopped vehicle in a traffic jam or a disabled vehicle).
• Cannot take street, traffic, and weather conditions into account, and may be
limited upon adverse sight distance conditions.
• Does not always fully recognize complex driving conditions, which can result in
wrong or missing distance warnings.
• Will bring the vehicle to a complete stop while following a target vehicle and
hold the vehicle for 2 seconds in the stop position. If the target vehicle does not
start moving within two seconds the ACC system will display a message that the
system will release the brakes and that the brakes must be applied manually.
An audible chime will sound when the brakes are released.
You should switch off the ACC system:
• When driving in fog, heavy rain, heavy snow, sleet, heavy traffic, and complex
driving situations (i.e., in highway construction zones).
• When entering a turn lane or highway off ramp; when driving on roads that are
winding, icy, snow-covered, slippery, or have steep uphill or downhill slopes.
• When towing a trailer up or down steep slopes.
• When circumstances do not allow safe driving at a constant speed.
The Cruise Control system has two control modes:
• Adaptive Cruise Control mode for maintaining an appropriate distance between
vehicles.
• Normal (fixed speed) electronic speed control mode for cruising at a constant
preset speed. For additional information, refer to “Normal (Fixed Speed)
Cruise Control Mode” in this section.
Normal (fixed speed) electronic speed control will not react to preceding vehicles.
Always be aware of the mode selected.
You can change the mode by using the Cruise Control buttons. The two control
modes function differently. Always confirm which mode is selected.
OPERATING YOUR VEHICLE
56
Page 62 of 276
AUTOSTICK
AutoStick is a driver-interactive transmission feature providing manual shift control,
giving you more control of the vehicle. AutoStick allows you to maximize engine
braking, eliminate undesirable upshifts and downshifts, and improve overall vehicle
performance. This system can also provide you with more control during passing, city
driving, cold slippery conditions, mountain driving, trailer towing, and many other
situations.
Operation
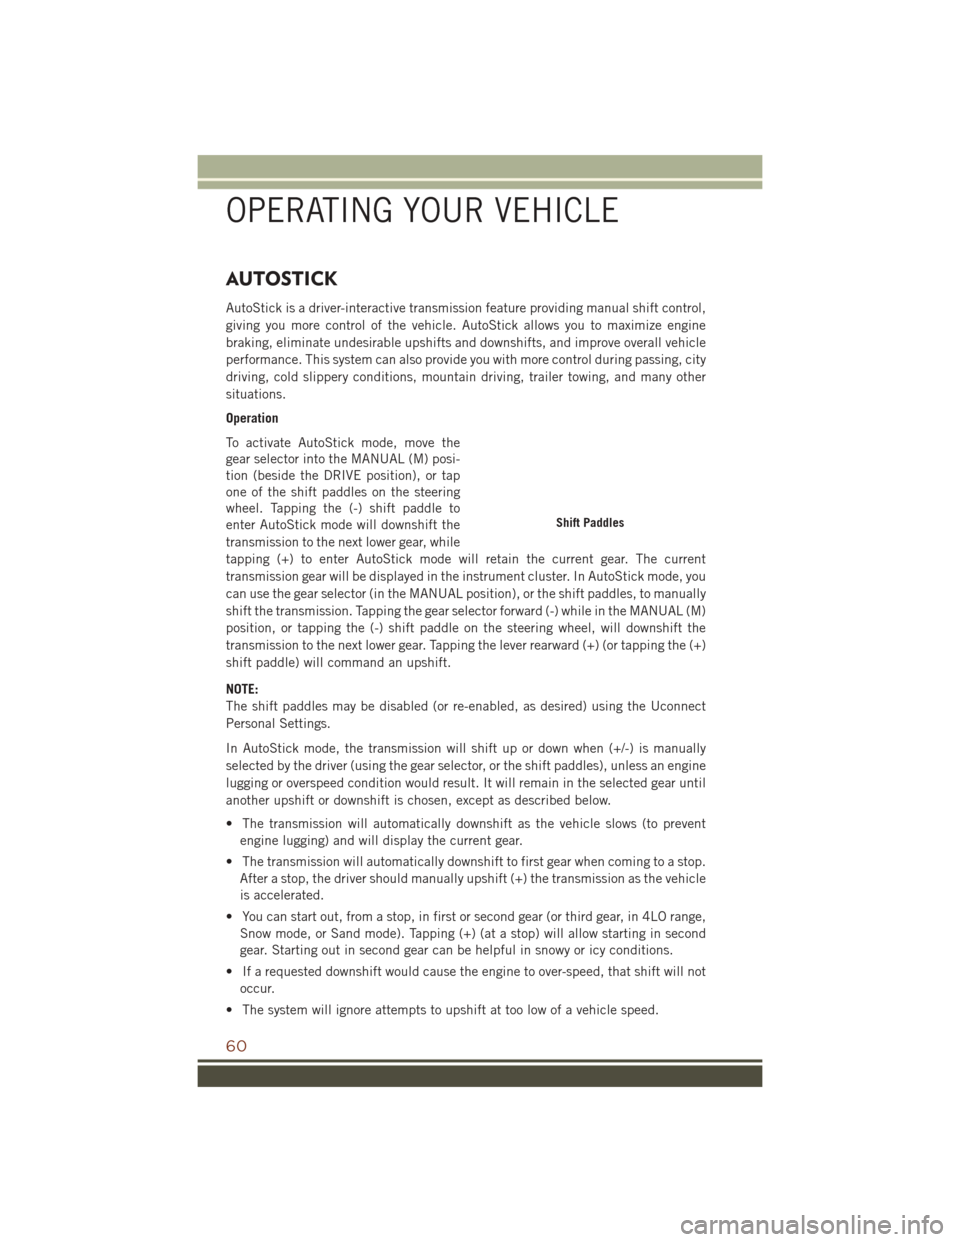
To activate AutoStick mode, move the
gear selector into the MANUAL (M) posi-
tion (beside the DRIVE position), or tap
one of the shift paddles on the steering
wheel. Tapping the (-) shift paddle to
enter AutoStick mode will downshift the
transmission to the next lower gear, while
tapping (+) to enter AutoStick mode will retain the current gear. The current
transmission gear will be displayed in the instrument cluster. In AutoStick mode, you
can use the gear selector (in the MANUAL position), or the shift paddles, to manually
shift the transmission. Tapping the gear selector forward (-) while in the MANUAL (M)
position, or tapping the (-) shift paddle on the steering wheel, will downshift the
transmission to the next lower gear. Tapping the lever rearward (+) (or tapping the (+)
shift paddle) will command an upshift.
NOTE:
The shift paddles may be disabled (or re-enabled, as desired) using the Uconnect
Personal Settings.
In AutoStick mode, the transmission will shift up or down when (+/-) is manually
selected by the driver (using the gear selector, or the shift paddles), unless an engine
lugging or overspeed condition would result. It will remain in the selected gear until
another upshift or downshift is chosen, except as described below.
• The transmission will automatically downshift as the vehicle slows (to preventengine lugging) and will display the current gear.
• The transmission will automatically downshift to first gear when coming to a stop. After a stop, the driver should manually upshift (+) the transmission as the vehicle
is accelerated.
• You can start out, from a stop, in first or second gear (or third gear, in 4LO range, Snow mode, or Sand mode). Tapping (+) (at a stop) will allow starting in second
gear. Starting out in second gear can be helpful in snowy or icy conditions.
• If a requested downshift would cause the engine to over-speed, that shift will not occur.
• The system will ignore attempts to upshift at too low of a vehicle speed.
Shift Paddles
OPERATING YOUR VEHICLE
60
Page 63 of 276
• Holding the (-) paddle depressed will downshift the transmission to the lowestgear possible at the current speed.
• Transmission shifting will be more noticeable when AutoStick is enabled.
• The system may revert to automatic shift mode if a fault or overheat condition is detected.
NOTE:
When Selec-Speed or Hill Descent Control is enabled, AutoStick is not active.
To disengage AutoStick, return the gear selector to the DRIVE position, or press and
hold the (+) shift paddle (if the gear selector is already in DRIVE) until "D" is once
again indicated in the instrument cluster. You can shift in or out of AutoStick at any
time without taking your foot off the accelerator pedal.
WARNING!
Do not downshift for additional engine braking on a slippery surface. The drive
wheels could lose their grip and the vehicle could skid, causing a collision or
personal injury.
FUEL ECONOMY (ECO) MODE
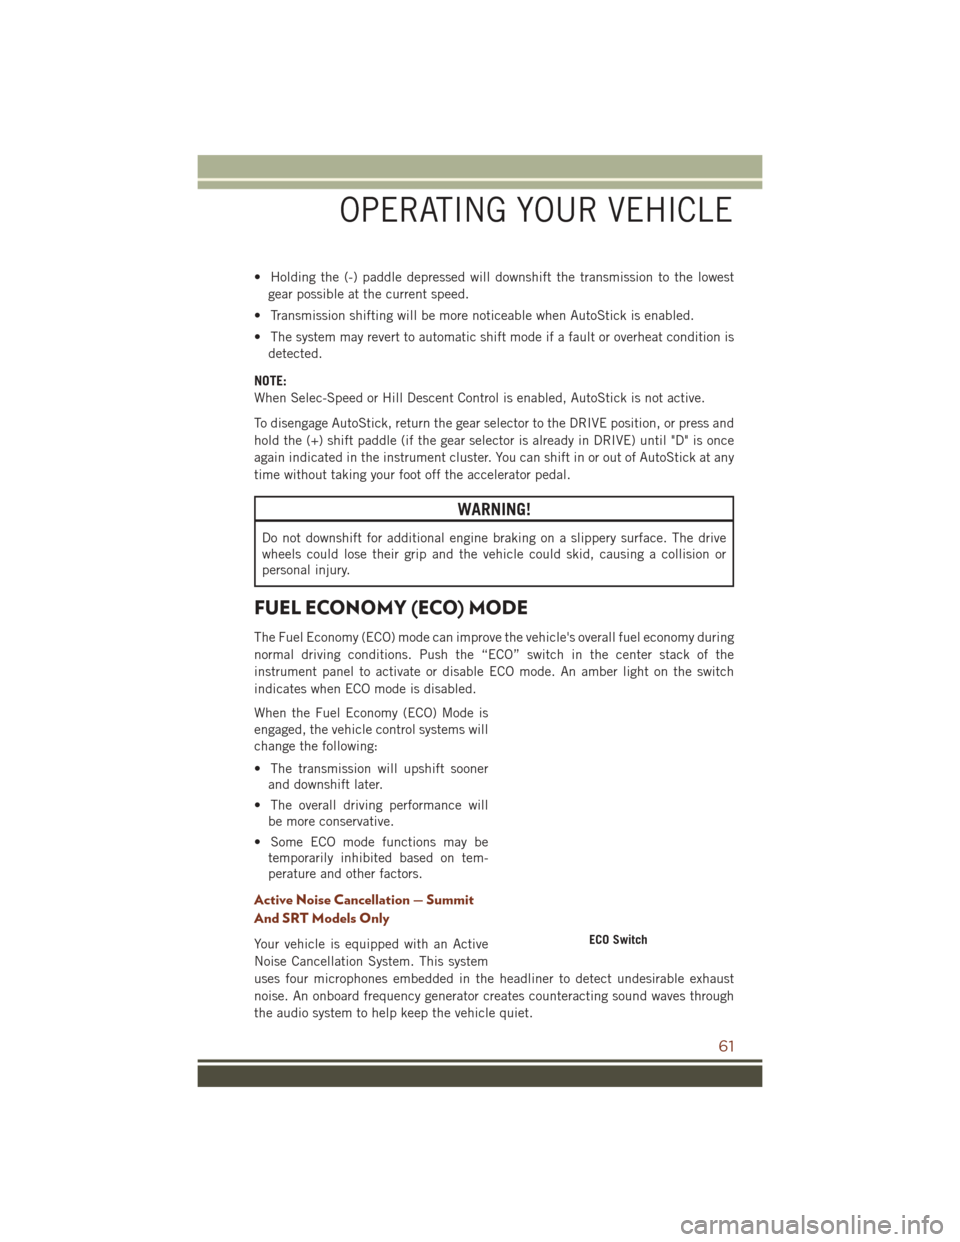
The Fuel Economy (ECO) mode can improve the vehicle's overall fuel economy during
normal driving conditions. Push the “ECO” switch in the center stack of the
instrument panel to activate or disable ECO mode. An amber light on the switch
indicates when ECO mode is disabled.
When the Fuel Economy (ECO) Mode is
engaged, the vehicle control systems will
change the following:
• The transmission will upshift sooner and downshift later.
• The overall driving performance will be more conservative.
• Some ECO mode functions may be temporarily inhibited based on tem-
perature and other factors.
Active Noise Cancellation — Summit
And SRT Models Only
Your vehicle is equipped with an Active
Noise Cancellation System. This system
uses four microphones embedded in the headliner to detect undesirable exhaust
noise. An onboard frequency generator creates counteracting sound waves through
the audio system to help keep the vehicle quiet.ECO Switch
OPERATING YOUR VEHICLE
61
Page 71 of 276
• Press and release to toggle between MAX A/C and the prior settings. The button onthe touchscreen illuminates when MAX A/C is ON.
• In MAX A/C, the blower level and mode position can be adjusted to desired user settings. Pushing other settings will cause the MAX A/C operation to switch to the
prior settings and the MAX A/C indicator will turn off.
SYNC Temperature Button
• Press the “SYNC” button on the touchscreen to control the driver and passengertemperatures simultaneously. Press the “SYNC” button on the touchscreen a
second time to control the temperatures individually.
Air Recirculation
• Use Recirculation for maximum A/C operation.
• For window defogging, turn the recirculation button off.
• If the recirculation button is pushed while in the AUTO mode, the indicator lightmay flash three times to indicate the cabin air is being controlled automatically.
Heated Mirrors
The mirrors are heated to melt frost or ice. This feature is activated whenever you turn
on the rear window defroster.
PARKSENSE FRONT AND REAR PARK ASSIST
ParkSense can be enabled and disabled by pushing the ParkSense switch located
below the climate controls, on the switch panel.
The four ParkSense sensors, located in the rear fascia/bumper, monitor the area
behind the vehicle that is within the sensors field of view. The sensors can detect
obstacles from approximately 12 inches (30 cm) up to 79 inches (200 cm) from the
rear fascia/bumper in the horizontal direction, depending on the location, type and
orientation of the obstacle.
The six ParkSense sensors, located in the front fascia/bumper, monitor the area in
front of the vehicle that is within the sensors’ field of view. The sensors can detect
obstacles from approximately 12 inches (30 cm) up to 47 inches (120 cm) from the
front fascia/bumper in the horizontal direction, depending on the location, type and
orientation of the obstacle.
When an object is detected within 79 inches (200 cm) behind the rear bumper while
the vehicle is in REVERSE, a warning will display in the Driver Information Display
(DID). In addition a chime will sound (when Sound and Display is selected from the
Customer Programmable Features section of the Uconnect System screen). As the
vehicle moves closer to the object, the chime rate will change from single 1/2 second
tone (for rear only), to slow (for rear only), to fast, to continuous.
Refer to your Owner's Manual on the DVD for further details.
OPERATING YOUR VEHICLE
69
Page 75 of 276
Pinch Protection Feature
This feature will detect an obstruction in the opening of the sunroof during Express
Close operation. If an obstruction in the path of the sunroof is detected, the sunroof
will automatically retract. Remove the obstruction if this occurs. Next, push the
switch forward and release to Express Close.
NOTE:
If three consecutive sunroof close attempts result in Pinch Protect reversals, the
fourth close attempt will be a Manual Close movement with Pinch Protect disabled.
WARNING!
• Do not let children play with the sunroof. Never leave children unattended in avehicle, or with access to an unlocked vehicle. Do not leave the Key Fob in or
near the vehicle, and do not leave the ignition of a vehicle equipped with
Keyless Enter-N-Go in the ACC or ON/RUN mode. Occupants, particularly
unattended children, can become entrapped by the power sunroof while
operating the power sunroof switch. Such entrapment may result in serious
injury or death.
• In a collision, there is a greater risk of being thrown from a vehicle with an open
sunroof. You could also be severely injured or killed. Always fasten your seat
belt properly and make sure all passengers are properly secured.
• Do not allow small children to operate the sunroof. Never allow your fingers,
other body parts, or any object to project through the sunroof opening. Injury
may result.
WIND BUFFETING
Wind buffeting can be described as a helicopter-type percussion sound. If buffeting
occurs with the rear windows open, adjust the front and rear windows together.
If buffeting occurs with the sunroof open, adjust the sunroof opening, or adjust any
window. This will minimize buffeting.
OPERATING YOUR VEHICLE
73
Page 94 of 276
Store Radio Presets Manually
The Radio stores up to 12 presets in each of the Radio modes. There are four visible
presets at the top of the radio screen. Pressing the “All” button on the touchscreen
on the radio home screen will display all of the preset stations for that mode.
To store a radio preset manually, follow the steps below:
1. Tune to the desired station.
2. Press and hold the desired numbered button on the touchscreen for more that twoseconds or until you hear a confirmation beep.
SiriusXM Premier Over 160 Channels
• Get every channel available on your satellite radio, and enjoy all you want, all inone place. Hear commercial-free music plus sports, news, talk and entertainment.
Get all the premium programming, including Howard Stern, every NFL game,
Oprah Radio, every MLB and NHL game, every NASCAR race, Martha Stewart and
more. And get 20+ extra channels, including SiriusXM Latino, offering 20
channels of commercial free music, news, talk, comedy, sports and more dedi-
cated to Spanish language programming.
• To access SiriusXM Satellite Radio, push the RADIO button on the faceplate and then press the “SXM” button on the touchscreen.
• SiriusXM services require subscriptions, sold separately after the 12-month trial included with the new vehicle purchase. If you decide to continue your service at the
end of your trial subscription, the plan you choose will automatically renew and bill at
then-current rates until you call SiriusXM at 1-866-635-2349 for U.S. residents and
1-888-539-7474 for Canadian residents to cancel. See SiriusXM Customer Agreement
for complete terms at www.siriusxm.com for U.S. residents and www.siriusxm.ca for
Canadian residents. All fees and programming subject to change. Our satellite
service is available only to those at least 18 and older in the 48 contiguous USA
and D.C. Our Sirius satellite service is also available in PR (with coverage
limitations). Our Internet radio service is available throughout our satellite service
area and in AK and HI. ©2015 Sirius XM Radio Inc. Sirius, XM and all related
marks and logos are trademarks of Sirius XM Radio Inc.
Disc Operation
Your vehicle may have a remote CD player located in the lower center console storage
bin.
• CD/Disc Mode is entered by either inserting a CD/Disc or by pushing the MEDIA button on the faceplate. Once in Media Mode, select “Disc.”
• Gently insert one CD into the CD player with the CD label facing as indicated on the illustration located on the Disc player.
Seek Up/Down Buttons
• Press to seek through Disc tracks.
• Hold either button to bypass tracks without stopping.
ELECTRONICS
92
Page 107 of 276
The following describes features that are available when in SiriusXM Satellite Radio
mode:
Seek Up/Seek Down
• Press the Seek arrow buttons on the touchscreen for less than two seconds to seekthrough channels in SXM mode.
• Press and hold either arrow button on the touchscreen for more than two seconds to bypass channels without stopping. The radio will stop at the next listenable
channel once the arrow button on the touchscreen is released.
Direct Tune
• Tune directly to a SXM channel by pressing the “Tune” button on the touchscreen on the screen, and entering the desired station number.
Tune Start
• The Tune Start feature begins playing a song from the beginning when you tune to your favorite preset SXM channel. Tune Start can be enabled or disabled through
the SiriusXM setup page.
Jump
• Automatically tells you when Traffic & Weather for a favorite city is available, and gives you the option to switch to that channel. Press “Jump” to activate the
feature. After listening to Traffic and Weather, press “Jump” again to return to the
previous channel.
Fav
• Activates the favorites menu. You can add up to 50 favorite artists or songs. Just press “Add Fav Artist” or “Add Fav Song” while the song is playing. You will then
be alerted any time one of these songs, or works by these artists, is playing on other
SiriusXM channels.
Album Art
• When arriving at a station, the Channel Art will be displayed to the left of the station information. After 5 seconds the Channel Art will be replaced with the
Album Art (if available).
SiriusXM Parental Controls
• You can skip or hide certain channels from view if you do not want access to them. Press the “Apps” button on the touchscreen, then the “Settings” button on the
touchscreen, next press the “Sirius Setup” button on the touchscreen, then select
Channel Skip. Press the box check-mark next to the channel you want skipped.
They will not show up in normal usage.
• SiriusXM also offers the option to permanently block selected channels. Call (1-888-601-6297 for U.S. customers, 1-877-438-9677 for Canadian custom-
ers) and request the Family-Friendly Package.
ELECTRONICS
105
Page 147 of 276
Play A Blu-ray Disc
The Blu-ray Disc player is located in the center console.
To view a Blu-ray insert the disc into the
Blu-ray Disc Player. Playback will begin
automatically after the Blu-ray Disc is
recognized by the disc drive. If playback
does not begin automatically after the
disc is inserted into Blu-ray Disc Player
follow these steps:
Operation Of The Touchscreen Radio
• Press the “Media” button on the touchscreen, then press the “Rear Media” buttonon the touchscreen.
• Press the “OK” button on the touchscreen to begin playing the Blu-ray Disc on the touchscreen radio.
Operation Of The Remote
The remote control operates similarly to any DVD remote you have used before and
allows the rear seat passengers to change stations, tracks, discs and audio/video
modes and is designed to control either channel by using the selector switch located
on the right side of the remote.
• Select an audio channel (Rear 1 for driver's side rear screen and Rear 2 forpassenger's side rear screen), then press the “source” button and using the up and
down arrows, highlight disc from the menu and press the “OK” button.
• Press the popup/menu button to navigate the disc menu and options.
Pressing the MODE button causes the Mode Selection menu to appear on the VES
screen. Use the remote control arrow buttons to scroll through the available modes,
then press ENTER to select the desired mode.
Pressing the power button will turn the VES system ON/OFF.
Blu-ray Disc Player Location
ELECTRONICS
145
Page 159 of 276
5. Using a ballpoint pen or similar object, press and hold the recessed transfer caseNEUTRAL (N) button (located by the selector switch) for four seconds. The light
behind the N symbol will blink, indicating shift in progress. The light will stop
blinking (stay on solid) when the shift to NEUTRAL (N) is complete. A “FOUR
WHEEL DRIVE SYSTEM IN NEUTRAL” message will display on the Driver
Information Display (DID).
6. After the shift is completed and the NEUTRAL (N) light stays on, release the NEUTRAL (N) button.
7. Shift the transmission into REVERSE.
8. Release the brake pedal for five seconds and ensure that there is no vehicle movement.
9. Press and hold the brake pedal. Shift the transmission back into NEUTRAL
10. Firmly apply the parking brake.
11. With the transmission and transfer case in NEUTRAL, press and hold the ENGINE START/STOP button until the engine turns off.
12. Move the transmission gear selector to PARK. Release the brake pedal.
13. Push the ENGINE STOP/START button twice (without pressing the brake pedal), to turn the ignition switch to the OFF position
Repeat these Steps 1 through 5 to shift out of NEUTRAL.
SELEC-TERRAIN
Selec-Terrain combines the capabilities of the vehicle control systems, along with
driver input, to provide the best performance for all terrains.
Rotate the mode control knob to select the following Selec-Terrain positions:
Snow – Tuning set for additional stability in inclement weather. Use on and off road
on loose traction surfaces such as snow. When in Snow mode (depending on certain
operating conditions), the transmission may use second gear (rather than first gear)
during launches, to minimize wheel slippage. If equipped with air suspension, the
level will change to Normal Ride Height (NRH).
Auto – Fully automatic full time four-wheel drive operation can be used on and off
road. Balances traction with seamless steering feel to provide improved handling and
acceleration over two-wheel drive vehicles. If equipped with air suspension, the level
will change to NRH.
Sand – Off road calibration for use on low traction surfaces such as sand or wet grass.
Driveline is maximized for traction. Some binding may be felt on less forgiving
surfaces. The electronic brake controls are set to limit traction control management
of throttle and wheel spin. If equipped with air suspension, the level will change to
NRH.
OFF-ROAD CAPABILITIES (4WD OPERATION)
157