ECO mode JEEP GRAND CHEROKEE 2016 WK2 / 4.G Owner's Manual
[x] Cancel search | Manufacturer: JEEP, Model Year: 2016, Model line: GRAND CHEROKEE, Model: JEEP GRAND CHEROKEE 2016 WK2 / 4.GPages: 276, PDF Size: 10.84 MB
Page 161 of 276
Operation
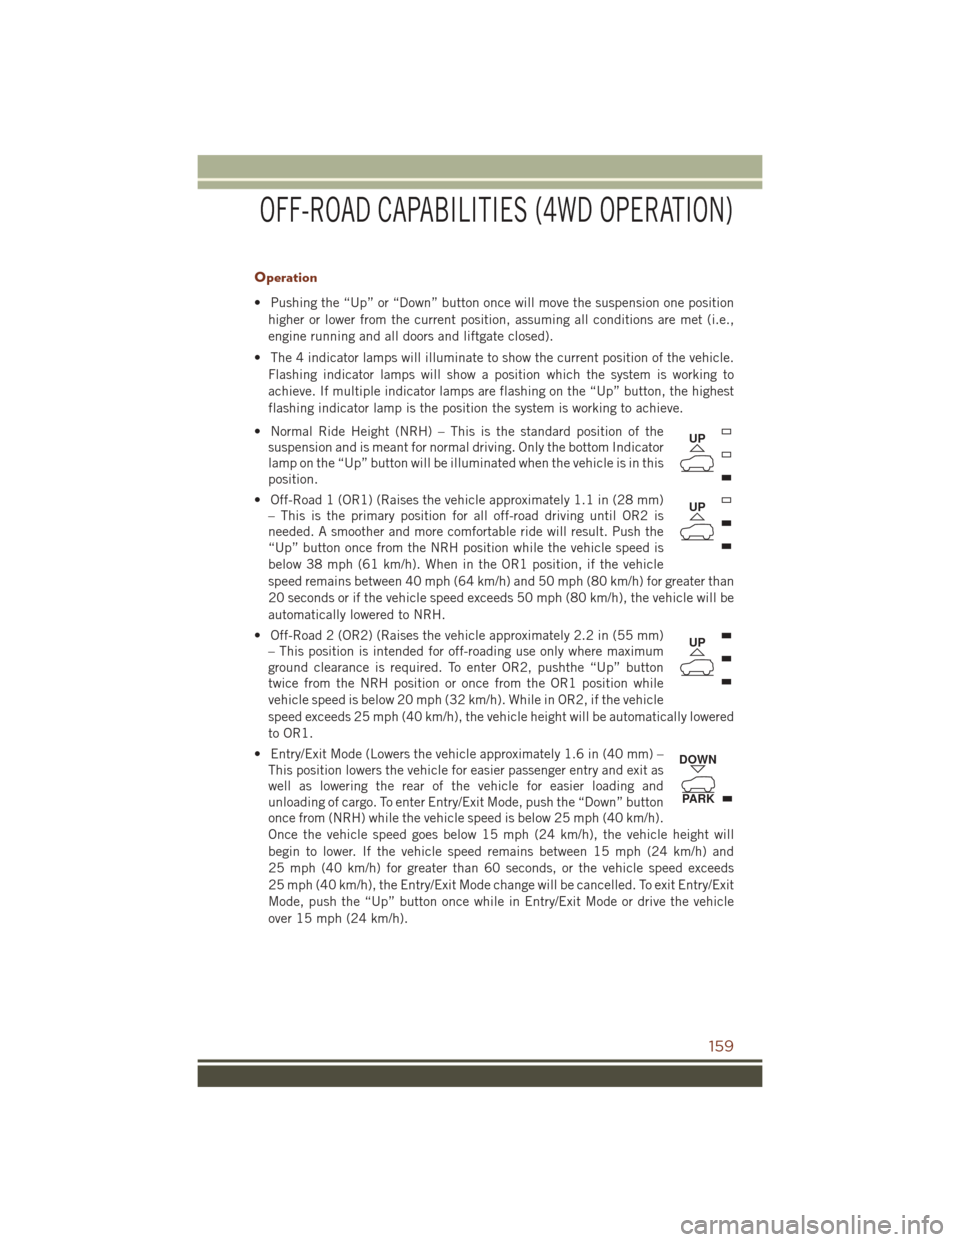
• Pushing the “Up” or “Down” button once will move the suspension one positionhigher or lower from the current position, assuming all conditions are met (i.e.,
engine running and all doors and liftgate closed).
• The 4 indicator lamps will illuminate to show the current position of the vehicle. Flashing indicator lamps will show a position which the system is working to
achieve. If multiple indicator lamps are flashing on the “Up” button, the highest
flashing indicator lamp is the position the system is working to achieve.
• Normal Ride Height (NRH) – This is the standard position of the suspension and is meant for normal driving. Only the bottom Indicator
lamp on the “Up” button will be illuminated when the vehicle is in this
position.
• Off-Road 1 (OR1) (Raises the vehicle approximately 1.1 in (28 mm) – This is the primary position for all off-road driving until OR2 is
needed. A smoother and more comfortable ride will result. Push the
“Up” button once from the NRH position while the vehicle speed is
below 38 mph (61 km/h). When in the OR1 position, if the vehicle
speed remains between 40 mph (64 km/h) and 50 mph (80 km/h) for greater than
20 seconds or if the vehicle speed exceeds 50 mph (80 km/h), the vehicle will be
automatically lowered to NRH.
• Off-Road 2 (OR2) (Raises the vehicle approximately 2.2 in (55 mm) – This position is intended for off-roading use only where maximum
ground clearance is required. To enter OR2, pushthe “Up” button
twice from the NRH position or once from the OR1 position while
vehicle speed is below 20 mph (32 km/h). While in OR2, if the vehicle
speed exceeds 25 mph (40 km/h), the vehicle height will be automatically lowered
to OR1.
• Entry/Exit Mode (Lowers the vehicle approximately 1.6 in (40 mm) – This position lowers the vehicle for easier passenger entry and exit as
well as lowering the rear of the vehicle for easier loading and
unloading of cargo. To enter Entry/Exit Mode, push the “Down” button
once from (NRH) while the vehicle speed is below 25 mph (40 km/h).
Once the vehicle speed goes below 15 mph (24 km/h), the vehicle height will
begin to lower. If the vehicle speed remains between 15 mph (24 km/h) and
25 mph (40 km/h) for greater than 60 seconds, or the vehicle speed exceeds
25 mph (40 km/h), the Entry/Exit Mode change will be cancelled. To exit Entry/Exit
Mode, push the “Up” button once while in Entry/Exit Mode or drive the vehicle
over 15 mph (24 km/h).
UP
UP
UP
DOWN
PARK
OFF-ROAD CAPABILITIES (4WD OPERATION)
159
Page 162 of 276
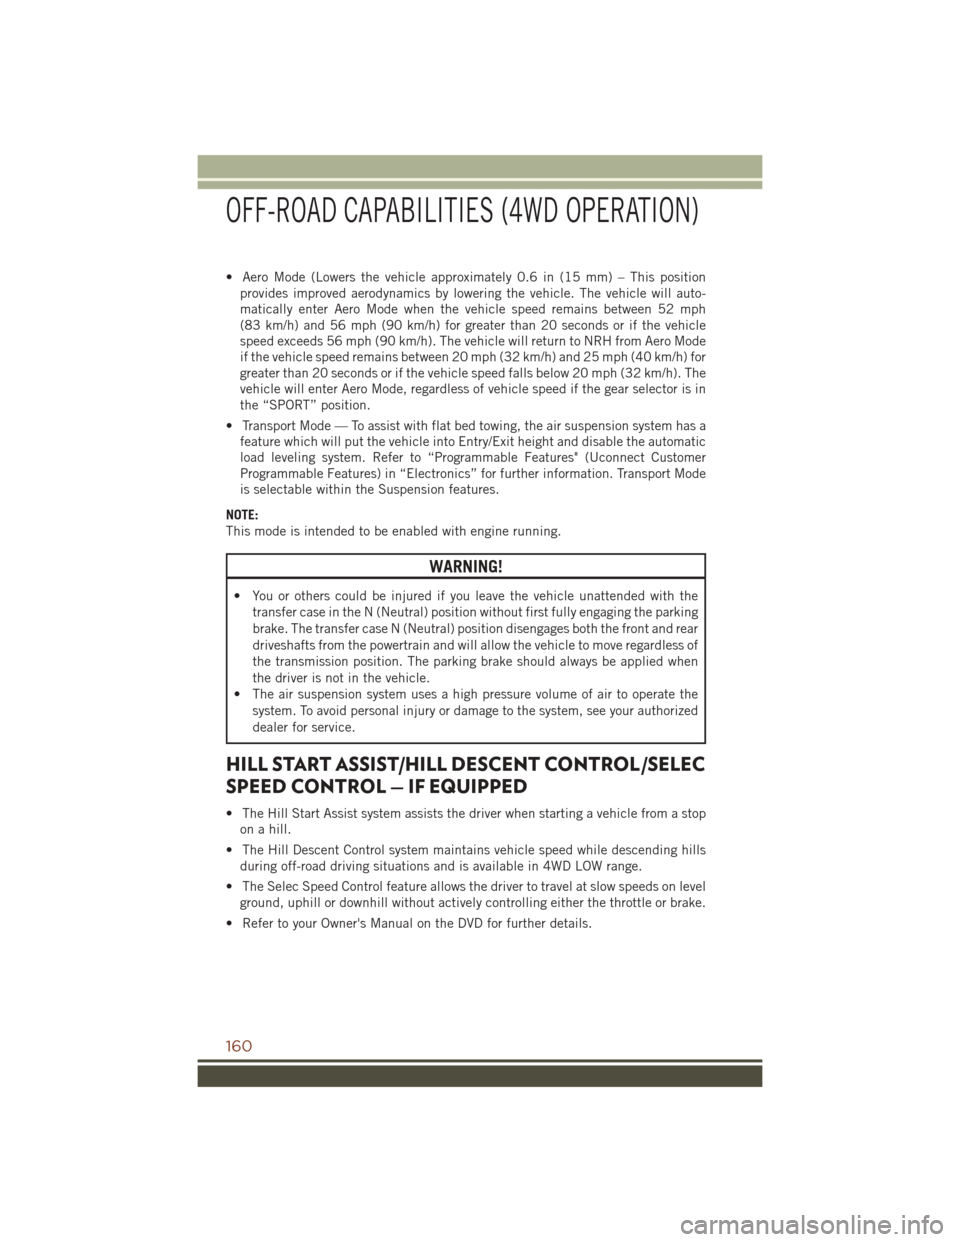
• Aero Mode (Lowers the vehicle approximately 0.6 in (15 mm) – This positionprovides improved aerodynamics by lowering the vehicle. The vehicle will auto-
matically enter Aero Mode when the vehicle speed remains between 52 mph
(83 km/h) and 56 mph (90 km/h) for greater than 20 seconds or if the vehicle
speed exceeds 56 mph (90 km/h). The vehicle will return to NRH from Aero Mode
if the vehicle speed remains between 20 mph (32 km/h) and 25 mph (40 km/h) for
greater than 20 seconds or if the vehicle speed falls below 20 mph (32 km/h). The
vehicle will enter Aero Mode, regardless of vehicle speed if the gear selector is in
the “SPORT” position.
• Transport Mode — To assist with flat bed towing, the air suspension system has a feature which will put the vehicle into Entry/Exit height and disable the automatic
load leveling system. Refer to “Programmable Features" (Uconnect Customer
Programmable Features) in “Electronics” for further information. Transport Mode
is selectable within the Suspension features.
NOTE:
This mode is intended to be enabled with engine running.
WARNING!
• You or others could be injured if you leave the vehicle unattended with the transfer case in the N (Neutral) position without first fully engaging the parking
brake. The transfer case N (Neutral) position disengages both the front and rear
driveshafts from the powertrain and will allow the vehicle to move regardless of
the transmission position. The parking brake should always be applied when
the driver is not in the vehicle.
• The air suspension system uses a high pressure volume of air to operate the
system. To avoid personal injury or damage to the system, see your authorized
dealer for service.
HILL START ASSIST/HILL DESCENT CONTROL/SELEC
SPEED CONTROL — IF EQUIPPED
• The Hill Start Assist system assists the driver when starting a vehicle from a stopon a hill.
• The Hill Descent Control system maintains vehicle speed while descending hills during off-road driving situations and is available in 4WD LOW range.
• The Selec Speed Control feature allows the driver to travel at slow speeds on level ground, uphill or downhill without actively controlling either the throttle or brake.
• Refer to your Owner's Manual on the DVD for further details.
OFF-ROAD CAPABILITIES (4WD OPERATION)
160
Page 174 of 276
FUEL ECONOMY (ECO) MODE
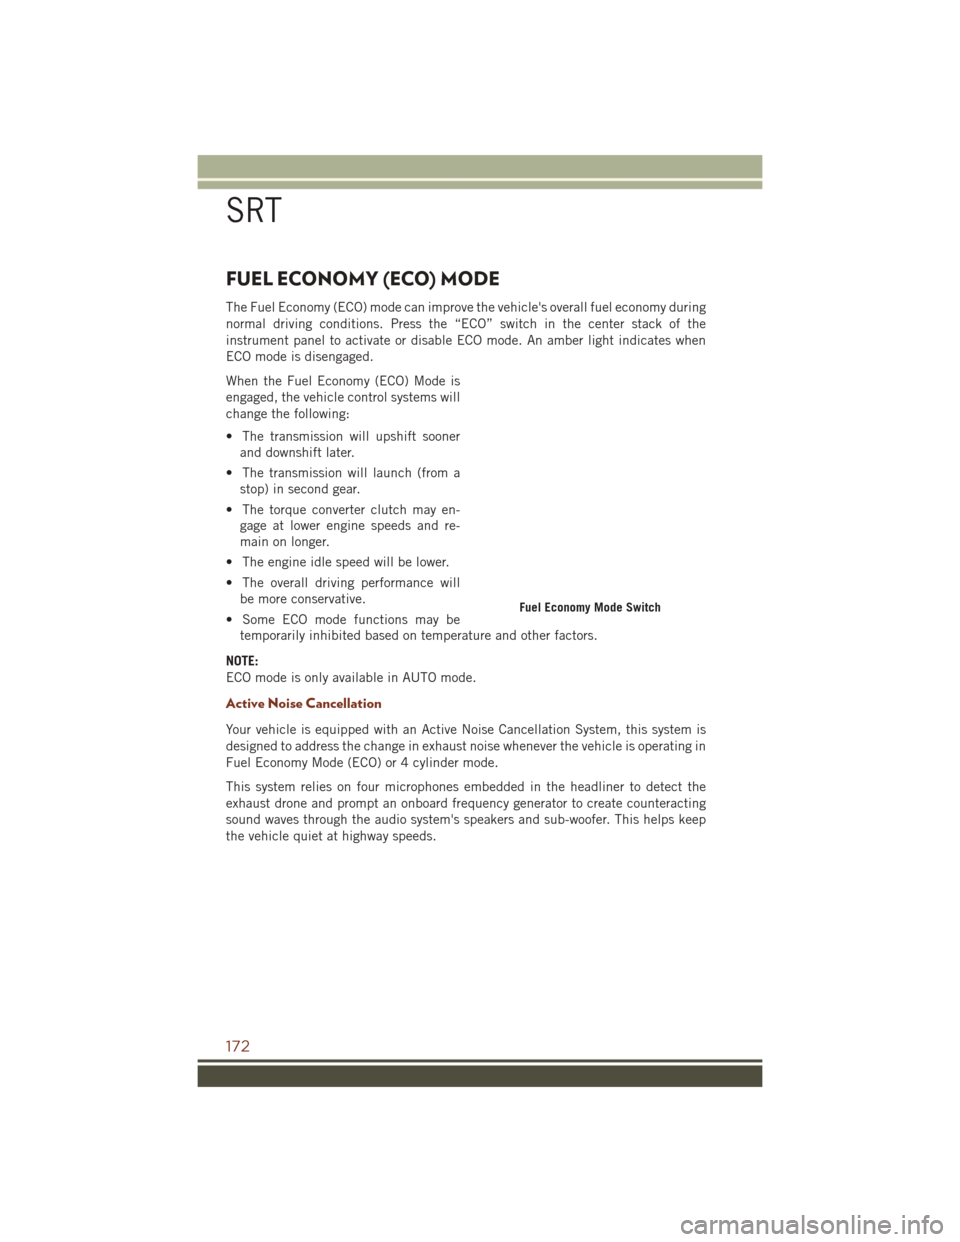
The Fuel Economy (ECO) mode can improve the vehicle's overall fuel economy during
normal driving conditions. Press the “ECO” switch in the center stack of the
instrument panel to activate or disable ECO mode. An amber light indicates when
ECO mode is disengaged.
When the Fuel Economy (ECO) Mode is
engaged, the vehicle control systems will
change the following:
• The transmission will upshift soonerand downshift later.
• The transmission will launch (from a stop) in second gear.
• The torque converter clutch may en- gage at lower engine speeds and re-
main on longer.
• The engine idle speed will be lower.
• The overall driving performance will be more conservative.
• Some ECO mode functions may be temporarily inhibited based on temperature and other factors.
NOTE:
ECO mode is only available in AUTO mode.
Active Noise Cancellation
Your vehicle is equipped with an Active Noise Cancellation System, this system is
designed to address the change in exhaust noise whenever the vehicle is operating in
Fuel Economy Mode (ECO) or 4 cylinder mode.
This system relies on four microphones embedded in the headliner to detect the
exhaust drone and prompt an onboard frequency generator to create counteracting
sound waves through the audio system's speakers and sub-woofer. This helps keep
the vehicle quiet at highway speeds.
Fuel Economy Mode Switch
SRT
172
Page 176 of 276
Launch Mode — If Equipped
This system maximizes acceleration traction for straight line racing. To use Launch
Mode please follow the steps below:
1. Bring vehicle to complete stop on a level track surface with the engine running.
2. Set the steering wheel for straight ahead driving.
3. Fully press the brake pedal.
4. Press and release the “LAUNCH” Button.
5. Press the accelerator pedal to the floor.
NOTE:
If the cluster launch DID message indicates all conditions are correct for launch and
the throttle is pressed to the floor quickly (within approximately 1/2 second) the
system will hold the engine speed to a preset speed (below the engine rev limiter
speed).
6. Release the brake pedal.
Pressing the launch control button when launch control is active will deactivate
launch control.
NOTE:
• Launch Mode brings the engine to optimum RPM and waits for the driver torelease the brake. Launch Mode then uses engine throttle only to achieve
controlled wheelslip for maximum acceleration through 62 mph (100 km/h).
• Launch Mode can be initiated in any of the Select Trac Modes.
• Launch Mode is not available until the 500 mile (805 km) break-in has been achieved.
SRT
174
Page 178 of 276
Peak G-Force
When selected, this screen displays all four G-Force values (two lateral and two
longitudinal).
Uconnect SRT Performance Features
WARNING!
Measurement of vehicle statistics with the Performance Features is intended for
off-highway or off-road use only and should not be done on any public roadways.
It is recommended that these features be used in a controlled environment and
within the limits of the law. The capabilities of the vehicle as measured by the
performance pages must never be exploited in a reckless or dangerous manner,
which can jeopardize the user’s safety or the safety of others. Only a safe,
attentive, and skillful driver can prevent accidents.
• To access the SRT Performance Features, press the “Apps” button on the touchscreen then press the “Performance Pages” button on the touchscreen.
• The Performance Page includes the following menus:
• Home •
Gauges 2
• Timers •
G – Force
• Gauges 1 •
Engine
Home
When Home is selected, the following options will be available:
• A series of six images which can be selected by the user.
• A left and right arrow to allow the user to scroll through vehicle images.
• A short-cut to the Drive Modes feature.
Timers
When the Timers Page is selected you will be able to select from following “Tickets”:
Recent
• Pressing the “Recent” button displays a “real time” summary of performance
timers.
Last
• Pressing the “Last” button displays the last recorded run of performance timers.
Best
• Pressing the “Best” button displays the best recorded run of performance timers, except for braking data.
SRT
176
Page 197 of 276
• To improve the vehicle's traction when starting off in deep snow, sand or gravel, itmay be desirable to switch the ESC system to Partial Off mode by momentarily
pushing the ESC Off
switch located below the climate controls, on the switch
panel.
INSTRUMENT CLUSTER INDICATOR LIGHTS
– Low Fuel Warning Light
This warning light indicates when the fuel level reaches approximately 1.5 gal
(5.8 L). This light will turn on and a single chime will sound.
– Turn Signal Indicator
The arrows will flash with the exterior turn signals when the turn signal lever is
operated. A tone will chime, and a DID message will appear if either turn signal is left
on for more than 1 mile (1.6 km).
NOTE:
If either indicator flashes at a rapid rate, check for a defective outside light bulb.
– High Beam Indicator
Indicates that headlights are on high beam.
– Front Fog Light Indicator
This indicator will illuminate when the front fog lights are on.
– Park/Headlight ON Indicator
This indicator will illuminate when the park lights or headlights are turned on.
– Vehicle Security Light
This light will flash rapidly for approximately 15 seconds when the vehicle security
alarm is arming. The light will flash at a slower speed continuously after the alarm is
set. The security light will also come on for about three seconds when the ignition is
first turned on.
– Electronic Speed Control ON Indicator
This indicator will illuminate when the electronic speed control has been activated to
the “ON” position.
– Electronic Speed Control SET Indicator
This indicator will illuminate when the cruising speed has been set.
– Hill Descent Control Indicator — If Equipped
This indicator will illuminate when Hill Descent Control (HDC) has been selected
using the Hill Descent Control Switch.
WHAT TO DO IN EMERGENCIES
195
Page 206 of 276
7. Remove the lug nuts and wheel.
8. Position the spare wheel/tire on the vehicle and install the lug nuts with thecone-shaped end toward the wheel. Lightly tighten the nuts.
CAUTION!
Be sure to mount the spare tire with the valve stem facing outward. The vehicle
could be damaged if the spare tire is mounted incorrectly.
WARNING!
To avoid the risk of forcing the vehicle off the jack, do not tighten the lug nuts fully
until the vehicle has been lowered. Failure to follow this warning may result in
serious injury.
9. Lower the vehicle by turning the jack screw counterclockwise, and remove the jack and wheel blocks.
10. Finish tightening the lug nuts. Push down on the wrench while at the end of the handle for increased leverage. Tighten the lug nuts in a star pattern until each
nut has been tightened twice. The correct tightness of each lug nut is 130 ft-lbs
(176 N·m). If in doubt about the correct tightness, have them checked with a
torque wrench by your authorized dealer or service station.
NOTE:
For the SRT model the correct wheel nut tightness is 110 ft lbs (149 N·m).
11. Lower the jack to the fully closed position and return it and the tools to the proper positions in the foam tray.
Installing Spare Wheel/Tire
WHAT TO DO IN EMERGENCIES
204
Page 215 of 276
If you must use the accessories (wipers, defrosters, etc.) while being towed, the
ignition must be in the ON/RUN position, not the ACC position.
If the key fob is unavailable, or the vehicle's battery is discharged, refer to “Manual
Park Release” in this section for instructions on shifting the transmission out of
PARK for towing.
CAUTION!
• Do not use sling type equipment when towing. Vehicle damage may occur.
• When securing the vehicle to a flat bed truck, do not attach to front or rearsuspension components. Damage to your vehicle may result from improper
towing.
Two-Wheel Drive Models
The manufacturer recommends towing your vehicle with all four wheels OFFthe
ground using a flatbed.
If flatbed equipment is not available, and the transmission is operable, the vehicle
may be towed (with rear wheels on the ground) under the following conditions:
• The transmission must be in NEUTRAL. Refer to "Manual Park Release" in this section for instructions on shifting the transmission to NEUTRAL when the engine
is off.
• The towing speed must not exceed 30 mph (48 km/h).
• The towing distance must not exceed 30 miles (48 km).
If the transmission is not operable, or the vehicle must be towed faster than 30 mph
(48 km/h) or farther than 30 miles (48 km), tow with the rear wheels OFFthe ground.
Acceptable methods are to tow the vehicle on a flatbed, or with the front wheels
raised and the rear wheels on a towing dolly, or (when using a suitable steering wheel
stabilizer to hold the front wheels in the straight position) with the rear wheels raised
and the front wheels on the ground.
CAUTION!
Towing faster than 30 mph (48 km/h) or farther than 30 miles (48 km) with rear
wheels on the ground can cause severe transmission damage. Damage from
improper towing is not covered under the New Vehicle Limited Warranty.
WHAT TO DO IN EMERGENCIES
213
Page 216 of 276
Four-Wheel Drive Models
The manufacturer recommends towing with all wheelsOFFthe ground. Acceptable
methods are to tow the vehicle on a flatbed or with one end of vehicle raised and the
opposite end on a towing dolly.
If flatbed equipment is not available, and the transfer case is operable, vehicles with
a two-speed transfer case may be towed (in the forward direction, with ALLwheels on
the ground), IFthe transfer case is in NEUTRAL (N) and the transmission is in PARK.
Refer to “Recreational Towing” in “Starting And Operating” in the Owner’s Manual
on the DVD for detailed instructions.
Vehicles equipped with a single-speed transfer case have no NEUTRAL position, and
therefore mustbe towed with all four wheels OFFthe ground.
CAUTION!
• Front or rear wheel lifts must not be used. Internal damage to the transmission
or transfer case will occur if a front or rear wheel lift is used when towing.
• Towing this vehicle in violation of the above requirements can cause severe
transmission and/or transfer case damage. Damage from improper towing is
not covered under the New Vehicle Limited Warranty.
FREEING A STUCK VEHICLE
If your vehicle becomes stuck in mud, sand or snow, it can often be moved using a
rocking motion. Turn the steering wheel right and left to clear the area around the
front wheels. Push and hold the lock button on the gear selector. Then shift back and
forth between DRIVE and REVERSE while gently pressing the accelerator.
NOTE:
Shifts between DRIVE and REVERSE can only be achieved at wheel speeds of 5 mph
(8 km/h) or less. Whenever the transmission remains in NEUTRAL for more than two
seconds, you must push the brake pedal to engage DRIVE or REVERSE.
Use the least amount of accelerator pedal pressure that will maintain the rocking
motion without spinning the wheels or racing the engine.
WHAT TO DO IN EMERGENCIES
214
Page 217 of 276
NOTE:
Push the "ESC Off" switch (if necessary), to place the Electronic Stability Control
(ESC) system in "Partial Off" mode, before rocking the vehicle. Refer to “Electronic
Brake Control” in “Starting And Operating” in the Owners Manual on the DVD for
further information. Once the vehicle has been freed, push the "ESC Off" switch
again to restore "ESC On" mode.
CAUTION!
Racing the engine or spinning the wheels may lead to transmission overheating
and failure. Allow the engine to idle with the transmission in NEUTRAL for at least
one minute after every five rocking-motion cycles. This will minimize overheating
and reduce the risk of transmission failure during prolonged efforts to free a stuck
vehicle.
WARNING!
Fast spinning tires can be dangerous. Forces generated by excessive wheel speeds
may cause damage, or even failure, of the axle and tires. A tire could explode and
injure someone. Do not spin your vehicle's wheels faster than 30 mph (48 km/h)
or for longer than 30 seconds continuously without stopping when you are stuck
and do not let anyone near a spinning wheel, no matter what the speed.
CAUTION!
• When “rocking” a stuck vehicle by shifting between DRIVE and REVERSE, donot spin the wheels faster than 15 mph (24 km/h), or drivetrain damage may
result.
• Revving the engine or spinning the wheels too fast may lead to transmission
overheating and failure. It can also damage the tires. Do not spin the wheels
above 30 mph (48 km/h) while in gear (no transmission shifting occurring).
WHAT TO DO IN EMERGENCIES
215