ignition JEEP GRAND CHEROKEE 2016 WK2 / 4.G Owner's Manual
[x] Cancel search | Manufacturer: JEEP, Model Year: 2016, Model line: GRAND CHEROKEE, Model: JEEP GRAND CHEROKEE 2016 WK2 / 4.GPages: 276, PDF Size: 10.84 MB
Page 155 of 276
WARNING!
To Avoid Serious Injury or Death DO NOT:
• insert any objects into the receptacles
• touch with wet hands
Close the lid when not in use. If this outlet is mishandled, it may cause an electric
shock and failure.
POWER OUTLETS
There are three 12 Volt electrical power outlets on this vehicle.
The front power outlet is located inside the center storage bin of the instrument
panel. Push inward on the storage lid to open the compartment and gain access to
this power outlet.
A second front power outlet is located
inside the center console.
The rear power outlet is located in the
right rear cargo area.
The power outlets are labeled with either
a “key” or a “battery” symbol to indicate
how the outlet is powered. Power outlets
labeled with a “key” are powered when
the ignition switch is in the ON/RUN or
ACC position, while the outlets labeled
with a “battery” are connected directly to
the battery and powered at all times.
NOTE:
• Do not exceed the maximum power of160 Watts (13 Amps) at 12 Volts. If
the 160 Watt (13 Amp) power rating is
exceeded, the fuse protecting the sys-
tem will need to be replaced.
• Power outlets are designed for acces- sory plugs only. Do not insert any other
object in the power outlet as this will
damage the outlet and blow the fuse.
Improper use of the power outlet can
cause damage not covered by your new
vehicle warranty.
Front Power Outlet
Center Console Power Outlet
ELECTRONICS
153
Page 158 of 276
Shifting Procedures
4WD HI To 4WD LOW
With the vehicle at speeds of 0 to 3 mph (0 to 5 km/h), the ignition switch in the
ON/RUN position or the engine running, shift the transmission into NEUTRAL and
press the “4WD LOW” button once on the transfer case switch. The “4WD LOW”
indicator light in the instrument cluster will begin to flash and remain on solid when
the shift is complete.
4WD LOW To 4WD HI
With the vehicle at speeds of 0 to 3 mph (0 to 5 km/h), the ignition switch in the
ON/RUN position or the engine running, shift the transmission into NEUTRAL, and
press the “4WD LOW” button once on the transfer case switch. The “4WD LOW”
indicator light in the instrument cluster will flash and turn off when the shift is
complete.
NOTE:
Shifting into or out of 4WD LOW is possible with the vehicle completely stopped;
however, difficulty may occur due to the mating clutch teeth not being properly
aligned. Several attempts may be required for clutch teeth alignment and shift
completion to occur. The preferred method is with the vehicle rolling 0 to 3 mph
(0 to 5 km/h). If the vehicle is moving faster than 3 mph (5 km/h), the transfer case
will not allow the shift.
NEUTRAL Shift Procedure
WARNING!
You or others could be injured or killed if you leave the vehicle unattended with the
transfer case in the NEUTRAL (N) position without first fully engaging the parking
brake. The transfer case NEUTRAL (N) position disengages both the front and rear
driveshafts from the powertrain and will allow the vehicle to roll, even if the
transmission is in PARK. The parking brake should always be applied when the
driver is not in the vehicle.
1. Bring the vehicle to a complete stop, with the engine running.
2. Press and hold the brake pedal.
3. Shift the transmission into NEUTRAL.
4. If vehicle is equipped with Quadra-Lift air suspension, ensure the vehicle is set to Normal Ride Height.
OFF-ROAD CAPABILITIES (4WD OPERATION)
156
Page 159 of 276
5. Using a ballpoint pen or similar object, press and hold the recessed transfer caseNEUTRAL (N) button (located by the selector switch) for four seconds. The light
behind the N symbol will blink, indicating shift in progress. The light will stop
blinking (stay on solid) when the shift to NEUTRAL (N) is complete. A “FOUR
WHEEL DRIVE SYSTEM IN NEUTRAL” message will display on the Driver
Information Display (DID).
6. After the shift is completed and the NEUTRAL (N) light stays on, release the NEUTRAL (N) button.
7. Shift the transmission into REVERSE.
8. Release the brake pedal for five seconds and ensure that there is no vehicle movement.
9. Press and hold the brake pedal. Shift the transmission back into NEUTRAL
10. Firmly apply the parking brake.
11. With the transmission and transfer case in NEUTRAL, press and hold the ENGINE START/STOP button until the engine turns off.
12. Move the transmission gear selector to PARK. Release the brake pedal.
13. Push the ENGINE STOP/START button twice (without pressing the brake pedal), to turn the ignition switch to the OFF position
Repeat these Steps 1 through 5 to shift out of NEUTRAL.
SELEC-TERRAIN
Selec-Terrain combines the capabilities of the vehicle control systems, along with
driver input, to provide the best performance for all terrains.
Rotate the mode control knob to select the following Selec-Terrain positions:
Snow – Tuning set for additional stability in inclement weather. Use on and off road
on loose traction surfaces such as snow. When in Snow mode (depending on certain
operating conditions), the transmission may use second gear (rather than first gear)
during launches, to minimize wheel slippage. If equipped with air suspension, the
level will change to Normal Ride Height (NRH).
Auto – Fully automatic full time four-wheel drive operation can be used on and off
road. Balances traction with seamless steering feel to provide improved handling and
acceleration over two-wheel drive vehicles. If equipped with air suspension, the level
will change to NRH.
Sand – Off road calibration for use on low traction surfaces such as sand or wet grass.
Driveline is maximized for traction. Some binding may be felt on less forgiving
surfaces. The electronic brake controls are set to limit traction control management
of throttle and wheel spin. If equipped with air suspension, the level will change to
NRH.
OFF-ROAD CAPABILITIES (4WD OPERATION)
157
Page 169 of 276
RECREATIONAL TOWING (BEHIND MOTORHOME,
ETC.)
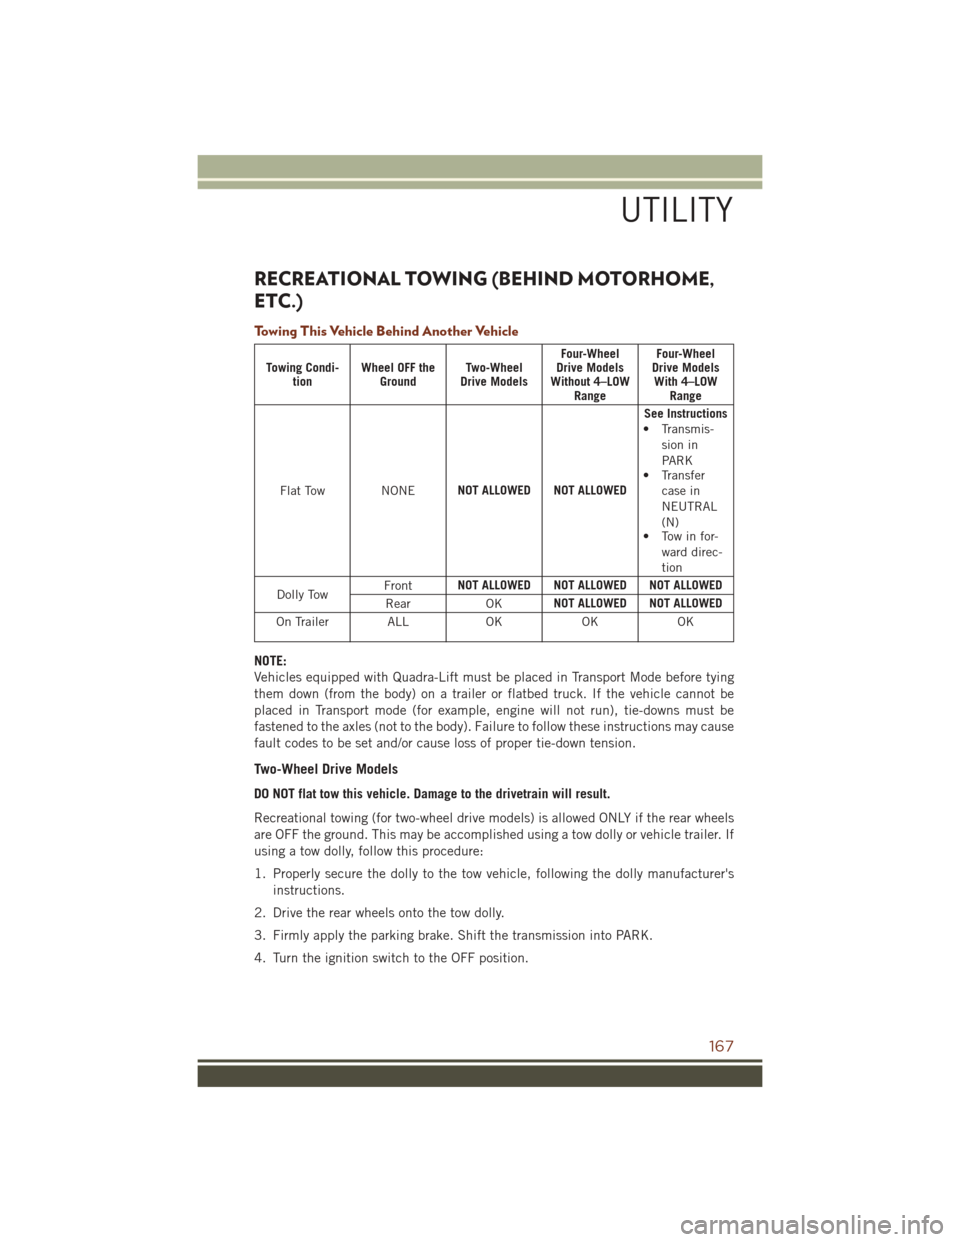
Towing This Vehicle Behind Another Vehicle
Towing Condi-tion Wheel OFF the
Ground Two-Wheel
Drive Models Four-Wheel
Drive Models
Without 4–LOW Range Four-Wheel
Drive Models With 4–LOW Range
Flat Tow NONE NOT ALLOWED NOT ALLOWED See Instructions
• Transmis- sion in
PARK
• Transfer
case in
NEUTRAL
(N)
• Tow in for-
ward direc-
tion
Dolly Tow Front
NOT ALLOWED NOT ALLOWED NOT ALLOWED
Rear OKNOT ALLOWED NOT ALLOWED
On Trailer ALL OKOKOK
NOTE:
Vehicles equipped with Quadra-Lift must be placed in Transport Mode before tying
them down (from the body) on a trailer or flatbed truck. If the vehicle cannot be
placed in Transport mode (for example, engine will not run), tie-downs must be
fastened to the axles (not to the body). Failure to follow these instructions may cause
fault codes to be set and/or cause loss of proper tie-down tension.
Two-Wheel Drive Models
DO NOT flat tow this vehicle. Damage to the drivetrain will result.
Recreational towing (for two-wheel drive models) is allowed ONLY if the rear wheels
are OFF the ground. This may be accomplished using a tow dolly or vehicle trailer. If
using a tow dolly, follow this procedure:
1. Properly secure the dolly to the tow vehicle, following the dolly manufacturer's
instructions.
2. Drive the rear wheels onto the tow dolly.
3. Firmly apply the parking brake. Shift the transmission into PARK.
4. Turn the ignition switch to the OFF position.
UTILITY
167
Page 172 of 276
13. Push the ENGINE STOP/START button twice (without pressing the brake pedal)to turn the ignition switch to the OFF position.
14. Attach the vehicle to the tow vehicle using a suitable tow bar.
15. Release the parking brake.
NOTE:
• Steps 1 through 4 are requirements that must be met before pressing the NEUTRAL (N) button, and must continue to be met until the shift has been
completed. If any of these requirements are not met before pushing the NEUTRAL
(N) button or are no longer met during the shift, then the NEUTRAL (N) indicator
light will flash continuously until all requirements are met or until the NEUTRAL
(N) button is released.
• The ignition switch must be in the ON/RUN position for a shift to take place and for the position indicator lights to be operable. If the ignition switch is not in the
ON/RUN position, the shift will not take place and no position indicator lights will
be on or flashing.
• A flashing NEUTRAL (N) position indicator light indicates that shift requirements have not been met.
• If the vehicle is equipped with Quadra-Lift air suspension, the engine should be started and left running for a minimum of 60 seconds (with all the doors closed)
at least once every 24 hours. This process allows the air suspension to adjust the
vehicle’s ride height to compensate for temperature effects.
Shifting Out Of NEUTRAL (N)
Use the following procedure to prepare your vehicle for normal usage:
1. Bring the vehicle to a complete stop, leaving it connected to the tow vehicle.
2. Firmly apply the parking brake.
3. Start the engine.
4. Press and hold the brake pedal.
5. Shift the transmission into NEUTRAL.
6. Using a ballpoint pen or similar object, push and hold the recessed transfer case
NEUTRAL (N) button (located by the selector switch) for one second.
7. When the NEUTRAL (N) indicator light turns off, release the NEUTRAL (N) button. After the NEUTRAL (N) button has been released, the transfer case will
shift to the position indicated by the selector switch.
8. Shift the transmission into PARK. Turn the engine OFF.
UTILITY
170
Page 173 of 276
9. Release the brake pedal.
10. Disconnect vehicle from the tow vehicle.
11. Start the engine.
12. Press and hold the brake pedal.
13. Release the parking brake.
14. Shift the transmission into DRIVE, release the brake pedal, and check that thevehicle operates normally.
NOTE:
• Steps 1 through 5 are requirements that must be met prior to pressing the NEUTRAL (N) button, and must continue to be met until the shift has been
completed. If any of these requirements are not met prior to prushing the
NEUTRAL (N) button or are no longer met during the shift, the NEUTRAL (N)
indicator light will flash continuously until all requirements are met or until the
NEUTRAL (N) button is released.
• The ignition switch must be in the ON/RUN position for a shift to take place and for the position indicator lights to be operable. If the ignition switch is not in the
ON/RUN position, the shift will not take place and no position indicator lights will
be on or flashing.
• A flashing NEUTRAL (N) position indicator light indicates that shift requirements have not been met.
UTILITY
171
Page 180 of 276
Gauges 2
When selected, this screen displays the following values:
Intake Air Temperature
• Shows the actual intake air temperature.
Battery Voltage
• Shows the actual battery voltage.
Transmission Temperature
• Shows the actual transmission temperature.
G-Force
When selected, this screen displays all four G-Force values (two lateral and two
longitudinal) as well as steering angle.
The following features are available:
Lateral G-Force Left and Right
• The lateral g-force measures the (sideways) left and right force of the vehicle.
Longitudinal G-Force Acceleration and Braking
• The longitudinal g-force measures the acceleration and braking force of thevehicle.
Peak G-Forces Acceleration and Braking, Left and Right
• This shows the maximum g-forces that have been achieved since the last reset from the DID. Peak values are maintained through ignition cycles by the DID until
they are cleared by the driver.
Vehicle Speed
• Vehicle Speed measures the current speed of the vehicle in either mph or km/h, starting at 0 with no maximum value.
Steering Wheel Angle
• Steering Wheel Angle utilizes the steering angle sensor to measure the degree of the steering wheel relative to zero. The zero degree measurement indicates a
steering wheel straight ahead position. When the steering angle value is negative,
this indicates a turn to the left, and when the steering angle value is positive, a turn
to the right.
SRT
178
Page 184 of 276
DIESEL FUEL FILTERS/WATER SEPARATOR
Draining Fuel/Water Separator
If the “Water in Fuel” indicator light
is illuminated and an audible chime
is heard five times, you should stop the
engine and drain the water from the sepa-
rator.
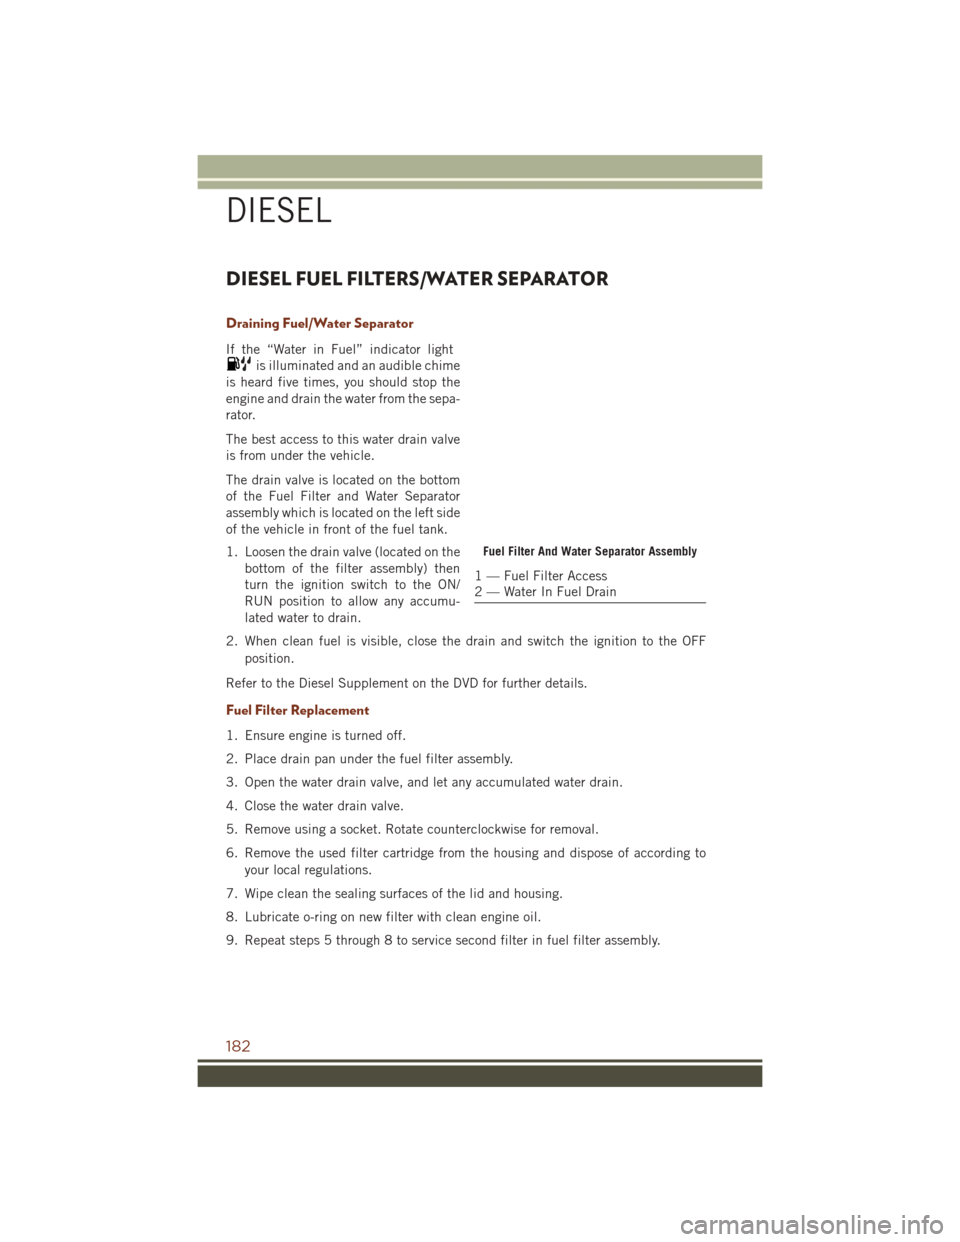
The best access to this water drain valve
is from under the vehicle.
The drain valve is located on the bottom
of the Fuel Filter and Water Separator
assembly which is located on the left side
of the vehicle in front of the fuel tank.
1. Loosen the drain valve (located on the bottom of the filter assembly) then
turn the ignition switch to the ON/
RUN position to allow any accumu-
lated water to drain.
2. When clean fuel is visible, close the drain and switch the ignition to the OFF position.
Refer to the Diesel Supplement on the DVD for further details.
Fuel Filter Replacement
1. Ensure engine is turned off.
2. Place drain pan under the fuel filter assembly.
3. Open the water drain valve, and let any accumulated water drain.
4. Close the water drain valve.
5. Remove using a socket. Rotate counterclockwise for removal.
6. Remove the used filter cartridge from the housing and dispose of according to your local regulations.
7. Wipe clean the sealing surfaces of the lid and housing.
8. Lubricate o-ring on new filter with clean engine oil.
9. Repeat steps 5 through 8 to service second filter in fuel filter assembly.
Fuel Filter And Water Separator Assembly
1 — Fuel Filter Access
2 — Water In Fuel Drain
DIESEL
182
Page 192 of 276
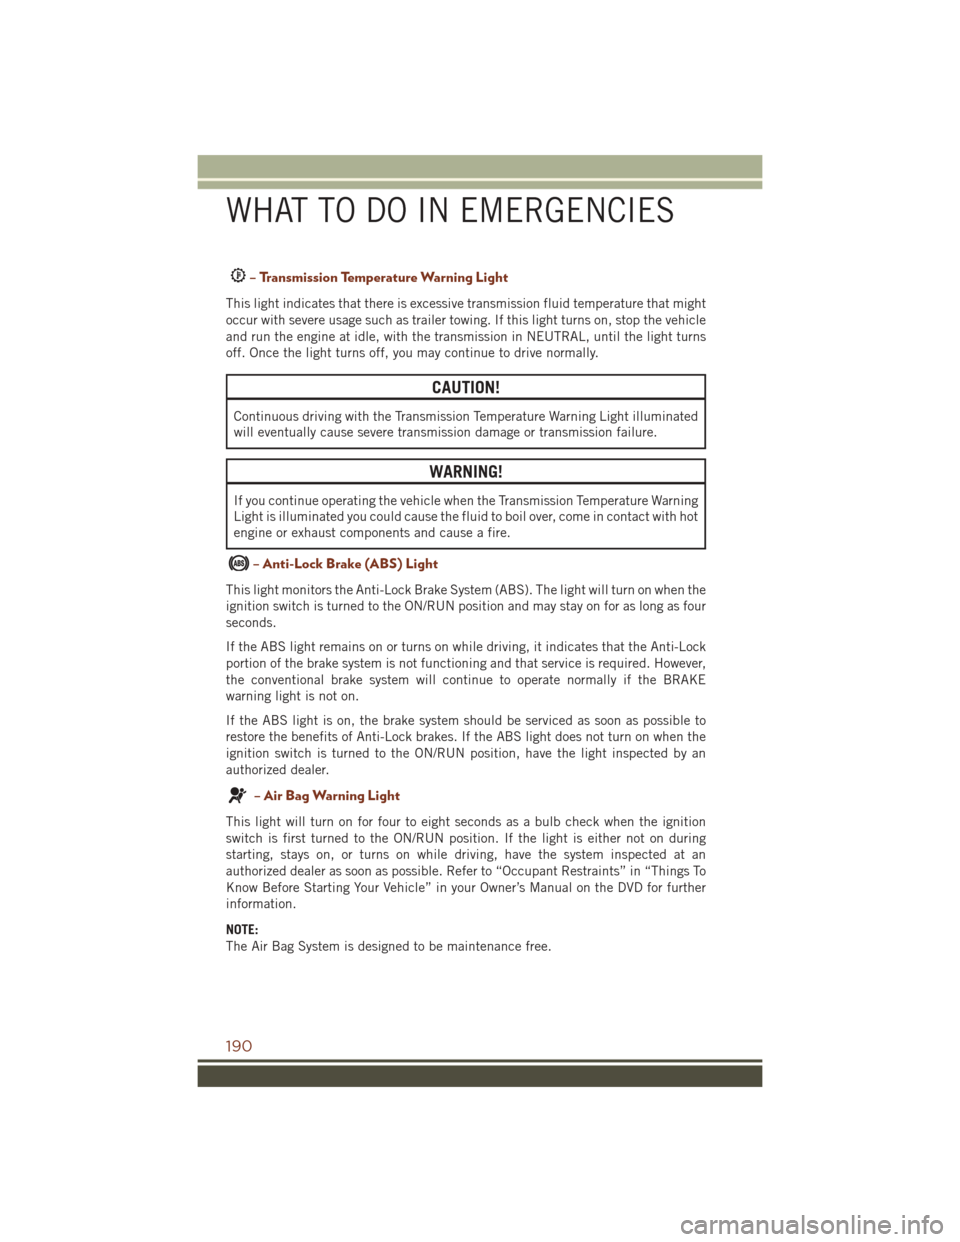
– Transmission Temperature Warning Light
This light indicates that there is excessive transmission fluid temperature that might
occur with severe usage such as trailer towing. If this light turns on, stop the vehicle
and run the engine at idle, with the transmission in NEUTRAL, until the light turns
off. Once the light turns off, you may continue to drive normally.
CAUTION!
Continuous driving with the Transmission Temperature Warning Light illuminated
will eventually cause severe transmission damage or transmission failure.
WARNING!
If you continue operating the vehicle when the Transmission Temperature Warning
Light is illuminated you could cause the fluid to boil over, come in contact with hot
engine or exhaust components and cause a fire.
– Anti-Lock Brake (ABS) Light
This light monitors the Anti-Lock Brake System (ABS). The light will turn on when the
ignition switch is turned to the ON/RUN position and may stay on for as long as four
seconds.
If the ABS light remains on or turns on while driving, it indicates that the Anti-Lock
portion of the brake system is not functioning and that service is required. However,
the conventional brake system will continue to operate normally if the BRAKE
warning light is not on.
If the ABS light is on, the brake system should be serviced as soon as possible to
restore the benefits of Anti-Lock brakes. If the ABS light does not turn on when the
ignition switch is turned to the ON/RUN position, have the light inspected by an
authorized dealer.
– Air Bag Warning Light
This light will turn on for four to eight seconds as a bulb check when the ignition
switch is first turned to the ON/RUN position. If the light is either not on during
starting, stays on, or turns on while driving, have the system inspected at an
authorized dealer as soon as possible. Refer to “Occupant Restraints” in “Things To
Know Before Starting Your Vehicle” in your Owner’s Manual on the DVD for further
information.
NOTE:
The Air Bag System is designed to be maintenance free.
WHAT TO DO IN EMERGENCIES
190
Page 193 of 276
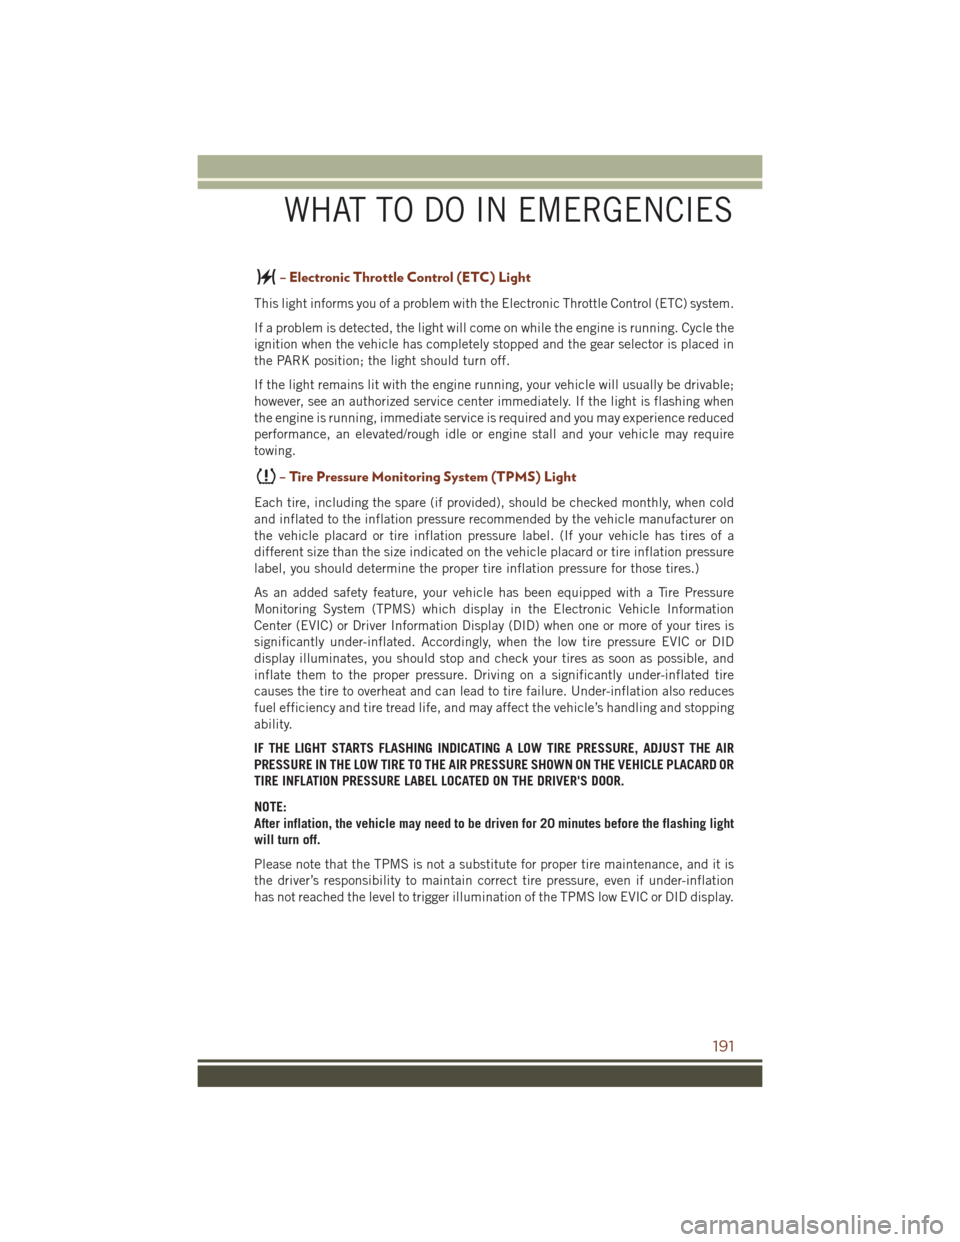
– Electronic Throttle Control (ETC) Light
This light informs you of a problem with the Electronic Throttle Control (ETC) system.
If a problem is detected, the light will come on while the engine is running. Cycle the
ignition when the vehicle has completely stopped and the gear selector is placed in
the PARK position; the light should turn off.
If the light remains lit with the engine running, your vehicle will usually be drivable;
however, see an authorized service center immediately. If the light is flashing when
the engine is running, immediate service is required and you may experience reduced
performance, an elevated/rough idle or engine stall and your vehicle may require
towing.
– Tire Pressure Monitoring System (TPMS) Light
Each tire, including the spare (if provided), should be checked monthly, when cold
and inflated to the inflation pressure recommended by the vehicle manufacturer on
the vehicle placard or tire inflation pressure label. (If your vehicle has tires of a
different size than the size indicated on the vehicle placard or tire inflation pressure
label, you should determine the proper tire inflation pressure for those tires.)
As an added safety feature, your vehicle has been equipped with a Tire Pressure
Monitoring System (TPMS) which display in the Electronic Vehicle Information
Center (EVIC) or Driver Information Display (DID) when one or more of your tires is
significantly under-inflated. Accordingly, when the low tire pressure EVIC or DID
display illuminates, you should stop and check your tires as soon as possible, and
inflate them to the proper pressure. Driving on a significantly under-inflated tire
causes the tire to overheat and can lead to tire failure. Under-inflation also reduces
fuel efficiency and tire tread life, and may affect the vehicle’s handling and stopping
ability.
IF THE LIGHT STARTS FLASHING INDICATING A LOW TIRE PRESSURE, ADJUST THE AIR
PRESSURE IN THE LOW TIRE TO THE AIR PRESSURE SHOWN ON THE VEHICLE PLACARD OR
TIRE INFLATION PRESSURE LABEL LOCATED ON THE DRIVER'S DOOR.
NOTE:
After inflation, the vehicle may need to be driven for 20 minutes before the flashing light
will turn off.
Please note that the TPMS is not a substitute for proper tire maintenance, and it is
the driver’s responsibility to maintain correct tire pressure, even if under-inflation
has not reached the level to trigger illumination of the TPMS low EVIC or DID display.
WHAT TO DO IN EMERGENCIES
191