instrument cluster JEEP GRAND CHEROKEE 2016 WK2 / 4.G User Guide
[x] Cancel search | Manufacturer: JEEP, Model Year: 2016, Model line: GRAND CHEROKEE, Model: JEEP GRAND CHEROKEE 2016 WK2 / 4.GPages: 276, PDF Size: 10.84 MB
Page 3 of 276
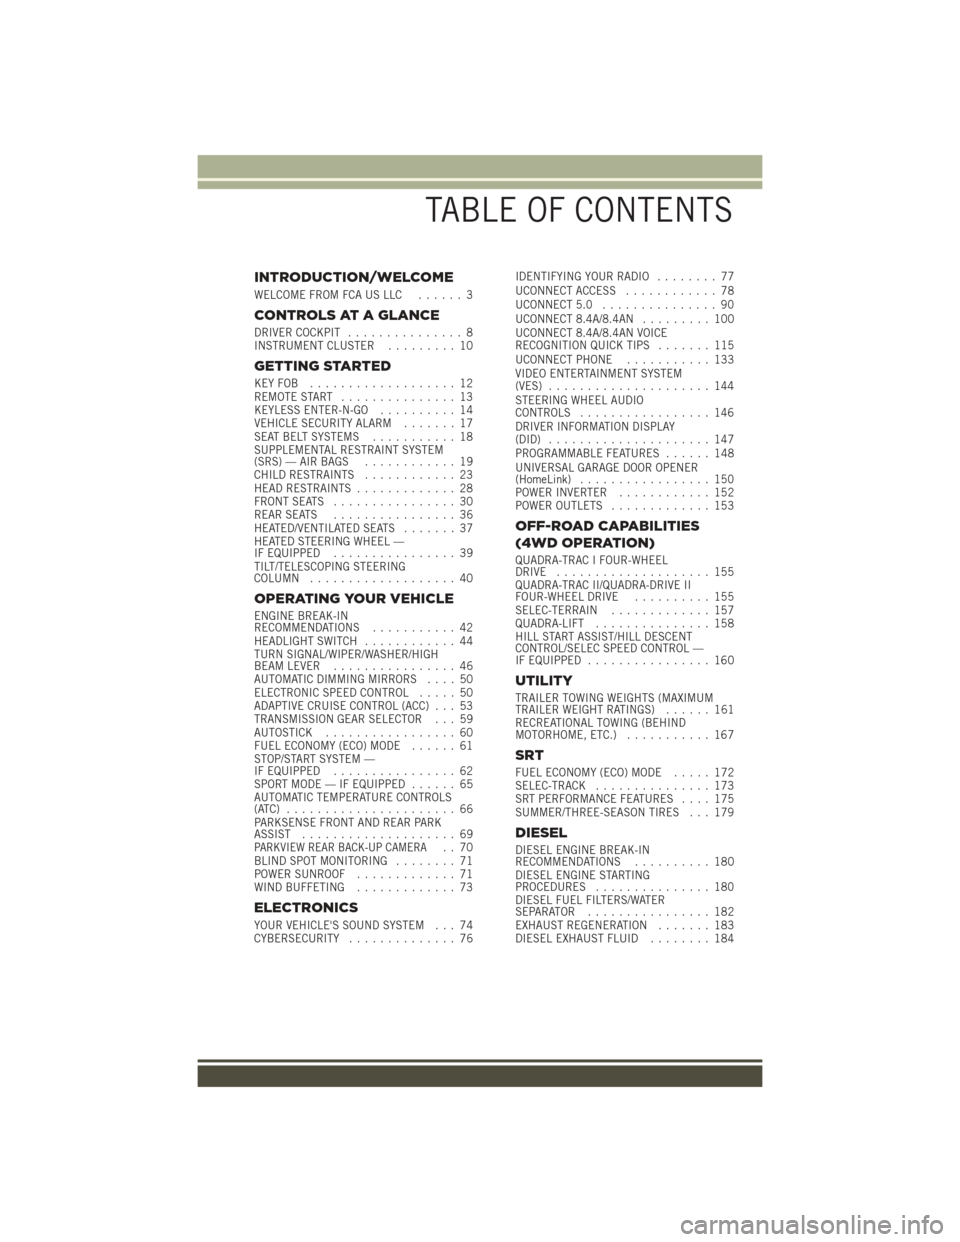
INTRODUCTION/WELCOME
WELCOME FROM FCA US LLC...... 3
CONTROLS AT A GLANCE
DRIVER COCKPIT............... 8
INSTRUMENT CLUSTER ......... 10
GETTING STARTED
KEYFOB ................... 12
REMOTE START............... 13
KEYLESS ENTER-N-GO .......... 14
VEHICLE SECURITY ALARM ....... 17
SEAT BELT SYSTEMS ........... 18
SUPPLEMENTAL RESTRAINT SYSTEM
(SRS) — AIR BAGS ............ 19
CHILD RESTRAINTS ............ 23
HEAD RESTRAINTS ............. 28
FRONT SEATS ................ 30
REAR SEATS ................ 36
HEATED/VENTILATED SEATS ....... 37
HEATED STEERING WHEEL —
IF EQUIPPED ................ 39
TILT/TELESCOPING STEERING
COLUMN ................... 40
OPERATING YOUR VEHICLE
ENGINE BREAK-IN
RECOMMENDATIONS ........... 42
HEADLIGHT SWITCH ............ 44
TURN SIGNAL/WIPER/WASHER/HIGH
BEAM LEVER ................ 46
AUTOMATIC DIMMING MIRRORS .... 50
ELECTRONIC SPEED CONTROL ..... 50
ADAPTIVE CRUISE CONTROL (ACC) . . . 53
TRANSMISSION GEAR SELECTOR . . . 59
AUTOSTICK ................. 60
FUEL ECONOMY (ECO) MODE ...... 61
STOP/START SYSTEM —
IF EQUIPPED ................ 62
SPORT MODE — IF EQUIPPED ...... 65
AUTOMATIC TEMPERATURE CONTROLS
(ATC) ...................... 66
PARKSENSE FRONT AND REAR PARK
ASSIST .................... 69
PARKVIEW REAR BACK-UP CAMERA.. 70
BLIND SPOT MONITORING ........ 71
POWER SUNROOF ............. 71
WIND BUFFETING ............. 73
ELECTRONICS
YOUR VEHICLE'S SOUND SYSTEM . . . 74
CYBERSECURITY.............. 76 IDENTIFYING YOUR RADIO
........ 77
UCONNECT ACCESS ............ 78
UCONNECT 5.0 ............... 90
UCONNECT 8.4A/8.4AN ......... 100
UCONNECT 8.4A/8.4AN VOICE
RECOGNITION QUICK TIPS ....... 115
UCONNECT PHONE ........... 133
VIDEO ENTERTAINMENT SYSTEM
(VES) ..................... 144
STEERING WHEEL AUDIO
CONTROLS ................. 146
DRIVER INFORMATION DISPLAY
(DID) ..................... 147
PROGRAMMABLE FEATURES ...... 148
UNIVERSAL GARAGE DOOR OPENER
(HomeLink) ................. 150
POWER INVERTER ............ 152
POWER OUTLETS ............. 153
OFF-ROAD CAPABILITIES
(4WD OPERATION)
QUADRA-TRAC I FOUR-WHEEL
DRIVE .................... 155
QUADRA-TRAC II/QUADRA-DRIVE II
FOUR-WHEEL DRIVE .......... 155
SELEC-TERRAIN ............. 157
QUADRA-LIFT ............... 158
HILL START ASSIST/HILL DESCENT
CONTROL/SELEC SPEED CONTROL —
IF EQUIPPED ................ 160
UTILITY
TRAILER TOWING WEIGHTS (MAXIMUM
TRAILER WEIGHT RATINGS) ...... 161
RECREATIONAL TOWING (BEHIND
MOTORHOME, ETC.) ........... 167
SRT
FUEL ECONOMY (ECO) MODE ..... 172
SELEC-TRACK ............... 173
SRT PERFORMANCE FEATURES .... 175
SUMMER/THREE-SEASON TIRES . . . 179
DIESEL
DIESEL ENGINE BREAK-IN
RECOMMENDATIONS .......... 180
DIESEL ENGINE STARTING
PROCEDURES ............... 180
DIESEL FUEL FILTERS/WATER
SEPARATOR ................ 182
EXHAUST REGENERATION ....... 183
DIESEL EXHAUST FLUID ........ 184
TABLE OF CONTENTS
Page 4 of 276
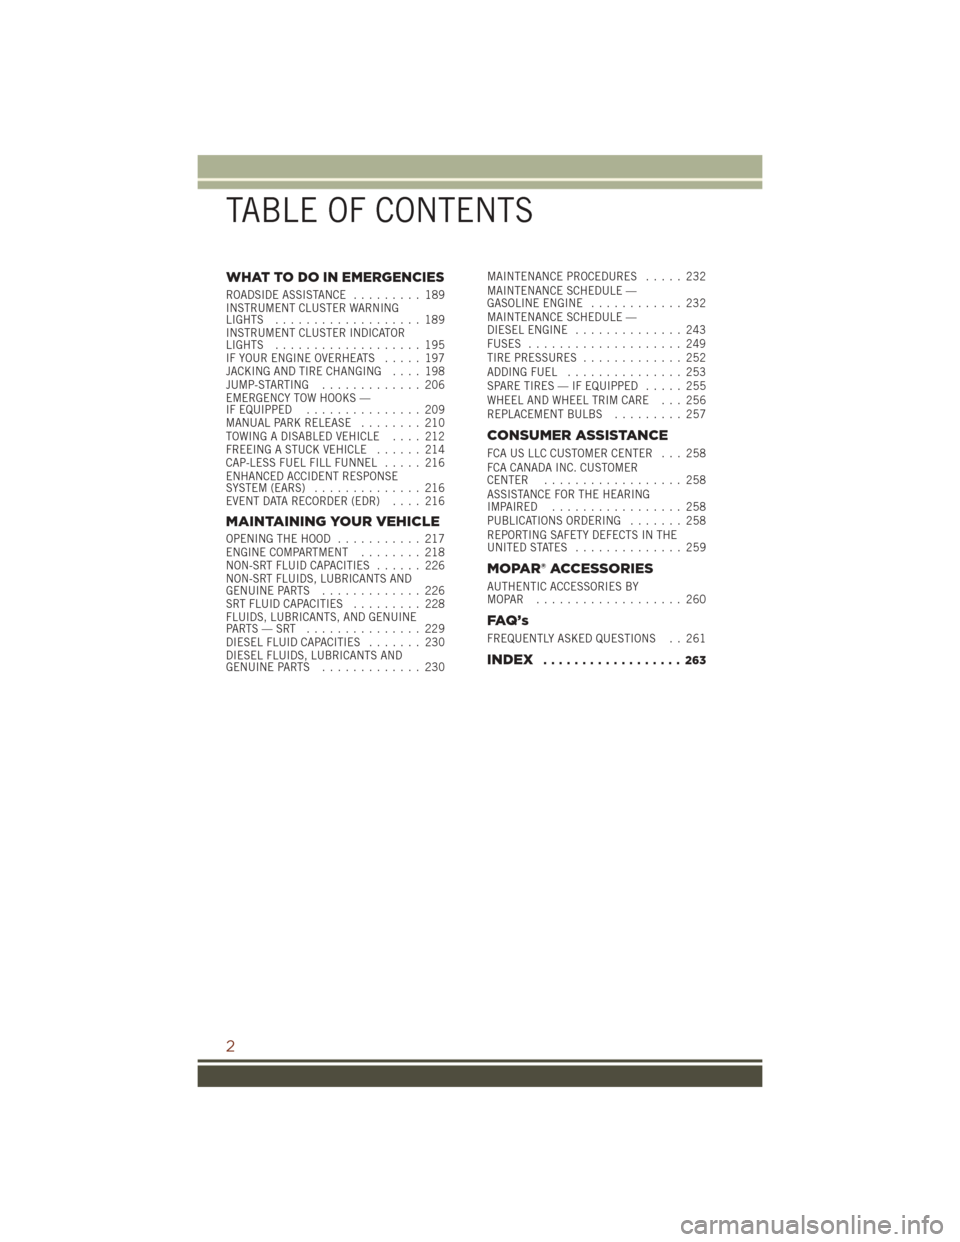
WHAT TO DO IN EMERGENCIES
ROADSIDE ASSISTANCE......... 189
INSTRUMENT CLUSTER WARNING
LIGHTS ................... 189
INSTRUMENT CLUSTER INDICATOR
LIGHTS ................... 195
IF YOUR ENGINE OVERHEATS ..... 197
JACKING AND TIRE CHANGING .... 198
JUMP-STARTING ............. 206
EMERGENCY TOW HOOKS —
IF EQUIPPED ............... 209
MANUAL PARK RELEASE ........ 210
TOWING A DISABLED VEHICLE .... 212
FREEING A STUCK VEHICLE ...... 214
CAP-LESS FUEL FILL FUNNEL ..... 216
ENHANCED ACCIDENT RESPONSE
SYSTEM (EARS) .............. 216
EVENT DATA RECORDER (EDR) .... 216
MAINTAINING YOUR VEHICLE
OPENING THE HOOD........... 217
ENGINE COMPARTMENT ........ 218
NON-SRT FLUID CAPACITIES ...... 226
NON-SRT FLUIDS, LUBRICANTS AND
GENUINE PARTS ............. 226
SRT FLUID CAPACITIES ......... 228
FLUIDS, LUBRICANTS, AND GENUINE
PARTS—SRT ............... 229
DIESEL FLUID CAPACITIES ....... 230
DIESEL FLUIDS, LUBRICANTS AND
GENUINE PARTS ............. 230 MAINTENANCE PROCEDURES
..... 232
MAINTENANCE SCHEDULE —
GASOLINE ENGINE ............ 232
MAINTENANCE SCHEDULE —
DIESEL ENGINE .............. 243
FUSES .................... 249
TIRE PRESSURES ............. 252
ADDING FUEL ............... 253
SPARE TIRES — IF EQUIPPED ..... 255
WHEEL AND WHEEL TRIM CARE . . . 256
REPLACEMENT BULBS ......... 257
CONSUMER ASSISTANCE
FCA US LLC CUSTOMER CENTER . . . 258
FCA CANADA INC. CUSTOMER
CENTER.................. 258
ASSISTANCE FOR THE HEARING
IMPAIRED ................. 258
PUBLICATIONS ORDERING ....... 258
REPORTING SAFETY DEFECTS IN THE
UNITEDSTATES .............. 259
MOPAR® ACCESSORIES
AUTHENTIC ACCESSORIES BY
MOPAR ................... 260
FAQ ’ s
FREQUENTLY ASKED QUESTIONS . . 261
INDEX.................. 263
TABLE OF CONTENTS
2
Page 10 of 276
DRIVER COCKPIT
1. Headlight Switch pg. 44
2. Turn Signal/Wiper/Washer/High Beams Lever (Behind Steering Wheel) pg. 46
3. AutoStick pg. 60
4. Driver Information Display (DID) Controls pg. 147
5. Instrument Cluster pg. 10
6. Speed Control pg. 50
7. Engine Start/Stop Button (Behind Steering Wheel) pg. 16
8. Audio System (Touchscreen Radio Shown) pg. 74
CONTROLS AT A GLANCE
8
Page 12 of 276
INSTRUMENT CLUSTER
1. Tachometer
2. Speedometer
3. Driver Information Display (DID) pg. 147
(See page 189 for Instrument Cluster Warning Lights.)
CONTROLS AT A GLANCE
10
Page 13 of 276
4. Engine Temperature Gauge pg. 189
5. Fuel Door Location
6. Fuel Gauge pg. 195
(See page 195 for Instrument Cluster Indicator Lights.)
CONTROLS AT A GLANCE
11
Page 19 of 276
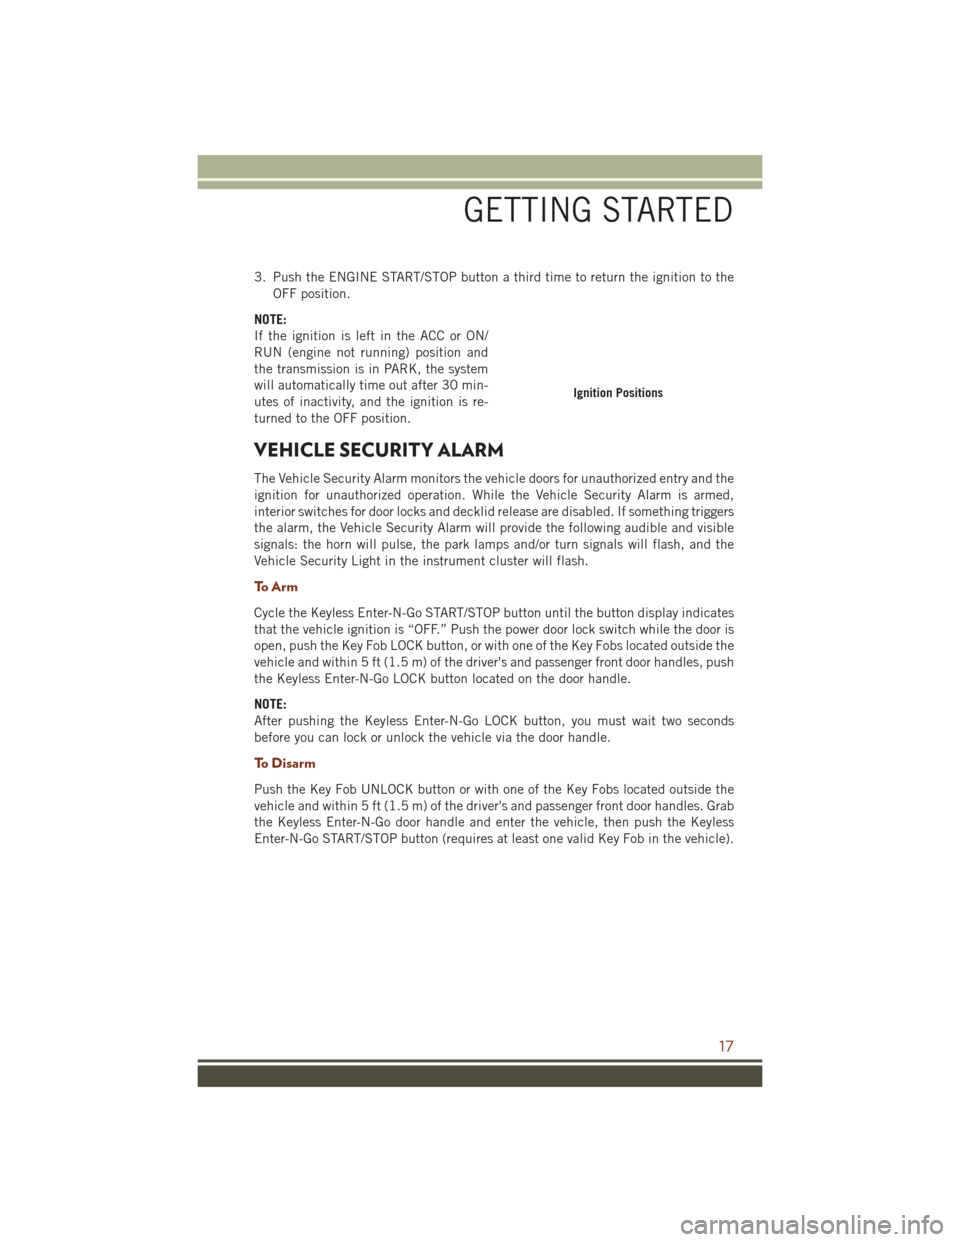
3. Push the ENGINE START/STOP button a third time to return the ignition to theOFF position.
NOTE:
If the ignition is left in the ACC or ON/
RUN (engine not running) position and
the transmission is in PARK, the system
will automatically time out after 30 min-
utes of inactivity, and the ignition is re-
turned to the OFF position.
VEHICLE SECURITY ALARM
The Vehicle Security Alarm monitors the vehicle doors for unauthorized entry and the
ignition for unauthorized operation. While the Vehicle Security Alarm is armed,
interior switches for door locks and decklid release are disabled. If something triggers
the alarm, the Vehicle Security Alarm will provide the following audible and visible
signals: the horn will pulse, the park lamps and/or turn signals will flash, and the
Vehicle Security Light in the instrument cluster will flash.
To A r m
Cycle the Keyless Enter-N-Go START/STOP button until the button display indicates
that the vehicle ignition is “OFF.” Push the power door lock switch while the door is
open, push the Key Fob LOCK button, or with one of the Key Fobs located outside the
vehicle and within 5 ft (1.5 m) of the driver's and passenger front door handles, push
the Keyless Enter-N-Go LOCK button located on the door handle.
NOTE:
After pushing the Keyless Enter-N-Go LOCK button, you must wait two seconds
before you can lock or unlock the vehicle via the door handle.
To Disarm
Push the Key Fob UNLOCK button or with one of the Key Fobs located outside the
vehicle and within 5 ft (1.5 m) of the driver's and passenger front door handles. Grab
the Keyless Enter-N-Go door handle and enter the vehicle, then push the Keyless
Enter-N-Go START/STOP button (requires at least one valid Key Fob in the vehicle).
Ignition Positions
GETTING STARTED
17
Page 35 of 276
NOTE:
If a memory profile has not already been set, refer to "Programming The Memory
Feature" in this section for instructions on how to set a memory profile.
3. Once the profile has been recalled, push and release the SET (S) button on thememory switch.
4. Within five seconds, push and release button (1) or (2) accordingly. “Memory Profile Set” (1 or 2) will display in the instrument cluster.
5. Push and release the LOCK button on the RKE transmitter within 10 seconds.
NOTE:
Your RKE transmitters can be unlinked to your memory settings by pushing the SET
(S) button, and within 10 seconds, followed by pushing the UNLOCK button on the
RKE transmitter.
Memory Position Recall
NOTE:
The vehicle must be in PARK to recall memory positions. If a recall is attempted
when the vehicle is not in PARK, a message will be displayed in the Driver
Information Display (DID).
Driver One Memory Position Recall
• To recall the memory settings for driver one using the memory switch , push MEMORY button number 1 on the memory switch.
• To recall the memory settings for driver one using the RKE transmitter, push the UNLOCK button on the RKE transmitter linked to memory position 1.
Driver Two Memory Position Recall
• To recall the memory setting for driver two using the memory switch, push MEMORY button number 2 on the memory switch.
• To recall the memory settings for driver two using the RKE transmitter, push the UNLOCK button on the RKE transmitter linked to memory position 2.
A recall can be cancelled by pushing any of the MEMORY buttons during a recall (S,
1, or 2). When a recall is cancelled, the driver's seat and steering column (if
equipped) stop moving. A delay of one second will occur before another recall can be
selected.
GETTING STARTED
33
Page 48 of 276
The brightness of the instrument panel lighting can be regulated by rotating the
dimmer control up (brighter) or down (dimmer). When the headlights are on you can
supplement the brightness of the odometer, trip odometer, radio and overhead
console by rotating the control to its farthest position up until you hear a click. This
feature is termed the “Parade” mode and is useful when headlights are required
during the day.
TURN SIGNAL/WIPER/WASHER/HIGH BEAM LEVER
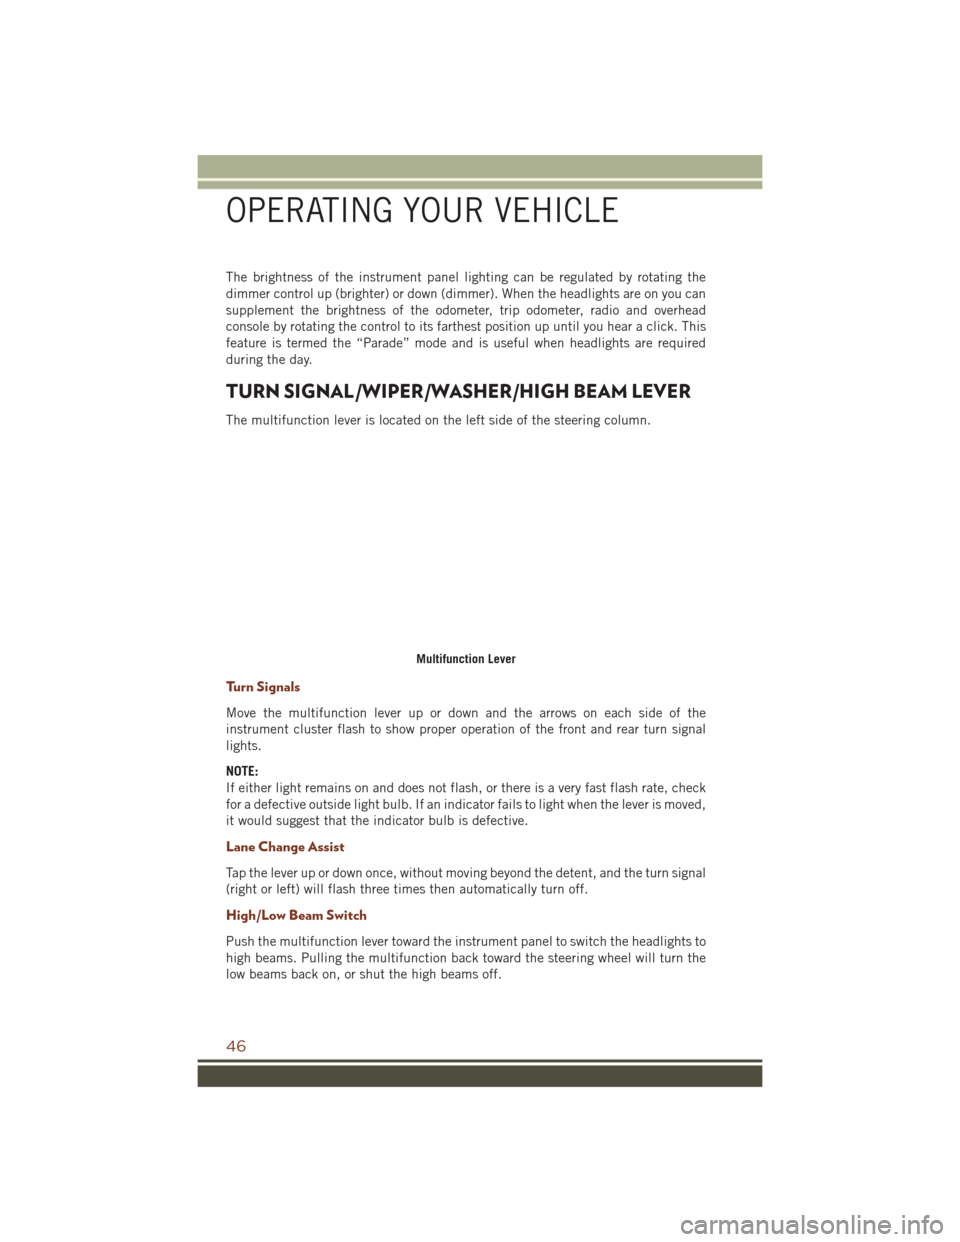
The multifunction lever is located on the left side of the steering column.
Turn Signals
Move the multifunction lever up or down and the arrows on each side of the
instrument cluster flash to show proper operation of the front and rear turn signal
lights.
NOTE:
If either light remains on and does not flash, or there is a very fast flash rate, check
for a defective outside light bulb. If an indicator fails to light when the lever is moved,
it would suggest that the indicator bulb is defective.
Lane Change Assist
Tap the lever up or down once, without moving beyond the detent, and the turn signal
(right or left) will flash three times then automatically turn off.
High/Low Beam Switch
Push the multifunction lever toward the instrument panel to switch the headlights to
high beams. Pulling the multifunction back toward the steering wheel will turn the
low beams back on, or shut the high beams off.
Multifunction Lever
OPERATING YOUR VEHICLE
46
Page 52 of 276
AUTOMATIC DIMMING MIRRORS
The rearview and driver side exterior mirror automatically adjusts for headlight glare
from vehicles behind you.
ELECTRONIC SPEED CONTROL
When engaged, the Electronic Speed Control takes over accelerator operations at
speeds greater than 25 mph (40 km/h).
The Electronic Speed Control buttons are located on the right side of the steering
wheel.
NOTE:
In order to ensure proper operation, the
Electronic Speed Control System has
been designed to shut down if multiple
Speed Control functions are operated at
the same time. If this occurs, the Elec-
tronic Speed Control System can be re-
activated by pushing the Electronic
Speed Control ON/OFF button and reset-
ting the desired vehicle set speed.
To Activate
Push the ON/OFF button to activate the
electronic speed control. CRUISE CON-
TROL READY will appear on the instru-
ment cluster to indicate the electronic
speed control is on. To turn the system
off, push the ON/OFF button a second
time. CRUISE CONTROL OFF will appear
on the instrument cluster to indicate the
electronic speed control is off. The sys-
tem should be turned off when not in use.
WARNING!
Leaving the Electronic Speed Control system on when not in use is dangerous. You
could accidentally set the system or cause it to go faster than you want. You could
lose control and have an accident. Always leave the system OFF when you are not
using it.
Electronic Speed Control Switches
1 — Push Cancel
2 — Push Set+/Accel
3 — Push Resume
4 — Push On/Off
5 — Push Set-/Decel
OPERATING YOUR VEHICLE
50
Page 53 of 276
To Set A Desired Speed
Turn the Electronic Speed Control ON. When the vehicle has reached the desired
speed, push the SET (+) or SET (-) button and release. Release the accelerator and
the vehicle will operate at the selected speed. Once a speed has been set a message
CRUISE CONTROL SET TO MPH (km/h) will appear indicating what speed was set.
A CRUISE indicator lamp, along with set speed will also appear and stay on in the
instrument cluster when the speed is set.
To Deactivate
A soft tap on the brake pedal, pushing the CANCEL button, or normal brake pressure
while slowing the vehicle will deactivate the Electronic Speed Control without erasing
the set speed from memory.
Pushing the ON/OFF button or turning the ignition switch OFF erases the set speed
from memory.
To Resume Speed
To resume a previously set speed, push the RES (+) button and release. Resume can
be used at any speed above 20 mph (32 km/h).
To Vary The Speed Setting
To Increase Speed
When the Electronic Speed Control is set, you can increase speed by pushing the
SET+button.
The drivers preferred units can be selected through the instrument panel settings if
equipped. Refer to “Understanding Your Instrument Panel” in the Owner’s Manual
on the DVD for more information. The speed increment shown is dependant on the
chosen speed unit of U.S. (mph) or Metric (km/h):
U.S. Speed (mph)
• Pushing the SET +button once will result in a 1 mph increase in set speed. Each
subsequent tap of the button results in an increase of 1 mph.
• If the button is continually pushed, the set speed will continue to increase until the button is released, then the new set speed will be established.
Metric Speed (km/h)
• Pushing the SET +button once will result in a 1 km/h increase in set speed. Each
subsequent tap of the button results in an increase of 1 km/h.
• If the button is continually pushed, the set speed will continue to increase until the button is released, then the new set speed will be established.
OPERATING YOUR VEHICLE
51