reset JEEP GRAND CHEROKEE 2017 WK2 / 4.G Owner's Manual
[x] Cancel search | Manufacturer: JEEP, Model Year: 2017, Model line: GRAND CHEROKEE, Model: JEEP GRAND CHEROKEE 2017 WK2 / 4.GPages: 372
Page 173 of 372
NOTE:
Activate the Hill Descent Control or Selec
Speed Control for steep downhill control. See
“Electronic Brake Control System” in this
section for further information.
Instrument Cluster Display Messages
When the appropriate conditions exist, a
message will appear in the instrument clus-
ter. Refer to “Instrument Cluster Display” in
“Getting To Know Your Instrument Panel” for
further information.
SELEC-TRACK — IF
EQUIPPED (SRT)
Description
Selec-Track combines the capabilities of the
vehicle control systems, along with driver
input, to provide the best performance for all
terrains.
Rotate the Selec-Track knob to select the
desired mode.Refer to “Drive Modes” in the “Multimedia”
section in your Owner’s Manual at
www.jeep.com/en/owners/manuals/ for fur-
ther information.
Selec-Track consists of the following posi-
tions:
•
Sport – Dry weather, on-road calibration.
Performance based tuning that provides a
rear wheel drive feel but with improved
handling and acceleration over a two-
wheel drive vehicle. This feature will reset
to AUTO on an ignition cycle.
• Snow – Tuning set for additional stability in
inclement weather. Use on and off road on
loose traction surfaces such as snow. This
feature will reset to AUTO upon an ignition
cycle. •
Auto – Fully automatic full time four-wheel
drive operation can be used on and off
road. Balances traction with seamless
steering feel to provide improved handling
and acceleration over two-wheel drive ve-
hicles.
• Track – Track road calibration for use on
high traction surfaces. Driveline is maxi-
mized for traction. Some binding may be
felt on less forgiving surfaces. This feature
will reset to AUTO on an ignition cycle.
• To w – Use this mode for towing and haul-
ing heavy loads. Vehicle suspension will go
to sport mode. Trailer sway control is en-
abled in the ESC system. This feature will
reset to AUTO upon an ignition cycle.
Custom
This mode allows the driver to create a cus-
tom vehicle configuration that is saved for
quick selection of favorite settings. The sys-
tem will return to AUTO mode when the
ignition switch is cycled from RUN to OFF to
RUN, if this mode is selected. While in Cus-
tom Mode the Stability, Transmission, Steer-
Selec-Track Switch
171
Page 175 of 372
NOTE:
In order to ensure proper operation, the Elec-
tronic Speed Control System has been de-
signed to shut down if multiple Speed Control
functions are operated at the same time. If
this occurs, the Electronic Speed Control
System can be reactivated by pushing the
Electronic Speed Control ON/OFF button and
resetting the desired vehicle set speed.
Activation
Push the ON/OFF button to activate the elec-
tronic speed control. CRUISE CONTROL
READY will appear on the instrument cluster
display to indicate the electronic speed con-
trol is on. To turn the system off, push the
ON/OFF button a second time. CRUISE CON-
TROL OFF will appear on the instrument
cluster display to indicate the electronic
speed control is off. The system should be
turned off when not in use.
WARNING!
Leaving the Electronic Speed Control sys-
tem on when not in use is dangerous. You
could accidentally set the system or cause
WARNING!
it to go faster than you want. You could
lose control and have an accident. Always
leave the system off when you are not
using it.
Setting A Desired Speed
Turn the Electronic Speed Control ON. When
the vehicle has reached the desired speed,
push the SET (+) or SET (-) button and
release. Release the accelerator and the ve-
hicle will operate at the selected speed. Once
a speed has been set a message CRUISE
CONTROL SET TO MPH (km/h) will appear
indicating what speed was set. A CRUISE
indicator lamp, along with set speed will also
appear and stay on in the instrument cluster
display when the speed is set.
Varying The Speed
Once the Electronic Speed Control has been
activated, the speed can be increased or
decreased.
To Increase Speed
When the Electronic Speed Control is set, you
can increase speed by pushing the SET+
button.
The drivers preferred units can be selected
through the instrument panel settings if
equipped. Refer to “Getting To Know Your
Instrument Panel” in the Owner’s Manual at
www.jeep.com/en/owners/manuals/ for more
information. The speed increment shown is
dependant on the chosen speed unit of U.S.
(mph) or Metric (km/h):
U.S. Speed (mph)
• Pushing the SET +button once will result
in a 1 mph increase in set speed. Each
subsequent tap of the button results in an
increase of 1 mph.
• If the button is continually pushed, the set speed will continue to increase until the
button is released, then the new set speed
will be established.
173
Page 177 of 372
If the ACC sensor detects a vehicle ahead,
ACC will apply limited braking or acceleration
automatically to maintain a preset following
distance, while matching the speed of the
vehicle ahead.If the sensor does not detect a vehicle ahead
of you, ACC will maintain a fixed set speed.
Activation
Push and release the Adaptive Cruise Control
(ACC) ON/OFF button.
ACC READY will appear in the instrument
cluster display to indicate the ACC is on.
Setting A Desired Speed
When the vehicle reaches the speed desired,
push the SET
+button or the SET -button
and release. The instrument cluster display
will show the set speed.
If the system is Set when the vehicle speed is
below 20 mph (32 km/h), the Set Speed shall
be defaulted to 20 mph (32 km/h). If the
system is Set when the vehicle speed is above
20 mph (32 km/h), the Set Speed shall be
the current speed of the vehicle.
NOTE:
ACC cannot be set if there is a stationary
vehicle in front of your vehicle in close prox-
imity. Remove your foot from the accelerator pedal.
If you do not, the vehicle may continue to
accelerate beyond the set speed. If this oc-
curs:
• The message “DRIVER OVERRIDE” will
appear in the instrument cluster display.
• The system will not be controlling the distance between your vehicle and the
vehicle ahead. The vehicle speed will only
be determined by the position of the ac-
celerator pedal.
Varying The Speed
Once the ACC has been activated, the speed
can be increased or decreased.
NOTE:
• When you override and push the SET +
button or SET -buttons, the new Set
Speed will be the current speed of the
vehicle.
• When you use the SET -button to decel-
erate, if the engine’s braking power does
not slow the vehicle sufficiently to reach
the set speed, the brake system will auto-
matically slow the vehicle.Adaptive Cruise Switches
1 — Adaptive Cruise Control (ACC) On/
Off
2 — Distance Setting – Decrease
3 — Distance Setting – Increase
175
Page 180 of 372
• Pushing the normal (Fixed Speed) SPEEDCONTROL ON/OFF button will result in
turning ON (changing to) the normal
(Fixed Speed) Speed Control mode.
Refer to your Owner's Manual at
www.jeep.com/en/owners/manuals/ for fur-
ther information.
WARNING!
Adaptive Cruise Control (ACC) is a conve-
nience system. It is not a substitute for
active driving involvement. It is always the
driver’s responsibility to be attentive of
road, traffic, and weather conditions, ve-
hicle speed, distance to the vehicle ahead;
and, most importantly, brake operation to
ensure safe operation of the vehicle under
all road conditions. Your complete atten-
tion is always required while driving to
maintain safe control of your vehicle. Fail-
ure to follow these warnings can result in a
collision and death or serious personal
injury.
The ACC system:
• Does not react to pedestrians, oncoming vehicles, and stationary objects (e.g., a
WARNING!
stopped vehicle in a traffic jam or a
disabled vehicle).
• Cannot take street, traffic, and weather
conditions into account, and may be
limited upon adverse sight distance con-
ditions.
• Does not always fully recognize complex
driving conditions, which can result in
wrong or missing distance warnings.
• Will bring the vehicle to a complete stop
while following a target vehicle and hold
the vehicle for 2 seconds in the stop
position. If the target vehicle does not
start moving within two seconds the ACC
system will display a message that the
system will release the brakes and that
the brakes must be applied manually. An
audible chime will sound when the
brakes are released.
You should switch off the ACC system:
• When driving in fog, heavy rain, heavy
snow, sleet, heavy traffic, and complex
driving situations (i.e., in highway con-
struction zones).
WARNING!
• When entering a turn lane or highway offramp; when driving on roads that are
winding, icy, snow-covered, slippery, or
have steep uphill or downhill slopes.
• When towing a trailer up or down steep
slopes.
• When circumstances do not allow safe
driving at a constant speed.
The Cruise Control system has two control
modes:
• Adaptive Cruise Control mode for main-
taining an appropriate distance between
vehicles.
• Normal (fixed speed) electronic speed
control mode for cruising at a constant
preset speed. For additional informa-
tion, refer to “Normal (Fixed Speed)
Cruise Control Mode” in your Owner’s
Manual at
www.jeep.com/en/owners/manuals/
Normal (fixed speed) electronic speed con-
trol will not react to preceding vehicles. Al-
ways be aware of the mode selected.
You can change the mode by using the
Cruise Control buttons. The two control
STARTING AND OPERATING
178
Page 234 of 372
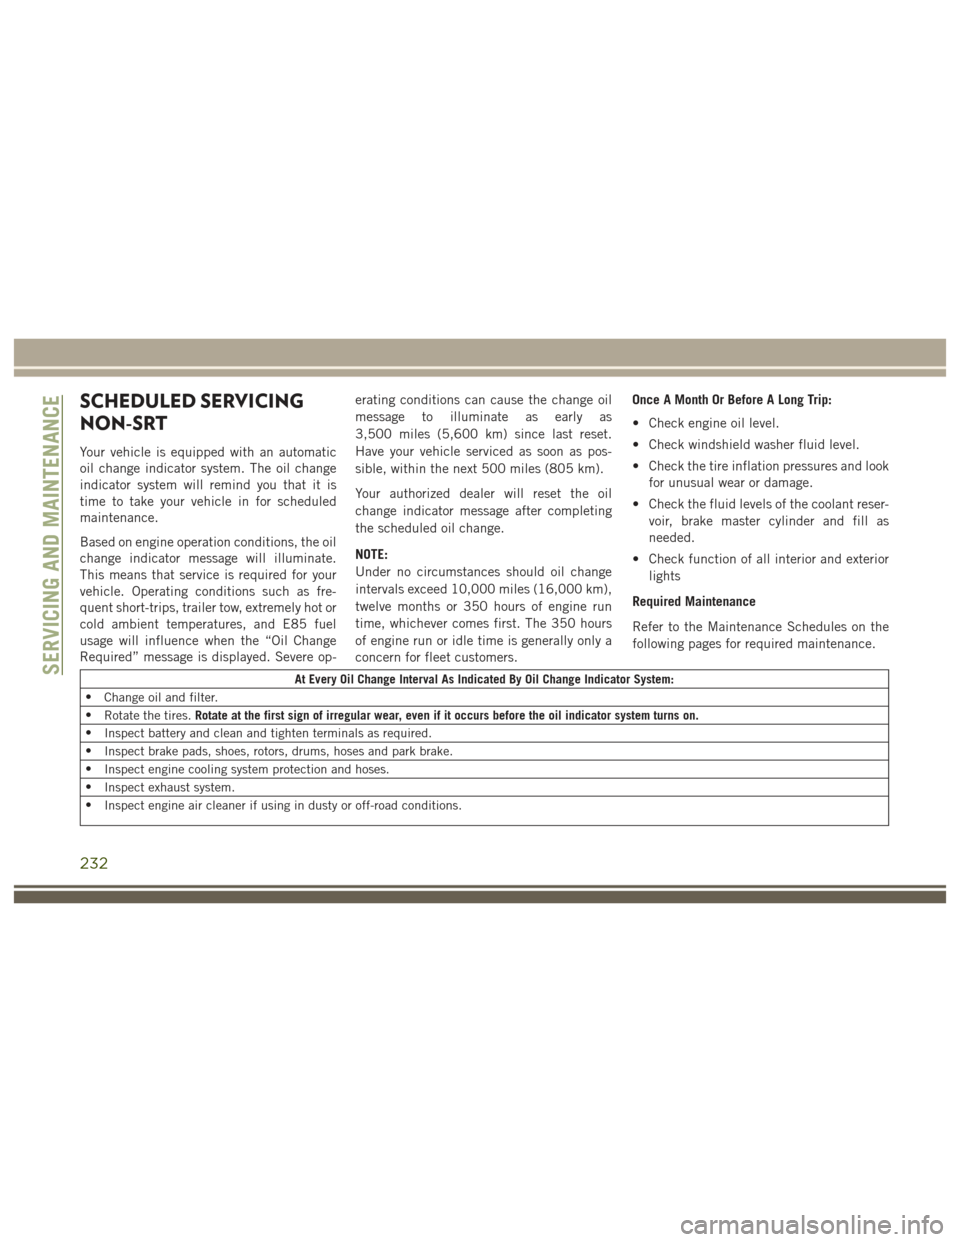
SCHEDULED SERVICING
NON-SRT
Your vehicle is equipped with an automatic
oil change indicator system. The oil change
indicator system will remind you that it is
time to take your vehicle in for scheduled
maintenance.
Based on engine operation conditions, the oil
change indicator message will illuminate.
This means that service is required for your
vehicle. Operating conditions such as fre-
quent short-trips, trailer tow, extremely hot or
cold ambient temperatures, and E85 fuel
usage will influence when the “Oil Change
Required” message is displayed. Severe op-erating conditions can cause the change oil
message to illuminate as early as
3,500 miles (5,600 km) since last reset.
Have your vehicle serviced as soon as pos-
sible, within the next 500 miles (805 km).
Your authorized dealer will reset the oil
change indicator message after completing
the scheduled oil change.
NOTE:
Under no circumstances should oil change
intervals exceed 10,000 miles (16,000 km),
twelve months or 350 hours of engine run
time, whichever comes first. The 350 hours
of engine run or idle time is generally only a
concern for fleet customers. Once A Month Or Before A Long Trip:
• Check engine oil level.
• Check windshield washer fluid level.
• Check the tire inflation pressures and look
for unusual wear or damage.
• Check the fluid levels of the coolant reser- voir, brake master cylinder and fill as
needed.
• Check function of all interior and exterior lights
Required Maintenance
Refer to the Maintenance Schedules on the
following pages for required maintenance.
At Every Oil Change Interval As Indicated By Oil Change Indicator System:
• Change oil and filter.
• Rotate the tires. Rotate at the first sign of irregular wear, even if it occurs before the oil indicator system turns on.
• Inspect battery and clean and tighten terminals as required.
• Inspect brake pads, shoes, rotors, drums, hoses and park brake.
• Inspect engine cooling system protection and hoses.
• Inspect exhaust system.
• Inspect engine air cleaner if using in dusty or off-road conditions.SERVICING AND MAINTENANCE
232
Page 237 of 372
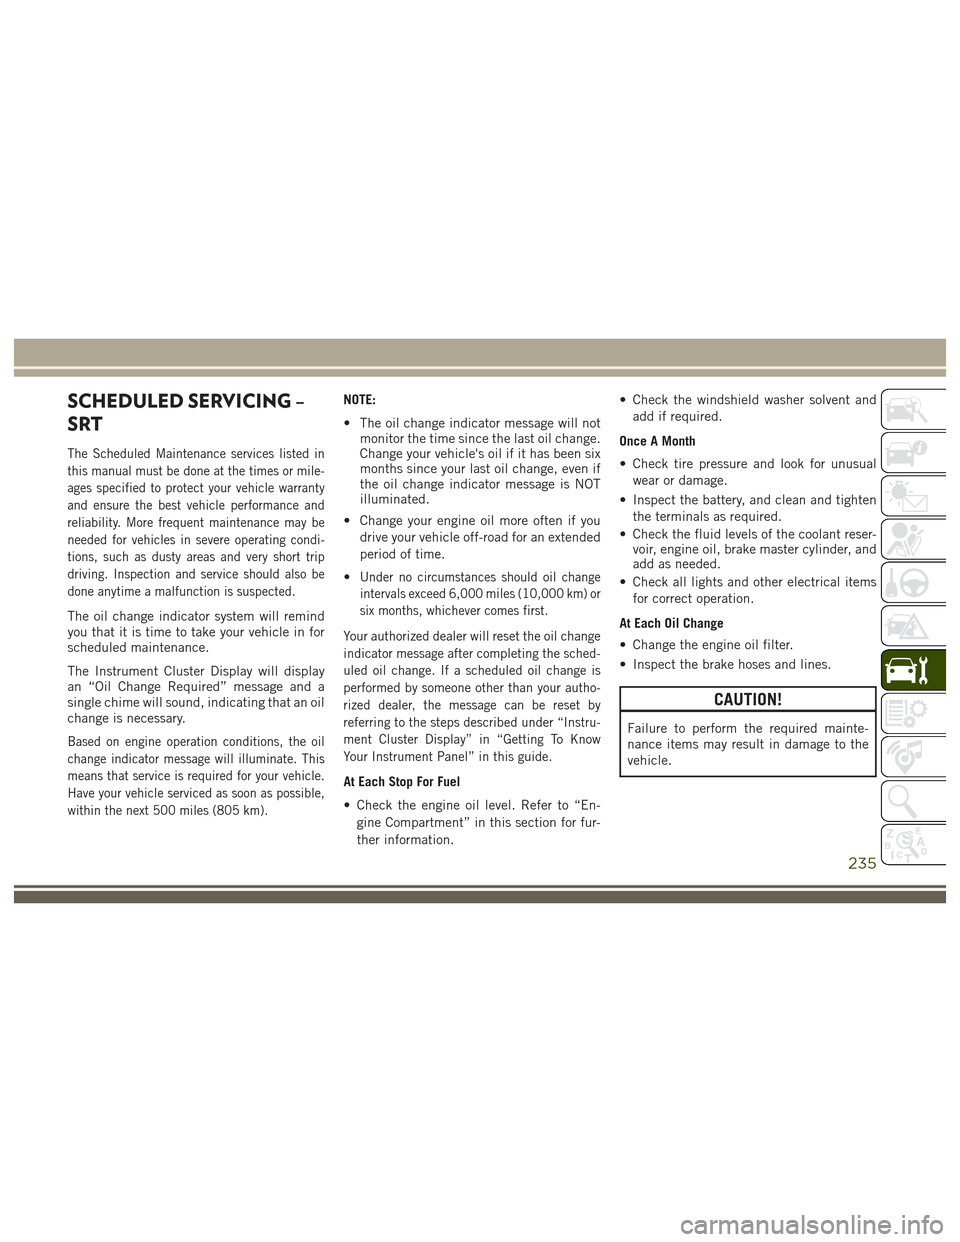
SCHEDULED SERVICING –
SRT
The Scheduled Maintenance services listed in
this manual must be done at the times or mile-
ages specified to protect your vehicle warranty
and ensure the best vehicle performance and
reliability. More frequent maintenance may be
needed for vehicles in severe operating condi-
tions, such as dusty areas and very short trip
driving. Inspection and service should also be
done anytime a malfunction is suspected.
The oil change indicator system will remind
you that it is time to take your vehicle in for
scheduled maintenance.
The Instrument Cluster Display will display
an “Oil Change Required” message and a
single chime will sound, indicating that an oil
change is necessary.
Based on engine operation conditions, the oil
change indicator message will illuminate. This
means that service is required for your vehicle.
Have your vehicle serviced as soon as possible,
within the next 500 miles (805 km).
NOTE:
• The oil change indicator message will notmonitor the time since the last oil change.
Change your vehicle's oil if it has been six
months since your last oil change, even if
the oil change indicator message is NOT
illuminated.
• Change your engine oil more often if you drive your vehicle off-road for an extended
period of time.
•
Under no circumstances should oil change
intervals exceed 6,000 miles (10,000 km) or
six months, whichever comes first.
Your authorized dealer will reset the oil change
indicator message after completing the sched-
uled oil change. If a scheduled oil change is
performed by someone other than your autho-
rized dealer, the message can be reset by
referring to the steps described under “Instru-
ment Cluster Display” in “Getting To Know
Your Instrument Panel” in this guide.
At Each Stop For Fuel
• Check the engine oil level. Refer to “En- gine Compartment” in this section for fur-
ther information. • Check the windshield washer solvent and
add if required.
Once A Month
• Check tire pressure and look for unusual wear or damage.
• Inspect the battery, and clean and tighten the terminals as required.
• Check the fluid levels of the coolant reser- voir, engine oil, brake master cylinder, and
add as needed.
• Check all lights and other electrical items for correct operation.
At Each Oil Change
• Change the engine oil filter.
• Inspect the brake hoses and lines.
CAUTION!
Failure to perform the required mainte-
nance items may result in damage to the
vehicle.
235
Page 241 of 372
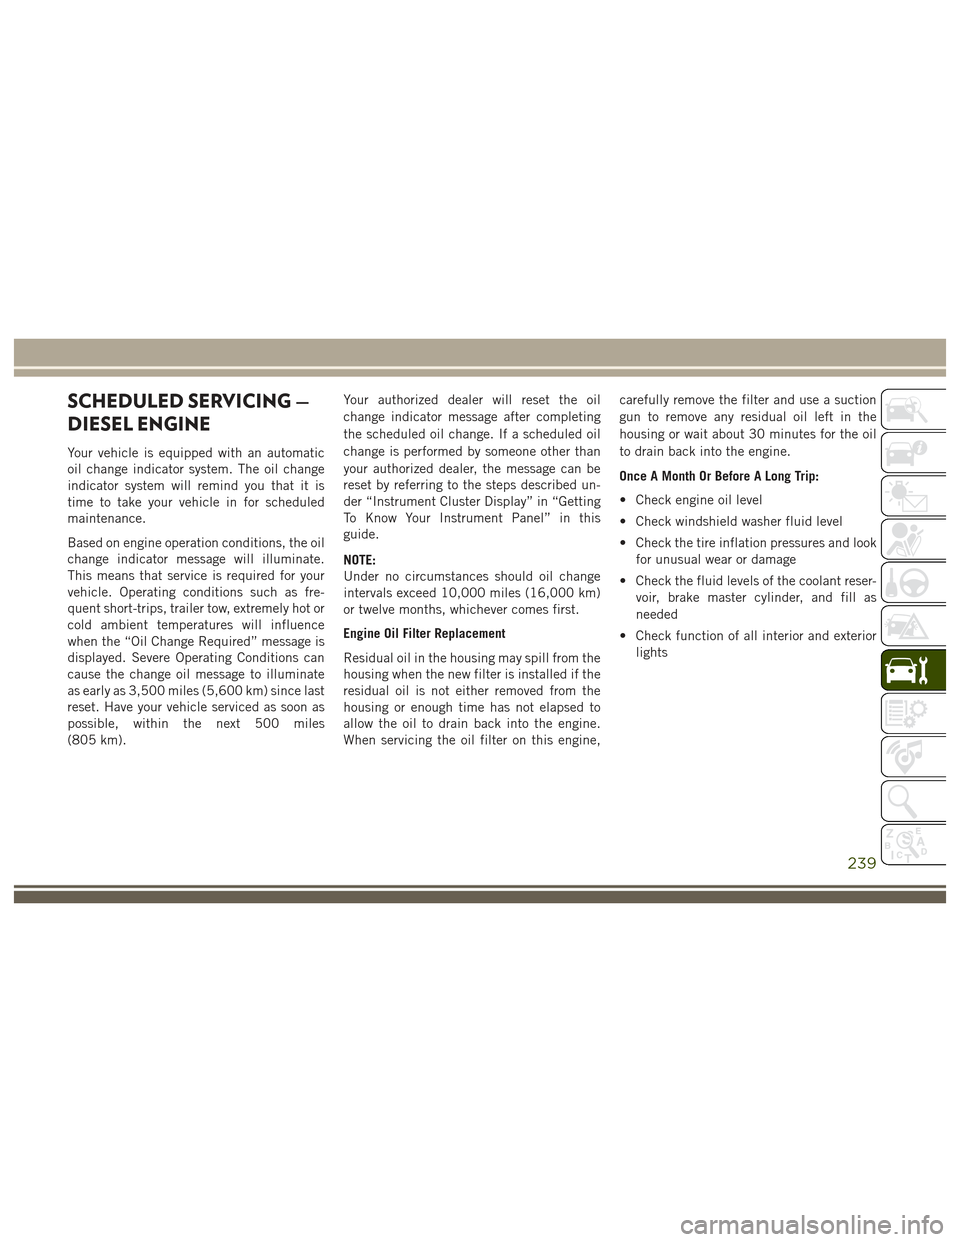
SCHEDULED SERVICING —
DIESEL ENGINE
Your vehicle is equipped with an automatic
oil change indicator system. The oil change
indicator system will remind you that it is
time to take your vehicle in for scheduled
maintenance.
Based on engine operation conditions, the oil
change indicator message will illuminate.
This means that service is required for your
vehicle. Operating conditions such as fre-
quent short-trips, trailer tow, extremely hot or
cold ambient temperatures will influence
when the “Oil Change Required” message is
displayed. Severe Operating Conditions can
cause the change oil message to illuminate
as early as 3,500 miles (5,600 km) since last
reset. Have your vehicle serviced as soon as
possible, within the next 500 miles
(805 km).Your authorized dealer will reset the oil
change indicator message after completing
the scheduled oil change. If a scheduled oil
change is performed by someone other than
your authorized dealer, the message can be
reset by referring to the steps described un-
der “Instrument Cluster Display” in “Getting
To Know Your Instrument Panel” in this
guide.
NOTE:
Under no circumstances should oil change
intervals exceed 10,000 miles (16,000 km)
or twelve months, whichever comes first.
Engine Oil Filter Replacement
Residual oil in the housing may spill from the
housing when the new filter is installed if the
residual oil is not either removed from the
housing or enough time has not elapsed to
allow the oil to drain back into the engine.
When servicing the oil filter on this engine,carefully remove the filter and use a suction
gun to remove any residual oil left in the
housing or wait about 30 minutes for the oil
to drain back into the engine.
Once A Month Or Before A Long Trip:
• Check engine oil level
• Check windshield washer fluid level
• Check the tire inflation pressures and look
for unusual wear or damage
• Check the fluid levels of the coolant reser- voir, brake master cylinder, and fill as
needed
• Check function of all interior and exterior lights
239
Page 252 of 372
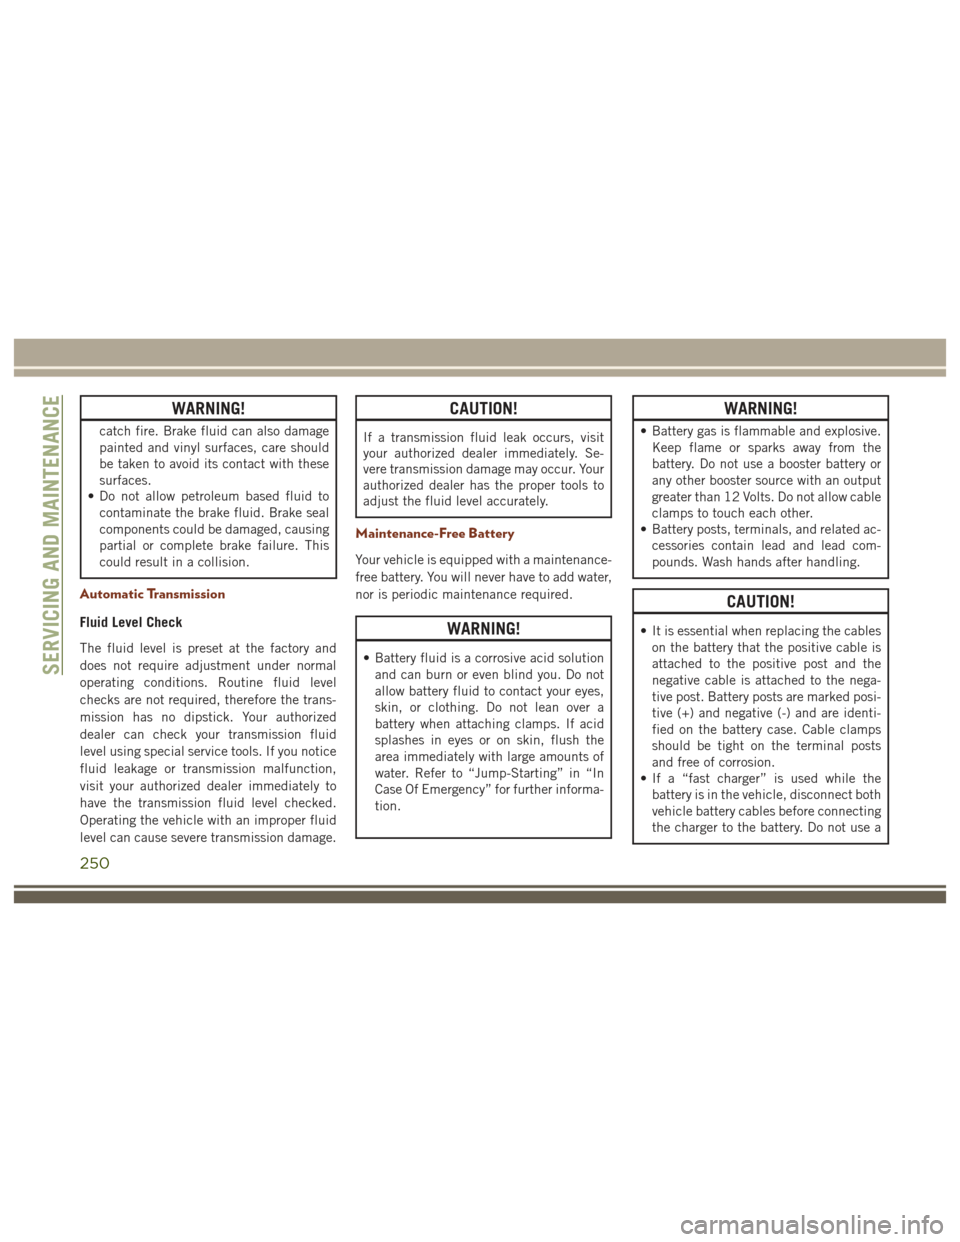
WARNING!
catch fire. Brake fluid can also damage
painted and vinyl surfaces, care should
be taken to avoid its contact with these
surfaces.
• Do not allow petroleum based fluid to
contaminate the brake fluid. Brake seal
components could be damaged, causing
partial or complete brake failure. This
could result in a collision.
Automatic Transmission
Fluid Level Check
The fluid level is preset at the factory and
does not require adjustment under normal
operating conditions. Routine fluid level
checks are not required, therefore the trans-
mission has no dipstick. Your authorized
dealer can check your transmission fluid
level using special service tools. If you notice
fluid leakage or transmission malfunction,
visit your authorized dealer immediately to
have the transmission fluid level checked.
Operating the vehicle with an improper fluid
level can cause severe transmission damage.
CAUTION!
If a transmission fluid leak occurs, visit
your authorized dealer immediately. Se-
vere transmission damage may occur. Your
authorized dealer has the proper tools to
adjust the fluid level accurately.
Maintenance-Free Battery
Your vehicle is equipped with a maintenance-
free battery. You will never have to add water,
nor is periodic maintenance required.
WARNING!
• Battery fluid is a corrosive acid solutionand can burn or even blind you. Do not
allow battery fluid to contact your eyes,
skin, or clothing. Do not lean over a
battery when attaching clamps. If acid
splashes in eyes or on skin, flush the
area immediately with large amounts of
water. Refer to “Jump-Starting” in “In
Case Of Emergency” for further informa-
tion.
WARNING!
• Battery gas is flammable and explosive.Keep flame or sparks away from the
battery. Do not use a booster battery or
any other booster source with an output
greater than 12 Volts. Do not allow cable
clamps to touch each other.
• Battery posts, terminals, and related ac-
cessories contain lead and lead com-
pounds. Wash hands after handling.
CAUTION!
• It is essential when replacing the cableson the battery that the positive cable is
attached to the positive post and the
negative cable is attached to the nega-
tive post. Battery posts are marked posi-
tive (+) and negative (-) and are identi-
fied on the battery case. Cable clamps
should be tight on the terminal posts
and free of corrosion.
• If a “fast charger” is used while the
battery is in the vehicle, disconnect both
vehicle battery cables before connecting
the charger to the battery. Do not use a
SERVICING AND MAINTENANCE
250
Page 292 of 372
alter the image on the screen. The vehicle
must be in the ON/RUN position to display
Selec-Terrain information.
The selectable modes are as follows:
• Snow
• Sand
• Auto — Default
• Mud
• Rock — Vehicle Must Be In 4 Wheel DriveLow
NOTE:
While in the Selec-Terrain pages, the Off
Road Pages Status Bar will also display the
current Selec-Terrain mode.TIPS CONTROLS AND
GENERAL INFORMATION
Steering Wheel Audio Controls
The steering wheel audio controls are located
on the rear surface of the steering wheel.
Right Switch
• Push the switch up or down to increase or decrease the volume.
• Push the button in the center to change modes AM/FM/CD/SXM. Left Switch
• Push the switch up or down to search for
the next listenable station or select the
next or previous CD track.
• Push the button in the center to select the next preset station (radio) or to change
CDs if equipped with a CD Player.
Reception Conditions
Reception conditions change constantly
while driving. Reception may be interfered
with by the presence of mountains, buildings
or bridges, especially when you are far away
from the broadcaster.
The volume may be increased when receiving
traffic alerts and news.
Care And Maintenance
Observe the following precautions to ensure
the system is fully operational:
• The display lens should not come intocontact with pointed or rigid objects which
could damage its surface; use a soft, dry
anti-static cloth to clean and do not press.
• Never use alcohol, petrols and derivatives to clean the display lens.
Current Selec-Terrain Mode
Steering Wheel Audio Controls
MULTIMEDIA
290
Page 308 of 372
Clock Setting
To start the clock setting procedure:
1. Push the MORE button on the faceplate.Next press the “Settings” button on the
touchscreen and then press the “Clock
and Date” button on the touchscreen.
2. Press the “Set Time” button on the touchscreen.
3. Press the “Up” or “Down” arrows to ad- just the hours or minutes, next select the
“AM” or “PM” button on the touchscreen.
You can also select 12hr or 24hr format
by pressing the desired button on the
touchscreen.
4. Once the time is set press the “Done” button on the touchscreen to exit the time
screen.
NOTE:
In the Clock Setting Menu you can also select
the “Show Time Status” button on the touch-
screen, then select from “On” or “Off” to
display the time in the status bar.
Equalizer, Balance And Fade
1. Push the MORE button on the faceplate. Next press the “Settings” button on the
touchscreen.
2. Then scroll down and press the “Audio” button on the touchscreen to get to the
Audio menu.
3. The Audio Menu shows the following op- tions for you to customize your audio
settings.
Equalizer
Press the “Equalizer” button on the touch-
screen to adjust the Bass, Mid and Treble.
Use the “+” or “–” button on the touchscreen
to adjust the equalizer to your desired set-
tings. Press the “Back Arrow” button on the
touchscreen when done.
Balance/Fade
Press the “Balance/Fade” button on the
touchscreen to adjust the sound from the
speakers. Use the arrow button on the touch-
screen to adjust the sound level from the
front and rear or right and left side speakers.
Press the Center “C” button on the touch- screen to reset the balance and fade to the
factory setting. Press the “Back Arrow” but-
ton on the touchscreen when done.
Speed Adjusted Volume
Press the “Speed Adjusted Volume” button
on the touchscreen to select between OFF, 1,
2 or 3. This will decrease the radio volume
relative to a decrease in vehicle speed. Press
the “Back Arrow” button on the touchscreen
when done.
Loudness
Press the “Loudness” button on the touch-
screen to select the Loudness feature. When
this feature is activated it improves sound
quality at lower volumes.
Surround Sound
Press the “Surround Sound” button on the
touchscreen, select “On” or “Off” followed
by pressing the “Back Arrow” button on the
touchscreen. When this feature is activated,
it provides simulated surround sound mode.
MULTIMEDIA
306