start stop button JEEP GRAND CHEROKEE 2017 WK2 / 4.G Owner's Manual
[x] Cancel search | Manufacturer: JEEP, Model Year: 2017, Model line: GRAND CHEROKEE, Model: JEEP GRAND CHEROKEE 2017 WK2 / 4.GPages: 372
Page 202 of 372
CAUTION!
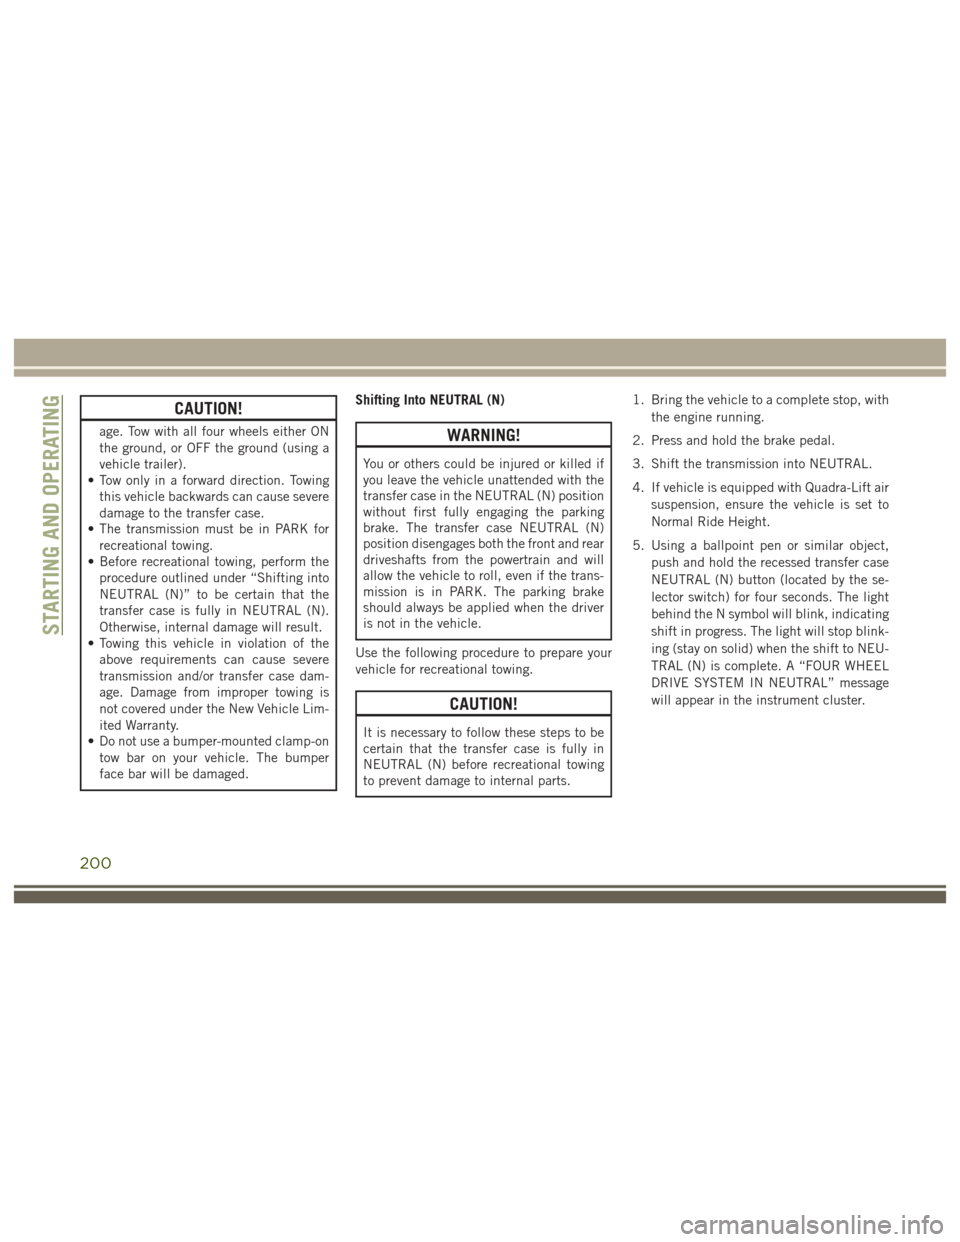
age. Tow with all four wheels either ON
the ground, or OFF the ground (using a
vehicle trailer).
• Tow only in a forward direction. Towing
this vehicle backwards can cause severe
damage to the transfer case.
• The transmission must be in PARK for
recreational towing.
• Before recreational towing, perform the
procedure outlined under “Shifting into
NEUTRAL (N)” to be certain that the
transfer case is fully in NEUTRAL (N).
Otherwise, internal damage will result.
• Towing this vehicle in violation of the
above requirements can cause severe
transmission and/or transfer case dam-
age. Damage from improper towing is
not covered under the New Vehicle Lim-
ited Warranty.
• Do not use a bumper-mounted clamp-on
tow bar on your vehicle. The bumper
face bar will be damaged.
Shifting Into NEUTRAL (N)
WARNING!
You or others could be injured or killed if
you leave the vehicle unattended with the
transfer case in the NEUTRAL (N) position
without first fully engaging the parking
brake. The transfer case NEUTRAL (N)
position disengages both the front and rear
driveshafts from the powertrain and will
allow the vehicle to roll, even if the trans-
mission is in PARK. The parking brake
should always be applied when the driver
is not in the vehicle.
Use the following procedure to prepare your
vehicle for recreational towing.
CAUTION!
It is necessary to follow these steps to be
certain that the transfer case is fully in
NEUTRAL (N) before recreational towing
to prevent damage to internal parts. 1. Bring the vehicle to a complete stop, with
the engine running.
2. Press and hold the brake pedal.
3. Shift the transmission into NEUTRAL.
4. If vehicle is equipped with Quadra-Lift air suspension, ensure the vehicle is set to
Normal Ride Height.
5. Using a ballpoint pen or similar object, push and hold the recessed transfer case
NEUTRAL (N) button (located by the se-
lector switch) for four seconds. The light
behind the N symbol will blink, indicating
shift in progress. The light will stop blink-
ing (stay on solid) when the shift to NEU-
TRAL (N) is complete. A “FOUR WHEEL
DRIVE SYSTEM IN NEUTRAL” message
will appear in the instrument cluster.
STARTING AND OPERATING
200
Page 203 of 372
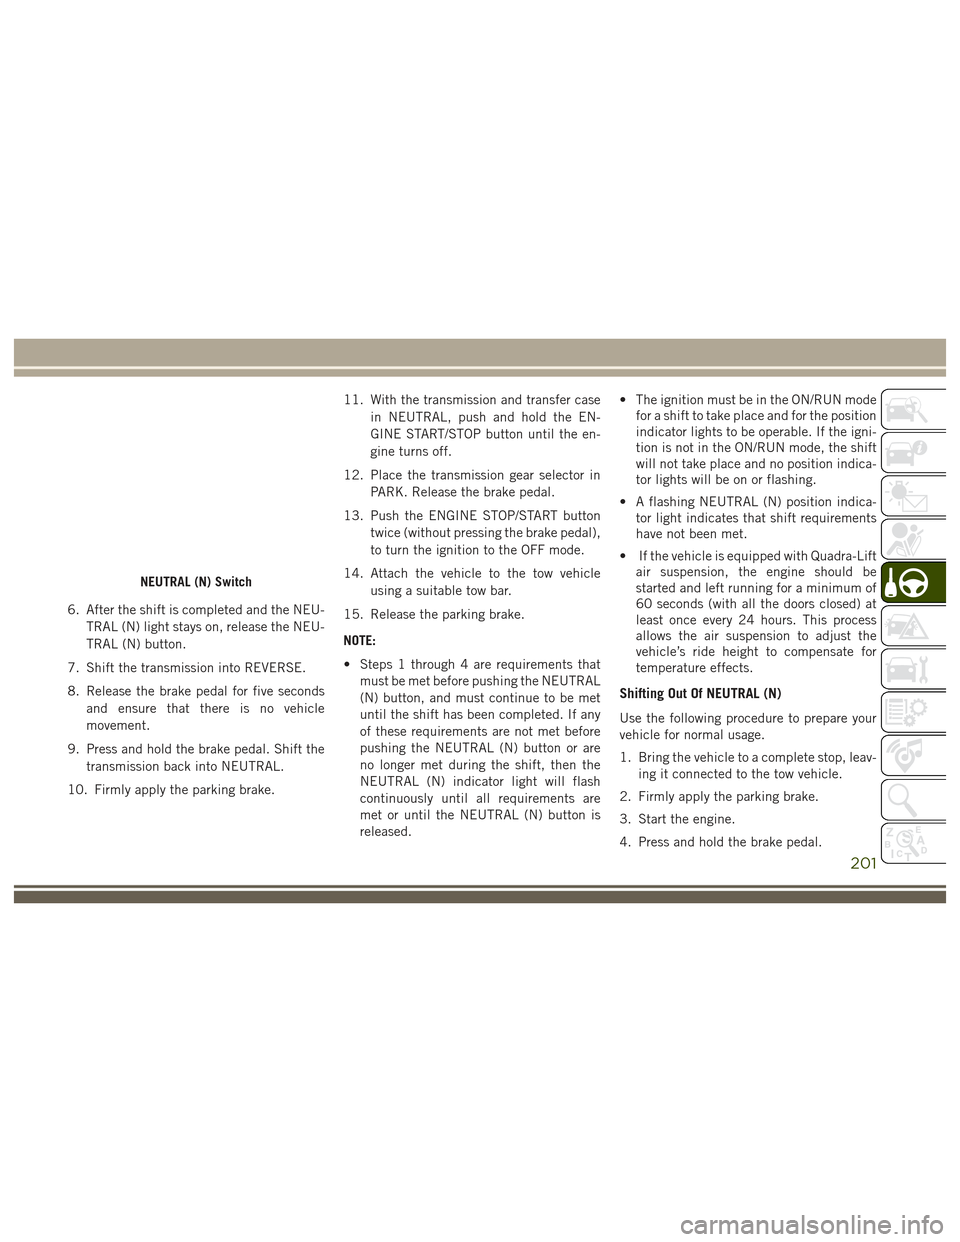
6. After the shift is completed and the NEU-TRAL (N) light stays on, release the NEU-
TRAL (N) button.
7. Shift the transmission into REVERSE.
8. Release the brake pedal for five seconds and ensure that there is no vehicle
movement.
9. Press and hold the brake pedal. Shift the transmission back into NEUTRAL.
10. Firmly apply the parking brake. 11. With the transmission and transfer case
in NEUTRAL, push and hold the EN-
GINE START/STOP button until the en-
gine turns off.
12. Place the transmission gear selector in PARK. Release the brake pedal.
13. Push the ENGINE STOP/START button twice (without pressing the brake pedal),
to turn the ignition to the OFF mode.
14. Attach the vehicle to the tow vehicle using a suitable tow bar.
15. Release the parking brake.
NOTE:
• Steps 1 through 4 are requirements that must be met before pushing the NEUTRAL
(N) button, and must continue to be met
until the shift has been completed. If any
of these requirements are not met before
pushing the NEUTRAL (N) button or are
no longer met during the shift, then the
NEUTRAL (N) indicator light will flash
continuously until all requirements are
met or until the NEUTRAL (N) button is
released. • The ignition must be in the ON/RUN mode
for a shift to take place and for the position
indicator lights to be operable. If the igni-
tion is not in the ON/RUN mode, the shift
will not take place and no position indica-
tor lights will be on or flashing.
• A flashing NEUTRAL (N) position indica- tor light indicates that shift requirements
have not been met.
• If the vehicle is equipped with Quadra-Lift air suspension, the engine should be
started and left running for a minimum of
60 seconds (with all the doors closed) at
least once every 24 hours. This process
allows the air suspension to adjust the
vehicle’s ride height to compensate for
temperature effects.
Shifting Out Of NEUTRAL (N)
Use the following procedure to prepare your
vehicle for normal usage.
1. Bring the vehicle to a complete stop, leav-
ing it connected to the tow vehicle.
2. Firmly apply the parking brake.
3. Start the engine.
4. Press and hold the brake pedal.
NEUTRAL (N) Switch
201
Page 309 of 372
Radio Mode
Seek Previous/Next Buttons
Seek Up
Press and release the “Seek Up”button
on the touchscreen to tune the radio to the
next listenable station or channel.
During a Seek Up function, if the radio
reaches the starting station after passing
through the entire band two times, the radio
will stop at the station where it began.
Fast Seek Up
Press and hold the “Seek Up”button on
the touchscreen to advance the radio through
the available stations or channels at a faster
rate, the radio stops at the next available
station or channel when the button on the
touchscreen is released.
Seek Down
Press and release the “Seek Down”but-
ton on the touchscreen to tune the radio to
the next listenable station or channel. During a Seek Down function, if the radio
reaches the starting station after passing
through the entire band two times, the radio
will stop at the station where it began.
Fast Seek Down
Press and hold the “Seek Down”button
on the touchscreen to advance the radio
through the available stations or channel at a
faster rate, the radio stops at the next avail-
able station or channel when the button on
the touchscreen is released.
Store Radio Presets
The Radio stores up to 12 presets in each of
the Radio modes. There are four visible pre-
sets at the top of the radio screen. Pressing
the “All” button on the touchscreen on the
radio home screen will display all of the
preset stations for that mode. To store a radio preset manually, follow the
steps below:
1. Tune to the desired station.
2.
Press and hold the desired numbered button
on the touchscreen for more that two sec-
onds or until you hear a confirmation beep.
Media Mode
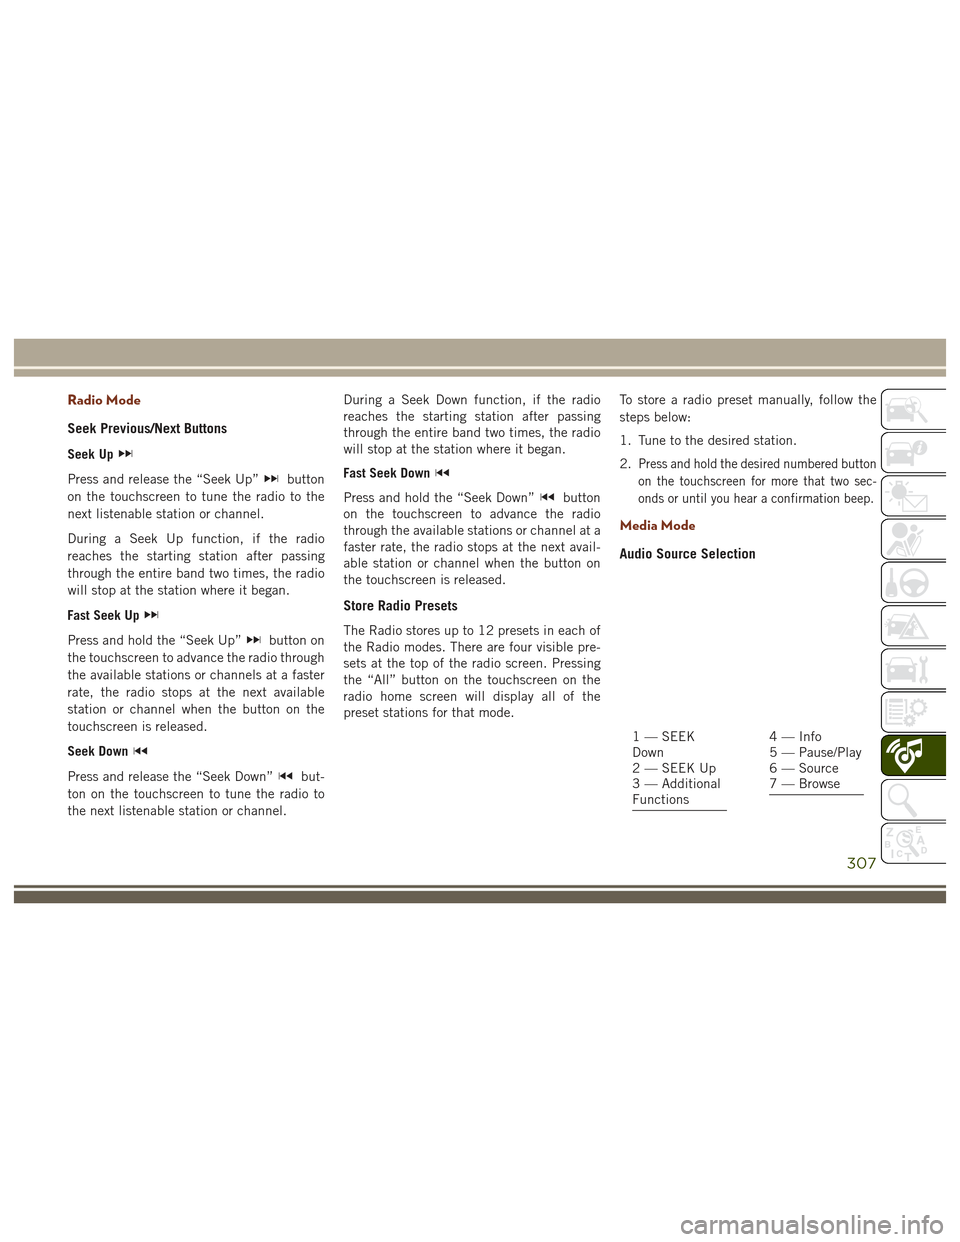
Audio Source Selection
1 — SEEK
Down
2 — SEEK Up
3 — Additional
Functions4 — Info
5 — Pause/Play
6 — Source
7 — Browse
307
Page 322 of 372
The following describes features that are
available when in SiriusXM Satellite Radio
mode:
Seek Up/Seek Down
• Press the Seek arrow buttons on thetouchscreen for less than two seconds to
seek through channels in SXM mode.
• Press and hold either arrow button on the touchscreen for more than two seconds to
bypass channels without stopping. The
radio will stop at the next listenable chan-
nel once the arrow button on the touch-
screen is released.
Direct Tune
• Tune directly to a SXM channel by press-ing the “Tune” button on the touchscreen
on the screen, and entering the desired
station number.
Tune Start
• The Tune Start feature begins playing asong from the beginning when you tune to
your favorite preset SXM channel. Tune
Start can be enabled or disabled through
the SiriusXM setup page.
Jump
• Automatically tells you when Traffic &
Weather for a favorite city is available, and
gives you the option to switch to that
channel. Press “Jump” to activate the
feature. After listening to Traffic and
Weather, press “Jump” again to return to
the previous channel.
Favorite Apps
• Activates the favorites menu. You can addup to 50 favorite artists or songs. Just
press “Add Fav Artist” or “Add Fav Song”
while the song is playing. You will then be
alerted any time one of these songs, or
works by these artists, is playing on other
SiriusXM channels.
Album Art
• When arriving at a station, the Channel Artwill be displayed to the left of the station
information. After 5 seconds the Channel
Art will be replaced with the Album Art (if
available).
SiriusXM Parental Controls
• You can skip or hide certain channels fromview if you do not want access to them.
Press the “Apps” button on the touch-
screen, then the “Settings” button on the
touchscreen, next press the “Sirius
Setup” button on the touchscreen, then
select Channel Skip. Press the box check-
mark next to the channel you want
skipped. They will not show up in normal
usage.
• SiriusXM also offers the option to perma- nently block selected channels. Call
(1-888-601-6297 for U.S. customers,
1-877-438-9677 for Canadian custom-
ers) and request the Family-Friendly
Package.
Browse
Lets you browse the SiriusXM channel listing
or Genre listing. Favorites, Game Zone,
Weather and Jump settings also provide a
way to browse the SiriusXM channel list.
MULTIMEDIA
320
Page 328 of 372
Dual Video Screen
NOTE:
Typically there are two different ways to op-
erate the features of the Rear Seat Entertain-
ment System.
• The Remote Control
• The Touchscreen Radio (If Equipped)
Blu-ray Disc Player
Play A Blu-ray Disc
The Blu-ray disc player is located in the
center console.1. Insert a Blu-ray disc into the VES discplayer with the label facing as indicated
on the Blu-ray player. The radio automati-
cally selects the appropriate mode after
the disc is recognized and displays the
menu screen, the language screen, or
starts playing the first track. 2. To watch a Blu-ray disc on Rear 1 for
driver's side rear passengers, ensure the
Remote Control and Headphone switch is
on Rear 1.
3. To watch a Blu-ray disc on Rear 2 for passenger side rear passengers, ensure
the Remote Control and Headphone
switch is on Rear 2.
NOTE:
• To view a Blu-ray disc on the radio, press the “Media” button on the touchscreen,
and then press the “Disc” button. Press
the “Play” button, and then the “full
screen” button.
• Viewing a Blu-ray disc on the radio screen is not available in all states/provinces. The
vehicle must be stopped, and the gear
selector must be in the PARK position for
vehicles with automatic transmission.
Blu-ray Disc Player Location
MULTIMEDIA
326