tow JEEP GRAND CHEROKEE 2017 WK2 / 4.G Owner's Manual
[x] Cancel search | Manufacturer: JEEP, Model Year: 2017, Model line: GRAND CHEROKEE, Model: JEEP GRAND CHEROKEE 2017 WK2 / 4.GPages: 372
Page 97 of 372
For vehicles not equipped with an instrument
cluster display, perform the following steps:
1. Center the steering wheel (front wheelspointing straight forward).
2. Shift the transmission into PARK.
3. Apply the parking brake.
4. Start the engine.
5. Rotate the steering wheel slightly more than one-half turn to the left.
6. Push the “ESC Off” button located in the lower switch bank below the climate con-
trol four times within twenty seconds. The
“ESC Off Indicator Light” should turn on
and turn off two times.
7. Rotate the steering wheel back to center and then an additional slighty more than
one-half turn to the right.
8. Turn the ignition to the OFF mode and then back to ON. If the sequence was
completed properly, the “ESC Off Indica-
tor Light” will blink several times to con-
firm HSA is disabled.
9. Repeat these steps if you want to return this feature to its previous setting.Towing With HSA
HSA will also provide assistance to mitigate
roll back while towing a trailer.
WARNING!
• If you use a trailer brake controller withyour trailer, the trailer brakes may be
activated and deactivated with the brake
switch. If so, there may not be enough
brake pressure to hold both the vehicle
and the trailer on a hill when the brake
pedal is released. In order to avoid roll-
ing down an incline while resuming ac-
celeration, manually activate the trailer
brake or apply more vehicle brake pres-
sure prior to releasing the brake pedal.
• HSA is not a parking brake. Always apply
the parking brake fully when leaving your
vehicle. Also, be certain to leave the
transmission in PARK.
• Failure to follow these warnings can re-
sult in a collision or serious personal
injury.
Traction Control System (TCS)
This system monitors the amount of wheel
spin of each of the driven wheels. If wheel
spin is detected, the TCS may apply brake
pressure to the spinning wheel(s) and/or re-
duce engine power to provide enhanced ac-
celeration and stability. A feature of the TCS,
Brake Limited Differential (BLD), functions
similar to a limited slip differential and con-
trols the wheel spin across a driven axle. If
one wheel on a driven axle is spinning faster
than the other, the system will apply the
brake of the spinning wheel. This will allow
more engine torque to be applied to the wheel
that is not spinning. BLD may remain en-
abled even if TCS and ESC are in a reduced
mode.
Electronic Stability Control (ESC)
This system enhances directional control and
stability of the vehicle under various driving
conditions. ESC corrects for oversteering or
understeering of the vehicle by applying the
brake of the appropriate wheel(s) to assist in
counteracting the oversteer or understeer
condition. Engine power may also be reduced
to help the vehicle maintain the desired path.
95
Page 101 of 372
occurring during severe or evasive driving
maneuvers; it cannot prevent wheel lift due to
other factors, such as road conditions, leav-
ing the roadway, or striking objects or other
vehicles.
NOTE:
ERM is disabled anytime the ESC is in “Full
Off” mode (if equipped). Refer to “Electronic
Stability Control (ESC)” in this section for a
complete explanation of the available ESC
modes.
WARNING!
Many factors, such as vehicle loading,
road conditions and driving conditions,
influence the chance that wheel lift or
rollover may occur. ERM cannot prevent all
wheel lift or roll overs, especially those
that involve leaving the roadway or striking
objects or other vehicles. The capabilities
of an ERM-equipped vehicle must never
be exploited in a reckless or dangerous
manner which could jeopardize the user's
safety or the safety of others.
Trailer Sway Control (TSC)
TSC uses sensors in the vehicle to recognize
an excessively swaying trailer and will take
the appropriate actions to attempt to stop the
sway. TSC will become active automatically
once an excessively swaying trailer is recog-
nized. Note that TSC cannot stop all trailers
from swaying. Always use caution when tow-
ing a trailer and follow the trailer tongue
weight recommendations. Refer to “Trailer
Towing” in “Starting And Operating” for fur-
ther information. When TSC is functioning,
the “ESC Activation/Malfunction Indicator
Light” will flash, the engine power may be
reduced and you may feel the brakes being
applied to individual wheels to attempt to
stop the trailer from swaying. TSC is disabled
when the ESC system is in the “Partial Off” or
“Full Off” modes.
WARNING!
If TSC activates while driving, slow the
vehicle down, stop at the nearest safe
location, and adjust the trailer load to
eliminate trailer sway.
Ready Alert Braking (RAB)
Ready Alert Braking may reduce the time
required to reach full braking during emer-
gency braking situations. It anticipates when
an emergency braking situation may occur by
monitoring how fast the throttle is released by
the driver. The EBC will prepare the brake
system for a panic stop.
Rain Brake Support (RBS)
Rain Brake Support may improve braking
performance in wet conditions. It will periodi-
cally apply a small amount of brake pressure
to remove any water buildup on the front
brake rotors. It functions when the wind-
shield wipers are in LO or HI speed. When
Rain Brake Support is active, there is no
notification to the driver and no driver inter-
action is required.
Dynamic Steering Torque (DST)
Dynamic Steering Torque is a feature of the
ESC and EPS modules that provides torque at
the steering wheel for certain driving condi-
tions in which the ESC module is detecting
vehicle instability. The torque that the steer-
ing wheel receives is only meant to help the
99
Page 109 of 372
Tire Pressure Monitor System (TPMS)
NOTE:
For vehicles equipped with run flat tires —
When the TPMS indicates a tire pressure of
14 psi (96 kPa) or lower, always check tire
pressure and replace the tire at the first
opportunity. At inflation pressure of/or below
14 psi (96 kPa) the tire is in the run-flat
mode of operation. In this condition, it is
recommended a vehicle maximum speed of
50 mph (80 km/h) for a maximum distance of
50 miles (80 km). The manufacturer does not
recommend using the run flat feature while
driving a vehicle loaded at full capacity or
towing a trailer.
The Tire Pressure Monitoring System (TPMS)
will warn the driver of a low tire pressure
based on the vehicle recommended cold tire
pressure.
The tire pressure will vary with temperature
by about 1 psi (7 kPa) for every 12°F (6.5°C).
This means that when the outside tempera-
ture decreases, the tire pressure will de-
crease. Tire pressure should always be set
based on cold inflation tire pressure. This is
defined as the tire pressure after the vehiclehas not been driven for at least three hours, or
driven less than 1 mile (1.6 km) after a
three-hour period.
Refer to “Tires” in “Servic-
ing And Maintenance” for information on how to
properly inflate the vehicle’s tires. The tire
pressure will also increase as the vehicle is
driven - this is normal and there should be no
adjustment for this increased pressure.
The TPMS will warn the driver of a low tire
pressure if the tire pressure falls below the
low pressure warning threshold for any rea-
son, including low temperature effects, or
natural pressure loss through the tire.
The TPMS will continue to warn the driver of
low tire pressure as long as the condition
exists, and will not turn off until the tire
pressure is at or above recommended cold
tire pressure. Once the low tire pressure
warning has been illuminated, the tire pres-
sure must be increased to the recommended
cold tire pressure in order for the Tire Pres-
sure Monitoring Telltale Light to be turned
off. NOTE:
When filling warm tires, the tire pressure may
need to be increased up to an additional 4 psi
(30 kPa) above the recommended cold plac-
ard pressure in order to turn the Tire Pressure
Monitoring Telltale Light off.
The system will automatically update and the
Tire Pressure Monitoring Telltale Light will
extinguish once the updated tire pressures
have been received. The vehicle may need to
be driven for up to 20 minutes above 15 mph
(24 km/h) to receive this information.
For example, your vehicle has a recom-
mended cold (parked for more than three
hours) tire pressure of 33 psi (227 kPa). If
the ambient temperature is 68°F (20°C) and
the measured tire pressure is 28 psi
(193 kPa), a temperature drop to 20°F (-7°C)
will decrease the tire pressure to approxi-
mately 24 psi (165 kPa). This tire pressure is
sufficiently low enough to turn ON the Tire
Pressure Monitoring Telltale Light. Driving
the vehicle may cause the tire pressure to rise
to approximately 28 psi (193 kPa), but the
Tire Pressure Monitoring Telltale Light will
still be ON. In this situation, the Tire Pressure
107
Page 115 of 372
Initial Indication
If the driver is unbuckled when the ignition
switch is first in the START or ON/RUN posi-
tion, a chime will signal for a few seconds. If
the driver or outboard front seat passenger (if
equipped with outboard front passenger seat
BeltAlert) is unbuckled when the ignition
switch is first in the START or ON/RUN posi-
tion the Seat Belt Reminder Light will turn on
and remain on until both outboard front seat
belts are buckled. The outboard front passen-
ger seat BeltAlert is not active when an out-
board front passenger seat is unoccupied.
BeltAlert Warning Sequence
The BeltAlert warning sequence is activated
when the vehicle is moving above a specified
vehicle speed range and the driver or out-
board front seat passenger is unbuckled (if
equipped with outboard front passenger seat
BeltAlert) (the outboard front passenger seat
BeltAlert is not active when the outboard
front passenger seat is unoccupied). The
BeltAlert warning sequence starts by blinking
the Seat Belt Reminder Light and sounding
an intermittent chime. Once the BeltAlert
warning sequence has completed, the SeatBelt Reminder Light will remain on until the
seat belts are buckled. The BeltAlert warning
sequence may repeat based on vehicle speed
until the driver and occupied outboard front
seat passenger seat belts are buckled. The
driver should instruct all occupants to buckle
their seat belts.
Change Of Status
If the driver or outboard front seat passenger
(if equipped with outboard front passenger
seat BeltAlert) unbuckles their seat belt while
the vehicle is traveling, the BeltAlert warning
sequence will begin until the seat belts are
buckled again. The outboard front passenger
seat BeltAlert is not active when the outboard
front passenger seat is unoccupied. BeltAlert
may be triggered when an animal or other
items are placed on the outboard front pas-
senger seat or when the seat is folded flat (if
equipped). It is recommended that pets be
restrained in the rear seat (if equipped) in pet
harnesses or pet carriers that are secured by
seat belts, and cargo is properly stowed.
BeltAlert can be activated or deactivated by
your authorized dealer. FCA US LLC does not
recommend deactivating BeltAlert.NOTE:
If BeltAlert has been deactivated and the
driver or outboard front seat passenger (if
equipped with outboard front passenger seat
BeltAlert) is unbuckled the Seat Belt Re-
minder Light will turn on and remain on until
the driver and outboard front seat passenger
seat belts are buckled.
Lap/Shoulder Belts
All seating positions in your vehicle are
equipped with lap/shoulder belts.
The seat belt webbing retractor will lock only
during very sudden stops or collisions. This
feature allows the shoulder part of the seat
belt to move freely with you under normal
conditions. However, in a collision the seat
belt will lock and reduce your risk of striking
the inside of the vehicle or being thrown out
of the vehicle.
WARNING!
• Relying on the air bags alone could lead
to more severe injuries in a collision. The
air bags work with your seat belt to
113
Page 117 of 372
WARNING!
• A shoulder belt placed behind you willnot protect you from injury during a
collision. You are more likely to hit your
head in a collision if you do not wear your
shoulder belt. The lap and shoulder belt
are meant to be used together.
• A frayed or torn seat belt could rip apart
in a collision and leave you with no
protection. Inspect the seat belt system
periodically, checking for cuts, frays, or
loose parts. Damaged parts must be re-
placed immediately. Do not disassemble
or modify the seat belt system. Seat belt
assemblies must be replaced after a col-
lision.
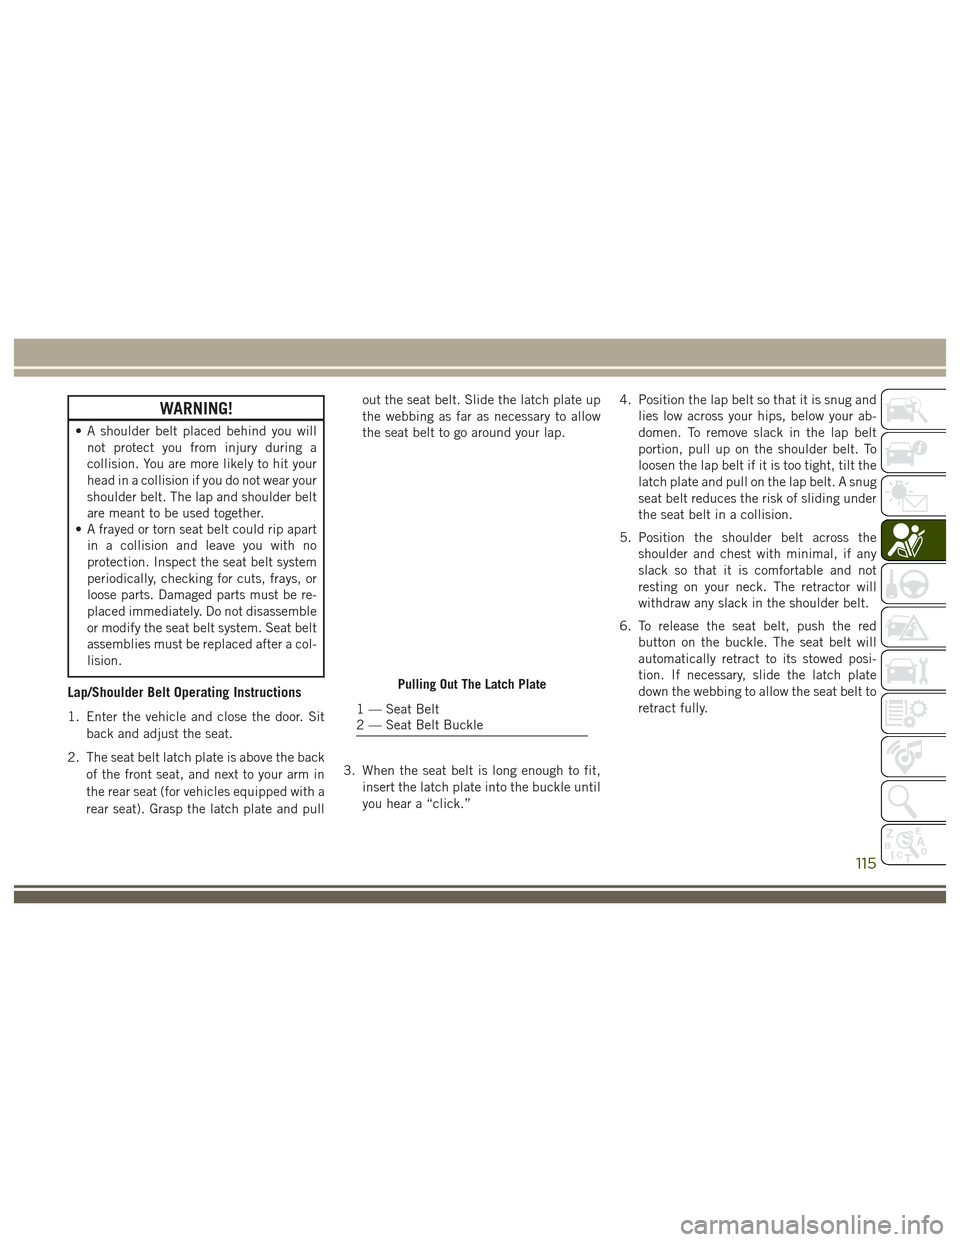
Lap/Shoulder Belt Operating Instructions
1. Enter the vehicle and close the door. Sit
back and adjust the seat.
2. The seat belt latch plate is above the back of the front seat, and next to your arm in
the rear seat (for vehicles equipped with a
rear seat). Grasp the latch plate and pull out the seat belt. Slide the latch plate up
the webbing as far as necessary to allow
the seat belt to go around your lap.
3. When the seat belt is long enough to fit, insert the latch plate into the buckle until
you hear a “click.” 4. Position the lap belt so that it is snug and
lies low across your hips, below your ab-
domen. To remove slack in the lap belt
portion, pull up on the shoulder belt. To
loosen the lap belt if it is too tight, tilt the
latch plate and pull on the lap belt. A snug
seat belt reduces the risk of sliding under
the seat belt in a collision.
5. Position the shoulder belt across the shoulder and chest with minimal, if any
slack so that it is comfortable and not
resting on your neck. The retractor will
withdraw any slack in the shoulder belt.
6. To release the seat belt, push the red button on the buckle. The seat belt will
automatically retract to its stowed posi-
tion. If necessary, slide the latch plate
down the webbing to allow the seat belt to
retract fully.
Pulling Out The Latch Plate
1 — Seat Belt
2 — Seat Belt Buckle
115
Page 139 of 372
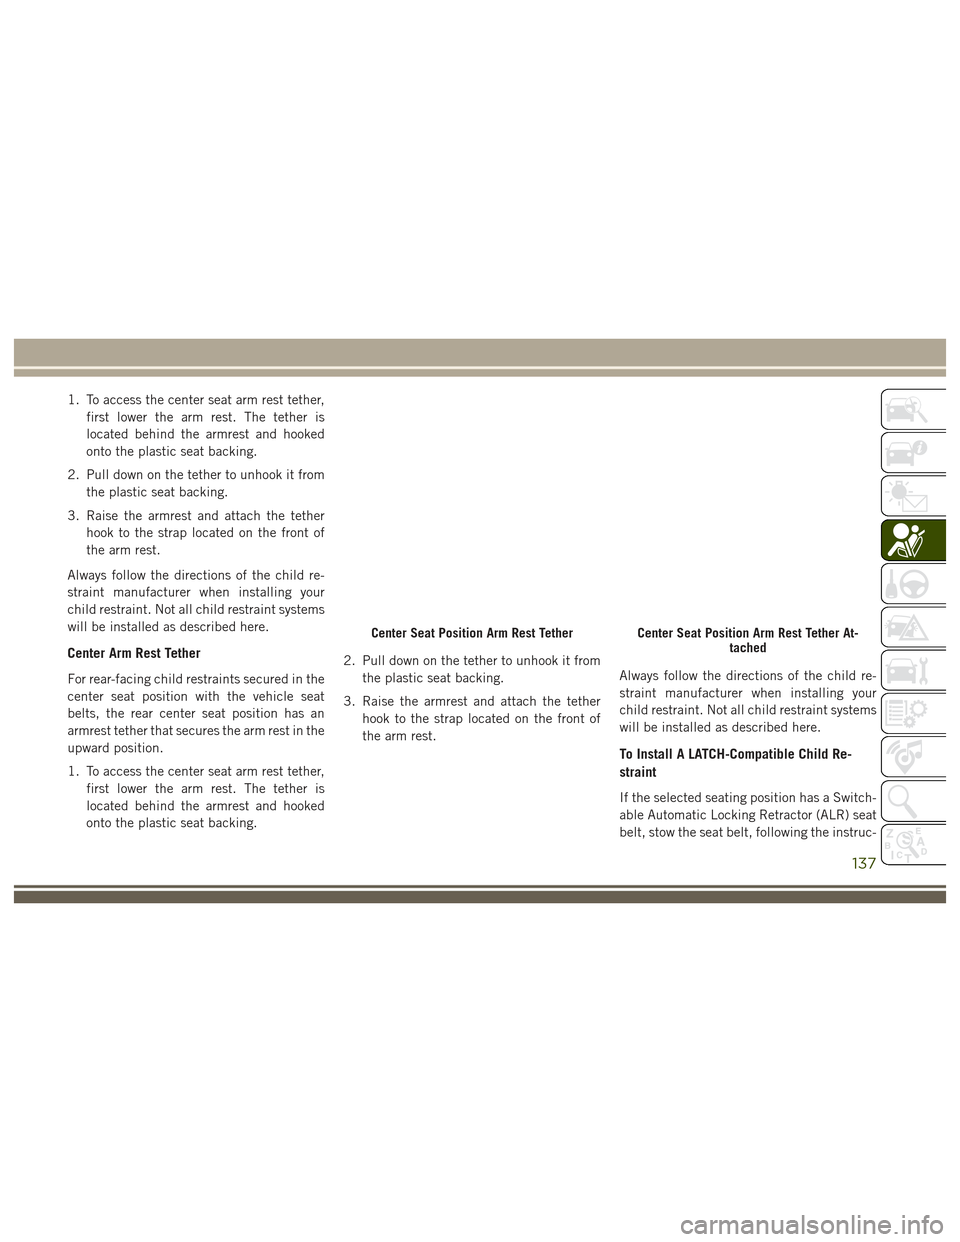
1. To access the center seat arm rest tether,first lower the arm rest. The tether is
located behind the armrest and hooked
onto the plastic seat backing.
2. Pull down on the tether to unhook it from the plastic seat backing.
3. Raise the armrest and attach the tether hook to the strap located on the front of
the arm rest.
Always follow the directions of the child re-
straint manufacturer when installing your
child restraint. Not all child restraint systems
will be installed as described here.
Center Arm Rest Tether
For rear-facing child restraints secured in the
center seat position with the vehicle seat
belts, the rear center seat position has an
armrest tether that secures the arm rest in the
upward position.
1. To access the center seat arm rest tether, first lower the arm rest. The tether is
located behind the armrest and hooked
onto the plastic seat backing. 2. Pull down on the tether to unhook it from
the plastic seat backing.
3. Raise the armrest and attach the tether hook to the strap located on the front of
the arm rest. Always follow the directions of the child re-
straint manufacturer when installing your
child restraint. Not all child restraint systems
will be installed as described here.
To Install A LATCH-Compatible Child Re-
straint
If the selected seating position has a Switch-
able Automatic Locking Retractor (ALR) seat
belt, stow the seat belt, following the instruc-
Center Seat Position Arm Rest TetherCenter Seat Position Arm Rest Tether At-
tached
137
Page 140 of 372
tions below. See the section “Installing Child
Restraints Using the Vehicle Seat Belt” to
check what type of seat belt each seating
position has.
1. Loosen the adjusters on the lower strapsand on the tether strap of the child seat so
that you can more easily attach the hooks
or connectors to the vehicle anchorages.
2. Place the child seat between the lower anchorages for that seating position. For
some second row seats, you may need to
recline the seat and / or raise the head
restraint to get a better fit. If the rear seat
can be moved forward and rearward in the
vehicle, you may wish to move it to its
rear-most position to make room for the
child seat. You may also move the front
seat forward to allow more room for the
child seat.
3. Attach the lower hooks or connectors of the child restraint to the lower anchorages
in the selected seating position.
4. If the child restraint has a tether strap, connect it to the top tether anchorage. See the section “Installing Child Re-
straints Using the Top Tether Anchorage”
for directions to attach a tether anchor.
5. Tighten all of the straps as you push the child restraint rearward and downward
into the seat. Remove slack in the straps
according to the child restraint manufac-
turer’s instructions.
6. Test that the child restraint is installed tightly by pulling back and forth on the
child seat at the belt path. It should not
move more than 1 inch (25.4 mm) in any
direction.
How To Stow An Unused Switchable-ALR
(ALR) Seat Belt
When using the LATCH attaching system to
install a child restraint, stow all ALR seat
belts that are not being used by other occu-
pants or being used to secure child restraints.
An unused belt could injure a child if they
play with it and accidentally lock the seat belt
retractor. Before installing a child restraint
using the LATCH system, buckle the seat belt
behind the child restraint and out of the
child’s reach. If the buckled seat belt inter-
feres with the child restraint installation, instead of buckling it behind the child re-
straint, route the seat belt through the child
restraint belt path and then buckle it. Do not
lock the seat belt. Remind all children in the
vehicle that the seat belts are not toys and
that they should not play with them.
WARNING!
• Improper installation of a child restraint
to the LATCH anchorages can lead to
failure of the restraint. The child could
be badly injured or killed. Follow the
child restraint manufacturer’s directions
exactly when installing an infant or child
restraint.
• Child restraint anchorages are designed
to withstand only those loads imposed
by correctly-fitted child restraints. Un-
der no circumstances are they to be
used for adult seat belts, harnesses, or
for attaching other items or equipment
to the vehicle.
SAFETY
138
Page 147 of 372
WARNING!
clutch pedal (if present) to check for
interference. If your floor mat interferes
with the operation of any pedal, or is not
secure to the floor, remove the floor mat
from the vehicle and place the floor mat
in your trunk.
• ONLY use the passenger’s side floor mat
on the passenger’s side floor area.
• ALWAYS make sure objects cannot fall
or slide into the driver’s side floor area
when the vehicle is moving. Objects can
become trapped under accelerator,
brake, or clutch pedals and could cause
a loss of vehicle control.
• NEVER place any objects under the floor
mat (e.g., towels, keys, etc.). These ob-
jects could change the position of the
floor mat and may cause interference
with the accelerator, brake, or clutch
pedals.
• If the vehicle carpet has been removed
and re-installed, always properly attach
WARNING!
carpet to the floor and check the floor
mat fasteners are secure to the vehicle
carpet. Fully depress each pedal to
check for interference with the accelera-
tor, brake, or clutch pedals then re-
install the floor mats.
• It is recommended to only use mild soap
and water to clean your floor mats. After
cleaning, always check your floor mat
has been properly installed and is se-
cured to your vehicle using the floor mat
fasteners by lightly pulling mat.
Periodic Safety Checks You Should Make
Outside The Vehicle
Tires
Examine tires for excessive tread wear and
uneven wear patterns. Check for stones,
nails, glass, or other objects lodged in the
tread or sidewall. Inspect the tread for cuts and cracks. Inspect sidewalls for cuts,
cracks, and bulges. Check the wheel nuts for
tightness. Check the tires (including spare)
for proper cold inflation pressure.
Lights
Have someone observe the operation of brake
lights and exterior lights while you work the
controls. Check turn signal and high beam
indicator lights on the instrument panel.
Door Latches
Check for proper closing, latching, and lock-
ing.
Fluid Leaks
Check area under vehicle after overnight
parking for fuel, engine coolant, oil, or other
fluid leaks. Also, if gasoline fumes are de-
tected or if fuel, power steering fluid (if
equipped), or brake fluid leaks are sus-
pected. The cause should be located and
corrected immediately.
145
Page 150 of 372
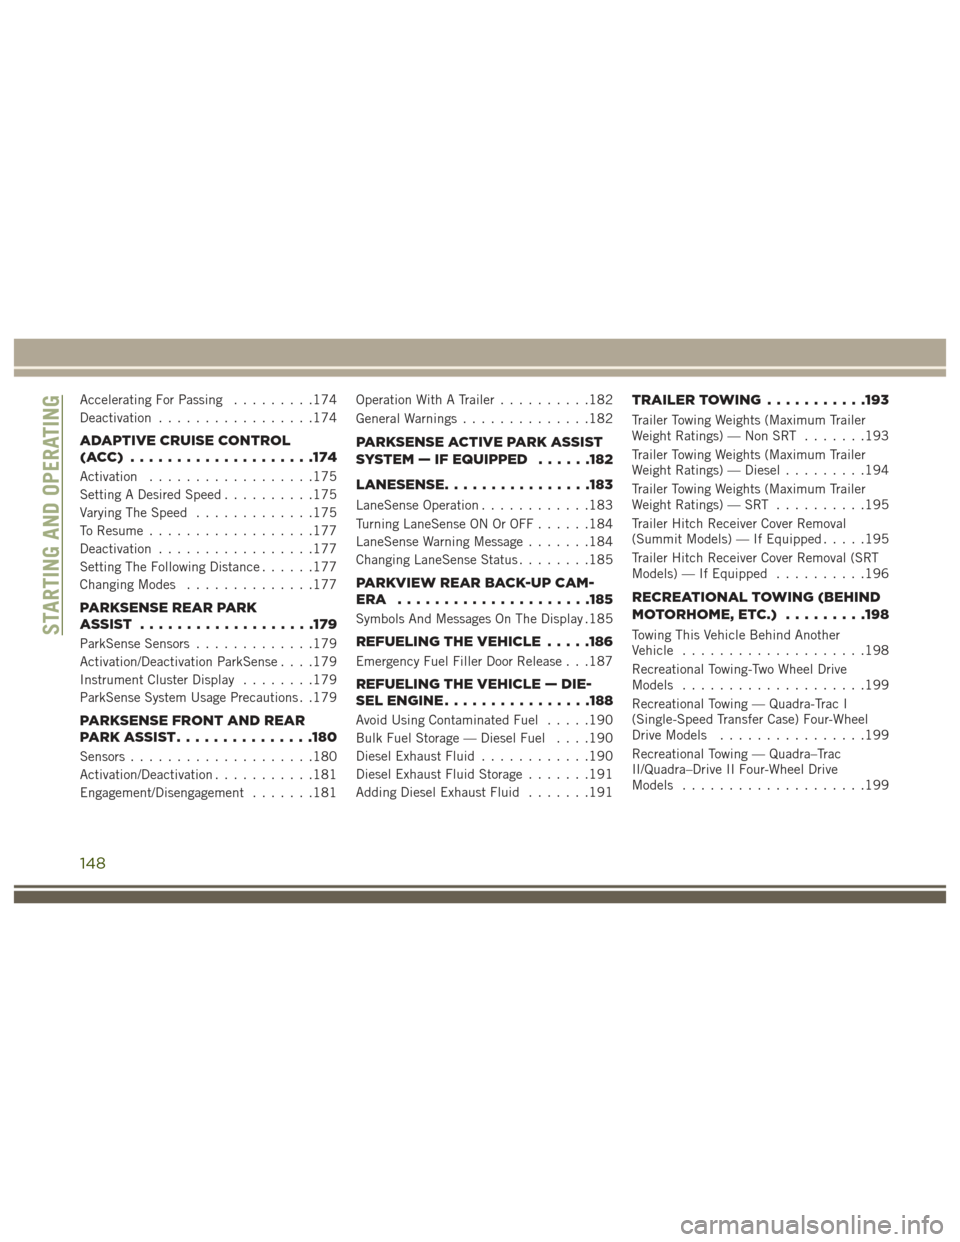
Accelerating For Passing.........174
Deactivation .................174
ADAPTIVE CRUISE CONTROL
(ACC) ................... .174
Activation..................175
Setting A Desired Speed ..........175
Varying The Speed .............175
To Resume ..................177
Deactivation .................177
Setting The Following Distance ......177
Changing Modes ..............177
PARKSENSE REAR PARK
ASSIST .................. .179
ParkSense Sensors.............179
Activation/Deactivation ParkSense . . . .179
Instrument Cluster Display ........179
ParkSense System Usage Precautions . .179
PARKSENSE FRONT AND REAR
PARKASSIST.............. .180
Sensors....................180
Activation/Deactivation ...........181
Engagement/Disengagement .......181Operation With A Trailer
..........182
General Warnings ..............182
PARKSENSE ACTIVE PARK ASSIST
SYSTEM — IF EQUIPPED ......182
LANESENSE............... .183
LaneSense Operation............183
Turning LaneSense ON Or OFF ......184
LaneSense Warning Message .......184
Changing LaneSense Status ........185
PARKVIEW REAR BACK-UP CAM-
ERA .................... .185
Symbols And Messages On The Display .185
REFUELING THE VEHICLE.....186
Emergency Fuel Filler Door Release . . .187
REFUELING THE VEHICLE — DIE-
SELENGINE............... .188
Avoid Using Contaminated Fuel.....190
Bulk Fuel Storage — Diesel Fuel . . . .190
Diesel Exhaust Fluid ............190
Diesel Exhaust Fluid Storage .......191
Adding Diesel Exhaust Fluid .......191
TRAILER TOWING...........193
Trailer Towing Weights (Maximum Trailer
Weight Ratings) — Non SRT .......193
Trailer Towing Weights (Maximum Trailer
Weight Ratings) — Diesel .........194
Trailer Towing Weights (Maximum Trailer
Weight Ratings) — SRT ..........195
Trailer Hitch Receiver Cover Removal
(Summit Models) — If Equipped .....195
Trailer Hitch Receiver Cover Removal (SRT
Models) — If Equipped ..........196
RECREATIONAL TOWING (BEHIND
MOTORHOME, ETC.) .........198
Towing This Vehicle Behind Another
Vehicle....................198
Recreational Towing-Two Wheel Drive
Models ....................199
Recreational Towing — Quadra-Trac I
(Single-Speed Transfer Case) Four-Wheel
Drive Models ................199
Recreational Towing — Quadra–Trac
II/Quadra–Drive II Four-Wheel Drive
Models ....................199STARTING AND OPERATING
148
Page 152 of 372
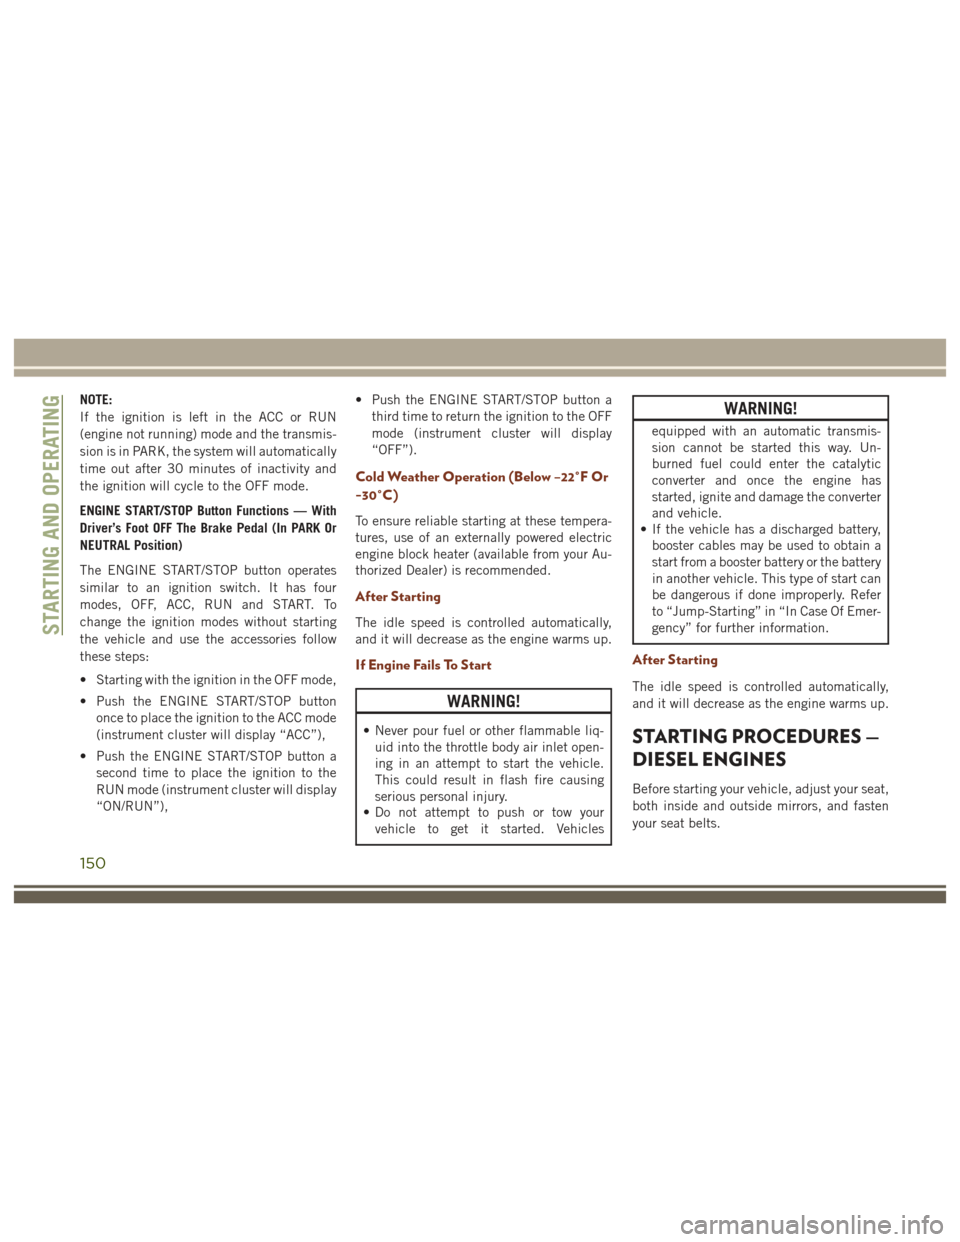
NOTE:
If the ignition is left in the ACC or RUN
(engine not running) mode and the transmis-
sion is in PARK, the system will automatically
time out after 30 minutes of inactivity and
the ignition will cycle to the OFF mode.
ENGINE START/STOP Button Functions — With
Driver’s Foot OFF The Brake Pedal (In PARK Or
NEUTRAL Position)
The ENGINE START/STOP button operates
similar to an ignition switch. It has four
modes, OFF, ACC, RUN and START. To
change the ignition modes without starting
the vehicle and use the accessories follow
these steps:
• Starting with the ignition in the OFF mode,
• Push the ENGINE START/STOP buttononce to place the ignition to the ACC mode
(instrument cluster will display “ACC”),
• Push the ENGINE START/STOP button a second time to place the ignition to the
RUN mode (instrument cluster will display
“ON/RUN”), • Push the ENGINE START/STOP button a
third time to return the ignition to the OFF
mode (instrument cluster will display
“OFF”).
Cold Weather Operation (Below –22°F Or
−30°C)
To ensure reliable starting at these tempera-
tures, use of an externally powered electric
engine block heater (available from your Au-
thorized Dealer) is recommended.
After Starting
The idle speed is controlled automatically,
and it will decrease as the engine warms up.
If Engine Fails To Start
WARNING!
• Never pour fuel or other flammable liq-uid into the throttle body air inlet open-
ing in an attempt to start the vehicle.
This could result in flash fire causing
serious personal injury.
• Do not attempt to push or tow your
vehicle to get it started. Vehicles
WARNING!
equipped with an automatic transmis-
sion cannot be started this way. Un-
burned fuel could enter the catalytic
converter and once the engine has
started, ignite and damage the converter
and vehicle.
• If the vehicle has a discharged battery,
booster cables may be used to obtain a
start from a booster battery or the battery
in another vehicle. This type of start can
be dangerous if done improperly. Refer
to “Jump-Starting” in “In Case Of Emer-
gency” for further information.
After Starting
The idle speed is controlled automatically,
and it will decrease as the engine warms up.
STARTING PROCEDURES —
DIESEL ENGINES
Before starting your vehicle, adjust your seat,
both inside and outside mirrors, and fasten
your seat belts.
STARTING AND OPERATING
150