Transfer case JEEP GRAND CHEROKEE 2017 WK2 / 4.G User Guide
[x] Cancel search | Manufacturer: JEEP, Model Year: 2017, Model line: GRAND CHEROKEE, Model: JEEP GRAND CHEROKEE 2017 WK2 / 4.GPages: 372
Page 150 of 372
Accelerating For Passing.........174
Deactivation .................174
ADAPTIVE CRUISE CONTROL
(ACC) ................... .174
Activation..................175
Setting A Desired Speed ..........175
Varying The Speed .............175
To Resume ..................177
Deactivation .................177
Setting The Following Distance ......177
Changing Modes ..............177
PARKSENSE REAR PARK
ASSIST .................. .179
ParkSense Sensors.............179
Activation/Deactivation ParkSense . . . .179
Instrument Cluster Display ........179
ParkSense System Usage Precautions . .179
PARKSENSE FRONT AND REAR
PARKASSIST.............. .180
Sensors....................180
Activation/Deactivation ...........181
Engagement/Disengagement .......181Operation With A Trailer
..........182
General Warnings ..............182
PARKSENSE ACTIVE PARK ASSIST
SYSTEM — IF EQUIPPED ......182
LANESENSE............... .183
LaneSense Operation............183
Turning LaneSense ON Or OFF ......184
LaneSense Warning Message .......184
Changing LaneSense Status ........185
PARKVIEW REAR BACK-UP CAM-
ERA .................... .185
Symbols And Messages On The Display .185
REFUELING THE VEHICLE.....186
Emergency Fuel Filler Door Release . . .187
REFUELING THE VEHICLE — DIE-
SELENGINE............... .188
Avoid Using Contaminated Fuel.....190
Bulk Fuel Storage — Diesel Fuel . . . .190
Diesel Exhaust Fluid ............190
Diesel Exhaust Fluid Storage .......191
Adding Diesel Exhaust Fluid .......191
TRAILER TOWING...........193
Trailer Towing Weights (Maximum Trailer
Weight Ratings) — Non SRT .......193
Trailer Towing Weights (Maximum Trailer
Weight Ratings) — Diesel .........194
Trailer Towing Weights (Maximum Trailer
Weight Ratings) — SRT ..........195
Trailer Hitch Receiver Cover Removal
(Summit Models) — If Equipped .....195
Trailer Hitch Receiver Cover Removal (SRT
Models) — If Equipped ..........196
RECREATIONAL TOWING (BEHIND
MOTORHOME, ETC.) .........198
Towing This Vehicle Behind Another
Vehicle....................198
Recreational Towing-Two Wheel Drive
Models ....................199
Recreational Towing — Quadra-Trac I
(Single-Speed Transfer Case) Four-Wheel
Drive Models ................199
Recreational Towing — Quadra–Trac
II/Quadra–Drive II Four-Wheel Drive
Models ....................199STARTING AND OPERATING
148
Page 156 of 372
• Cabin heating or cooling is in process andan acceptable cabin temperature has not
been achieved.
• HVAC is set to full defrost mode at a high blower speed.
• HVAC set to MAX A/C.
• Engine has not reached normal operating temperature.
• The transmission is not in a forward gear.
• Hood is open.
• Vehicle is in 4LO transfer case mode.
• Brake pedal is not pressed with sufficient pressure.
Other Factors Which Can Inhibit Autostop In-
clude:
• Accelerator pedal input.
• Engine temp too high.
• 5 MPH threshold not achieved from previ- ous AUTOSTOP.
• Steering angle beyond threshold.
• ACC is on and speed is set. It may be possible for the vehicle to be driven
several times without the STOP/START sys-
tem going into a STOP/START READY state
under more extreme conditions of the items
listed above.
To Start The Engine While In Autostop
Mode
While in a forward gear, the engine will start
when the brake pedal is released or the
throttle pedal is depressed. The transmission
will automatically re-engage upon engine re-
start.
Conditions That Will Cause The Engine To Start
Automatically While In Autostop Mode:
• The transmission selector is moved out of
DRIVE.
• To maintain cabin temperature comfort.
• HVAC is set to full defrost mode.
• HVAC system temperature or fan speed is manually adjusted.
• Battery voltage drops too low.
• Low brake vacuum (e.g. after several brake pedal applications).
• STOP/START OFF switch is pushed. • A STOP/START system error occurs.
• 4WD system is put into 4LO mode.
To Manually Turn Off The Stop/Start
System
1. Push the STOP/START OFF switch (lo-
cated on the switch bank). The light on
the switch will illuminate.
2. The “STOP/START OFF” message will ap- pear in the instrument cluster display.
STOP/START Off Switch
STARTING AND OPERATING
154
Page 163 of 372
• The system may revert to automatic shiftmode if a fault or overheat condition is
detected.
NOTE:
When Selec-Speed or Hill Descent Control is
enabled, AutoStick is not active.
To disengage AutoStick, return the gear se-
lector to the DRIVE position, or press and
hold the (+) shift paddle (if the gear selector
is already in DRIVE) until "D" is once again
indicated in the instrument cluster. You can
shift in or out of AutoStick at any time with-
out taking your foot off the accelerator pedal.
WARNING!
Do not downshift for additional engine
braking on a slippery surface. The drive
wheels could lose their grip and the ve-
hicle could skid, causing a collision or
personal injury.
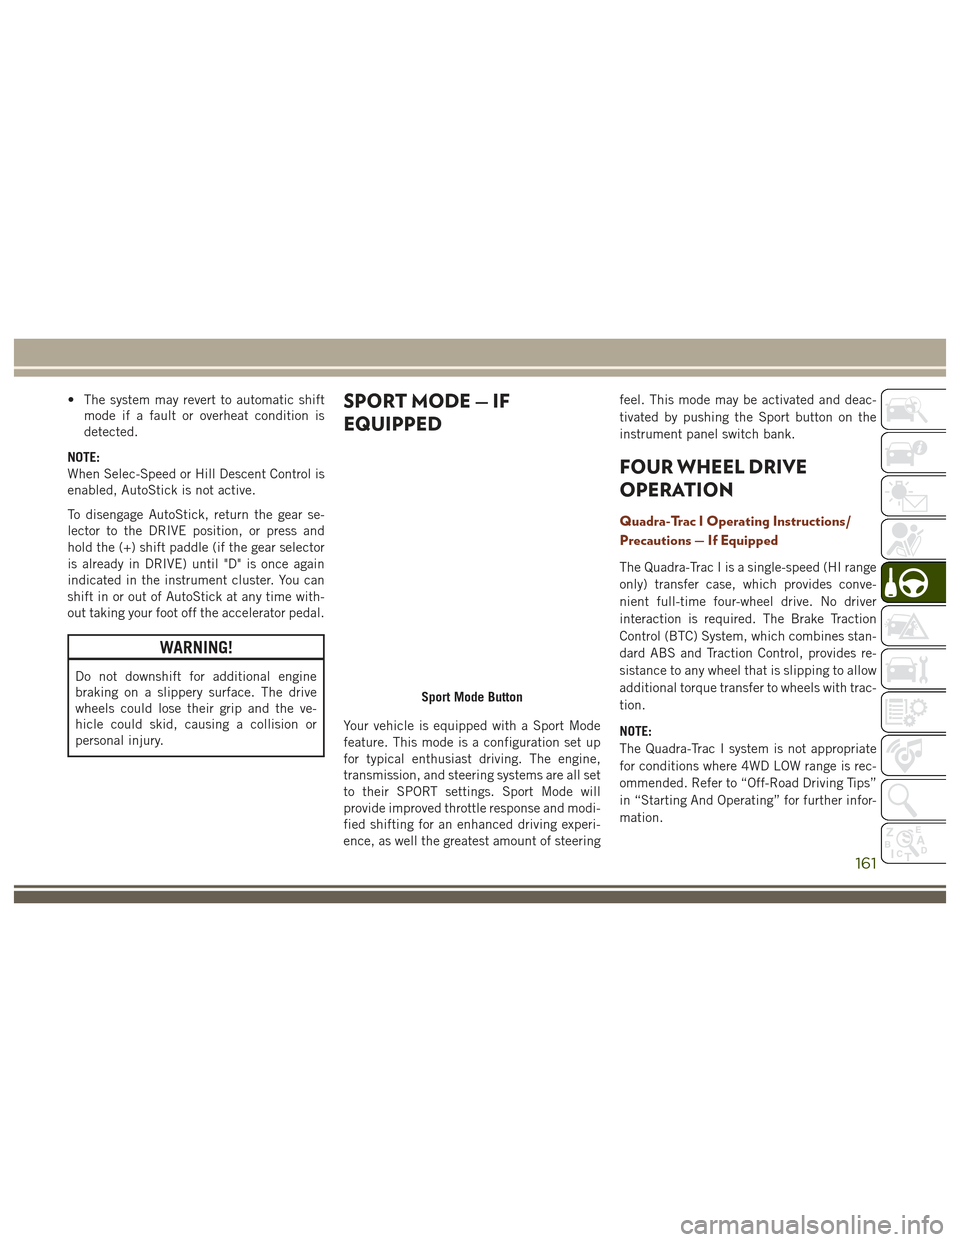
SPORT MODE — IF
EQUIPPED
Your vehicle is equipped with a Sport Mode
feature. This mode is a configuration set up
for typical enthusiast driving. The engine,
transmission, and steering systems are all set
to their SPORT settings. Sport Mode will
provide improved throttle response and modi-
fied shifting for an enhanced driving experi-
ence, as well the greatest amount of steering feel. This mode may be activated and deac-
tivated by pushing the Sport button on the
instrument panel switch bank.
FOUR WHEEL DRIVE
OPERATION
Quadra-Trac I Operating Instructions/
Precautions — If Equipped
The Quadra-Trac I is a single-speed (HI range
only) transfer case, which provides conve-
nient full-time four-wheel drive. No driver
interaction is required. The Brake Traction
Control (BTC) System, which combines stan-
dard ABS and Traction Control, provides re-
sistance to any wheel that is slipping to allow
additional torque transfer to wheels with trac-
tion.
NOTE:
The Quadra-Trac I system is not appropriate
for conditions where 4WD LOW range is rec-
ommended. Refer to “Off-Road Driving Tips”
in “Starting And Operating” for further infor-
mation.
Sport Mode Button
161
Page 164 of 372
Quadra-Trac II Operating Instructions/
Precautions — If Equipped
The Quadra-Trac II transfer case is fully au-
tomatic in the normal driving 4WD AUTO
mode. The Quadra-Trac II transfer case pro-
vides three mode positions:
• 4WD HI
• NEUTRAL
• 4WD LOW
This transfer case is fully automatic in the
4WD HI mode.
When additional traction is required, the
4WD LOW position can be used to lock the
front and rear driveshafts together and force
the front and rear wheels to rotate at the
same speed. The 4WD LOW position is in-
tended for loose, slippery road surfaces only.
Driving in the 4WD LOW position on dry,
hard-surfaced roads may cause increased tire
wear and damage to driveline components.When operating your vehicle in 4WD LOW,
the engine speed is approximately three
times that of the 4WD HI position at a given
road speed. Take care not to overspeed the
engine and do not exceed 25 mph (40 km/h).
Proper operation of four-wheel drive vehicles
depends on tires of equal size, type, and
circumference on each wheel. Any difference
will adversely affect shifting and cause dam-
age to the transfer case.
Because four-wheel drive provides improved
traction, there is a tendency to exceed safe
turning and stopping speeds. Do not go faster
than road conditions permit.
WARNING!
You or others could be injured or killed if
you leave the vehicle unattended with the
transfer case in the NEUTRAL position
without first fully engaging the parking
brake. The transfer case NEUTRAL posi-
tion disengages both the front and rear
drive shafts from the powertrain and will
allow the vehicle to roll, even if the trans-
mission is in PARK. The parking brake
WARNING!
should always be applied when the driver
is not in the vehicle.
Shift Positions
For additional information on the appropriate
use of each 4WD system mode position, see
the information below:
4WD AUTO
This range is used on surfaces such as ice,
snow, gravel, sand, and dry hard pavement.
NOTE:
Refer to “Selec-Terrain – If Equipped” fur-
ther on in this section for further information
on the various positions and their intended
usages.
NEUTRAL
This range disengages the driveline from the
powertrain. It is to be used for flat towing
behind another vehicle. Refer to “Recre-
ational Towing” in “Starting And Operating”
for further information.
STARTING AND OPERATING
162
Page 165 of 372
WARNING!
You or others could be injured or killed if
you leave the vehicle unattended with the
power transfer unit in the NEUTRAL (N)
position without first fully engaging the
parking brake. The NEUTRAL (N) position
disengages both the front and rear drive-
shafts from the powertrain and will allow
the vehicle to roll, even if the transmission
is in PARK. The parking brake should al-
ways be applied when the driver is not in
the vehicle.
4WD LOW
This range is for low speed four-wheel drive. It
provides an additional gear reduction which
allows for increased torque to be delivered to
both the front and rear wheels while providing
maximum pulling power for loose, slippery
road surfaces only. Do not exceed 25 mph
(40 km/h).
NOTE:
Refer to “Selec-Terrain – If Equipped” for
further information on the various positions
and their intended usages.
Shifting Procedures
4WD HI To 4WD LOW
With the vehicle at speeds of 0 to 3 mph (0 to
5 km/h), the ignition switch in the ON posi-
tion or the engine running, shift the transmis-
sion into “N”, and push the “4WD LOW”
button once on the transfer case switch. The
“4WD LOW” indicator light in the instrument
cluster will begin to flash and remain on solid
when the shift is complete.NOTE:
If shift conditions/interlocks are not met, or a
transfer case motor temperature protection
condition exists, a “For 4x4 Low Slow Below
3 mph (5 km/h) Put Trans in “N” Press
4 Low” message will flash from the instru-
ment cluster display. Refer to “Instrument
Cluster Display” in “Getting To Know Your
Instrument Panel” for further information.
4WD LOW To 4WD HI
With the vehicle at speeds of 0 to 3 mph (0 to
5 km/h), the ignition switch in the ON posi-
tion or the engine running, shift the transmis-
sion into NEUTRAL, and push the “4WD
LOW” button once on the transfer case
switch. The “4WD LOW” indicator light in the
instrument cluster will flash and go out when
the shift is complete.
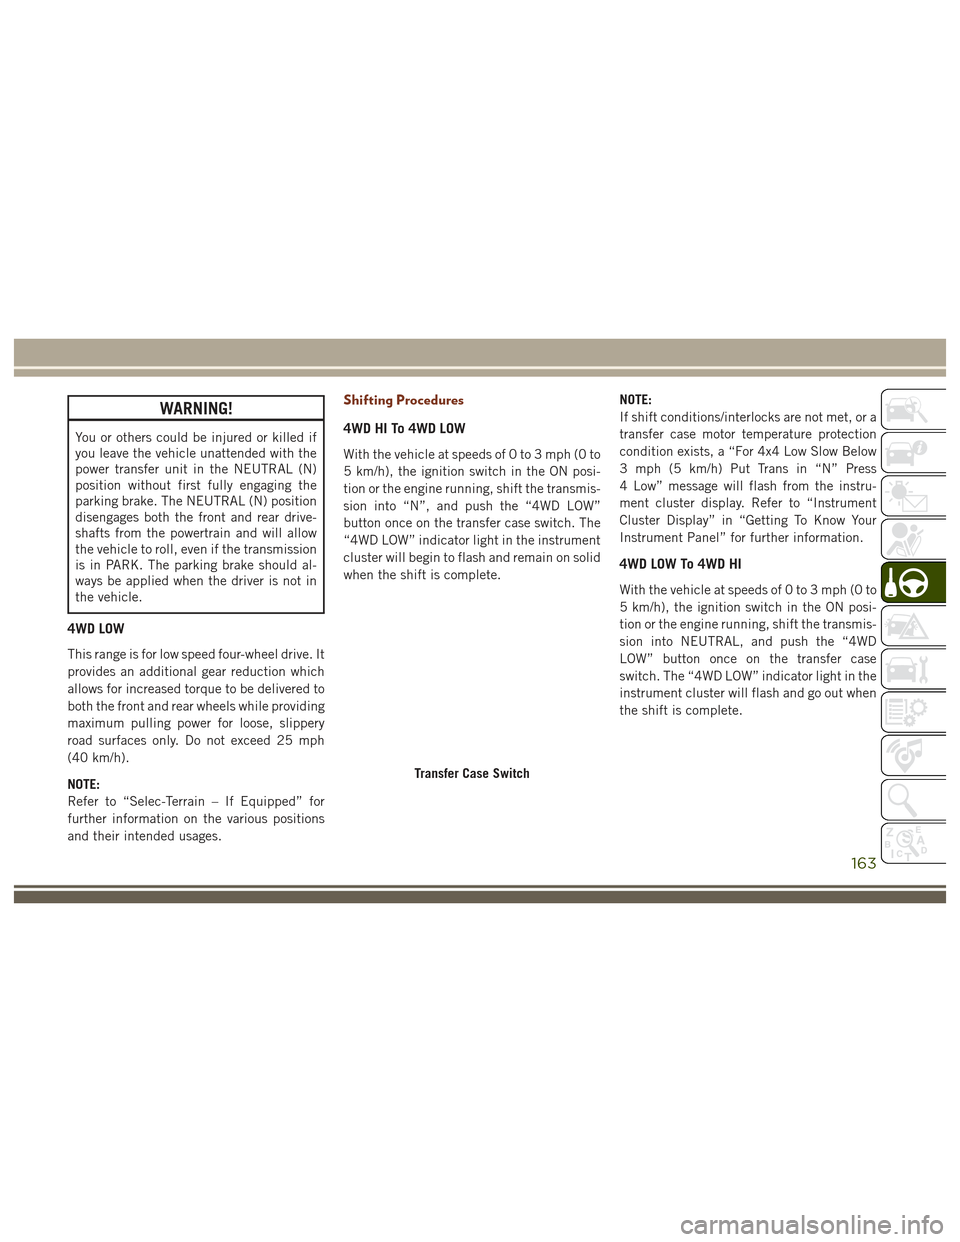
Transfer Case Switch
163
Page 166 of 372
NOTE:
• If shift conditions/interlocks are not met,or a transfer case motor temperature pro-
tection condition exists, a “For 4x4 High
Slow Below 3 mph (5 km/h) Put Trans in N
push 4 Low” message will flash from the
instrument cluster display. Refer to “In-
strument Cluster Display” in “Getting To
Know Your Instrument Panel” for further
information.
• Shifting into or out of 4WD LOW is pos- sible with the vehicle completely stopped;
however, difficulty may occur due to the
mating clutch teeth not being properly
aligned. Several attempts may be required
for clutch teeth alignment and shift
completion to occur. The preferred
method is with the vehicle rolling 0 to
3 mph (0 to 5 km/h). If the vehicle is
moving faster than 3 mph (5 km/h), the
transfer case will not allow the shift.Shifting Into NEUTRAL (N)
WARNING!
You or others could be injured or killed if
you leave the vehicle unattended with the
transfer case in the NEUTRAL (N) position
without first fully engaging the parking
brake. The NEUTRAL (N) position disen-
gages both the front and rear drive shafts
from the powertrain and will allow the
vehicle to roll, even if the transmission is
in PARK. The parking brake should always
be applied when the driver is not in the
vehicle.
1. Bring the vehicle to a complete stop, with the engine running.
2. Press and hold the brake pedal.
3. Shift the transmission into NEUTRAL.
4. If vehicle is equipped with Quadra-Lift air suspension, ensure the vehicle is set to
Normal Ride Height.
5. Using a ballpoint pen or similar object, push and hold the recessed transfer case
NEUTRAL (N) button (located by the se-
lector switch) for four seconds. The light behind the NEUTRAL (N) symbol will
blink, indicating shift in progress. The
light will stop blinking (stay on solid)
when the shift to NEUTRAL (N) is com-
plete. A “NEUTRAL” message will appear
in the instrument cluster display. Refer to
“Instrument Cluster Display” in “Getting
To Know Your Instrument Panel” for fur-
ther information.
6. After the shift is completed and the NEU- TRAL (N) light stays on, release the NEU-
TRAL (N) button.
7. Shift the transmission into REVERSE.
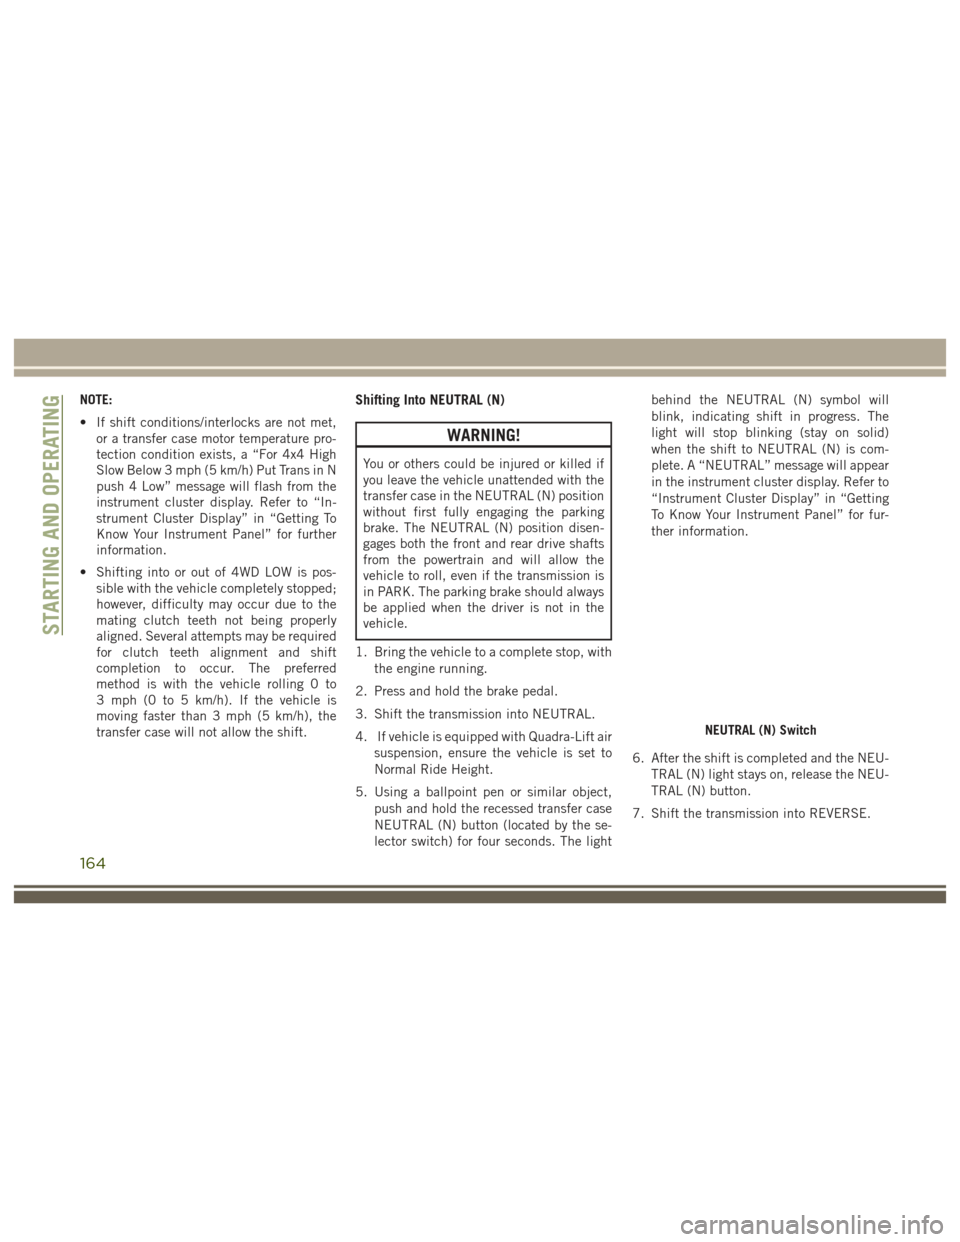
NEUTRAL (N) Switch
STARTING AND OPERATING
164
Page 167 of 372
8. Release the brake pedal for five secondsand ensure that there is no vehicle
movement.
NOTE:
If shift conditions/interlocks are not met, a
“To Tow Vehicle Safely, Read Neutral Shift
Procedure in Owner’s Manual” message will
flash from the instrument cluster display.
Refer to “Instrument Cluster Display” in
“Getting To Know Your Instrument Panel” for
further information.
Shifting Out Of NEUTRAL (N)
Use the following procedure to prepare your
vehicle for normal usage.
1. Bring the vehicle to a complete stop.
2. Firmly apply the parking brake.
3. Start the engine.
4. Press and hold the brake pedal.
5. Shift the transmission into NEUTRAL. 6. Using a ballpoint pen or similar object,
push and hold the recessed transfer case
NEUTRAL (N) button (located by the se-
lector switch) for one second.
7. When the NEUTRAL (N) indicator light turns off, release the NEUTRAL (N)
button.
8. After the NEUTRAL (N) button has been released, the transfer case will shift to the
position indicated by the selector switch.
Quadra-Drive II System — If Equipped
The optional Quadra-Drive II System features
two torque transfer couplings. The couplings
include an Electronic Limited-Slip Differen-
tial (ELSD) rear axle and the Quadra-Trac II
transfer case. The optional ELSD axle is fully
automatic and requires no driver input to
operate. Under normal driving conditions,
the unit functions as a standard axle, balanc-
ing torque evenly between left and right
wheels. With a traction difference between
left and right wheels, the coupling will sense
a speed difference. As one wheel begins to
spin faster than the other, torque will auto-
matically transfer from the wheel that has
less traction, to the wheel that has traction.
While the transfer case and axle coupling
differ in design, their operation is similar.
Follow the Quadra-Trac II transfer case shift-
ing information, preceding this section, for
shifting this system.
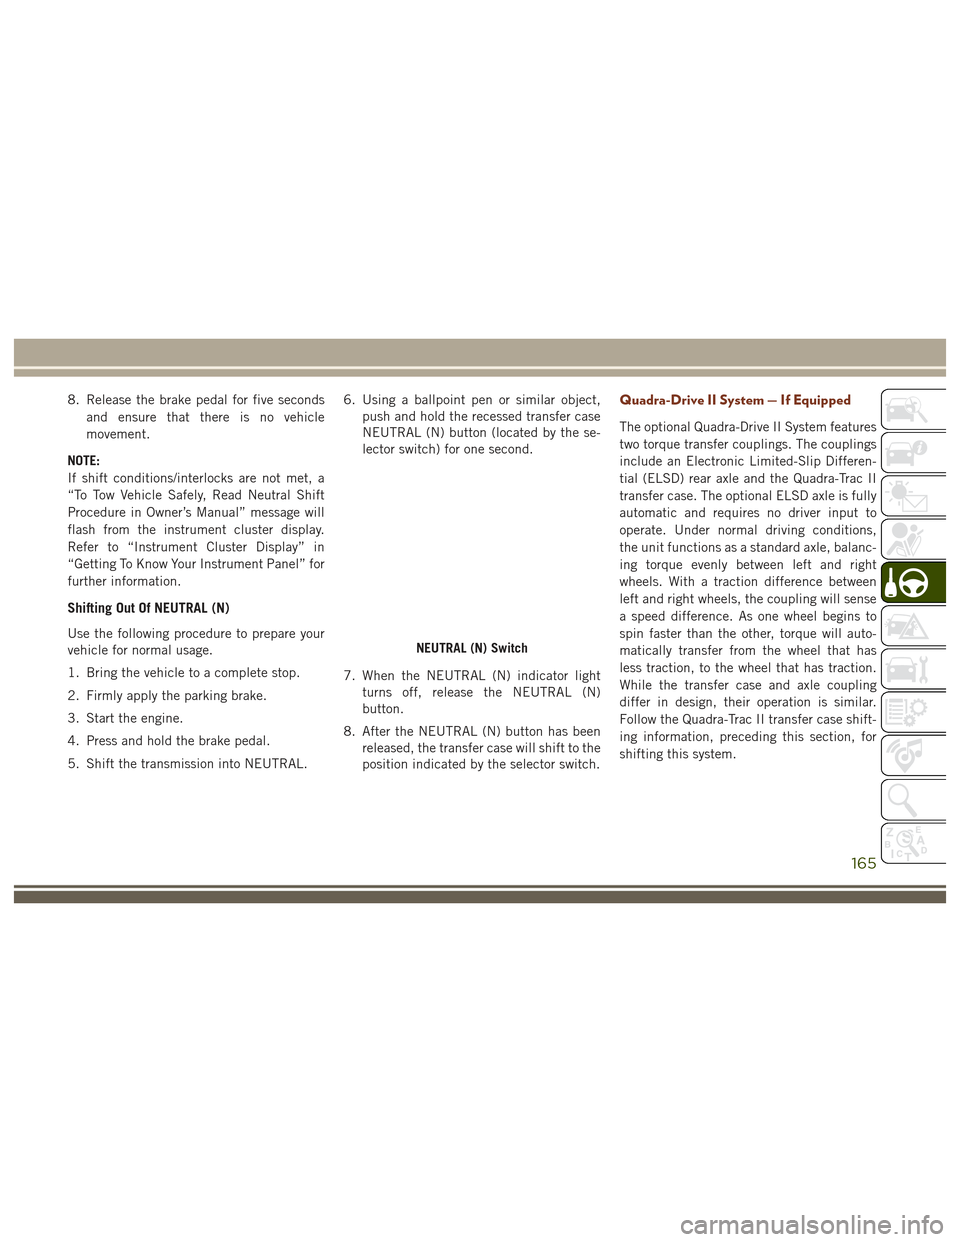
NEUTRAL (N) Switch
165
Page 169 of 372
(40 km/h) the vehicle height will be auto-
matically lowered to OR1. Refer to “Driv-
ing Tips” in “Starting And Operating” for
further information.
• Aero Mode (Lowers the vehicle approxi-
mately 0.6 inches (15 mm) – This position
provides improved aerodynamics by lower-
ing the vehicle. The vehicle will automati-
cally enter Aero Mode when the vehicle
speed remains between 52 mph (83 km/h)
and 56 mph (90 km/h) for greater than
20 seconds or if the vehicle speed exceeds
56 mph (90 km/h). The vehicle will return
to NRH from Aero Mode if the vehicle
speed remains between 20 mph (32 km/h)
and 25 mph (40 km/h) for greater than
20 seconds or if the vehicle speed falls
below 20 mph (32 km/h). The vehicle will
enter Aero Mode, regardless of vehicle
speed if the vehicle is in “SPORT” mode.
• Entry/Exit Mode (Lowers the vehicle approxi-
mately 1.6 inces (40 mm) – This position
lowers the vehicle for easier passenger
entry and exit as well as lowering the rear
of the vehicle for easier loading and un-
loading of cargo. To enter Entry/Exit Mode,
push the “DOWN” button once from (NRH) while the vehicle speed is below
25 mph (40 km/h). Once the vehicle
speed goes below 15 mph (24 km/h) the
vehicle height will begin to lower. If the
vehicle speed remains between 15 mph
(24 km/h) and 25 mph (40 km/h) for
greater than 60 seconds, or the vehicle
speed exceeds 25 mph (40 km/h) the
Entry/Exit Mode change will be cancelled.
To exit Entry/Exit Mode, press the “Up”
button once while in Entry/Exit Mode or
drive the vehicle over 15 mph (24 km/h).
NOTE:
Automatic lowering of the vehicle into Entry/
Exit Mode can be enabled through the
Uconnect Touch-Screen Radio. If this feature
is enabled, the vehicle will only lower if the
gear selector is in "PARK", the terrain switch
is in "AUTO", the transfer-case is in "AUTO”
and the vehicle level should be either in
Normal or Aero Mode. The Vehicle will not
automatically lower if the air suspension level
is in Off Rd 2 or Off Rd 1. If the vehicle is
equipped with Intrusion Theft Module (ITM),
the lowering will be suppressed when the
ignition is switched OFF and the door is open
to prevent setting the alarm off. The Selec-Terrain switch will automatically
change the vehicle to the proper height based
on the position of the Selec-Terrain switch.
The height can be changed from the default
Selec-Terrain setting by normal use of the air
suspension buttons. Refer to “Selec-Terrain”
in “Starting And Operating” for further infor-
mation.
The system requires that the engine be run-
ning for all changes. When lowering the ve-
hicle all of the doors, including the liftgate,
must be closed. If a door is opened at any
time while the vehicle is lowering the change
will not be completed until the open door(s) is
closed.
The Quadra-Lift air suspension system uses a
lifting and lowering pattern which keeps the
headlights from incorrectly shining into on-
coming traffic. When raising the vehicle, the
rear of the vehicle will move up first and then
the front. When lowering the vehicle, the
front will move down first and then the rear.
167
Page 172 of 372
SELEC-TERRAIN — IF
EQUIPPED
Selec-Terrain Mode Selection
Selec-Terrain combines the capabilities of
the vehicle control systems, along with driver
input, to provide the best performance for all
terrains. Selec-Terrain consists of the following posi-
tions:
•
Snow – Tuning set for additional stability
in inclement weather. Use on and off road
on loose traction surfaces such as snow.
When in Snow mode (depending on cer-
tain operating conditions), the transmis-
sion may use second gear (rather than first
gear) during launches, to minimize wheel
slippage. If equipped with air suspension,
the default ride height for Snow is Normal
Ride Height (NRH).
• Auto – Fully automatic full time four-wheel
drive operation can be used on and off
road. Balances traction with seamless
steering feel to provide improved handling
and acceleration over two-wheel drive ve-
hicles. If equipped with air suspension,
the level will change to Normal Ride
Height (NRH).
• Sand – Off road calibration for use on low
traction surfaces such as sand or wet
grass. Driveline is maximized for traction.
Some binding may be felt on less forgiving
surfaces. The electronic brake controls are
set to limit traction control management of throttle and wheel spin. If equipped
with air suspension, the default ride
height for Sand is Normal Ride Height
(NRH).
• Mud – Off road calibration for use on low
traction surfaces such as mud. Driveline is
maximized for traction. Some binding may
be felt on less forgiving surfaces. The
electronic brake controls are set to limit
traction control management of throttle
and wheel spin. If equipped with air sus-
pension, the level will change to Off Road
1.
• Rock – Off road calibration only available
in 4WD Low range. The vehicle is raised (if
equipped with Air Suspension) for im-
proved ground clearance. Traction based
tuning with improved steer-ability for use
on high traction off-road surfaces. Use for
low speed obstacles such as large rocks,
deep ruts, etc. If equipped with air sus-
pension, the vehicle level will change to
Off-Road 2. If the Selec-Terrain switch is
in ROCK mode, and the transfer case is
switched from 4WD Low to 4WD High, the
Selec-Terrain system will return to AUTO.
Selec-Terrain Switch
STARTING AND OPERATING
170
Page 200 of 372
To reinstall the hitch receiver cover after
towing repeat the procedure in reverse order.NOTE:
Be sure to engage all tabs of the hitch re-
ceiver cover in the bumper fascia prior to
installation.
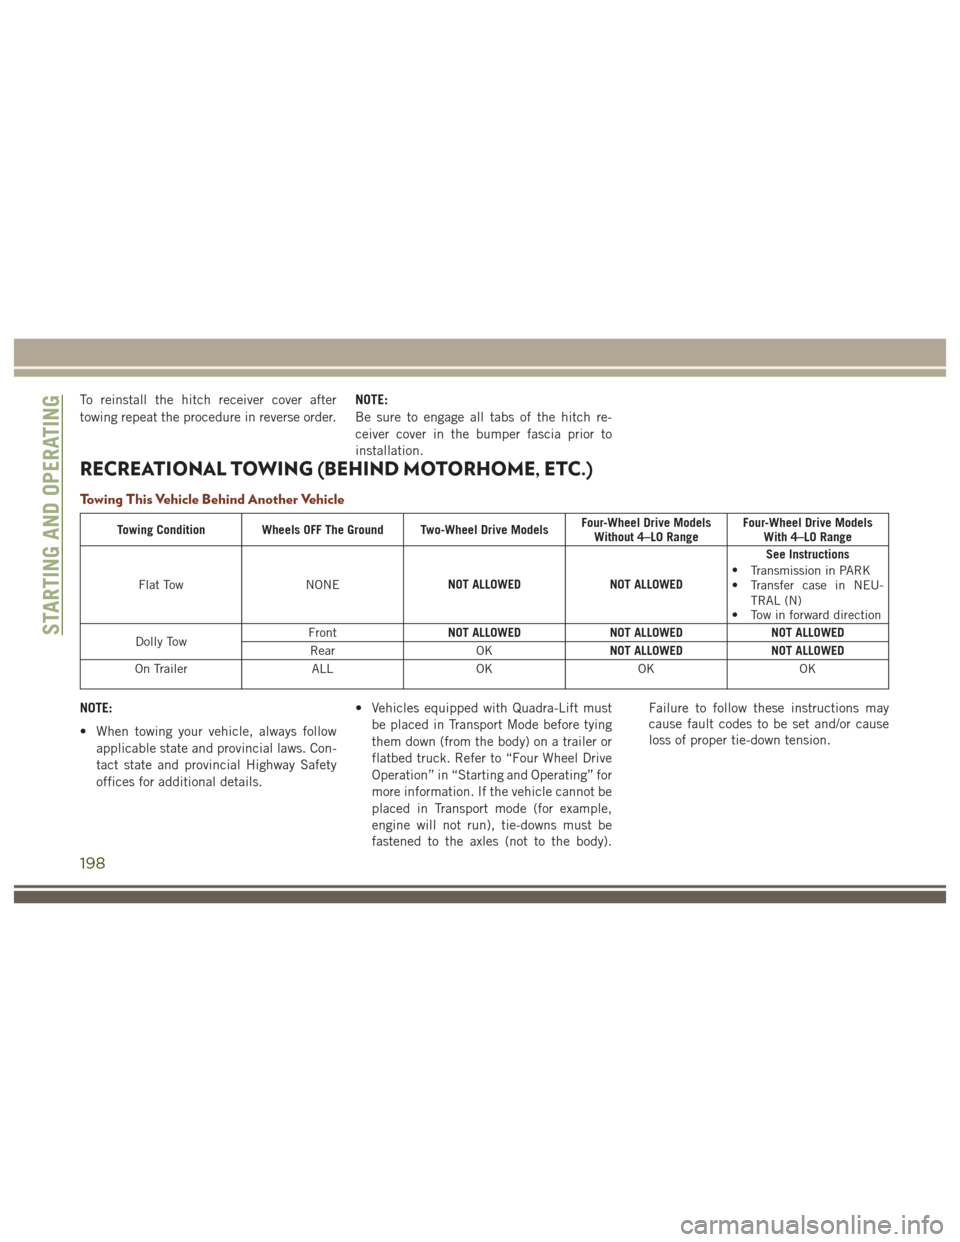
RECREATIONAL TOWING (BEHIND MOTORHOME, ETC.)
Towing This Vehicle Behind Another Vehicle
Towing Condition Wheels OFF The Ground Two-Wheel Drive Models
Four-Wheel Drive Models
Without 4–LO Range Four-Wheel Drive Models
With 4–LO Range
Flat Tow NONENOT ALLOWED
NOT ALLOWEDSee Instructions
• Transmission in PARK
• Transfer case in NEU-
TRAL (N)
• Tow in forward direction
Dolly Tow Front
NOT ALLOWED
NOT ALLOWEDNOT ALLOWED
Rear OKNOT ALLOWED
NOT ALLOWED
On Trailer ALLOKOKOK
NOTE:
• When towing your vehicle, always follow
applicable state and provincial laws. Con-
tact state and provincial Highway Safety
offices for additional details. • Vehicles equipped with Quadra-Lift must
be placed in Transport Mode before tying
them down (from the body) on a trailer or
flatbed truck. Refer to “Four Wheel Drive
Operation” in “Starting and Operating” for
more information. If the vehicle cannot be
placed in Transport mode (for example,
engine will not run), tie-downs must be
fastened to the axles (not to the body). Failure to follow these instructions may
cause fault codes to be set and/or cause
loss of proper tie-down tension.
STARTING AND OPERATING
198