start stop button JEEP GRAND CHEROKEE 2018 Owner handbook (in English)
[x] Cancel search | Manufacturer: JEEP, Model Year: 2018, Model line: GRAND CHEROKEE, Model: JEEP GRAND CHEROKEE 2018Pages: 368, PDF Size: 5.72 MB
Page 155 of 368
9. Press and hold the brake pedal. Shift the
transmission back into NEUTRAL.
10. Firmly apply the parking brake.
11. With the transmission and transfer case
in NEUTRAL, push and hold the EN-
GINE START/STOP button until the en-
gine turns off.
12. Place the transmission gear selector in
PARK. Release the brake pedal.
13. Push the ENGINE STOP/START button
twice (without pressing the brake pedal),
to turn the ignition to the OFF mode.
14. Release the parking brake only when the
vehicle is securely attached to a tow
vehicle.
NOTE:
If shift conditions/interlocks are not met, a
“To Tow Vehicle Safely, Read Neutral Shift
Procedure in Owner’s Manual” message will
flash from the instrument cluster display.
Refer to “Instrument Cluster Display” in
“Getting To Know Your Instrument Panel” for
further information.Shifting Out Of NEUTRAL (N)
Use the following procedure to prepare your
vehicle for normal usage.
1. Bring the vehicle to a complete stop.
2. Firmly apply the parking brake.
3. Start the engine.
4. Press and hold the brake pedal.
5. Shift the transmission into NEUTRAL.
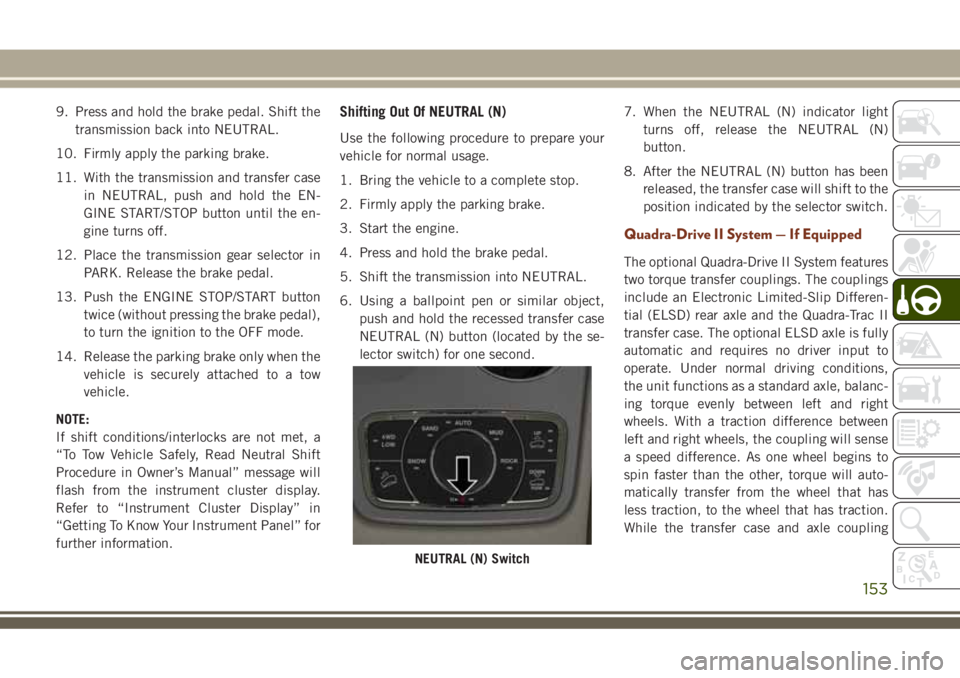
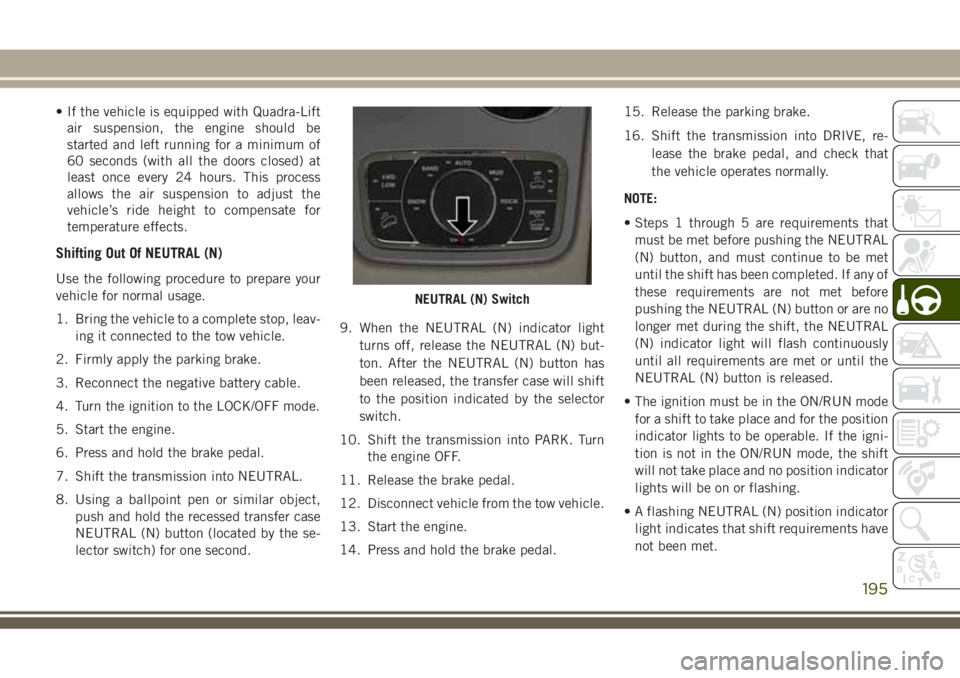
6. Using a ballpoint pen or similar object,
push and hold the recessed transfer case
NEUTRAL (N) button (located by the se-
lector switch) for one second.7. When the NEUTRAL (N) indicator light
turns off, release the NEUTRAL (N)
button.
8. After the NEUTRAL (N) button has been
released, the transfer case will shift to the
position indicated by the selector switch.
Quadra-Drive II System — If Equipped
The optional Quadra-Drive II System features
two torque transfer couplings. The couplings
include an Electronic Limited-Slip Differen-
tial (ELSD) rear axle and the Quadra-Trac II
transfer case. The optional ELSD axle is fully
automatic and requires no driver input to
operate. Under normal driving conditions,
the unit functions as a standard axle, balanc-
ing torque evenly between left and right
wheels. With a traction difference between
left and right wheels, the coupling will sense
a speed difference. As one wheel begins to
spin faster than the other, torque will auto-
matically transfer from the wheel that has
less traction, to the wheel that has traction.
While the transfer case and axle coupling
NEUTRAL (N) Switch
153
Page 171 of 368
ACC Operation At Stop
If the ACC system brings your vehicle to a
standstill while following a target vehicle, if
the target vehicle starts moving within two
seconds of your vehicle coming to a stand-
still, your vehicle will resume motion without
the need for any driver action.
If the target vehicle does not start moving
within two seconds of your vehicle coming to
a standstill, the ACC with Stop system will
cancel and the brakes will release. A cancel
message will display on the instrument clus-
ter display and produce a warning chime.
Driver intervention will be required at this
moment.
While ACC with Stop is holding your vehicle
at a standstill, if the driver seatbelt is un-
buckled or the driver door is opened, the ACC
with Stop system will cancel and the brakes
will release. A cancel message will display on
the instrument cluster display and produce a
warning chime. Driver intervention will be
required at this moment.
WARNING!
When the ACC system is resumed, the
driver must ensure that there are no pedes-
trians, vehicles or objects in the path of
the vehicle. Failure to follow these warn-
ings can result in a collision and death or
serious personal injury.
Changing Modes
If desired, the Adaptive Cruise Control mode
can be turned off and the system can be
operated as a Normal (Fixed Speed) Cruise
Control mode. When in the Normal (Fixed
Speed) Cruise Control mode the distance
setting feature will be disabled and the sys-
tem will maintain the speed you set.
• To change between the different cruise con-
trol modes, push the Adaptive Cruise Con-
trol (ACC) on/off button which turns the
ACC and the Normal (Fixed Speed) Cruise
Control off.
• Pushing the Normal (Fixed Speed) Cruise
Control on/off button will result in turning
on (changing to) the Normal (Fixed Speed)
Cruise Control mode.Refer to your Owner's Manual for further
information.
WARNING!
Adaptive Cruise Control (ACC) is a conve-
nience system. It is not a substitute for
active driving involvement. It is always the
driver’s responsibility to be attentive of
road, traffic, and weather conditions, ve-
hicle speed, distance to the vehicle ahead;
and, most importantly, brake operation to
ensure safe operation of the vehicle under
all road conditions. Your complete atten-
tion is always required while driving to
maintain safe control of your vehicle. Fail-
ure to follow these warnings can result in a
collision and death or serious personal
injury.
The ACC system:
• Does not react to pedestrians, oncoming
vehicles, and stationary objects (e.g., a
stopped vehicle in a traffic jam or a
disabled vehicle).
• Cannot take street, traffic, and weather
conditions into account, and may be
169
Page 172 of 368
WARNING!
limited upon adverse sight distance con-
ditions.
• Does not always fully recognize complex
driving conditions, which can result in
wrong or missing distance warnings.
• Will bring the vehicle to a complete stop
while following a target vehicle and hold
the vehicle for 2 seconds in the stop
position. If the target vehicle does not
start moving within two seconds the ACC
system will display a message that the
system will release the brakes and that
the brakes must be applied manually. An
audible chime will sound when the
brakes are released.
You should switch off the ACC system:
• When driving in fog, heavy rain, heavy
snow, sleet, heavy traffic, and complex
driving situations (i.e., in highway con-
struction zones).
• When entering a turn lane or highway off
ramp; when driving on roads that are
winding, icy, snow-covered, slippery, or
have steep uphill or downhill slopes.
WARNING!
• When towing a trailer up or down steep
slopes.
• When circumstances do not allow safe
driving at a constant speed.
The Cruise Control system has two control
modes:
• Adaptive Cruise Control mode for main-
taining an appropriate distance between
vehicles.
• Normal (Fixed Speed) Cruise Control
mode for cruising at a constant preset
speed. For additional information, refer
to “Normal (Fixed Speed) Cruise Control
Mode” in your Owner’s Manual.
Normal (Fixed Speed) Cruise Control will
not react to preceding vehicles. Always be
aware of the mode selected.
You can change the mode by using the
Cruise Control buttons. The two control
modes function differently. Always con-
firm which mode is selected.
PARKSENSE REAR PARK
ASSIST
ParkSense Sensors
The four ParkSense sensors, located in the
rear fascia/bumper, monitor the area behind
the vehicle that is within the sensors’ field of
view. The sensors can detect obstacles from
approximately 12 inches (30 cm) up to
79 inches (200 cm) from the rear fascia/
bumper in the horizontal direction, depend-
ing on the location, type and orientation of
the obstacle.
Activation/Deactivation ParkSense
ParkSense can be enabled and disabled with
the ParkSense switch
.
When the ParkSense switch is pushed to
disable the system, the instrument cluster
display will show the “PARKSENSE OFF”
message for approximately five seconds. Re-
fer to “Instrument Cluster Display” in “Get-
ting To Know Your Instrument Panel” in the
Owner’s Manual for more information. When
the gear selector is moved to REVERSE and
STARTING AND OPERATING
170
Page 196 of 368
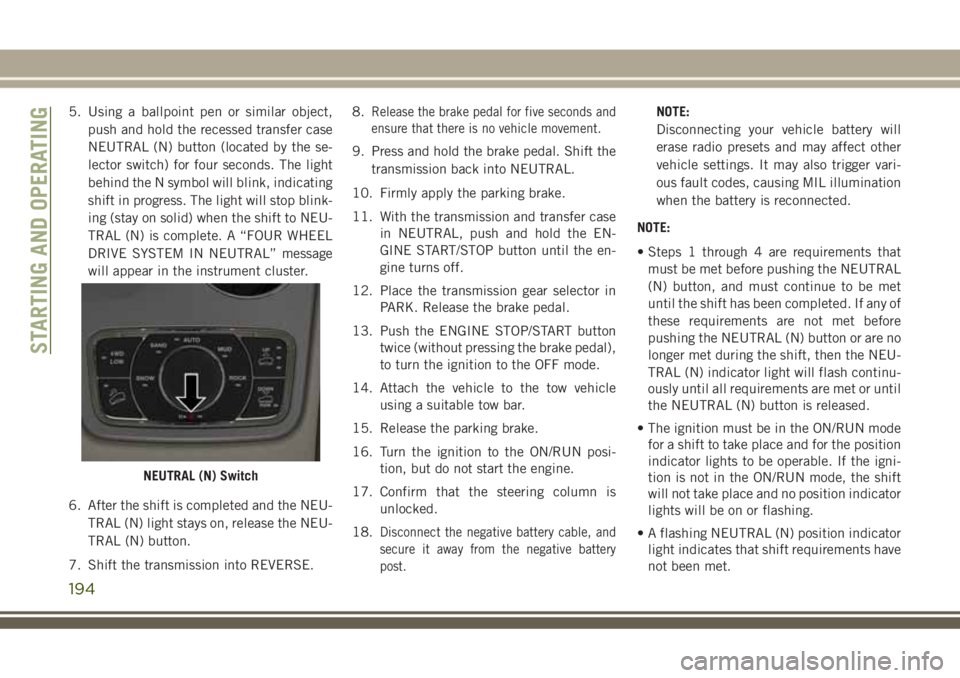
5. Using a ballpoint pen or similar object,
push and hold the recessed transfer case
NEUTRAL (N) button (located by the se-
lector switch) for four seconds. The light
behind the N symbol will blink, indicating
shift in progress. The light will stop blink-
ing (stay on solid) when the shift to NEU-
TRAL (N) is complete. A “FOUR WHEEL
DRIVE SYSTEM IN NEUTRAL” message
will appear in the instrument cluster.
6. After the shift is completed and the NEU-
TRAL (N) light stays on, release the NEU-
TRAL (N) button.
7. Shift the transmission into REVERSE.8.Release the brake pedal for five seconds and
ensure that there is no vehicle movement.
9. Press and hold the brake pedal. Shift the
transmission back into NEUTRAL.
10. Firmly apply the parking brake.
11. With the transmission and transfer case
in NEUTRAL, push and hold the EN-
GINE START/STOP button until the en-
gine turns off.
12. Place the transmission gear selector in
PARK. Release the brake pedal.
13. Push the ENGINE STOP/START button
twice (without pressing the brake pedal),
to turn the ignition to the OFF mode.
14. Attach the vehicle to the tow vehicle
using a suitable tow bar.
15. Release the parking brake.
16. Turn the ignition to the ON/RUN posi-
tion, but do not start the engine.
17. Confirm that the steering column is
unlocked.
18.
Disconnect the negative battery cable, and
secure it away from the negative battery
post.
NOTE:
Disconnecting your vehicle battery will
erase radio presets and may affect other
vehicle settings. It may also trigger vari-
ous fault codes, causing MIL illumination
when the battery is reconnected.
NOTE:
• Steps 1 through 4 are requirements that
must be met before pushing the NEUTRAL
(N) button, and must continue to be met
until the shift has been completed. If any of
these requirements are not met before
pushing the NEUTRAL (N) button or are no
longer met during the shift, then the NEU-
TRAL (N) indicator light will flash continu-
ously until all requirements are met or until
the NEUTRAL (N) button is released.
• The ignition must be in the ON/RUN mode
for a shift to take place and for the position
indicator lights to be operable. If the igni-
tion is not in the ON/RUN mode, the shift
will not take place and no position indicator
lights will be on or flashing.
• A flashing NEUTRAL (N) position indicator
light indicates that shift requirements have
not been met.
NEUTRAL (N) Switch
STARTING AND OPERATING
194
Page 197 of 368
• If the vehicle is equipped with Quadra-Lift
air suspension, the engine should be
started and left running for a minimum of
60 seconds (with all the doors closed) at
least once every 24 hours. This process
allows the air suspension to adjust the
vehicle’s ride height to compensate for
temperature effects.
Shifting Out Of NEUTRAL (N)
Use the following procedure to prepare your
vehicle for normal usage.
1. Bring the vehicle to a complete stop, leav-
ing it connected to the tow vehicle.
2. Firmly apply the parking brake.
3. Reconnect the negative battery cable.
4. Turn the ignition to the LOCK/OFF mode.
5. Start the engine.
6. Press and hold the brake pedal.
7. Shift the transmission into NEUTRAL.
8. Using a ballpoint pen or similar object,
push and hold the recessed transfer case
NEUTRAL (N) button (located by the se-
lector switch) for one second.9. When the NEUTRAL (N) indicator light
turns off, release the NEUTRAL (N) but-
ton. After the NEUTRAL (N) button has
been released, the transfer case will shift
to the position indicated by the selector
switch.
10. Shift the transmission into PARK. Turn
the engine OFF.
11. Release the brake pedal.
12. Disconnect vehicle from the tow vehicle.
13. Start the engine.
14. Press and hold the brake pedal.15. Release the parking brake.
16. Shift the transmission into DRIVE, re-
lease the brake pedal, and check that
the vehicle operates normally.
NOTE:
• Steps 1 through 5 are requirements that
must be met before pushing the NEUTRAL
(N) button, and must continue to be met
until the shift has been completed. If any of
these requirements are not met before
pushing the NEUTRAL (N) button or are no
longer met during the shift, the NEUTRAL
(N) indicator light will flash continuously
until all requirements are met or until the
NEUTRAL (N) button is released.
• The ignition must be in the ON/RUN mode
for a shift to take place and for the position
indicator lights to be operable. If the igni-
tion is not in the ON/RUN mode, the shift
will not take place and no position indicator
lights will be on or flashing.
• A flashing NEUTRAL (N) position indicator
light indicates that shift requirements have
not been met.
NEUTRAL (N) Switch
195
Page 315 of 368
1. Insert a Blu-ray disc into the VES disc
player with the label facing as indicated
on the Blu-ray player. The radio automati-
cally selects the appropriate mode after
the disc is recognized and displays the
menu screen, the language screen, or
starts playing the first track.
2. To watch a Blu-ray disc on Rear 1 for
driver's side rear passengers, ensure the
Remote Control and Headphone switch is
on Rear 1.
3. To watch a Blu-ray disc on Rear 2 for
passenger side rear passengers, ensure
the Remote Control and Headphone
switch is on Rear 2.NOTE:
• To view a Blu-ray disc on the radio, press
the “Media” button on the touchscreen,
and then press the “Disc” button. Press the
“Play” button, and then the “full screen”
button.
• Viewing a Blu-ray disc on the radio screen is
not available in all states/provinces. The
vehicle must be stopped, and the gear se-
lector must be in the PARK position for
vehicles with automatic transmission.
313