driver seat adjustment JEEP GRAND CHEROKEE 2020 Owner handbook (in English)
[x] Cancel search | Manufacturer: JEEP, Model Year: 2020, Model line: GRAND CHEROKEE, Model: JEEP GRAND CHEROKEE 2020Pages: 378, PDF Size: 6.88 MB
Page 8 of 378

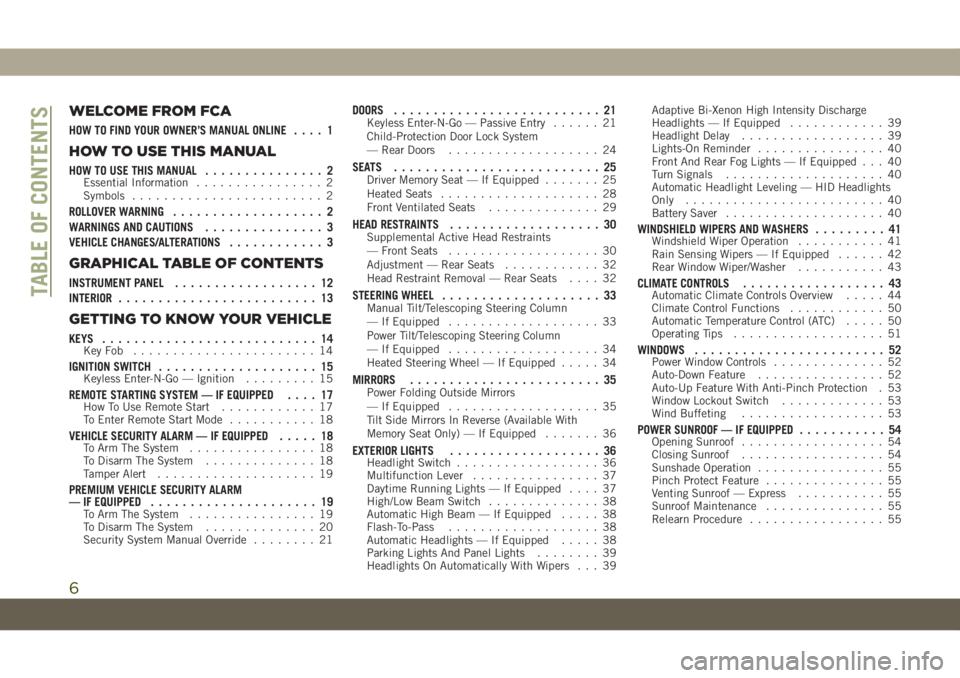
WELCOME FROM FCA
HOW TO FIND YOUR OWNER’S MANUAL ONLINE.... 1
HOW TO USE THIS MANUAL
HOW TO USE THIS MANUAL............... 2Essential Information................ 2
Symbols........................ 2
ROLLOVER WARNING................... 2
WARNINGS AND CAUTIONS............... 3
VEHICLE CHANGES/ALTERATIONS............ 3
GRAPHICAL TABLE OF CONTENTS
INSTRUMENT PANEL.................. 12
INTERIOR......................... 13
GETTING TO KNOW YOUR VEHICLE
KEYS........................... 14KeyFob ....................... 14
IGNITION SWITCH.................... 15Keyless Enter-N-Go — Ignition......... 15
REMOTE STARTING SYSTEM — IF EQUIPPED.... 17How To Use Remote Start............ 17
To Enter Remote Start Mode........... 18
VEHICLE SECURITY ALARM — IF EQUIPPED..... 18To Arm The System................ 18
To Disarm The System.............. 18
Tamper Alert.................... 19
PREMIUM VEHICLE SECURITY ALARM
— IF EQUIPPED..................... 19
To Arm The System................ 19
To Disarm The System.............. 20
Security System Manual Override........ 21
DOORS.......................... 21Keyless Enter-N-Go — Passive Entry...... 21
Child-Protection Door Lock System
— Rear Doors................... 24
SEATS .......................... 25Driver Memory Seat — If Equipped....... 25
Heated Seats.................... 28
Front Ventilated Seats.............. 29
HEAD RESTRAINTS................... 30Supplemental Active Head Restraints
— Front Seats................... 30
Adjustment — Rear Seats............ 32
Head Restraint Removal — Rear Seats.... 32
STEERING WHEEL.................... 33Manual Tilt/Telescoping Steering Column
— If Equipped................... 33
Power Tilt/Telescoping Steering Column
— If Equipped................... 34
Heated Steering Wheel — If Equipped..... 34
MIRRORS........................ 35Power Folding Outside Mirrors
— If Equipped................... 35
Tilt Side Mirrors In Reverse (Available With
Memory Seat Only) — If Equipped....... 36
EXTERIOR LIGHTS................... 36Headlight Switch.................. 36
Multifunction Lever................ 37
Daytime Running Lights — If Equipped.... 37
High/Low Beam Switch.............. 38
Automatic High Beam — If Equipped..... 38
Flash-To-Pass................... 38
Automatic Headlights — If Equipped..... 38
Parking Lights And Panel Lights........ 39
Headlights On Automatically With Wipers . . . 39Adaptive Bi-Xenon High Intensity Discharge
Headlights — If Equipped............ 39
Headlight Delay.................. 39
Lights-On Reminder................ 40
Front And Rear Fog Lights — If Equipped . . . 40
Turn Signals.................... 40
Automatic Headlight Leveling — HID Headlights
Only......................... 40
Battery Saver.................... 40
WINDSHIELD WIPERS AND WASHERS......... 41Windshield Wiper Operation........... 41
Rain Sensing Wipers — If Equipped...... 42
Rear Window Wiper/Washer........... 43
CLIMATE CONTROLS.................. 43Automatic Climate Controls Overview..... 44
Climate Control Functions............ 50
Automatic Temperature Control (ATC)..... 50
Operating Tips................... 51
WINDOWS........................ 52Power Window Controls.............. 52
Auto-Down Feature................ 52
Auto-Up Feature With Anti-Pinch Protection . 53
Window Lockout Switch............. 53
Wind Buffeting.................. 53
POWER SUNROOF — IF EQUIPPED........... 54Opening Sunroof.................. 54
Closing Sunroof.................. 54
Sunshade Operation................ 55
Pinch Protect Feature............... 55
Venting Sunroof — Express........... 55
Sunroof Maintenance............... 55
Relearn Procedure................. 55
TABLE OF CONTENTS
6
Page 29 of 378

3. Once the profile has been recalled, push
and release the set (S) button on the
memory switch.
4. Within five seconds, push and release
button (1) or (2) accordingly. “Memory
Profile Set” (1 or 2) will display in the
instrument cluster.
5. Push and release the lock button on the
key fob within 10 seconds.
NOTE:
Your key fobs can be unlinked to your memory
settings by pushing the set (S) button, and
within 10 seconds, followed by pushing the
unlock button on the key fob.
Memory Position Recall
NOTE:
The vehicle must be in PARK to recall
memory positions. If a recall is attempted
when the vehicle is not in PARK, a message
will be displayed in the instrument cluster
display.Driver One Memory Position Recall
• To recall the memory settings for driver one
using the memory switch, push memory
button (1) on the memory switch.
• To recall the memory settings for driver one
using the key fob, push the unlock button
on the key fob linked to memory position 1.
Driver Two Memory Position Recall
• To recall the memory setting for driver two
using the memory switch, push memory
button (2) on the memory switch.
• To recall the memory settings for driver two
using the key fob, push the unlock button
on the key fob linked to memory position 2.
A recall can be canceled by pushing any of
the memory buttons during a recall (S, 1, or
2), or by pushing any of the seat adjustment
switches. When a recall is canceled, the driv-
er's seat and steering column (if equipped)
stop moving. A delay of one second will occur
before another recall can be selected.
Easy Entry/Exit Seat
This feature provides automatic driver seat
positioning to enhance driver mobility when
entering and exiting the vehicle.
The distance the driver seat moves depends
on where you have the driver seat positioned
when you cycle the vehicle’s ignition to the
OFF position.
• When you cycle the vehicle’s ignition to the
OFF position, the driver seat will move
about 2.4 inches (60 mm) rearward if the
driver seat position is greater than or equal
to 2.7 inches (67.7 mm) forward of the rear
stop. The seat will return to its previously
set position when you cycle the vehicle’s
ignition to the ACC or RUN position.
• The Easy Entry/Easy Exit feature is disabled
when the driver seat position is less than
0.9 of an inch (22.7 mm) forward of the
rear stop. At this position, there is no ben-
efit to the driver by moving the seat for Easy
Exit or Easy Entry.
Each stored memory setting will have an
associated Easy Entry and Easy Exit position.
27
Page 32 of 378

Vehicles Equipped With Remote Start
On models that are equipped with remote
start, the ventilated seats can be pro-
grammed to come on during a remote start.
This feature can be programmed through the
Uconnect system. Refer to “Uconnect Set-
tings” in “Multimedia” in the Owner's
Manual for further information.
HEAD RESTRAINTS
Head restraints are designed to reduce the
risk of injury by restricting head movement in
the event of a rear-impact. Head restraints
should be adjusted so that the top of the head
restraint is located above the top of your ear.
WARNING!
• All occupants, including the driver,
should not operate a vehicle or sit in a
vehicle’s seat until the head restraints
are placed in their proper positions in
order to minimize the risk of neck injury
in the event of a crash.
WARNING!
• Head restraints should never be ad-
justed while the vehicle is in motion.
Driving a vehicle with the head restraints
improperly adjusted or removed could
cause serious injury or death in the
event of a collision.
Supplemental Active Head Restraints —
Front Seats
Active Head Restraints are passive, deploy-
able components, and vehicles with this
equipment cannot be readily identified by
any markings, only through visual inspection
of the head restraint. The Active Head Re-
straints (AHR) will be split in two halves, with
the front half being soft foam and trim, the
back half being decorative plastic.
When AHRs deploy during a rear impact, the
front half of the head restraint extends for-
ward to reduce the gap between the back of
the occupant’s head and the AHR. This sys-
tem is design to reduce the risk of injury tothe driver or front passenger in certain types
of rear impacts. Refer to “Occupant Re-
straints” in “Safety” for further information.
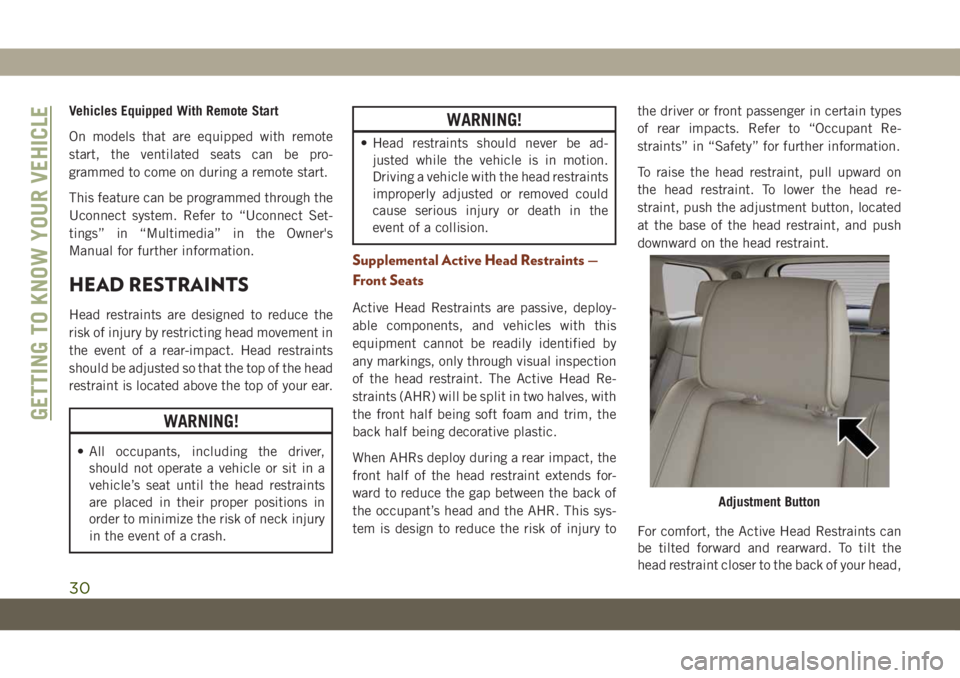
To raise the head restraint, pull upward on
the head restraint. To lower the head re-
straint, push the adjustment button, located
at the base of the head restraint, and push
downward on the head restraint.
For comfort, the Active Head Restraints can
be tilted forward and rearward. To tilt the
head restraint closer to the back of your head,
Adjustment Button
GETTING TO KNOW YOUR VEHICLE
30