ECU JEEP LIBERTY 2012 KK / 2.G Owner's Manual
[x] Cancel search | Manufacturer: JEEP, Model Year: 2012, Model line: LIBERTY, Model: JEEP LIBERTY 2012 KK / 2.GPages: 124, PDF Size: 2.92 MB
Page 76 of 124
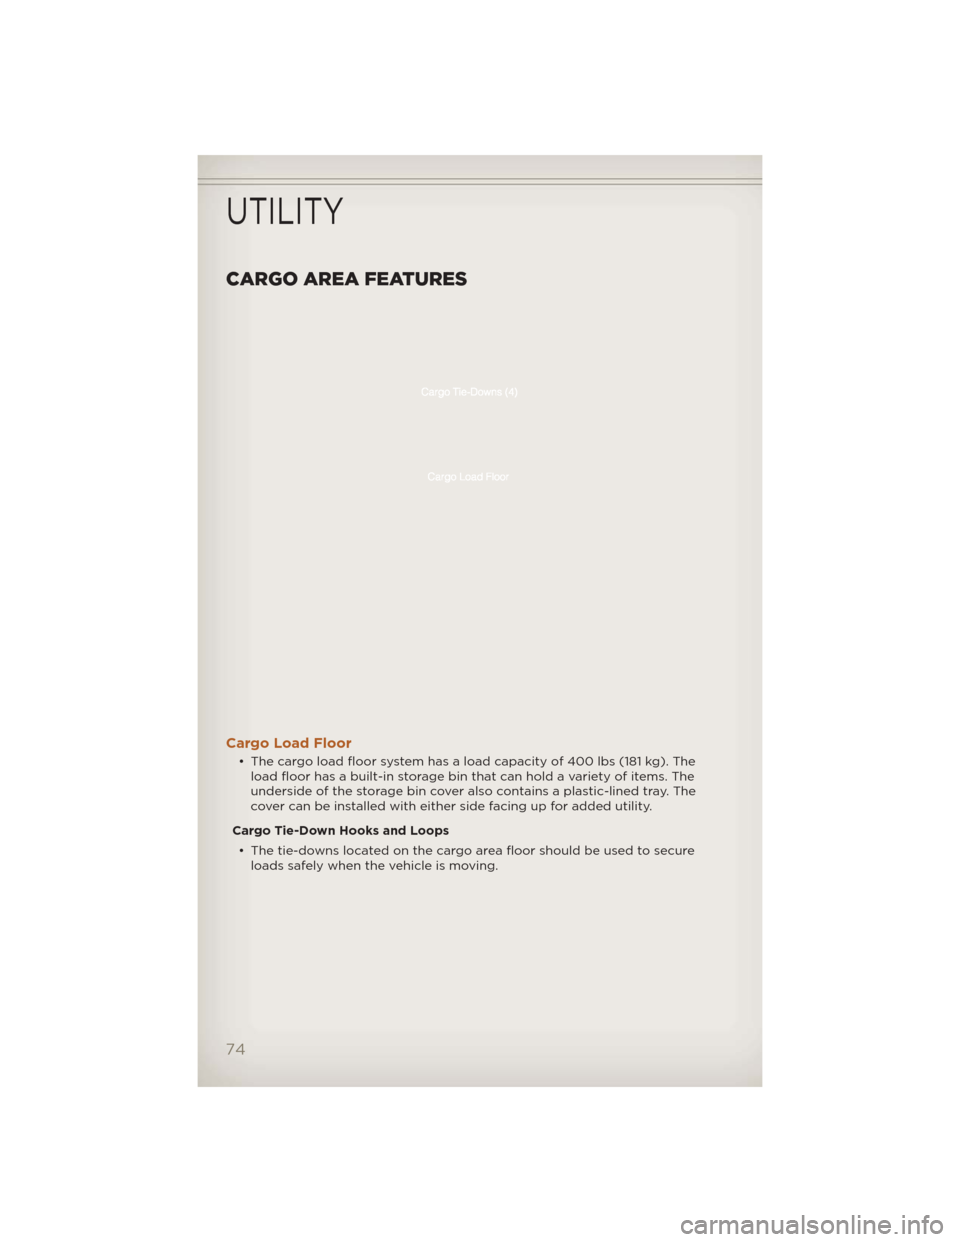
CARGO AREA FEATURES
Cargo Load Floor
• The cargo load floor system has a load capacity of 400 lbs (181 kg). Theload floor has a built-in storage bin that can hold a variety of items. The
underside of the storage bin cover also contains a plastic-lined tray. The
cover can be installed with either side facing up for added utility.
Cargo Tie-Down Hooks and Loops • The tie-downs located on the cargo area floor should be used to secure loads safely when the vehicle is moving.
UTILITY
74
Page 79 of 124
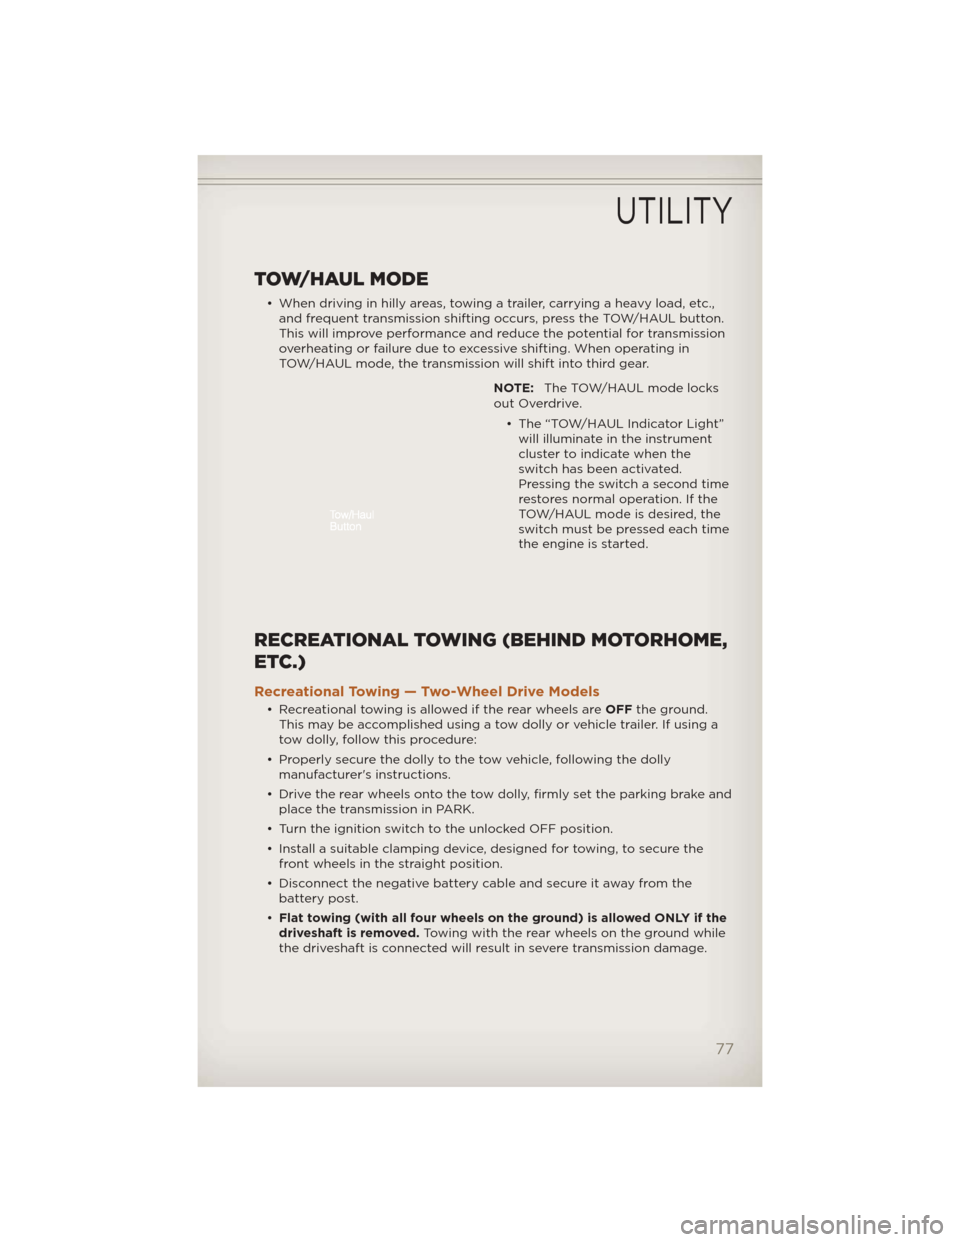
TOW/HAUL MODE
• When driving in hilly areas, towing a trailer, carrying a heavy load, etc.,and frequent transmission shifting occurs, press the TOW/HAUL button.
This will improve performance and reduce the potential for transmission
overheating or failure due to excessive shifting. When operating in
TOW/HAUL mode, the transmission will shift into third gear.
NOTE:The TOW/HAUL mode locks
out Overdrive.
• The “TOW/HAUL Indicator Light”will illuminate in the instrument
cluster to indicate when the
switch has been activated.
Pressing the switch a second time
restores normal operation. If the
TOW/HAUL mode is desired, the
switch must be pressed each time
the engine is started.
RECREATIONAL TOWING (BEHIND MOTORHOME,
ETC.)
Recreational Towing — Two-Wheel Drive Models
• Recreational towing is allowed if the rear wheels are OFFthe ground.
This may be accomplished using a tow dolly or vehicle trailer. If using a
tow dolly, follow this procedure:
• Properly secure the dolly to the tow vehicle, following the dolly manufacturer's instructions.
• Drive the rear wheels onto the tow dolly, firmly set the parking brake and place the transmission in PARK.
• Turn the ignition switch to the unlocked OFF position.
• Install a suitable clamping device, designed for towing, to secure the front wheels in the straight position.
• Disconnect the negative battery cable and secure it away from the battery post.
• Flat towing (with all four wheels on the ground) is allowed ONLY if the
driveshaft is removed. Towing with the rear wheels on the ground while
the driveshaft is connected will result in severe transmission damage.
UTILITY
77
Page 80 of 124
• The parking brakemustbe firmly engaged and the wheels chocked
during driveshaft removal and installation. The parking brake must
remain engaged unless the vehicle is securely and properly connected to
the tow vehicle, or the driveshaft is completely reinstalled. See your
authorized dealer for proper driveshaft removal and reinstallation
procedures, including flange orientation/alignment, use of thread-locking
compound, proper bolt torque specifications, etc.
Towing – Four-Wheel Drive Models
• Depress the brake pedal and turn the ignition switch to ON/RUN
with the engine shut off.
• Shift the transmission into NEUTRAL.
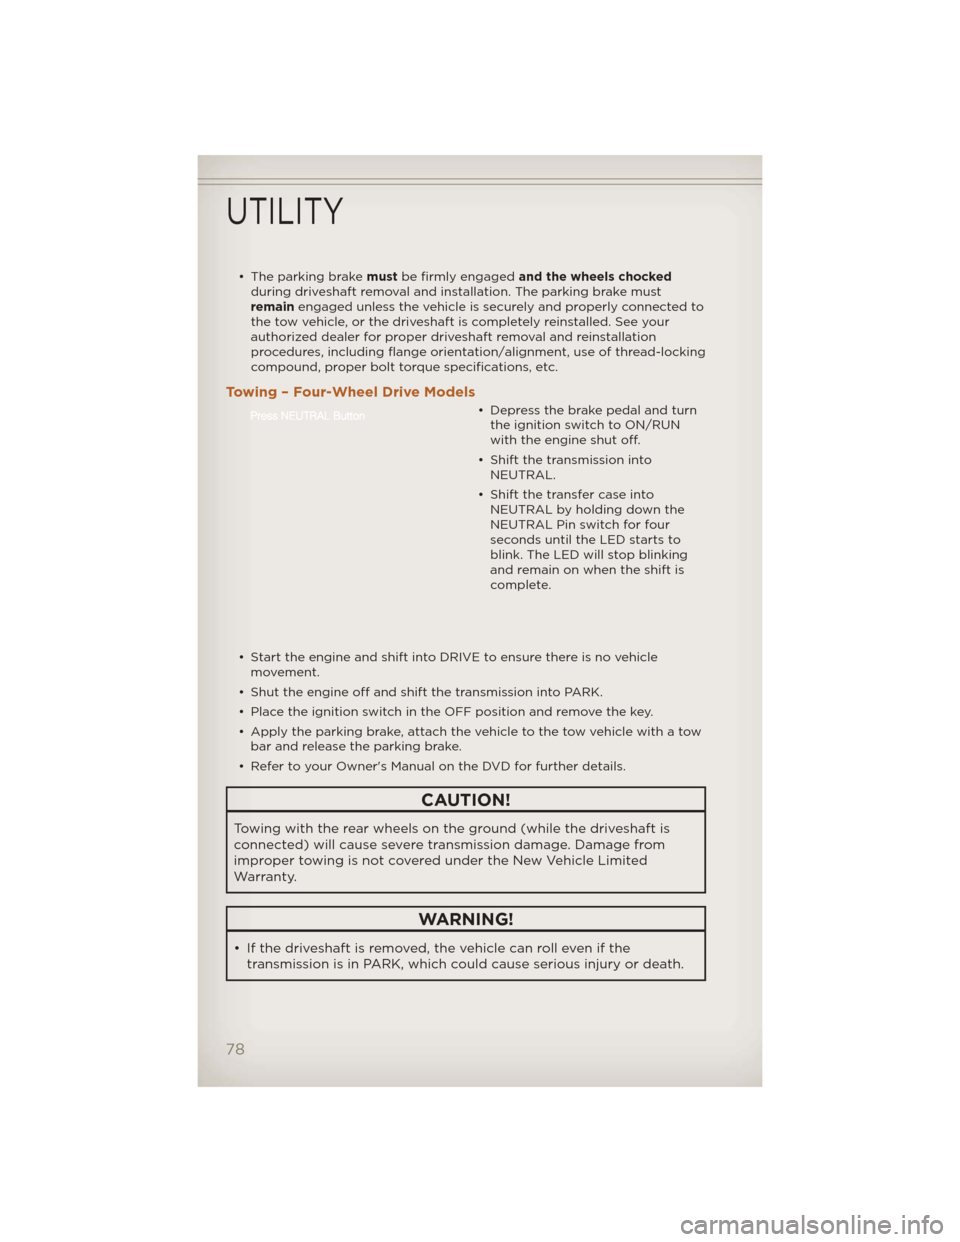
• Shift the transfer case into NEUTRAL by holding down the
NEUTRAL Pin switch for four
seconds until the LED starts to
blink. The LED will stop blinking
and remain on when the shift is
complete.
• Start the engine and shift into DRIVE to ensure there is no vehicle movement.
• Shut the engine off and shift the transmission into PARK.
• Place the ignition switch in the OFF position and remove the key.
• Apply the parking brake, attach the vehicle to the tow vehicle with a tow bar and release the parking brake.
• Refer to your Owner's Manual on the DVD for further details.
CAUTION!
Towing with the rear wheels on the ground (while the driveshaft is
connected) will cause severe transmission damage. Damage from
improper towing is not covered under the New Vehicle Limited
Warranty.
WARNING!
• If the driveshaft is removed, the vehicle can roll even if the transmission is in PARK, which could cause serious injury or death.
UTILITY
78
Page 89 of 124
9. Finish tightening the lug nuts. Push down on the wrench while at theend of the handle for increased leverage. Tighten the lug nuts in a star
pattern until each nut has been tightened twice. The correct wheel nut
tightness is 95 ft lb (130 N·m). If in doubt about the correct tightness,
have them checked with a torque wrench by your authorized dealer or
at a service station.
10. Lower the jack to it's fully closed position.
11. Secure the tire, jack, and tools in their proper locations.
12. Remove blocks from wheels.
Road Tire Installation
1. Mount the road tire on the axle.
2. Install the remaining lug nuts with the cone shaped end of the nut toward the wheel. Lightly tighten the lug nuts.
3. Lower the vehicle to the ground by turning the jack handle counterclockwise.
4. Finish tightening the lug nuts. Push down on the wrench while at the end of the handle for increased leverage. Tighten the lug nuts in a star
pattern until each nut has been tightened twice. The correct tightness of
each lug nut is 95 ft/lbs (130 N·m). If in doubt about the correct
tightness, have them checked with a torque wrench by your authorized
dealer or service station.
5. After 25 miles (40 km) check the lug nut torque with a torque wrench to ensure that all lug nuts are properly seated against the wheel.
CAUTION!
• The winch mechanism is designed for use with the jack extensiontube only. Use of an air wrench or other power tools is not
recommended and they can damage the winch.
• Do not attempt to raise the vehicle by jacking on locations other than those indicated in the Jacking Instructions for this vehicle.
• Be sure to mount the spare tire with the valve stem facing outward. The vehicle could be damaged if the spare tire is mounted
incorrectly.
WHAT TO DO IN EMERGENCIES
87
Page 111 of 124
NOTE:A street address is required when ordering manuals (no P.O. Boxes).
NOTE:
• The Owner's Manual and User Guide electronic files are also available on the Chrysler, Jeep, Ram Truck and Dodge websites.
• Click on the "For Owners" tab, select "Owner/Service Manuals", then select your desired model year and vehicle from the drop-down lists.
REPORTING SAFETY DEFECTS IN THE 50 UNITED
STATES AND WASHINGTON, D.C.
• If you believe that your vehicle has a defect that could cause a collisionor cause injury or death, you should immediately inform the National
Highway Traffic Safety Administration (NHTSA) in addition to notifying
the manufacturer.
• If NHTSA receives similar complaints, it may open an investigation, and if it finds that a safety defect exists in a group of vehicles, it may order a
recall and remedy campaign. H owever, NHTSAcannot become involved
in individual problems between you, your authorized dealer, and the
manufacturer.
• To contact NHTSA, you may either call the Auto Safety Hotline toll free at 1–888–327–4236 (TTY: 1–800–424– 9153), or go to http://
www.safercar.gov; or write to: Administrator, NHTSA, 1200 New Jersey
Avenue, SE., West Building, Washington, D.C. 20590. You can also obtain
other information about motor vehicle safety from
http://www.safercar.gov.
In Canada
• If you believe that your vehicle has a safety defect, you should contactthe Customer Service Department immediately. Canadian customers who
wish to report a safety defect to the Canadian government should
contact Transport Canada, Motor Vehicle Defect Investigations and
Recalls at 1-800-333-0510 or go to http://www.tc.gc.ca/roadsafety/
• French Canadian customers who wish to report a safety defect to the Canadian government should contact Transport Canada, Motor Vehicle
Defect Investigations and Recalls at 1-800-333-0510 or go to
http://www.tc.gc.ca/securiteroutiere/
CONSUMER ASSISTANCE
109
Page 112 of 124
AUTHENTIC ACCESSORIES BY MOPAR®
• The following highlights just some of the many Authentic JeepAccessories by Mopar featuring a fit, finish, and functionality specifically
for your Jeep Liberty.
• In choosing Authentic Accessories you gain far more than expressive style, premium protection, or extreme entertainment, you also benefit
from enhancing your vehicle with accessories that have been thoroughly
tested and factory-approved.
• For the full line of Authentic Jeep Accessories by Mopar, visit your local Jeep dealership or online at mopar.com.
CHROME:
• Mirror Covers • Tubular Side Steps • Body Side Moldings
• Front Air Deflector • Fuel Door
EXTERIOR:
• Black Tubular Side Steps • Front End Cover • Rear Air Deflector
• Wheels • Front Air Deflector • Skid Plates
• Tubular Grille Guard • Splash Guards • Locking Gas Cap
• Wheel Locks
INTERIOR:
• Premium Carpet Floor Mats • Emergency Roadside
Kit • Molded Cargo Tray
• Security Cover • Bright Pedal Kit • Ambient Light Kit
• Slush Mats • Door Sill Guards
ELECTRONICS:
• Portable Navigation Systems • Uconnect™ Web
(WiFi) • Rear Seat Video
• Radio Upgrades • Remote Start • Heated Seats
• iPod® Adapter • Rear View Camera • Electronic Vehicle
Tracking System
CARRIERS:
• Hitch-mount Bike Carrier • Sport Utility Bars • Roof-mount Bike
Carrier
• Roof Top Cargo Basket • Roof-mount Ski and
Snowboard Carrier • Roof Cargo Box
Carrier
iPod® is a registered trademark of Apple, Inc.
MOPAR ACCESSORIES
110
Page 113 of 124
AirConditioning .........22,23
Airbag .................10
AirbagLight .............82
Alarm,Panic ..............8
Anti-Lock Brake System
(ABS)..................82
Arming Theft System (Security
Alarm) ..................9
Audio
Settings . . 30,31,32,34,35,36,40,49
Automatic Temperature Control
(ATC) ..................23
Automatic Transmission FluidType..............97
AxleFluid ...............97
Battery Charging System Light . . . . . . 81
Belts, Seat ................9
BrakeFluid ..............97
Brake System WarningLight ...........81
Break-In Recommendations,
NewVehicle ..............18
Bulb Replacement .........107
Calibration, Compass ........66
Change Oil Indicator ........83
Changing A Flat Tire . . ......84
Charging System Light . . . . . . . 81
Check Engine Light (Malfunction
IndicatorLight) ............81
ChildRestraint .............11
Child Restraint Tether Anchors . . 11
ClimateControl..........22,23
Clock Setting .....30,32,35,37,47
Compass Calibration . . . . . . . . 66
Cooling System Coolant Capacity .........97
Cruise Control (Speed Control) . . 21
CruiseLight ..............21
Customer Assistance . . . . . . . 108
Defects, Reporting .........109
Defroster, Rear Window . . . . . . 22
Defroster, Windshield . . . . . . . . 22 Dimmer Control . . . . . . . . . . . 19
Dimmer Switch, Headlight . . . . . 19
Disarming,TheftSystem ......9
ECO ...................66
Electronic Speed Control (Cruise
Control) .................21
Electronic Stability Program
(ESP) . . . . . .
............79
Electronic Throttle Control
WarningLight ............82
Electronic Vehicle Information
Center (EVIC) . . . . . . . . . . 65,66
Electronics
Your Vehicle's Sound System..28
Emergency, In Case of Jacking . . . . . . . . . . . . . . . 84
Overheating ............83
Engine Break-In Recommendations . . 18
Compartment . . . . . . . . . . . 96
Malfunction Indicator (Check
Engine) . . . . . . . . . . . . . . . . 81
OilSelection ............97
Overheating ............83
EventDataRecorder ........94
ExteriorLights ...........107
Flash-To-Pass .............19
Flipper Glass, Liftgate . . . . . . 8,24
Fluid Capacities . . . . . ......97
Fluids ..................97
FogLights ...............19
Folding Front Passenger Seat . . . 15
FoldingRearSeat ..........15
Four Wheel Drive Operation . . . 72
Freeing A Stuck Vehicle . . . . . . 93
Front Heated Seats . . . . . . . . . 16
Fuel Filler Cap (Gas Cap) . . . . . . . 82
Specifications . . . . . . . . . . . 97
Garage Door Opener
(HomeLink®) . . . . .........68
Gas Cap (Fuel Filler Cap) . . . . . 82
INDEX
111
Page 115 of 124
Restraints,Child ............11
RollOverWarning ..........3
SeatBelts ................9
Seats ..................13Adjustment .............14
Folding Front Passenger . . . . . 15
Heated ................16
Memory ...............14
Power .................13
RearFolding ............15
Seek Button ......30,31,33,35,36
Setting the Clock . . 30,32,35,37,47
Shift Lever Override .........91
Short Message Service (SMS) . . 64
Signals,Turn ..............19
SIRIUSTravelLink ..........59
Sky Slider Power Roof . . . . . . . 26
Spare Tire ...............84
Spark Plugs ..............97
Speed Control (Cruise Control) . . 21
Starting Remote ................9
Steering TiltColumn .............17
Steering Wheel Audio
Controls ................60
Store Radio Presets . . . . . 31,33,35
Stuck, Freeing ............93
SunRoof ................25
Supplemental Restraint System -
Airbag .................10
Temperature Control, Automatic
(ATC) ..................23
Temperature Gauge, Engine
Coolant.................83
TextMessaging............64
Theft Alarm (Security Alarm) . . . 9
TheftSystemArming.........9 TheftSystemDisarming .......9
TiltSteeringColumn .........17
Tires
AirPressure ............106
Changing ..............84
Jacking . . . . . . . . . . . . . . . 84
PressureWarningLight .....79
Spare Tire . . . . . . . . ......84
Tow/Haul . . . . . . . . . . . . . . . . 77
Towing .................76 24-Hour Towing Assistance . . 79
Disabled Vehicle . . . . . . . . . 92
Recreational . . . . . . . . . . . . 77
Towing Vehicle Behind a
Motorhome . . . . . . . . . . ....77
Trailer Towing Trailer and Tongue Weight . . . 76
TrailerWeight.............76
Transfer Case Fluid .................97
Transmission Fluid .................97
Turn Signals . . . . . . . . ......19
Uconnect™ Phone . . . .......60
Uconnect™ Voice Command . . . 63
Voice Commands . . . . . . . . . . 63
WarningLights ............79
Warning,RollOver ..........3
Washer Rear .................20
Washers, Windshield . . ......20
Wheel and Wheel Trim Care . . . 107
WindBuffeting ............27
Windshield Washers . . ......20
Windshield Wipers . . . . . . . . . 20
Wiper,Rear ..............20
INDEX
113