warning JEEP LIBERTY 2012 KK / 2.G Owner's Manual
[x] Cancel search | Manufacturer: JEEP, Model Year: 2012, Model line: LIBERTY, Model: JEEP LIBERTY 2012 KK / 2.GPages: 124, PDF Size: 2.92 MB
Page 18 of 124
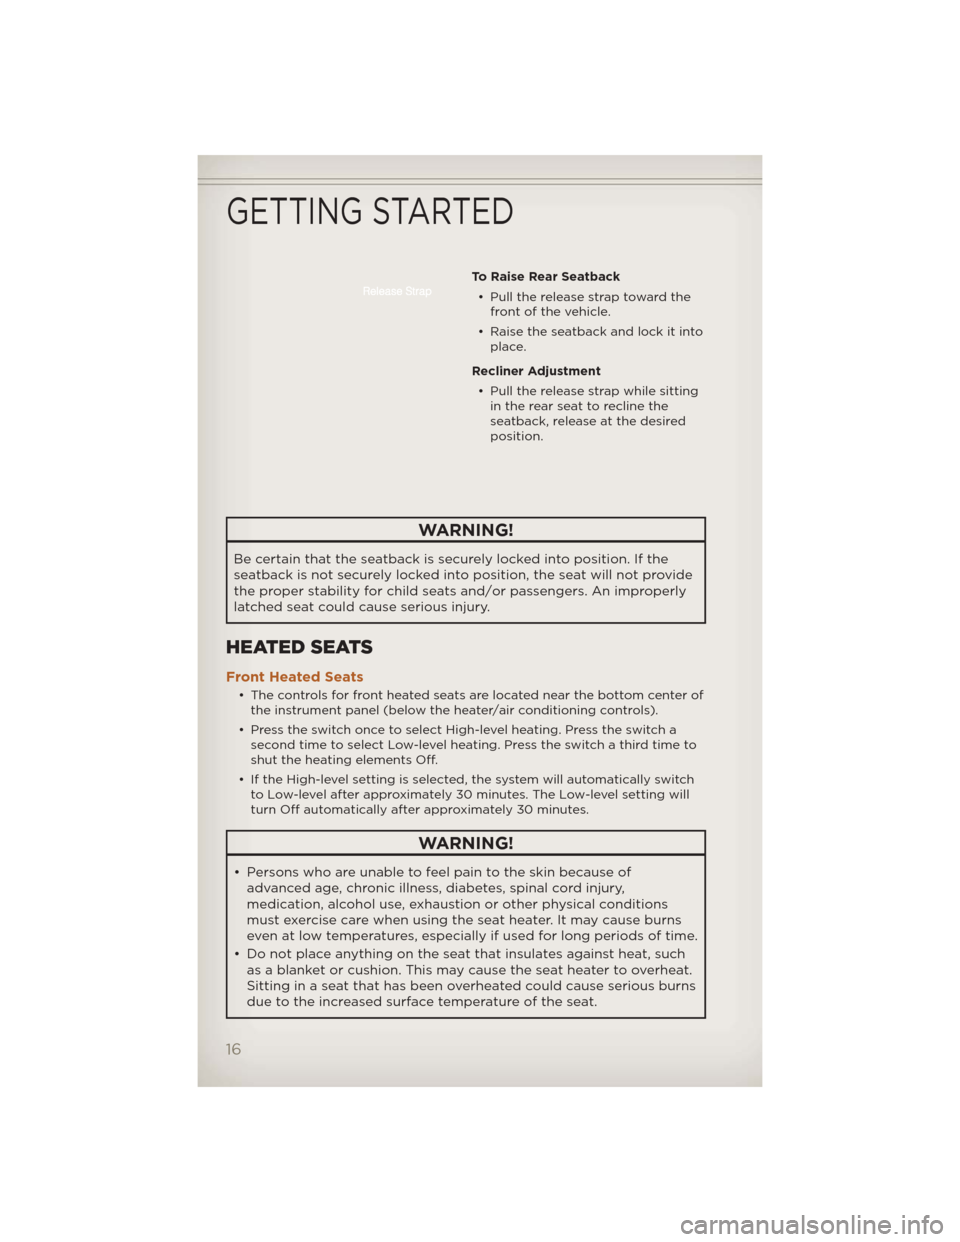
To Raise Rear Seatback• Pull the release strap toward the front of the vehicle.
• Raise the seatback and lock it into place.
Recliner Adjustment • Pull the release strap while sitting in the rear seat to recline the
seatback, release at the desired
position.
WARNING!
Be certain that the seatback is securely locked into position. If the
seatback is not securely locked into position, the seat will not provide
the proper stability for child seats and/or passengers. An improperly
latched seat could cause serious injury.
HEATED SEATS
Front Heated Seats
• The controls for front heated seats are located near the bottom center ofthe instrument panel (below the heater/air conditioning controls).
• Press the switch once to select High-level heating. Press the switch a second time to select Low-level heating. Press the switch a third time to
shut the heating elements Off.
• If the High-level setting is selected, the system will automatically switch to Low-level after approximately 30 minutes. The Low-level setting will
turn Off automatically after approximately 30 minutes.
WARNING!
• Persons who are unable to feel pain to the skin because ofadvanced age, chronic illness, diabetes, spinal cord injury,
medication, alcohol use, exhaustion or other physical conditions
must exercise care when using the seat heater. It may cause burns
even at low temperatures, especially if used for long periods of time.
• Do not place anything on the seat that insulates against heat, such as a blanket or cushion. This may cause the seat heater to overheat.
Sitting in a seat that has been overheated could cause serious burns
due to the increased surface temperature of the seat.
GETTING STARTED
16
Page 19 of 124
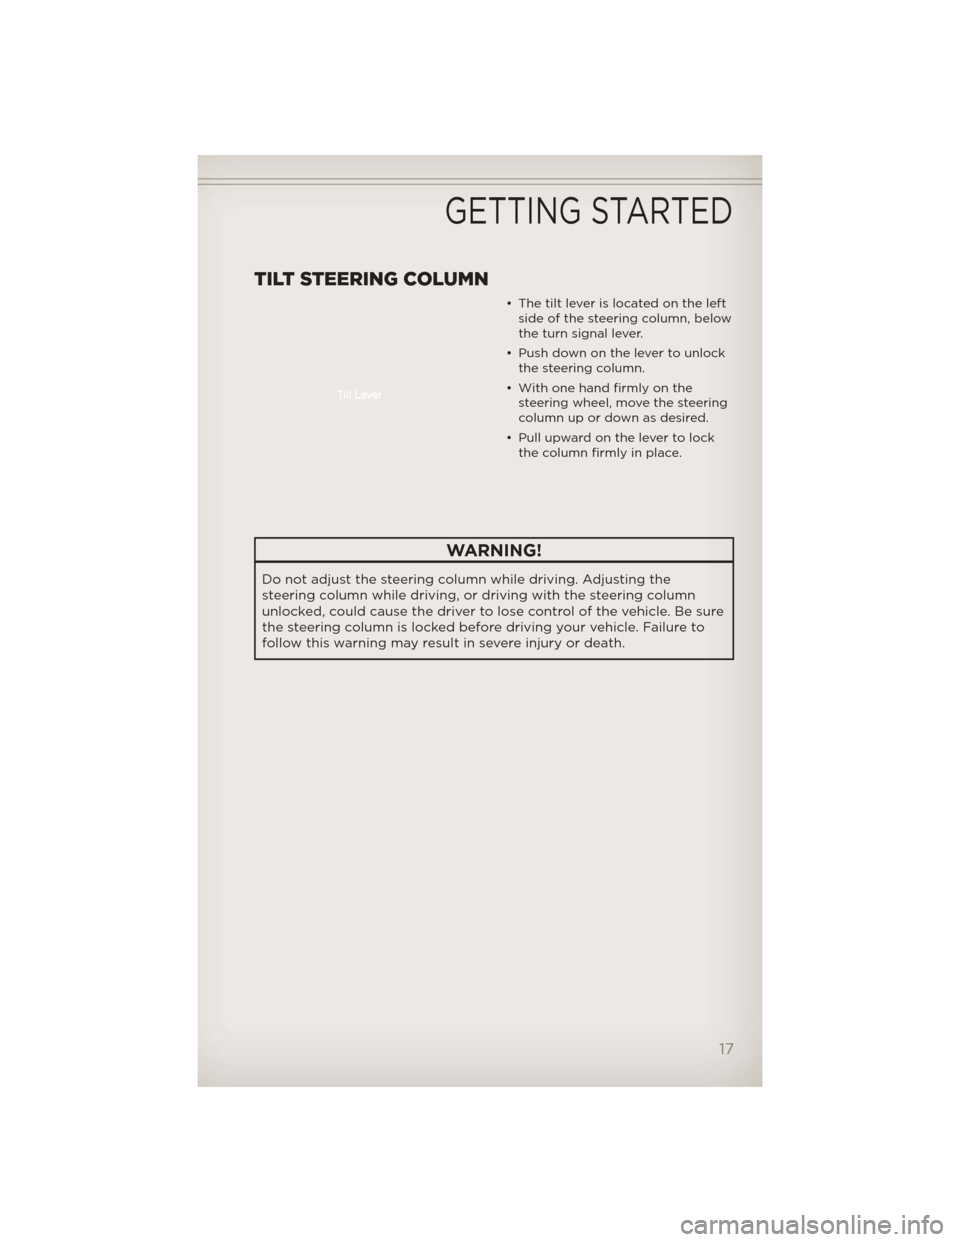
TILT STEERING COLUMN
• The tilt lever is located on the leftside of the steering column, below
the turn signal lever.
• Push down on the lever to unlock the steering column.
• With one hand firmly on the steering wheel, move the steering
column up or down as desired.
• Pull upward on the lever to lock the column firmly in place.
WARNING!
Do not adjust the steering column while driving. Adjusting the
steering column while driving, or driving with the steering column
unlocked, could cause the driver to lose control of the vehicle. Be sure
the steering column is locked before driving your vehicle. Failure to
follow this warning may result in severe injury or death.
GETTING STARTED
17
Page 24 of 124
WARNING!
• Leaving the Electronic Speed Control system on when not in use isdangerous. You could accidentally set the system or cause it to go
faster than you want. You could lose control and have a collision.
Always leave the Electronic Speed Control system off when you are
not using it.
• Electronic Speed Control can be dangerous where the system cannot maintain a constant speed. Your vehicle could go too fast for
the conditions, and you could lose control. A collision could be the
result. Do not use Electronic Speed Control in heavy traffic or on
roads that are winding, icy, snow-covered or slippery.
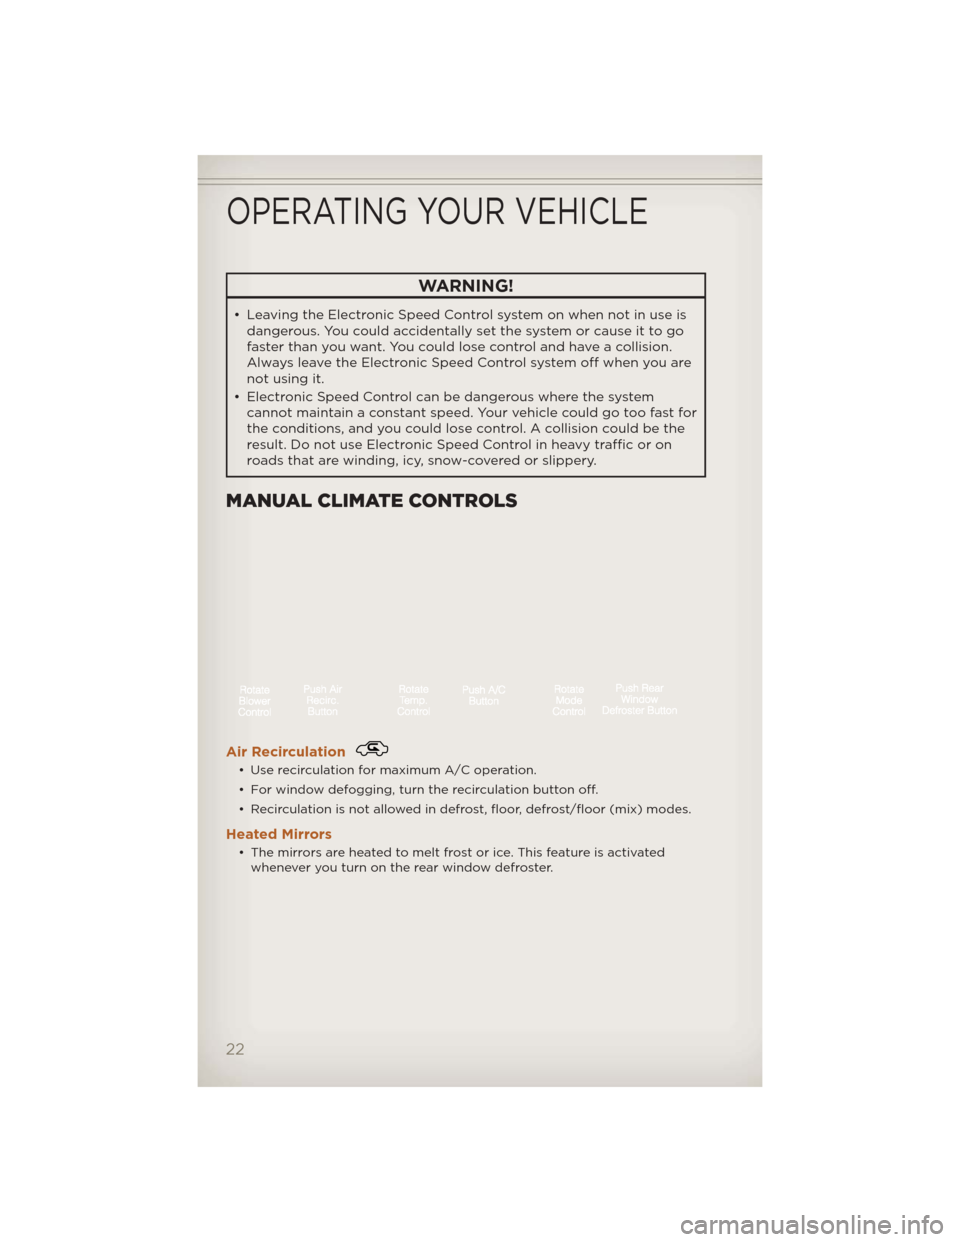
MANUAL CLIMATE CONTROLS
Air Recirculation
• Use recirculation for maximum A/C operation.
• For window defogging, turn the recirculation button off.
• Recirculation is not allowed in defrost, floor, defrost/floor (mix) modes.
Heated Mirrors
• The mirrors are heated to melt frost or ice. This feature is activatedwhenever you turn on the rear window defroster.
OPERATING YOUR VEHICLE
22
Page 26 of 124
PARKSENSE® REAR PARK ASSIST
• If an object is detected behind the rear bumper while the vehicle is inREVERSE, a warning will display in the EVIC.
• When the Instrument Cluster reads either “Clean Sensor” or “Blinded”, clean off the bumper sensors to see if the condition is corrected.
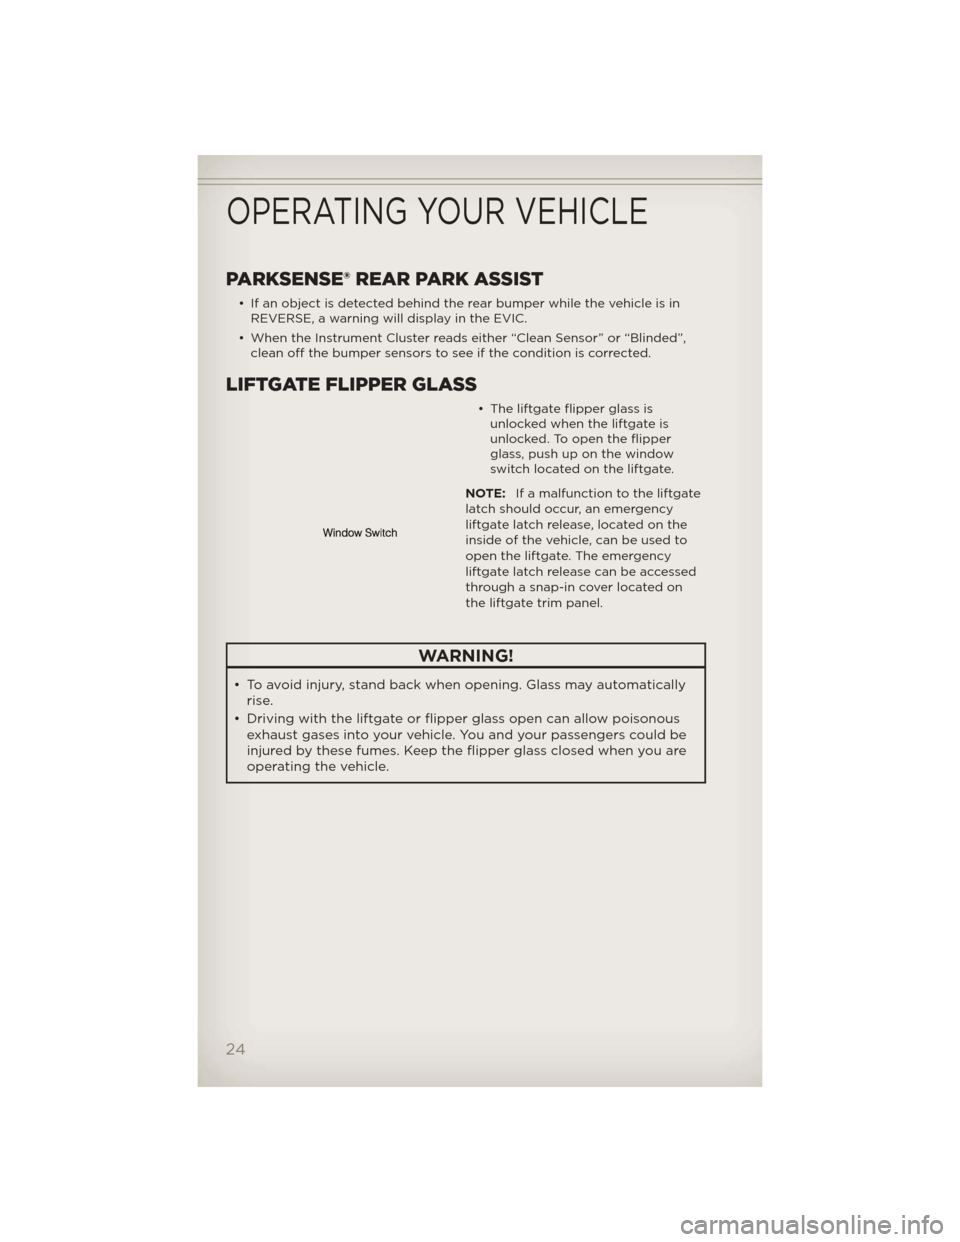
LIFTGATE FLIPPER GLASS
• The liftgate flipper glass isunlocked when the liftgate is
unlocked. To open the flipper
glass, push up on the window
switch located on the liftgate.
NOTE: If a malfunction to the liftgate
latch should occur, an emergency
liftgate latch release, located on the
inside of the vehicle, can be used to
open the liftgate. The emergency
liftgate latch release can be accessed
through a snap-in cover located on
the liftgate trim panel.
WARNING!
• To avoid injury, stand back when opening. Glass may automatically rise.
• Driving with the liftgate or flipper glass open can allow poisonous exhaust gases into your vehicle. You and your passengers could be
injured by these fumes. Keep the flipper glass closed when you are
operating the vehicle.
OPERATING YOUR VEHICLE
24
Page 27 of 124
POWER SUNROOF
• The power sunroof switch is located on the overhead console.
Opening SunroofExpress• Press the switch rearward and release. The sunroof will fully open and stop automatically.
Closing SunroofExpress
• Press the switch forward and release. The sunroof will close automatically from any position.
Manual Open/Close
• Press and hold the switch rearward to open or forward to close thesunroof. Any release of the switch will stop the movement, and the
sunroof will remain in a partially open or closed position until the switch
is pressed again.
Venting Sunroof
• Press and release the "VENT" button, and the sunroof will open to thevent position. This is called “Express Vent” and will occur regardless of
sunroof position. During Express Vent operation, any movement of the
switch will stop the sunroof.
Pinch Protection Feature
• This feature will detect an obstruction in the opening of the sunroofduring Express Close operation. If an obstruction in the path of the
sunroof is detected, the sunroof will automatically return to the open
position.
NOTE: Pinch protection is disabled while the switch is pressed and held
during manual opening and closing of the sunroof.
WARNING!
• Never leave children in a vehicle with the key in the ignition switch. Occupants, particularly unattended children, can become entrapped
by the power sunroof while operating the power sunroof switch.
Such entrapment may result in serious injury or death.
• In a collision, there is a greater risk of being thrown from a vehicle with an open sunroof. You could also be severely injured or killed.
Always fasten your seat belt properly and make sure all passengers
are properly secured.
• Do not allow small children to operate the sunroof. Never allow your fingers, other body parts, or any object to project through the
sunroof opening. Injury may result.
OPERATING YOUR VEHICLE
25
Page 65 of 124
WARNING!
• Any voice commanded system should be used only in safe drivingconditions following local laws and phone use. All attention should
be kept on the roadway ahead. Failure to do so may result in a
collision causing you and others to be severely injured or killed.
• In an emergency, to use Uconnect™ Phone, your mobile phone must be:
• turned on,
• paired to Uconnect™ Phone,
• and have network coverage.
Uconnect™ VOICE COMMAND
• The Uconnect™ Voice Command system allows you to control your AM, FM radio, satellite radio, disc player, HDD, Uconnect™ Phone, a memo
recorder, and supported portable media devices.
• When you press the “Voice Command” button
located on the
radio faceplate or steering wheel, you will hear a beep. The beep is your
signal to give a command. If you do not say a command within a few
seconds, the system will present you with a list of options. If you ever
wish to interrupt the system while it lists options, press the “Voice
Command” button
, listen for the BEEP, and say your command.
Voice Command Operation
• Start a dialogue by pressing the “Voice Command” button,
you will hear a beep. The beep is
your signal to give a command.
Below are a list of voice
commands for each of the
different modes.
Common Voice Commands (Examples)
Main Menu “Radio” (to switch to the radio mode) “Disc” (to switch to the disc mode)
“Memo” (to switch to the memo recorder)
“System Setup” (to switch to system setup)
Radio Mode “Frequency” (to change the frequency) “Next Station” (to select the next station)
“Previous Station” (to select the previous station)
“Radio Menu” (to switch to the radio menu)
“Main Menu” (to switch to the main menu)
ELECTRONICS
63
Page 67 of 124
WARNING!
Any voice commanded system should be used only in safe driving
conditions following local laws and phone use. All attention should be
kept on the roadway ahead. Failure to do so may result in a collision
causing you and others to be severely injured or killed.
Bluetooth® STREAMING AUDIO
• If equipped with Uconnect™ Voice Command, your Bluetooth-equippediPod® devices, cell phones or other media players, may also be able to
stream music to your vehicle's speakers. Your connected device must be
Bluetooth-compatible, and paired with your Media Center radio (see
Uconnect™ Phone for pairing instructions). Non-Touch-Screen Radios:
Press the “AUX” button on the radio faceplate until "BT" or “Audio
Streaming” is displayed on the radio screen. Touch-Screen-Radios: Press
the “RADIO/MEDIA” or “MEDIA” hard-key and then touch the “AUX”
soft-key tab.
ELECTRONIC VEHICLE INFORMATION CENTER
(EVIC)
• The EVIC features a driverinteractive display that is located
in the instrument cluster. Pressing
the controls on the steering wheel
allows the driver to select vehicle
information and Personal Settings.
For additional information, refer to
Programmable Features in this
guide.
• Press and release the MENU button and the mode displayed will change between Compass/Temperature, Trip, System Status, and Personal
settings.
• Press the DOWN
button to scroll through sub menus (i.e., Trip
Functions, Avg. Fuel Economy, DTE, Elapsed Time, and Units).
ELECTRONICS
65
Page 72 of 124
Programming A Non-Rolling Code
• For programming Garage Door Openers manufactured before 1995.
• Turn the ignition switch to the ON/RUN position.
• Place the hand-held transmitter 1 to 3 in (3 to 8 cm) away from theHomeLink® button you wish to program while keeping the HomeLink®
indicator light in view.
• Simultaneously press and hold both the HomeLink® button you want to program and the hand-held transmitter button.
• Continue to hold both buttons and observe the indicator light. The Homelink® indicator will flash slowly and then rapidly after Homelink® has
received the frequency signal from the hand-held transmitter. Release
both buttons after the indicator light changes from slow to rapid.
• Press and hold the programmed HomeLink® button and observe the indicator light.
NOTE:
• If the indicator light stays on constantly, programming is complete and the garage door (or device) should activate when the HomeLink® button is
pressed.
• To program the two remaining HomeLink® buttons, repeat each step for each remaining button. DO NOT erase the channels.
Using HomeLink®
• To operate, press and release the programmed HomeLink® button.Activation will now occur for the programmed device (i.e., garage door
opener, gate operator, security system, entry door lock, home/office
lighting, etc.,). The hand-held transmitter of the device may also be used
at any time.
WARNING!
• Your motorized door or gate will open and close while you areprogramming the universal transceiver. Do not program the
transceiver if people or pets are in the path of the door or gate.
• Do not run your vehicle in a closed garage or confined area while programming the transceiver. Exhaust gas from your vehicle
contains Carbon Monoxide (CO) which is odorless and colorless.
Carbon Monoxide is poisonous when inhaled and can cause you and
others to be severely injured or killed.
ELECTRONICS
70
Page 75 of 124
• This transfer case is intended to be driven in either the two-wheel driveposition (2WD) or the four-wheel drive Auto position (4WD AUTO) for
normal street and highway conditions such as dry, hard-surfaced roads.
• For added capability when traversing steep grades, rough terrain, or extremely poor traction surfaces, select the transfer case 4WD LOW
position. This position locks the front driveshaft and rear driveshaft
together and forces the front and rear wheels to rotate at the same
speed while multiplying engine torque.
• When operating in 4WD LOW, the engine speed is approximately three times that of the 4WD LOCK position at a given road speed. Take care
not to over-speed the engine and do not exceed 25 mph (40 km/h).
• Use the transfer case NEUTRAL position for recreational towing only.
2WD To 4WD AUTO
• Move transfer case lever to the desired position.
• Shifts between 2WD and 4WD AUTO can be done with the vehicle stopped or in motion. With the vehicle in motion, the transfer case will
engage/disengage faster if you momentarily release the accelerator
pedal after moving the transfer case lever.
• If the vehicle is stopped, the key must be in the ON/RUN position.
• Shifts can not be completed if the key is in the ACC position.
4WD AUTO To 4WD LOW
• With the engine running, slow the vehicle speed to 2 to 3 mph (3 to 5 km/h) and shift the transmission into NEUTRAL.
• While still rolling, move the transfer case lever to the 4WD LOW position.
• After the indicator light is ON (not flashing) shift the transmission into gear.
• If the indicator light in the instrument cluster is flashing, the shift did not occur and the current transfer case position will be maintained.
WARNING!
• You or others could be injured if you leave the vehicle unattendedwith the transfer case in the NEUTRAL position without first fully
engaging the parking brake. The transfer case NEUTRAL position
disengages both the front driveshaft and rear driveshaft from the
powertrain, and it will allow the vehicle to move even if the
transmission is in PARK. The parking brake should always be applied
when the driver is not in the vehicle.
OFF-ROAD CAPABILITIES
73
Page 77 of 124
WARNING!
• Cargo tie-downs are not safe anchors for a child seat tether strap. Ina sudden stop or a collision, a tie-down could pull loose and allow
the child seat to come loose. A child could be badly injured. Use
only the anchors provided for child seat tethers.
• To help protect against personal injury, passengers should not be seated in the rear cargo area. The rear cargo space is intended for
load carrying purposes only, not for passengers, who should sit in
seats and use seat belts.
UTILITY
75