heating JEEP RENEGADE 2015 1.G User Guide
[x] Cancel search | Manufacturer: JEEP, Model Year: 2015, Model line: RENEGADE, Model: JEEP RENEGADE 2015 1.GPages: 220, PDF Size: 34.11 MB
Page 31 of 220
Power Lumbar Adjustment
Push the switch forward or rearward to increase or decrease the lumbar support. Push
the switch upward or downward to raise or lower the lumbar support.
Heated Seats — If Equipped
The heated seat switches are located on the instrument panel.
You can choose between two heating levels:
• Push the heated seat buttononce to turn the HI setting ON.
• Push the heated seat buttona second time to turn the LO setting ON.
• Push the heated seat buttona third time to turn the heating elements OFF.
If the HI-level setting is selected, the system will automatically switch to LO-level
after approximately 145 minutes of continuous operation. At that time, the display
will change from HI to LO, indicating the change. The LO-level setting will turn OFF
automatically after approximately 60 minutes.
NOTE:
The engine must be running for the heated seats to operate.
Vehicles Equipped With Remote Start
Vehicles equipped with Remote Start, the heated seats can be programed to come on
during a Remote Start.
This feature can be programmed through the Uconnect®system. Refer to
“Uconnect®Settings” in “Multimedia” in your Owner’s Manual on the DVD for
further information.
WARNING!
• Persons who are unable to feel pain to the skin because of advanced age,
chronic illness, diabetes, spinal cord injury, medication, alcohol use, exhaus-
tion or other physical condition must exercise care when using the seat heater.
It may cause burns even at low temperatures, especially if used for long periods
of time.
• Do not place anything on the seat or seatback that insulates against heat, such
as a blanket or cushion. This may cause the seat heater to overheat. Sitting in
a seat that has been overheated could cause serious burns due to the increased
surface temperature of the seat.
GETTING STARTED
29
Page 34 of 220
Seatback Repositioning
NOTE:
If interference from the cargo area prevents the seatback from fully locking, you will
have difficulty returning the seat to its proper position.
1. Move the safety belts to the seat belt guides on the top edge of the seat to ensure
the seatbacks properly latch.
2. Lift the seatbacks, pushing them back until they lock on both the latches. Verify
the red notches are no longer visible on the release lever. If the red notches are
visible, the seatback is not secure.
Unfolding The Rear Armrest 40/20/40
Tilt the head restraint forward and pull the rear armrest tab to release it from the seat
and pull forward.
The center part of the rear seat can also be used as rear armrest with cupholders.
WARNING!
Be certain that the seatback is securely locked into position. If the seatback is not
securely locked into position the seat will not provide the proper stability for child
seats and/or passengers. An improperly latched seat could cause serious injury.
HEATED STEERING WHEEL
The steering wheel contains a heating element that helps warm your hands in cold
weather. The heated steering wheel has only one temperature setting. Once the
heated steering wheel switchhas been turned on, it will operate for up to 80
minutes before automatically shutting off. The heated steering wheel can shut off
early or may not turn on when the steering wheel is already warm. The heated steering
wheel control button is located on the center of the instrument panel below the radio
screen.
WARNING!
• Persons who are unable to feel pain to the skin because of advanced age,
chronic illness, diabetes, spinal cord injury, medication, alcohol use, exhaus-
tion, or other physical conditions must exercise care when using the steering
wheel heater. It may cause burns even at low temperatures, especially if used
for long periods.
• Do not place anything on the steering wheel that insulates against heat, such
as a blanket or steering wheel covers of any type and material. This may cause
the steering wheel heater to overheat.
GETTING STARTED
32
Page 41 of 220
CAUTION!
Failure to follow these cautions can cause damage to the heating elements:
• Use care when washing the inside of the rear window. Do not use abrasivewindow cleaners on the interior surface of the window. Use a soft cloth and amild washing solution, wiping parallel to the heating elements. Labels can bepeeled off after soaking with warm water.
• Do not use scrapers, sharp instruments, or abrasive window cleaners on theinterior surface of the window.
• Keep all objects a safe distance from the window.
Windshield Wiper De-Icer — If Equipped
Your vehicle may be equipped with a Windshield Wiper De-Icer feature that may be
activated under the following conditions:
•Activation By Front Defrost— The Windshield Wiper De-Icer will be activated
automatically in the case of a cold weather manual start with full front defrost, and
the ambient temperature is below 41° F (5° C).
•Activation By Rear Defrost— The Windshield Wiper De-Icer will be activated
automatically when the rear defrost is turned on and the ambient temperature is
below 41° F (5° C).
•Activation By Remote Start Operation— When Remote Start is active and the
outside ambient temperature is less than 41° F (5° C), the Windshield Wiper
De-Icer will be enabled. Upon exiting remote start mode the Windshield Wiper
De-Icer will remain on.
OPERATING YOUR VEHICLE
39
Page 166 of 220
IF YOUR ENGINE OVERHEATS
In any of the following situations, you can reduce the potential for overheating your
engine by taking the appropriate action.
• On the highways — slow down.
• In city traffic — while stopped, put transmission in NEUTRAL, but do not increase
engine idle speed.
CAUTION!
Driving with a hot cooling system could damage your vehicle. If the temperature
gauge reads “H,” pull over and stop the vehicle. Idle the vehicle with the air
conditioner turned off until the pointer drops back into the normal range. If the
pointer remains on the “H” and you hear continuous chimes, turn the engine off
immediately and call for service.
NOTE:
There are steps that you can take to slow down an impending overheat condition:
• If your air conditioner (A/C) is on, turn it off. The A/C system adds heat to the
engine cooling system and turning the A/C off can help remove this heat.
• You can also turn the temperature control to maximum heat, the mode control to
floor and the blower control to high. This allows the heater core to act as a
supplement to the radiator and aids in removing heat from the engine cooling
system.
WARNING!
You or others can be badly burned by hot engine coolant (antifreeze) or steam from
your radiator. If you see or hear steam coming from under the hood, do not open
the hood until the radiator has had time to cool. Never try to open a cooling system
pressure cap when the radiator or coolant bottle is hot.
WHAT TO DO IN EMERGENCIES
164
Page 179 of 220
CAUTION!
• Racing the engine or spinning the wheels may lead to transmission overheatingand failure. Allow the engine to idle with the transmission in NEUTRAL for atleast one minute after every five rocking-motion cycles. This will minimizeoverheating and reduce the risk of clutch or transmission failure duringprolonged efforts to free a stuck vehicle.
• When “rocking” a stuck vehicle by shifting between DRIVE/2nd gear and
REVERSE, do not spin the wheels faster than 15 mph (24 km/h), or drivetrain
damage may result.
• Revving the engine or spinning the wheels too fast may lead to transmission
overheating and failure. It can also damage the tires. Do not spin the wheels
above 30 mph (48 km/h) while in gear (no transmission shifting occurring).
WARNING!
Fast spinning tires can be dangerous. Forces generated by excessive wheel speeds
may cause damage, or even failure, of the axle and tires. A tire could explode and
injure someone. Do not spin your vehicle's wheels faster than 30 mph (48 km/h)
or for longer than 30 seconds continuously without stopping when you are stuck
and do not let anyone near a spinning wheel, no matter what the speed.
EMERGENCY TOW HOOKS
If your vehicle is equipped with tow hooks, there will be one in the rear and two
mounted on the front of the vehicle. The rear hook will be located on the driver's side
of the vehicle.
NOTE:
For off-road recovery, it is recommended to use both of the front tow hooks to
minimize the risk of damage to the vehicle.
Vehicles Equipped With RKE Transmitter With An Integrated Vehicle Key
Turn the ignition key to the MAR/RUN and then STOP/OFF position, without
removing it. By extracting the key this will automatically engage the steering wheel
lock. Place the transmission into NEUTRAL.
Vehicles With Keyless Enter-N-Go™
Place the ignition in the RUN and subsequently on STOP, without opening the door.
During towing remember that not having the aid of the power brakes and the
electromechanical power steering, greater force is needed in applying the brakes and
steering of the vehicle.
WHAT TO DO IN EMERGENCIES
177
Page 200 of 220
Rear Cargo Fuse/Relay Distribution Unit
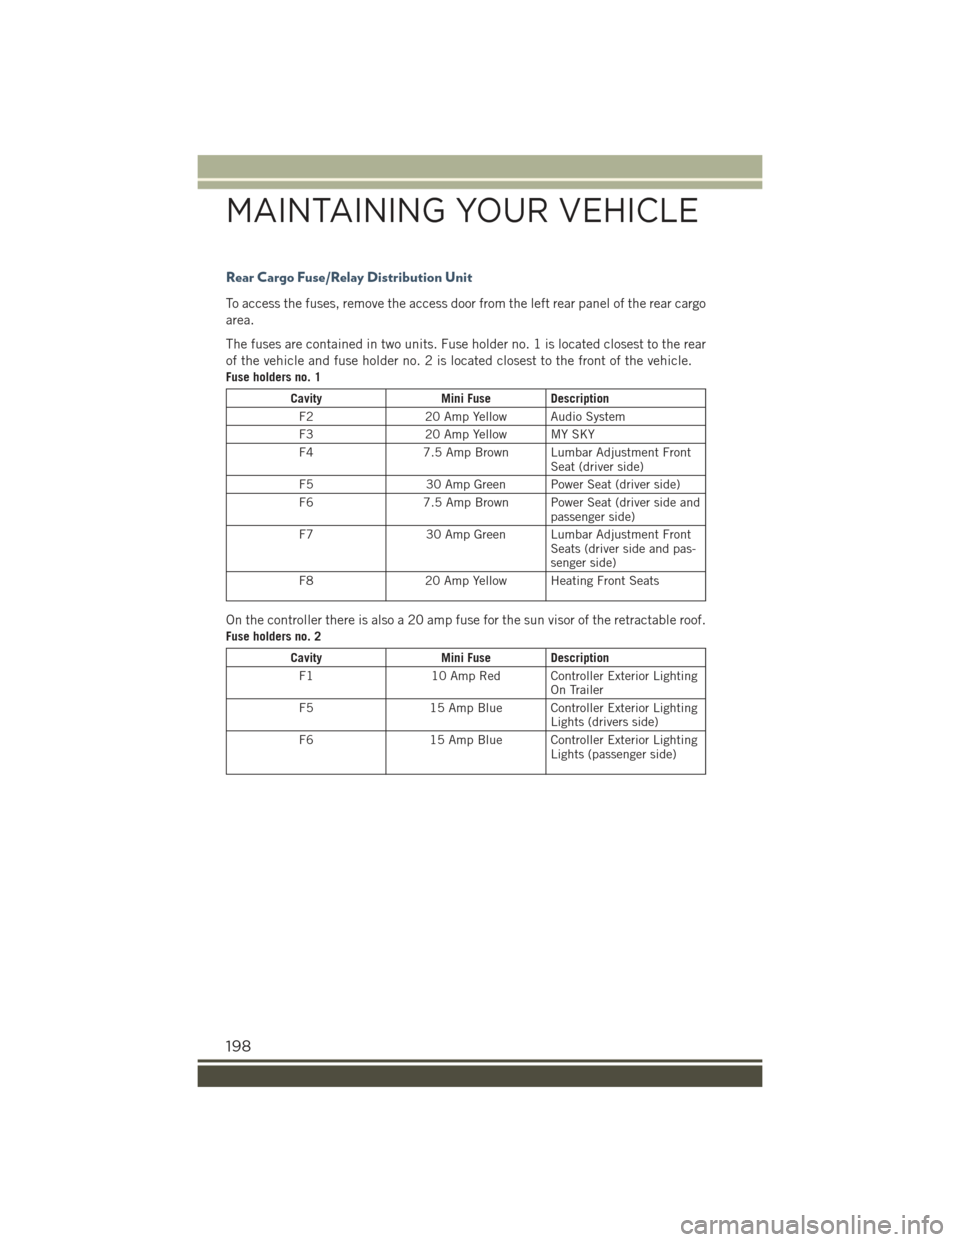
To access the fuses, remove the access door from the left rear panel of the rear cargo
area.
The fuses are contained in two units. Fuse holder no. 1 is located closest to the rear
of the vehicle and fuse holder no. 2 is located closest to the front of the vehicle.
Fuse holders no. 1
CavityMini Fuse Description
F220 Amp Yellow Audio System
F320 Amp Yellow MY SKY
F47.5 Amp Brown Lumbar Adjustment FrontSeat (driver side)
F530 Amp Green Power Seat (driver side)
F67.5 Amp Brown Power Seat (driver side andpassenger side)
F730 Amp Green Lumbar Adjustment FrontSeats (driver side and pas-senger side)
F820 Amp Yellow Heating Front Seats
On the controller there is also a 20 amp fuse for the sun visor of the retractable roof.
Fuse holders no. 2
CavityMini Fuse Description
F110 Amp Red Controller Exterior LightingOn Trailer
F515 Amp Blue Controller Exterior LightingLights (drivers side)
F615 Amp Blue Controller Exterior LightingLights (passenger side)
MAINTAINING YOUR VEHICLE
198
Page 202 of 220
WARNING!
• Do not to affix objects/plugs to the end of the filler neck other than is provided
on the car.
• The use of objects/plugs do not comply with the vehicle and may cause
pressure increases inside the tank, creating dangerous conditions.
• Do not approach the neck of the tank with open flames or lit cigarettes its an
extreme fire hazard. Also, avoid close contact with the filler pipe with your face,
do not inhale harmful vapors.
• Do not use your mobile phone in the vicinity of the pump fuel nozzle, it can be
a possible risk of fire.
TIRE PRESSURES
Check the inflation pressure of each tire, including the spare tire (if equipped), at
least monthly and inflate to the recommended pressure for your vehicle.
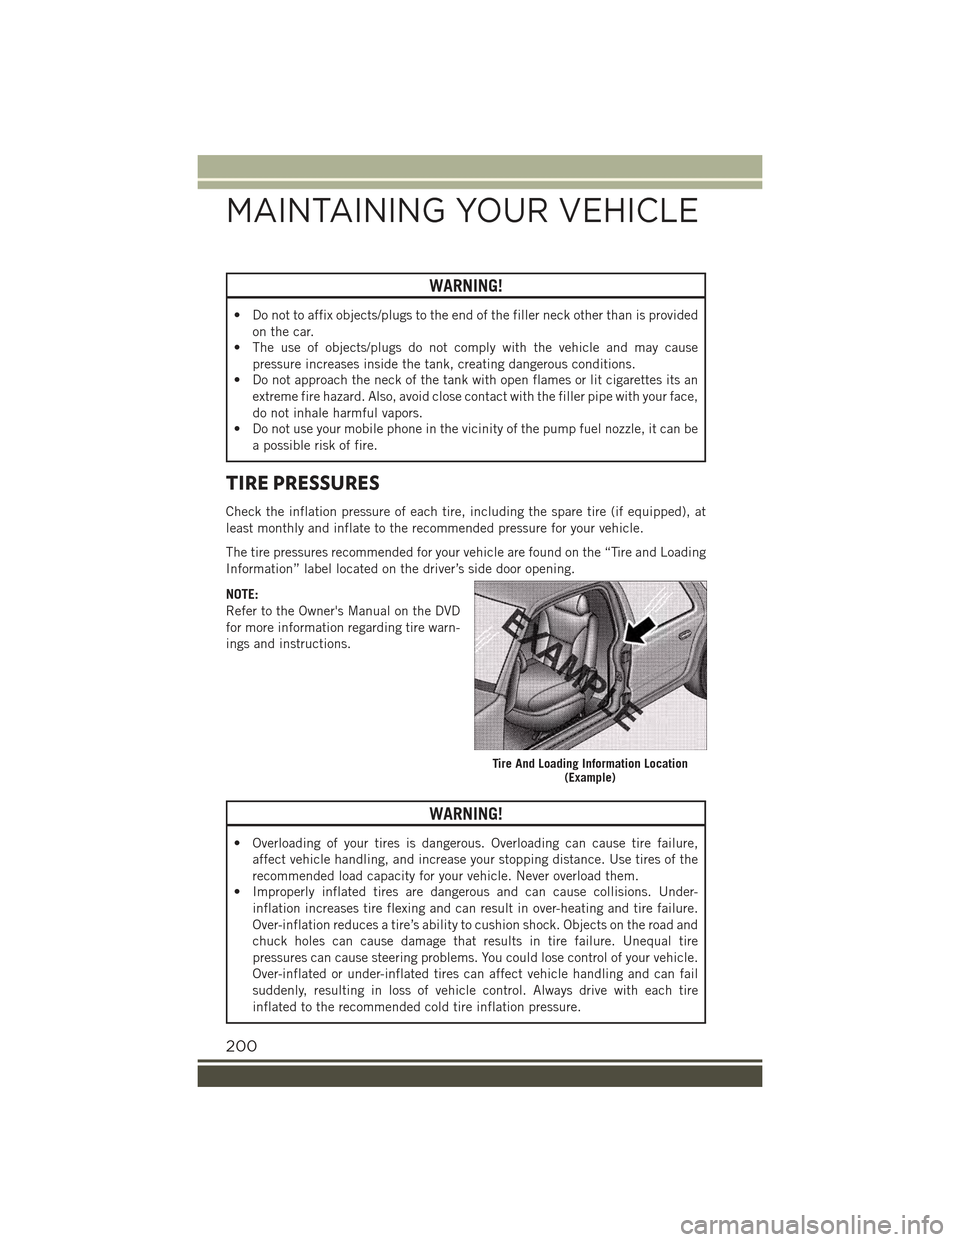
The tire pressures recommended for your vehicle are found on the “Tire and Loading
Information” label located on the driver’s side door opening.
NOTE:
Refer to the Owner's Manual on the DVD
for more information regarding tire warn-
ings and instructions.
WARNING!
• Overloading of your tires is dangerous. Overloading can cause tire failure,
affect vehicle handling, and increase your stopping distance. Use tires of the
recommended load capacity for your vehicle. Never overload them.
• Improperly inflated tires are dangerous and can cause collisions. Under-
inflation increases tire flexing and can result in over-heating and tire failure.
Over-inflation reduces a tire’s ability to cushion shock. Objects on the road and
chuck holes can cause damage that results in tire failure. Unequal tire
pressures can cause steering problems. You could lose control of your vehicle.
Over-inflated or under-inflated tires can affect vehicle handling and can fail
suddenly, resulting in loss of vehicle control. Always drive with each tire
inflated to the recommended cold tire inflation pressure.
Tire And Loading Information Location(Example)
MAINTAINING YOUR VEHICLE
200
Page 211 of 220
Compact Spare Tire..........201
Cooling System............187
Adding Coolant (Antifreeze) . .187
Coolant Capacity.........186
Coolant Level...........187
Disposal of Used Coolant....187
Drain, Flush, and Refill.....187
Inspection............187
Points to Remember . . . . . . .187
Pressure Cap...........187Selection of Coolant(Antifreeze)........186, 187Corrosion Protection.........187Customer Assistance.........204
Customer Programmable Features..146
Daytime Running Lights........35Defects, Reporting..........205Defroster, Rear Window........38Dimmer Switch, Headlight......36Disabled Vehicle Towing....156, 179Disarming, Security System......13DisposalAntifreeze (Engine Coolant) . . .187Driver Cockpit..............6Driver's Seat Back Tilt.........27
Electric Park Brake...........45Electric Parking Brake.........45ElectronicsYour Vehicle's Sound System . . .72Electronic Speed Control (CruiseControl)................40Electronic Throttle Control WarningLight . . . . . . . . . . . . . . . .157Electronic Vehicle Information Center(EVIC) . . . . . . . . . . . . .62, 138Emergency, In Case ofBrake Warning Light.......159Jacking..............168Jump Starting..........174Overheating............164Tow Hooks............177To w i n g . . . . . . . . . . .156, 179EngineAir Cleaner . . . . . . . . . . . .187Break-In Recommendations . . .34Checking Oil Level........187
Compartment........182, 184
Coolant (Antifreeze).......186
Cooling...............187
Jump Starting..........174
Malfunction Indicator (Check En-
gine) . . . . . . . . . . . . . . . .161
Oil . . . . . . . . . . . . . .186, 187
Oil Filler Cap...........187
Oil Selection........186, 187
Overheating............164Exhaust System............187Exterior Lighting............34Exterior Lights.............34
FA Q . . . . . . . . . . . . . . . . . . . 2 0 7FiltersAir Cleaner............187Engine Oil . . . . . . . . .186, 187Engine Oil Disposal.......187FlashersTu r n S i g n a l . . . . . . . . . 3 7 , 1 6 1Flash-To-Pass..............36Flexible Fuel Vehicles........187Fluid, Brake..............187Fluid Capacities............186Fluids, Lubricants and GenuineParts . . . . . . . . . . . . . . . .186Fog Lights . . . . . . . . . . . .35, 162Folding Rear Seat . . . . . . . . . . .30Forward Collision Warning.......51Freeing A Stuck Vehicle.......176Frequently Asked Questions.....207FuelAdding..............199OctaneRating..........186Specifications..........186Tank Capacity..........186Fuel, Flexible . . . . . . . . . . . . .187
Gasohol................187Gasoline (Fuel)............187Gear Select Lever Override......178General Maintenance.........187Glass Cleaning............187
Hands-Free Phone (Uconnect®). . .128HeadlightsAutomatic.............35
INDEX
209
Page 213 of 220
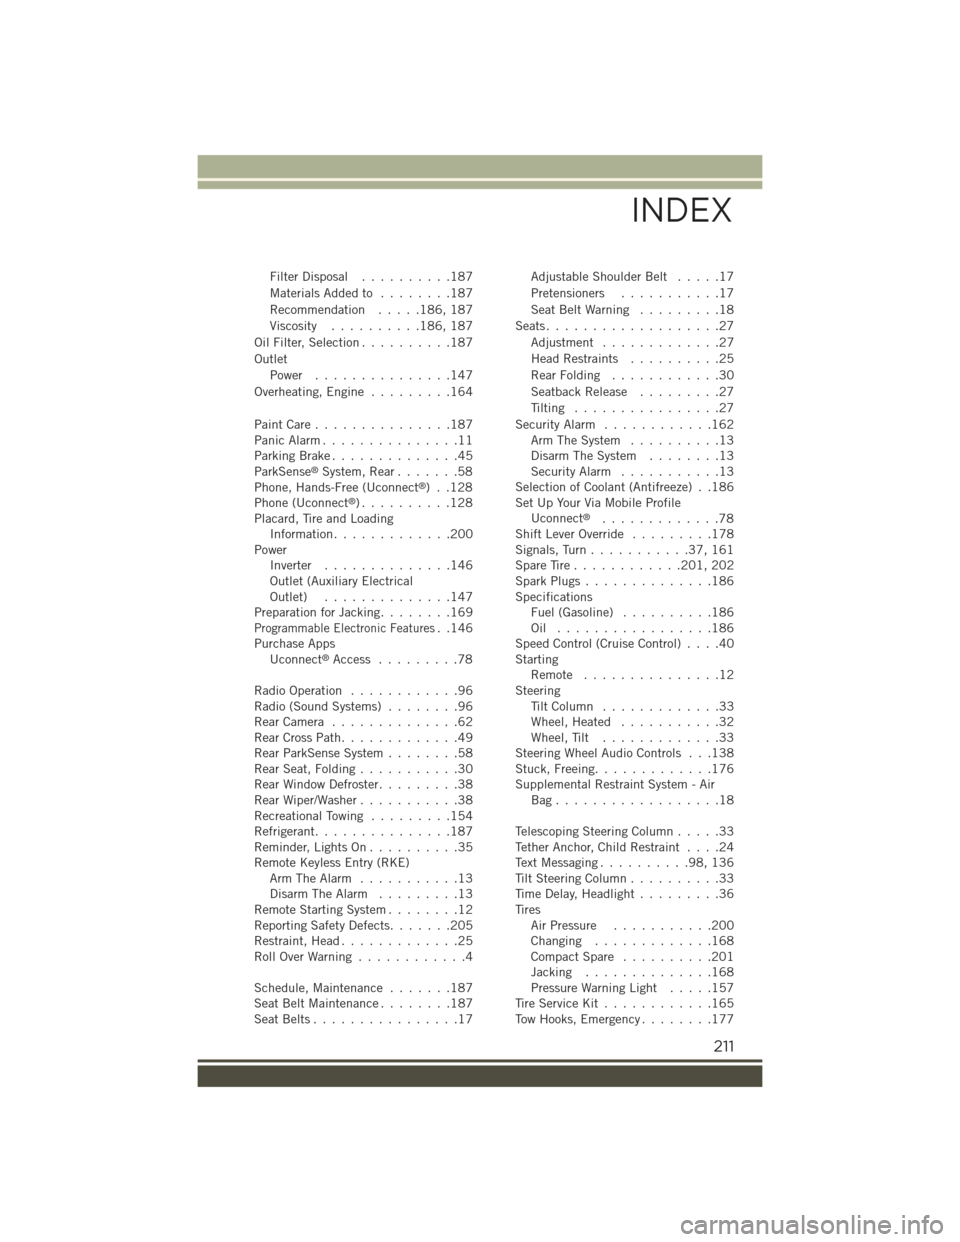
Filter Disposal..........187
Materials Added to........187
Recommendation.....186, 187
Viscosity..........186, 187
Oil Filter, Selection..........187
Outlet
Power...............147
Overheating, Engine.........164
Paint Care . . . . . . . . . . . . . . .187Panic Alarm...............11Parking Brake..............45ParkSense®System, Rear.......58Phone, Hands-Free (Uconnect®)..128Phone (Uconnect®). . . . . . . . . .128Placard, Tire and LoadingInformation.............200PowerInverter..............146Outlet (Auxiliary ElectricalOutlet)..............147Preparation for Jacking........169Programmable Electronic Features..146Purchase AppsUconnect®Access.........78
Radio Operation............96Radio (Sound Systems)........96Rear Camera . . . . . . . . . . . . . .62Rear Cross Path.............49Rear ParkSense System........58Rear Seat, Folding...........30Rear Window Defroster.........38Rear Wiper/Washer...........38Recreational Towing.........154Refrigerant...............187Reminder, Lights On . . . . . . . . . .35Remote Keyless Entry (RKE)Arm The Alarm...........13Disarm The Alarm.........13Remote Starting System........12Reporting Safety Defects.......205Restraint, Head.............25Roll Over Warning . . . . . . . . . . . .4
Schedule, Maintenance.......187Seat Belt Maintenance . . . . . . . .187Seat Belts................17
Adjustable Shoulder Belt.....17
Pretensioners...........17
Seat Belt Warning . . . . . . . . .18
Seats...................27
Adjustment . . . . . . . . . . . . .27
Head Restraints..........25
Rear Folding............30
Seatback Release.........27
Tilting................27
Security Alarm............162Arm The System..........13Disarm The System........13Security Alarm...........13Selection of Coolant (Antifreeze) . .186Set Up Your Via Mobile ProfileUconnect®.............78Shift Lever Override.........178Signals, Turn...........37,161Spare Tire . . . . . . . . . . . .201, 202Spark Plugs . . . . . . . . . . . . . .186SpecificationsFuel (Gasoline)..........186Oil . . . . . . . . . . . . . . . . .186Speed Control (Cruise Control)....40StartingRemote . . . . . . . . . . . . . . .12SteeringTi l t C o l u m n . . . . . . . . . . . . . 3 3Wheel, Heated...........32Wheel, Tilt.............33Steering Wheel Audio Controls . . .138Stuck, Freeing.............176Supplemental Restraint System - AirBag . . . . . . . . . . . . . . . . . .18
Telescoping Steering Column.....33Tether Anchor, Child Restraint....24Text Messaging..........98,136Tilt Steering Column..........33Time Delay, Headlight.........36TiresAir Pressure...........200Changing . . . . . . . . . . . . .168Compact Spare..........201Jacking..............168Pressure Warning Light.....157Tire Service Kit............165Tow Hooks, Emergency........177
INDEX
211