towing JEEP RENEGADE 2015 1.G User Guide
[x] Cancel search | Manufacturer: JEEP, Model Year: 2015, Model line: RENEGADE, Model: JEEP RENEGADE 2015 1.GPages: 220, PDF Size: 34.11 MB
Page 3 of 220
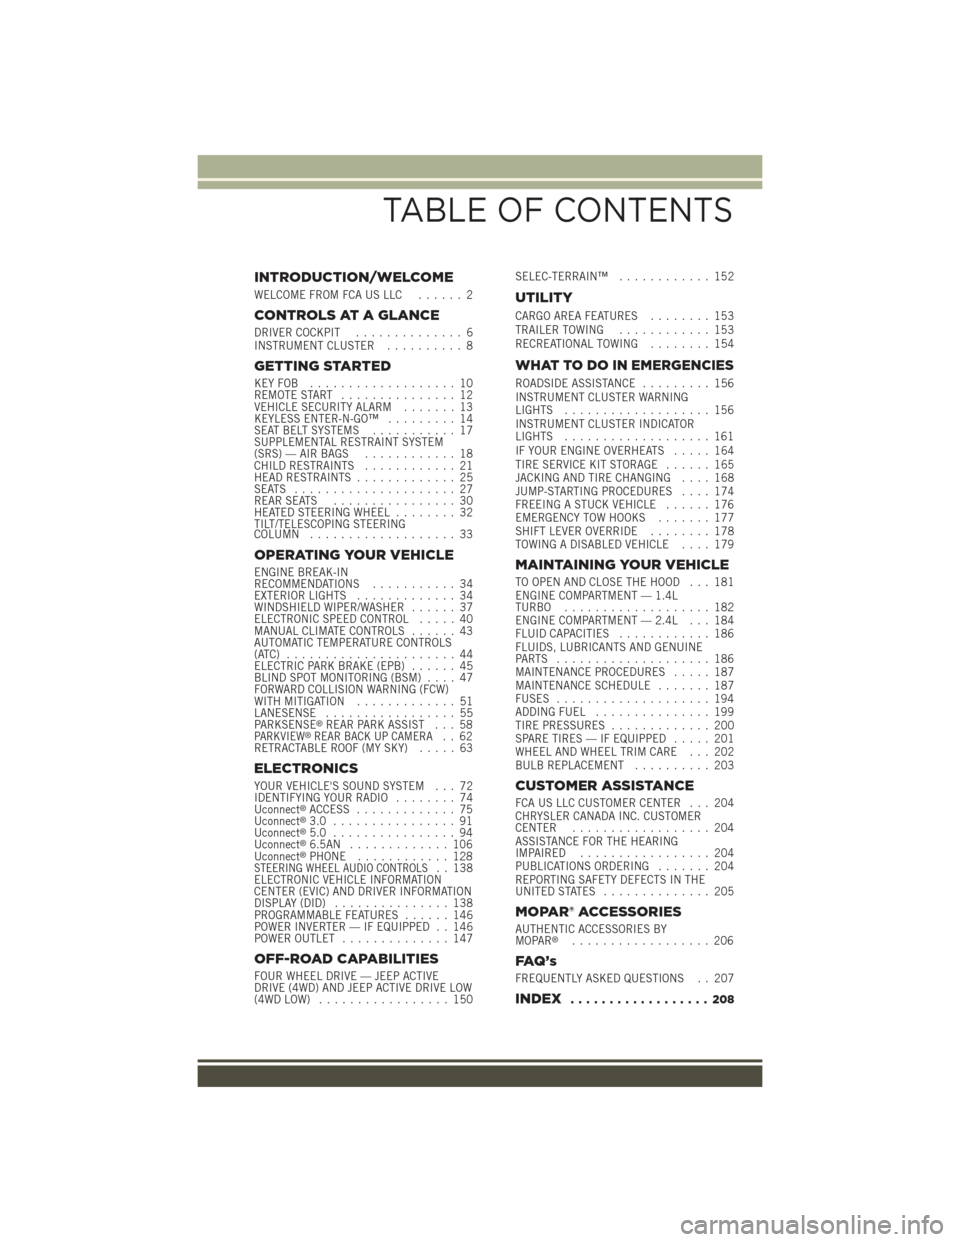
INTRODUCTION/WELCOME
WELCOME FROM FCA US LLC...... 2
CONTROLS AT A GLANCE
DRIVER COCKPIT.............. 6INSTRUMENT CLUSTER.......... 8
GETTING STARTED
KEY FOB . . . . . . . . . . . . . . . . . . . 10REMOTE START............... 12VEHICLE SECURITY ALARM....... 13KEYLESS ENTER-N-GO™......... 14SEAT BELT SYSTEMS........... 17SUPPLEMENTAL RESTRAINT SYSTEM(SRS) — AIR BAGS............ 18CHILD RESTRAINTS............ 21HEAD RESTRAINTS............. 25SEATS . . . . . . . . . . . . . . . . . . . . . 27REAR SEATS................ 30HEATED STEERING WHEEL........ 32TILT/TELESCOPING STEERINGCOLUMN................... 33
OPERATING YOUR VEHICLE
ENGINE BREAK-INRECOMMENDATIONS........... 34EXTERIOR LIGHTS............. 34WINDSHIELD WIPER/WASHER...... 37ELECTRONIC SPEED CONTROL..... 40MANUAL CLIMATE CONTROLS...... 43AUTOMATIC TEMPERATURE CONTROLS(ATC) . . . . . . . . . . . . . . . . . . . . . . 44ELECTRIC PARK BRAKE (EPB)...... 45BLIND SPOT MONITORING (BSM).... 47FORWARD COLLISION WARNING (FCW)WITH MITIGATION . . . . . . . . . . . . . 51LANESENSE................. 55PA R K S E N S E®REAR PARK ASSIST . . . 58PARKVIEW®REAR BACK UP CAMERA.. 62RETRACTABLE ROOF (MY SKY)..... 63
ELECTRONICS
YOUR VEHICLE'S SOUND SYSTEM . . . 72IDENTIFYING YOUR RADIO........ 74Uconnect®ACCESS............. 75Uconnect®3.0 . . . . . . . . . . . . . . . . 91Uconnect®5.0 . . . . . . . . . . . . . . . . 94Uconnect®6.5AN . . . . . . . . . . . . . 106Uconnect®PHONE............ 128STEERING WHEEL AUDIO CONTROLS.. 138ELECTRONIC VEHICLE INFORMATIONCENTER (EVIC) AND DRIVER INFORMATIONDISPLAY (DID)............... 138PROGRAMMABLE FEATURES...... 146POWER INVERTER — IF EQUIPPED . . 146POWER OUTLET.............. 147
OFF-ROAD CAPABILITIES
FOUR WHEEL DRIVE — JEEP ACTIVEDRIVE (4WD) AND JEEP ACTIVE DRIVE LOW(4WD LOW)................. 150
SELEC-TERRAIN™............ 152
UTILITY
CARGO AREA FEATURES........ 153TRAILER TOWING............ 153RECREATIONAL TOWING........ 154
WHAT TO DO IN EMERGENCIES
ROADSIDE ASSISTANCE......... 156INSTRUMENT CLUSTER WARNINGLIGHTS................... 156INSTRUMENT CLUSTER INDICATORLIGHTS................... 161IF YOUR ENGINE OVERHEATS..... 164TIRE SERVICE KIT STORAGE...... 165JACKING AND TIRE CHANGING.... 168JUMP-STARTING PROCEDURES.... 174FREEING A STUCK VEHICLE...... 176EMERGENCY TOW HOOKS....... 177SHIFT LEVER OVERRIDE........ 178TOWING A DISABLED VEHICLE.... 179
MAINTAINING YOUR VEHICLE
TO OPEN AND CLOSE THE HOOD . . . 181ENGINE COMPARTMENT — 1.4LTURBO................... 182ENGINE COMPARTMENT — 2.4L . . . 184FLUID CAPACITIES............ 186FLUIDS, LUBRICANTS AND GENUINEPA RT S . . . . . . . . . . . . . . . . . . . . 1 8 6MAINTENANCE PROCEDURES..... 187MAINTENANCE SCHEDULE....... 187FUSES.................... 194ADDING FUEL............... 199TIRE PRESSURES............. 200SPARE TIRES — IF EQUIPPED..... 201WHEEL AND WHEEL TRIM CARE . . . 202BULB REPLACEMENT.......... 203
CUSTOMER ASSISTANCE
FCA US LLC CUSTOMER CENTER . . . 204CHRYSLER CANADA INC. CUSTOMERCENTER.................. 204ASSISTANCE FOR THE HEARINGIMPAIRED . . . . . . . . . . . . . . . . . 204PUBLICATIONS ORDERING....... 204REPORTING SAFETY DEFECTS IN THEUNITED STATES . . . . . . . . . . . . . . 205
MOPAR® ACCESSORIES
AUTHENTIC ACCESSORIES BYMOPAR®.................. 206
FAQ ’ s
FREQUENTLY ASKED QUESTIONS . . 207
INDEX.................. 208
TABLE OF CONTENTS
Page 50 of 220
NOTE:
• The BSM system does NOT alert the driver about rapidly approaching vehicles that
are outside the detection zones.
• The BSM system detection zone DOES NOT change if your vehicle is towing a
trailer. Therefore, visually verify the adjacent lane is clear for both your vehicle and
trailer before making a lane change. If the trailer or other object (i.e., bicycle,
sports equipment) extends beyond the side of your vehicle, this may result in the
BSM warning light remaining illuminated the entire time the vehicle is in a forward
gear. It may be necessary to deactivate BSM system manually by related menu to
avoid a miss-detection.
The area on the rear fascia where the radar sensors are located must remain free of
snow, ice, and dirt/road contamination so that the BSM system can function properly.
Do not block the radar sensors located on the rear fascia with foreign objects (bumper
stickers, bicycle racks, etc.).
The BSM system notifies the driver of objects in the detection zones by illuminating
the BSM warning light located in the outside mirrors in addition to sounding an
audible (chime) alert and reducing the radio volume.
The BSM system monitors the detection zone from three different entry points (side,
rear, front) while driving to see if an alert is necessary. The BSM system will issue an
alert during these types of zone entries.
Entering From The Side
Vehicles that move into your adjacent lanes from either side of the vehicle.
Entering From The Rear
Vehicles that come up from behind your vehicle on either side and enter the rear
detection zone with a relative speed of less than 31 mph (50 km/h).
Overtaking Traffic
If you pass another vehicle slowly with a relative speed less than 15 mph (25 km/h)
and the vehicle remains in the blind spot for approximately 1.5 seconds, the warning
light will be illuminated. If the difference in speed between the two vehicles is
greater than 15 mph (25 km/h), the warning light will not illuminate.
The BSM system is designed not to issue an alert on stationary objects such as
guardrails, posts, walls, foliage, berms, etc. However, occasionally the system may
alert on such objects. This is normal operation and your vehicle does not require
service.
The BSM system will not alert you of objects that are traveling in the opposite
direction of the vehicle in adjacent lanes.
OPERATING YOUR VEHICLE
48
Page 63 of 220
Park Assist System Usage Precautions
NOTE:
• Ensure that the outer surface and the underside of the rear bumper is clean and
clear of snow, ice, mud, dirt or other obstruction to keep the Rear Park Assist
system operating properly.
• Jackhammers, large trucks, and other vibrations could affect the performance of
Rear Park Assist.
• Clean the Rear Park Assist sensors regularly, taking care not to scratch or damage
them. The sensors must not be covered with ice, snow, slush, mud, dirt or debris.
Failure to do so can result in the system not working properly. The Rear Park Assist
system might not detect an obstacle behind the fascia/bumper, or it could provide
a false indication that an obstacle is behind the fascia/bumper.
• Objects such as bicycle carriers, etc., must not be placed within 12 inches (30
cm) from the rear fascia/bumper while driving the vehicle. Failure to do so can
result in the system misinterpreting a close object as a sensor problem, causing a
failure indication to be displayed in the instrument cluster.
CAUTION!
• Rear Park Assist is only a parking aid and it is unable to recognize every
obstacle, including small obstacles. Parking curbs might be temporarily
detected or not detected at all. Obstacles located above or below the sensors
will not be detected when they are in close proximity.
• The vehicle must be driven slowly when using Rear Park Assist in order to be
able to stop in time when an obstacle is detected. It is recommended that the
driver looks over his/her shoulder when using Rear Park Assist.
WARNING!
• Drivers must be careful when backing up even when using ParkSense®. Always
check carefully behind your vehicle, look behind you, and be sure to check for
pedestrians, animals, other vehicles, obstructions, and blind spots before
backing up. You are responsible for safety and must continue to pay attention
to your surroundings. Failure to do so can result in serious injury or death.
• Before using ParkSense®, it is strongly recommended that the ball mount and
hitch ball assembly is disconnected from the vehicle when the vehicle is not
used for towing. Failure to do so can result in injury or damage to vehicles or
obstacles because the hitch ball will be much closer to the obstacle than the
rear fascia when the loudspeaker sounds the continuous tone. Also, the sensors
could detect the ball mount and hitch ball assembly, depending on its size and
shape, giving a false indication that an obstacle is behind the vehicle.
OPERATING YOUR VEHICLE
61
Page 155 of 220
CARGO AREA FEATURES
Cargo Load Floor
The vehicle is equipped with a load floor that can be adjusted as needed.
Position 1 (Floor Flush):
This position allows you to make the load floor flat for ease of loading/unloading
objects from the cargo area. This position also makes it possible to use the space
below as another compartment for storing fragile or smaller objects.
Position 2 (Elevated Position):
When the rear seatbacks and front passenger seat is folded flat, it will allow for
loading objects of long dimensions. It is recommended to use this position only
during the actual transporting of the objects.
Table Tilt Load
In addition to the two positions described above, the load floor can also be placed in
a tilted position (slanted toward the rear seatbacks as to ease the access to the
underlying zone of the luggage compartment (e.g. to pick up the spare tire or the Tire
Service Kit).
Place the load floor in a way that it rests at the supports 1 and 2 on the sides of the
cargo area.
The load floor provides securing of any cargo inside this position, so that the cargo
will slide in the case of sudden braking.
TRAILER TOWING
Tr a i l e r To w i n g W e i g h t s ( M a x i m u m Tr a i l e r W e i g h t R a t i n g s )
The following chart provides the maximum trailer weight ratings towable for your
given drivetrain.
1.4L Turbo Engine
Trailer towing is not recommended.
EngineMax. GTW (Gross Trailer Wt.) Max. Tongue Wt. (See Note)
2.4L2,000 lbs (900 kg)200 lbs (90 kg)
Refer to local laws for maximum trailer towing speeds.
NOTE: The trailer tongue weight must be considered as part of the combined weight of oc-cupants and cargo and should never exceed the weight referenced on the Tire and LoadingInformation placard. Refer to “Tire Safety Information” in “Starting And Operating” for fur-ther information.
UTILITY
153
Page 156 of 220
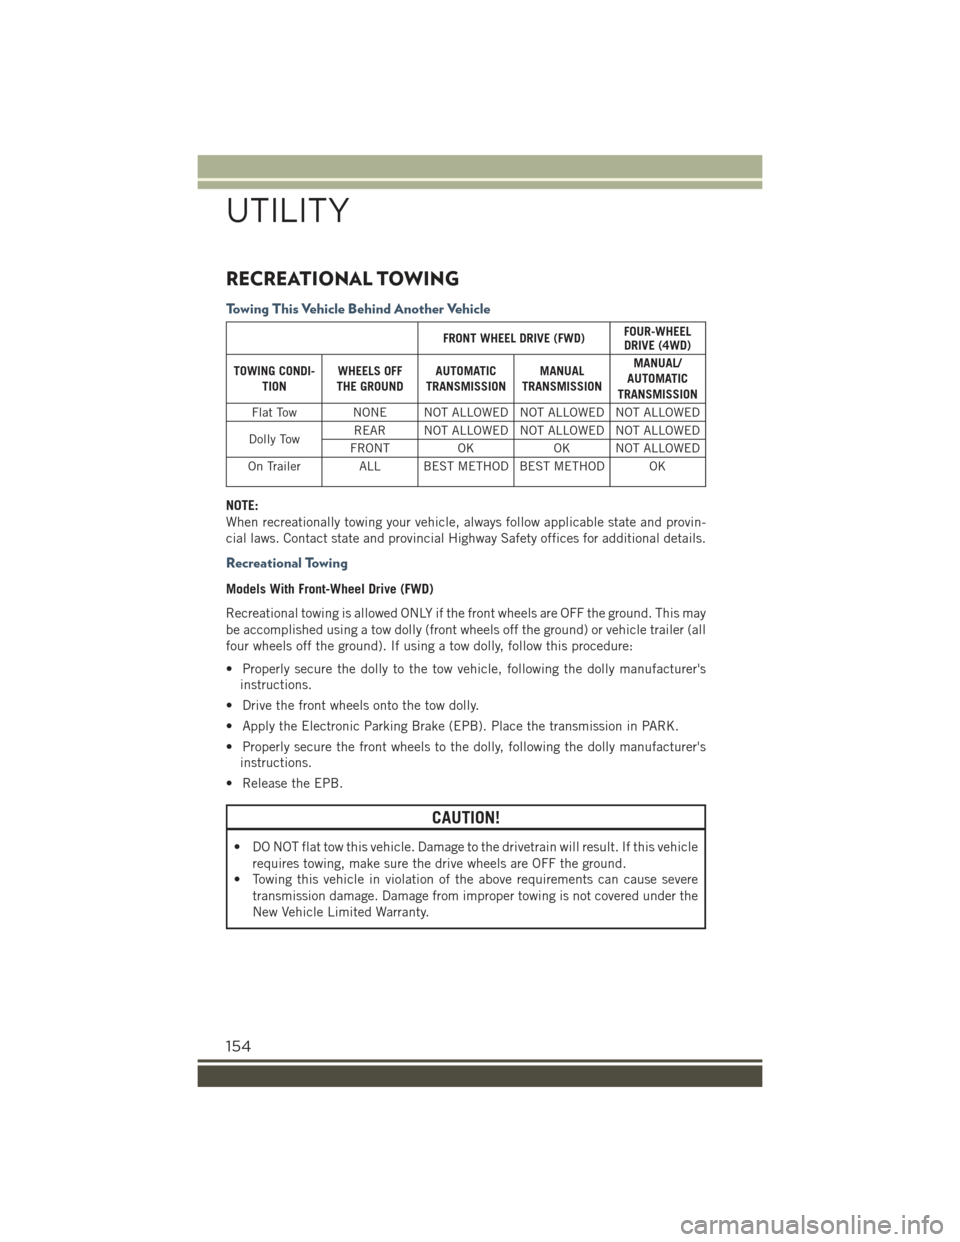
RECREATIONAL TOWING
Towing This Vehicle Behind Another Vehicle
FRONT WHEEL DRIVE (FWD)FOUR-WHEELDRIVE (4WD)
TOWING CONDI-TIONWHEELS OFFTHE GROUNDAUTOMATICTRANSMISSIONMANUALTRANSMISSION
MANUAL/AUTOMATICTRANSMISSION
Flat Tow NONE NOT ALLOWED NOT ALLOWED NOT ALLOWED
Dolly TowREAR NOT ALLOWED NOT ALLOWED NOT ALLOWED
FRONTOKOK NOT ALLOWED
On Trailer ALL BEST METHOD BEST METHOD OK
NOTE:
When recreationally towing your vehicle, always follow applicable state and provin-
cial laws. Contact state and provincial Highway Safety offices for additional details.
Recreational Towing
Models With Front-Wheel Drive (FWD)
Recreational towing is allowed ONLY if the front wheels are OFF the ground. This may
be accomplished using a tow dolly (front wheels off the ground) or vehicle trailer (all
four wheels off the ground). If using a tow dolly, follow this procedure:
• Properly secure the dolly to the tow vehicle, following the dolly manufacturer's
instructions.
• Drive the front wheels onto the tow dolly.
• Apply the Electronic Parking Brake (EPB). Place the transmission in PARK.
• Properly secure the front wheels to the dolly, following the dolly manufacturer's
instructions.
• Release the EPB.
CAUTION!
• DO NOT flat tow this vehicle. Damage to the drivetrain will result. If this vehicle
requires towing, make sure the drive wheels are OFF the ground.
• Towing this vehicle in violation of the above requirements can cause severe
transmission damage. Damage from improper towing is not covered under the
New Vehicle Limited Warranty.
UTILITY
154
Page 157 of 220
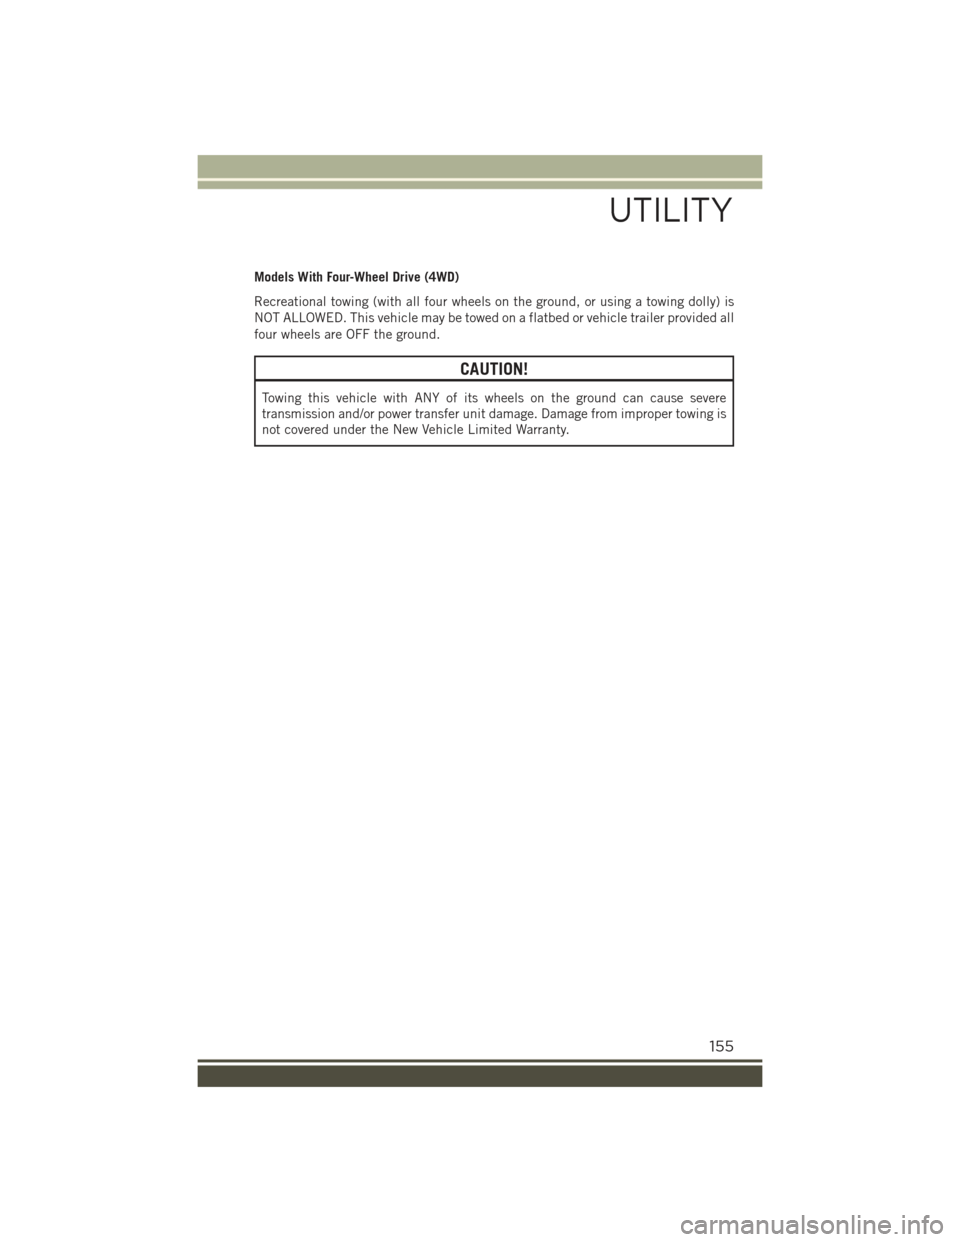
Models With Four-Wheel Drive (4WD)
Recreational towing (with all four wheels on the ground, or using a towing dolly) is
NOT ALLOWED. This vehicle may be towed on a flatbed or vehicle trailer provided all
four wheels are OFF the ground.
CAUTION!
Towing this vehicle with ANY of its wheels on the ground can cause severe
transmission and/or power transfer unit damage. Damage from improper towing is
not covered under the New Vehicle Limited Warranty.
UTILITY
155
Page 159 of 220
If the ABS light is on, the brake system should be serviced as soon as possible to
restore the benefits of Anti-Lock brakes. If the ABS light does not turn on when the
ignition switch is turned to the MAR/RUN position, have the light inspected by an
authorized dealer.
- Air Bag Warning Light
This light will turn on for four to eight seconds as a bulb check when the ignition
switch is first turned to the MAR/RUN position. If the light is either not on during
starting, stays on, or turns on while driving, have the system inspected at an
authorized dealer as soon as possible. Refer to “Occupant Restraints” in “Safety” in
your Owner’s Manual on the DVD for further information.
NOTE:
The Air Bag System is designed to be maintenance free.
- Electronic Throttle Control (ETC) Light
This light informs you of a problem with the Electronic Throttle Control (ETC) system.
If a problem is detected, the light will come on while the engine is running. Cycle the
ignition key when the vehicle has completely stopped and the shift lever/gear selector
is placed in the PARK position; the light should turn off.
If the light remains lit with the engine running, your vehicle will usually be drivable.
However, see an authorized service center immediately. If the light is flashing when
the engine is running, immediate service is required and you may experience reduced
performance, an elevated/rough idle or engine stall and your vehicle may require
towing.
-TirePressureMonitoringSystem(TPMS)Light
Each tire, including the spare (if provided), should be checked monthly, when cold
and inflated to the inflation pressure recommended by the vehicle manufacturer on
the vehicle placard or tire inflation pressure label. (If your vehicle has tires of a
different size than the size indicated on the vehicle placard or tire inflation pressure
label, you should determine the proper tire inflation pressure for those tires.)
As an added safety feature, your vehicle has been equipped with a Tire Pressure
Monitoring System (TPMS) which display in the Electronic Vehicle Information
Center (EVIC) or Driver Information Display (DID) when one or more of your tires is
significantly under-inflated. Accordingly, when the low tire pressure EVIC or DID
display illuminates, you should stop and check your tires as soon as possible, and
inflate them to the proper pressure. Driving on a significantly under-inflated tire
causes the tire to overheat and can lead to tire failure. Under-inflation also reduces
fuel efficiency and tire tread life, and may affect the vehicle’s handling and stopping
ability.
WHAT TO DO IN EMERGENCIES
157
Page 161 of 220
- Engine Temperature Warning Light
• This light warns of an overheated engine condition.
• If the light turns on and a warning chime sounds while driving, safely pull over and
stop the vehicle. If the A/C system is on, turn it off. Also, shift the transmission into
NEUTRAL and idle the vehicle. If the temperature reading does not return to
normal, turn the engine off immediately.
• We recommend that you do not operate the vehicle or engine damage will occur.
Have the vehicle serviced immediately.
WARNING!
A hot engine cooling system is dangerous. You or others could be badly burned by
steam or boiling coolant.
-Transmission Temperature Warning Light
This light indicates that there is excessive transmission fluid temperature that might
occur with severe usage such as trailer towing. If this light turns on, stop the vehicle
and run the engine at idle, with the transmission in NEUTRAL, until the light turns
off. Once the light turns off, you may continue to drive normally.
CAUTION!
Continuous driving with the Transmission Temperature Warning Light illuminated
will eventually cause severe transmission damage or transmission failure.
WARNING!
If you continue operating the vehicle when the Transmission Temperature Warning
Light is illuminated you could cause the fluid to boil over, come in contact with hot
engine or exhaust components and cause a fire.
- Seat Belt Reminder Light
When the ignition switch is first turned to MAR/RUN, this light will turn on if the
driver’s seat belt is unbuckled, and a chime will sound. When driving, if the driver’s
seat belt remains unbuckled, the Seat Belt Reminder Light will illuminate, and the
chime will sound.
Please have your vehicle serviced immediately should the Seat Belt Reminder Light
remain on.
WHAT TO DO IN EMERGENCIES
159
Page 163 of 220
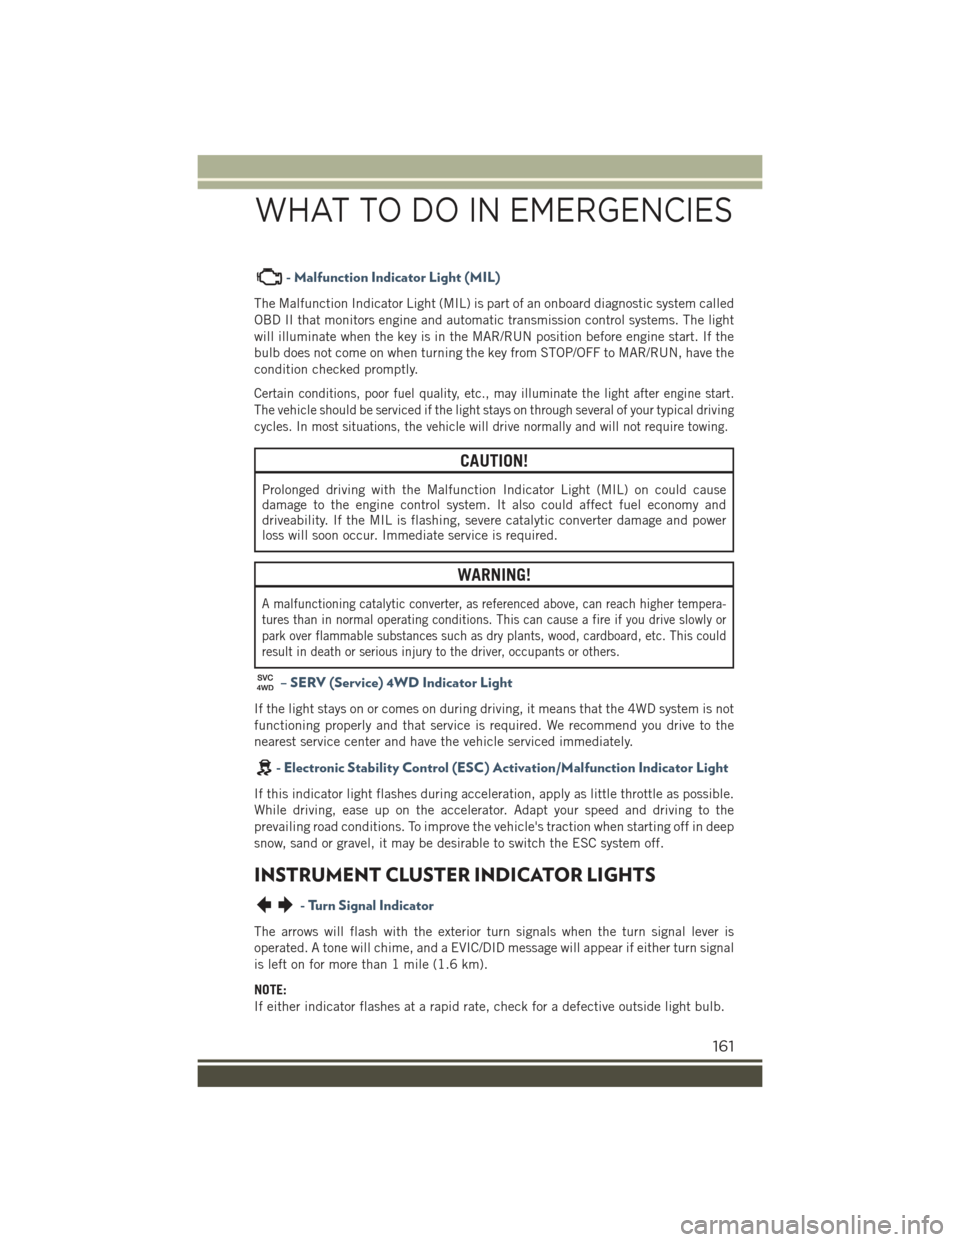
- Malfunction Indicator Light (MIL)
The Malfunction Indicator Light (MIL) is part of an onboard diagnostic system called
OBD II that monitors engine and automatic transmission control systems. The light
will illuminate when the key is in the MAR/RUN position before engine start. If the
bulb does not come on when turning the key from STOP/OFF to MAR/RUN, have the
condition checked promptly.
Certain conditions, poor fuel quality, etc., may illuminate the light after engine start.
The vehicle should be serviced if the light stays on through several of your typical driving
cycles. In most situations, the vehicle will drive normally and will not require towing.
CAUTION!
Prolonged driving with the Malfunction Indicator Light (MIL) on could causedamage to the engine control system. It also could affect fuel economy anddriveability. If the MIL is flashing, severe catalytic converter damage and powerloss will soon occur. Immediate service is required.
WARNING!
A malfunctioning catalytic converter, as referenced above, can reach higher tempera-
tures than in normal operating conditions. This can cause a fire if you drive slowly or
park over flammable substances such as dry plants, wood, cardboard, etc. This could
result in death or serious injury to the driver, occupants or others.
– SERV (Service) 4WD Indicator Light
If the light stays on or comes on during driving, it means that the 4WD system is not
functioning properly and that service is required. We recommend you drive to the
nearest service center and have the vehicle serviced immediately.
-ElectronicStabilityControl(ESC)Activation/MalfunctionIndicatorLight
If this indicator light flashes during acceleration, apply as little throttle as possible.
While driving, ease up on the accelerator. Adapt your speed and driving to the
prevailing road conditions. To improve the vehicle's traction when starting off in deep
snow, sand or gravel, it may be desirable to switch the ESC system off.
INSTRUMENT CLUSTER INDICATOR LIGHTS
- Turn Signal Indicator
The arrows will flash with the exterior turn signals when the turn signal lever is
operated. A tone will chime, and a EVIC/DID message will appear if either turn signal
is left on for more than 1 mile (1.6 km).
NOTE:
If either indicator flashes at a rapid rate, check for a defective outside light bulb.
WHAT TO DO IN EMERGENCIES
161
Page 179 of 220
CAUTION!
• Racing the engine or spinning the wheels may lead to transmission overheatingand failure. Allow the engine to idle with the transmission in NEUTRAL for atleast one minute after every five rocking-motion cycles. This will minimizeoverheating and reduce the risk of clutch or transmission failure duringprolonged efforts to free a stuck vehicle.
• When “rocking” a stuck vehicle by shifting between DRIVE/2nd gear and
REVERSE, do not spin the wheels faster than 15 mph (24 km/h), or drivetrain
damage may result.
• Revving the engine or spinning the wheels too fast may lead to transmission
overheating and failure. It can also damage the tires. Do not spin the wheels
above 30 mph (48 km/h) while in gear (no transmission shifting occurring).
WARNING!
Fast spinning tires can be dangerous. Forces generated by excessive wheel speeds
may cause damage, or even failure, of the axle and tires. A tire could explode and
injure someone. Do not spin your vehicle's wheels faster than 30 mph (48 km/h)
or for longer than 30 seconds continuously without stopping when you are stuck
and do not let anyone near a spinning wheel, no matter what the speed.
EMERGENCY TOW HOOKS
If your vehicle is equipped with tow hooks, there will be one in the rear and two
mounted on the front of the vehicle. The rear hook will be located on the driver's side
of the vehicle.
NOTE:
For off-road recovery, it is recommended to use both of the front tow hooks to
minimize the risk of damage to the vehicle.
Vehicles Equipped With RKE Transmitter With An Integrated Vehicle Key
Turn the ignition key to the MAR/RUN and then STOP/OFF position, without
removing it. By extracting the key this will automatically engage the steering wheel
lock. Place the transmission into NEUTRAL.
Vehicles With Keyless Enter-N-Go™
Place the ignition in the RUN and subsequently on STOP, without opening the door.
During towing remember that not having the aid of the power brakes and the
electromechanical power steering, greater force is needed in applying the brakes and
steering of the vehicle.
WHAT TO DO IN EMERGENCIES
177