JEEP RENEGADE 2017 1.G Repair Manual
Manufacturer: JEEP, Model Year: 2017, Model line: RENEGADE, Model: JEEP RENEGADE 2017 1.GPages: 516, PDF Size: 5.73 MB
Page 61 of 516
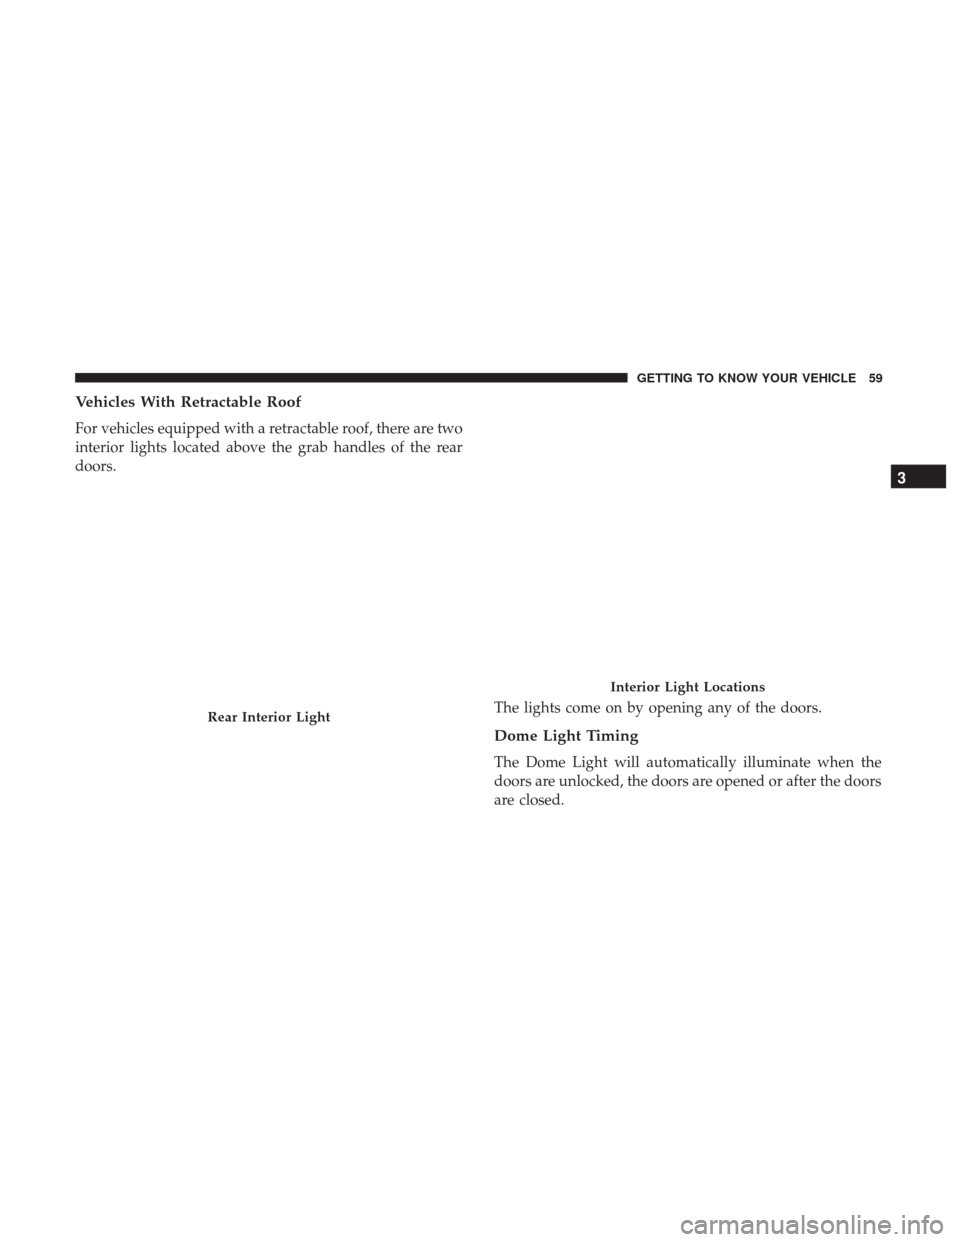
Vehicles With Retractable Roof
For vehicles equipped with a retractable roof, there are two
interior lights located above the grab handles of the rear
doors.The lights come on by opening any of the doors.
Dome Light Timing
The Dome Light will automatically illuminate when the
doors are unlocked, the doors are opened or after the doors
are closed.
Rear Interior Light
Interior Light Locations
3
GETTING TO KNOW YOUR VEHICLE 59
Page 62 of 516
Timing Entering The Vehicle
The dome lights illuminate in the following ways:
•When the doors are unlocked, the dome light will
illuminate for approximately 27 seconds.
• When one of the doors is opened, the dome light will
illuminate for approximately three minutes.
• When the doors are closed, the dome light will automati-
cally shut off after approximately 27 seconds.
The timing stops once the ignition is placed in the RUN or
ON position.
The dome light will turn off under any of the following
conditions:
• The dome light is disabled when the ignition is placed in
the RUN or ON position.
• The dome lights will turn off automatically when the
doors are locked.
• The dome lights will automatically turn off after ap-
proximately fifteen minutes of inactivity to preserve the
battery. Timing Exiting The Vehicle
The dome light will illuminate under the following condi-
tions when the ignition is placed to the OFF position and
the key is removed:
•
The dome light will illuminate for 27 seconds after the
ignition is placed in the OFF position.
• The opening of one of the doors (approximately three
minutes).
• After closing a door (approximately 27 seconds).
The dome light timing is disabled when the doors are
locked.
Internal Compartment Lights
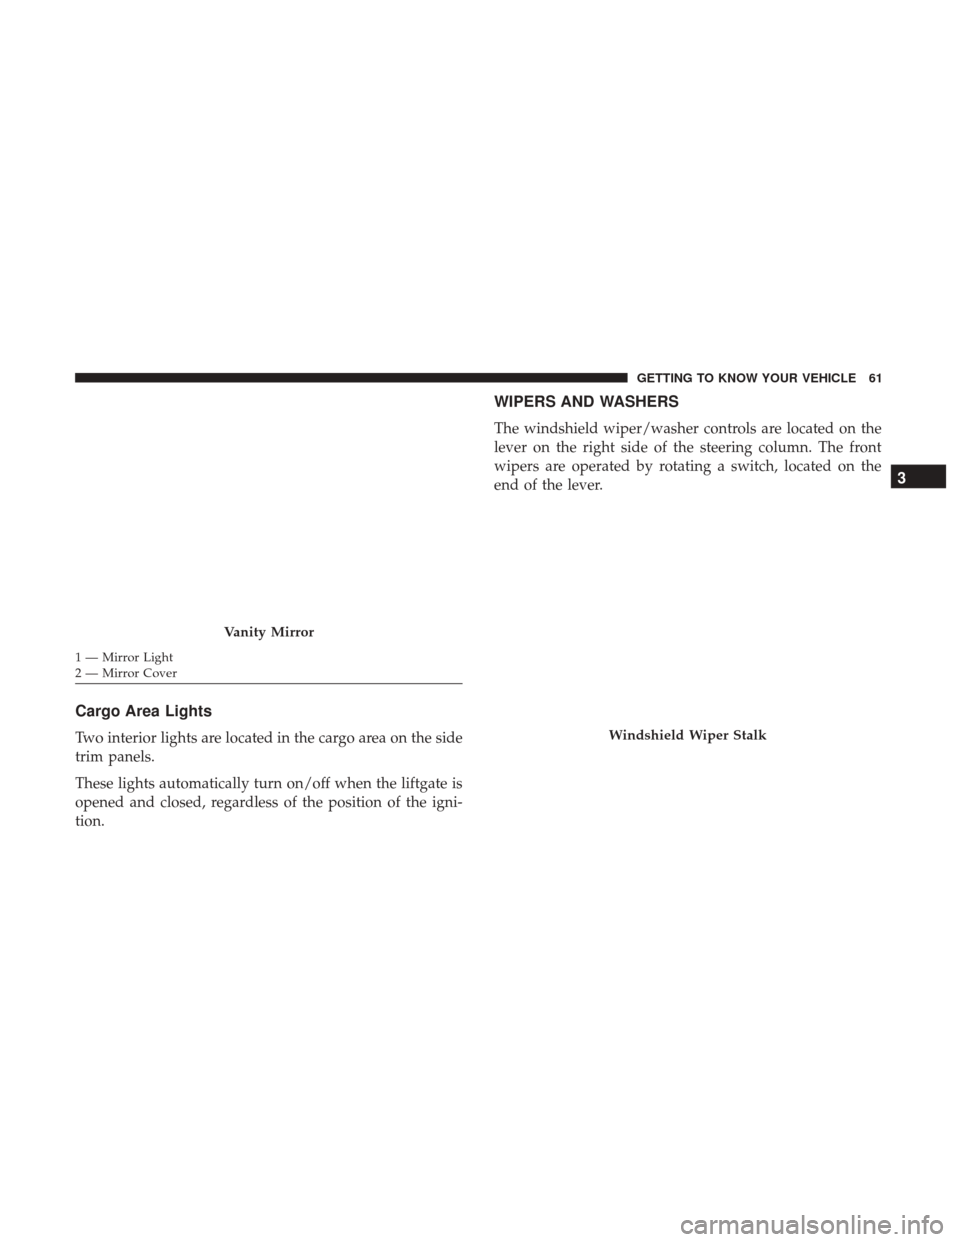
Illuminated Vanity Mirrors — If Equipped
An illuminated vanity mirror is located on each sun visor.
To use the mirror, rotate the sun visor down and swing the
mirror cover upward. The lights will turn on automatically.
Closing the mirror cover will turn the light off.
60 GETTING TO KNOW YOUR VEHICLE
Page 63 of 516
Cargo Area Lights
Two interior lights are located in the cargo area on the side
trim panels.
These lights automatically turn on/off when the liftgate is
opened and closed, regardless of the position of the igni-
tion.
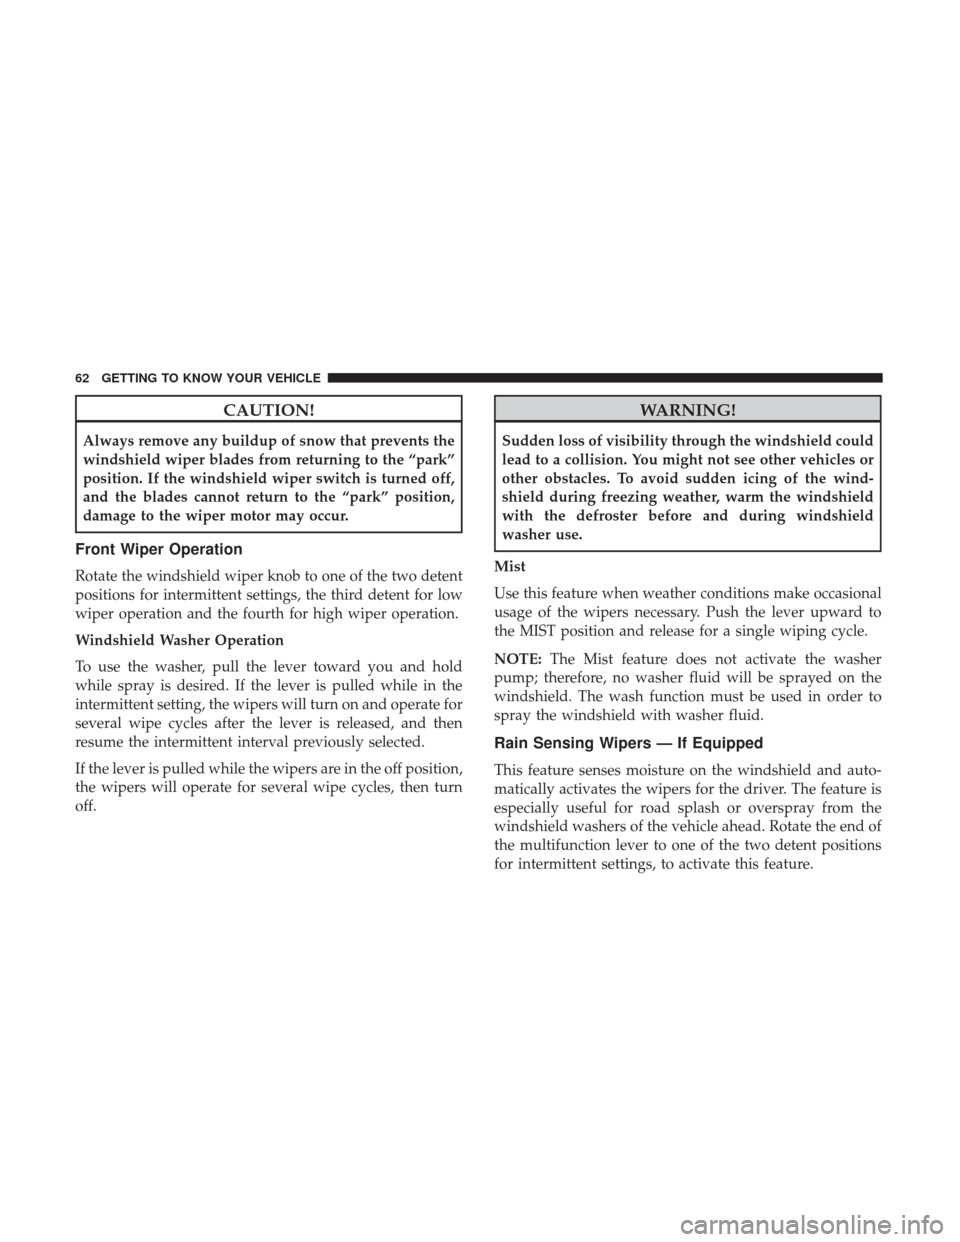
WIPERS AND WASHERS
The windshield wiper/washer controls are located on the
lever on the right side of the steering column. The front
wipers are operated by rotating a switch, located on the
end of the lever.
Vanity Mirror
1 — Mirror Light
2 — Mirror Cover
Windshield Wiper Stalk
3
GETTING TO KNOW YOUR VEHICLE 61
Page 64 of 516
CAUTION!
Always remove any buildup of snow that prevents the
windshield wiper blades from returning to the “park”
position. If the windshield wiper switch is turned off,
and the blades cannot return to the “park” position,
damage to the wiper motor may occur.
Front Wiper Operation
Rotate the windshield wiper knob to one of the two detent
positions for intermittent settings, the third detent for low
wiper operation and the fourth for high wiper operation.
Windshield Washer Operation
To use the washer, pull the lever toward you and hold
while spray is desired. If the lever is pulled while in the
intermittent setting, the wipers will turn on and operate for
several wipe cycles after the lever is released, and then
resume the intermittent interval previously selected.
If the lever is pulled while the wipers are in the off position,
the wipers will operate for several wipe cycles, then turn
off.
WARNING!
Sudden loss of visibility through the windshield could
lead to a collision. You might not see other vehicles or
other obstacles. To avoid sudden icing of the wind-
shield during freezing weather, warm the windshield
with the defroster before and during windshield
washer use.
Mist
Use this feature when weather conditions make occasional
usage of the wipers necessary. Push the lever upward to
the MIST position and release for a single wiping cycle.
NOTE: The Mist feature does not activate the washer
pump; therefore, no washer fluid will be sprayed on the
windshield. The wash function must be used in order to
spray the windshield with washer fluid.
Rain Sensing Wipers — If Equipped
This feature senses moisture on the windshield and auto-
matically activates the wipers for the driver. The feature is
especially useful for road splash or overspray from the
windshield washers of the vehicle ahead. Rotate the end of
the multifunction lever to one of the two detent positions
for intermittent settings, to activate this feature.
62 GETTING TO KNOW YOUR VEHICLE
Page 65 of 516
NOTE:If the end of the multifunction lever rotates from off
to the first intermittent setting or from the first intermittent
setting to the second intermittent setting, the wipers will
perform a round up to clean the windshield.
This function can be activated or deactivated by the
Uconnect Settings through the radio. Refer to “Uconnect
Settings” in the “Multimedia” for further information.
The sensitivity of the system can be adjusted with the
multifunction lever. Wiper delay position one is the least sensitive, and wiper delay position two is the most sensi-
tive. Place the wiper switch in the off position when not
using the system.
Rain Sensing Wipers – Inhibition
When the user switches the ignition to OFF, leaving the
lever in intermittent positions, no wipe cycle is performed
for safety reasons. This temporary inhibition avoids acci-
dental activations of the wiping (e.g during the hand
washing of the windscreen, blocking the blades in ice/
snow conditions). The user can activate the Rain Sensing
Wipers in three ways:
•
Moving the level in off position and then in Intermittent
positions.
• One MIST command actuation.
• The vehicle speed exceeds 3 mph (5 km/h) and the rain
sensor detects the presence of rain.
NOTE:
• The Rain Sensing feature will not operate when the
wiper switch is in the low or high-speed position.
• The Rain Sensing feature may not function properly
when ice, or dried salt water is present on the wind-
shield.
Rain Sensor
3
GETTING TO KNOW YOUR VEHICLE 63
Page 66 of 516
•Use of Rain-X or products containing wax or silicone
may reduce Rain Sensing performance.
• The Rain Sensing feature can be turned on and off using
the Uconnect System, refer to “Uconnect Settings” in
“Multimedia” for further information.
Rear Wiper Operation
The rear wiper/washer controls are located on the lever on
the right side of the steering column. The rear wiper/
washer is operated by rotating a switch, located at the
middle of the lever.
NOTE: If the front wiper is moving and the vehicle is
shifted in REVERSE, the rear wiper will perform one round
up to clean the rear window.
Rotate the center portion of the lever upward to the
first detent for intermittent operation and to the
second detent for continuous rear wiper operation. If the
front wiper is set to Automatic Mode (on the wiper stalk as
well as “Enabled” through Uconnect settings), placing the rear wiper in an intermittent position will cause the front
and rear wipers to sync up. Turning the front wipers off
will cause the rear wipers to also stop.
To use the washer, push the lever forward and
hold while spray is desired. If the lever is pushed
while in the intermittent setting, the wiper will
turn on and operate for several wipe cycles after
the end of the lever is released, and then resume the
intermittent interval previously selected.
If the lever is pushed while the wiper is in the off position,
the wiper will operate for several wipe cycles, then turn off.
NOTE: As a protective measure, the pump will stop if the
switch is held for more than 30 seconds. Once the lever is
released, the pump will resume normal operation.
Rear Window Defroster
The rear window defroster button is located with
the Climate Controls on the instrument panel. Push
this button to turn on the rear window defroster. An
indicator in the button will illuminate when the rear
window defroster is on. The rear window defroster auto-
matically turns off after approximately 20 minutes. To
64 GETTING TO KNOW YOUR VEHICLE
Page 67 of 516
manually shut the defroster off, push the button a second
time.
CAUTION!
Failure to follow these cautions can cause damage to
the heating elements:
•Use care when washing the inside of the rear win-
dow. Do not use abrasive window cleaners on the
interior surface of the window. Use a soft cloth and a
mild washing solution, wiping parallel to the heat-
ing elements. Labels can be peeled off after soaking
with warm water.
• Do not use scrapers, sharp instruments, or abrasive
window cleaners on the interior surface of the win-
dow.
• Keep all objects a safe distance from the window.
Windshield Wiper De-Icer — If Equipped
Your vehicle may be equipped with a Windshield Wiper
De-Icer feature that may be activated under the following
conditions:
• Activation By Front Defrost — The Windshield Wiper
De-Icer will be activated automatically in the case of a cold weather manual start with full front defrost, and
the ambient temperature is below 40° F (4.4° C).
• Activation By Rear Defrost — The Windshield Wiper
De-Icer will be activated automatically when the rear
defrost is turned on and the ambient temperature is
below 40° F (4.4° C).
• Activation By Remote Start Operation — When Remote
Start is active and the outside ambient temperature is
less than 40° F (4.4° C), the Windshield Wiper De-Icer
will be enabled. Upon exiting remote start mode the
Windshield Wiper De-Icer will remain on.
Auto-On Rear Window Defroster/Windshield Wiper De-
Icer— If Equipped
When turning the vehicle ON, the Rear Window Defroster
and Windshield Wiper De-Icer will automatically turn on
when the outside ambient temperature is less than 40° F
(4.4° C).
The Rear Window Defroster and Windshield Wiper De-Icer
automatically turn off after approximately 20 minutes. To
manually shut the defroster/windshield off, push the
button a second time.
3
GETTING TO KNOW YOUR VEHICLE 65
Page 68 of 516
CLIMATE CONTROLS
Air Outlet And Diffuser Locations — Passenger
Compartment
Left Side Air Outlets
1 — Adjustable Air Outlet
2 — Air Vane Adjustment
3 — Air Flow Outlet Adjustment
4 — Fixed Air Outlet
Center Air Outlets
1 — Fixed Air Outlet
2 — Air Flow Outlet Adjustment
3 — Air Vane Adjustment
4 — Adjustable Air Outlet
66 GETTING TO KNOW YOUR VEHICLE
Page 69 of 516
Manual Climate Controls Overview
Right Side Air Outlets
1 — Fixed Air Outlet
2 — Adjustable Air Outlet
3 — Air Vane Adjustment
4 — Air Flow Outlet AdjustmentManual Climate Controls
3
GETTING TO KNOW YOUR VEHICLE 67
Page 70 of 516
Manual Climate Control Descriptions
IconDescription
MAX A/C Setting
MAX A/C sets the system for maximum cooling performance. Rotate the temperature control
adjust knob counterclockwise to the MAX A/C setting. In MAX A/C, the blower speed and
mode position can be adjusted to desired user settings.
A/C Button
Push this button to engage the Air Conditioning. A light will illuminate when the Air Condi-
tioning system is engaged.
Recirculation Button
Push this control button to change the system between recirculation mode and outside air
mode. Recirculation can be used when outside conditions such as smoke, odors, dust, or high
humidity are present.
NOTE:
•Continuous use of the Recirculation mode may make the inside air stuffy and window fog-
ging may occur. Extended use of this mode is not recommended.
•The use of the Recirculation mode in cold or damp weather could cause windows to fog on
the inside, because of moisture buildup inside the vehicle. Select the outside air position for
maximum defogging.
•Recirculation can be used in all modes except for Defrost.
•The A/C can be deselected manually without disturbing the mode control selection.
68 GETTING TO KNOW YOUR VEHICLE