JEEP RENEGADE LATITUDE 2017 Owners Manual
RENEGADE LATITUDE 2017
JEEP
JEEP
https://www.carmanualsonline.info/img/16/55982/w960_55982-0.png
JEEP RENEGADE LATITUDE 2017 Owners Manual
Trending: key, spare wheel, keyless, wiring, steering wheel, break, brake light
Page 361 of 516
If a tire is punctured, you can make a first emergency repair
using the Tire Service Kit located in the rear storage
compartment inside the storage container.
1. Remove the Tire Service Kit from the vehicle, take it outfrom the bag and place it near the punctured tire. Screw
the clear flexible filling tube to the tire valve.
2. Insert the power plug into the vehicle power outlet socket. Start the vehicle engine.
3. Push the Tire Service Kit power button to the “I” position. The electric compressor will be turned on,
sealant and air will inflate the tire.
Minimum 26 psi (1.8 bar) of pressure should be reached within
20 minutes. If the pressure has not been reached turn off and
remove the Tire Service Kit, drive the vehicle 30 feet (10 meters)
back and forth, to better distribute the sealant inside the tire.
4. Attach the clear flexible filling tube of the compressordirectly to the tire valve and repeat the inflation process.
When the correct pressure has been reached, start driving the
vehicle to uniformly distribute the sealant inside the tire.
After 10 minutes, stop and check the tire pressure. If the
pressure is below 19 psi (1.3 bar), do not drive the vehicle, as
the tire is too damaged, contact the nearest authorized dealer.
Page 362 of 516
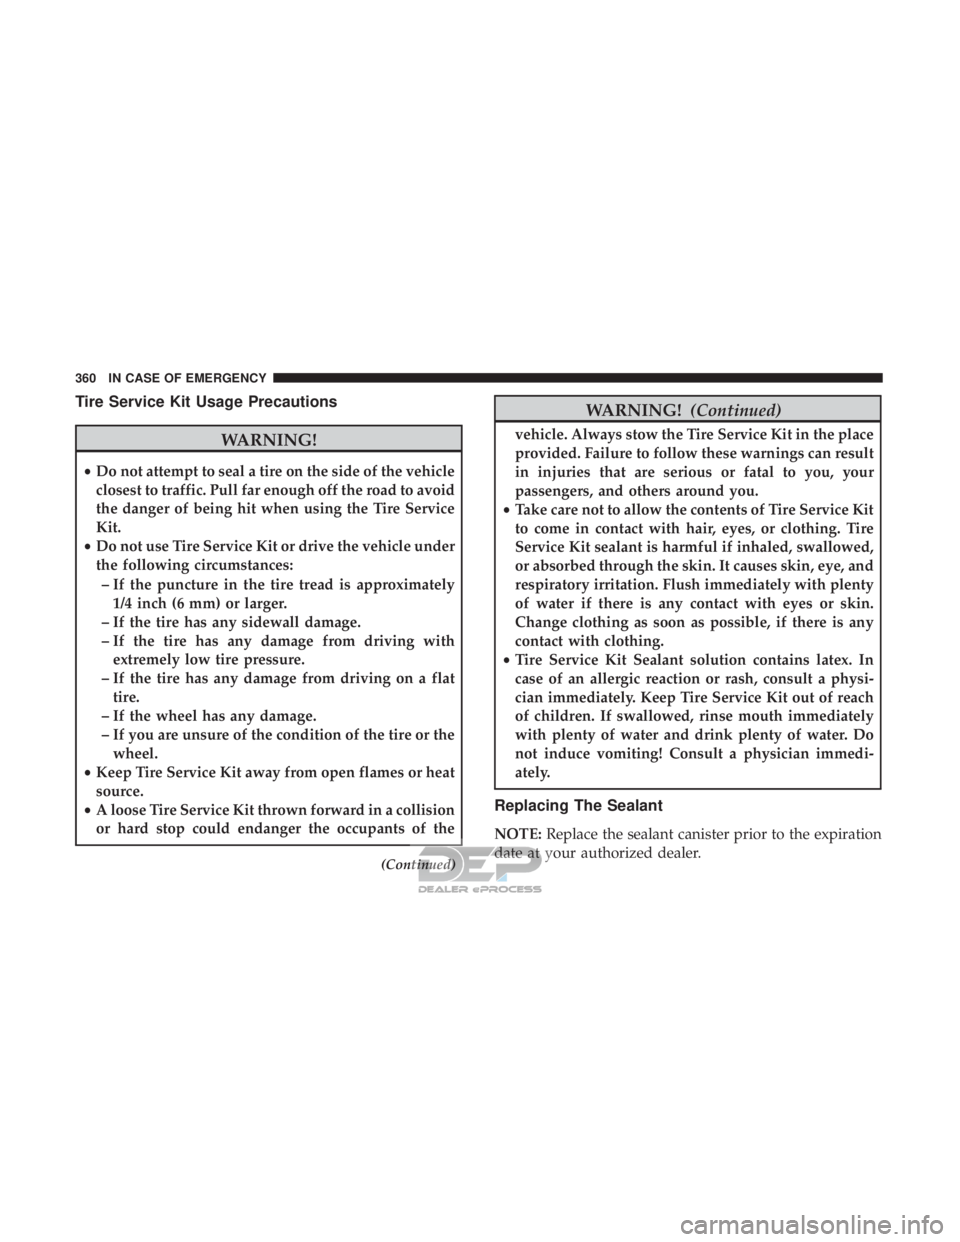
Tire Service Kit Usage Precautions
Page 363 of 516
WARNING!
Store the sealant canister in its special compartment,
away from sources of heat. Failure to follow this
WARNING may result in sealant canister rupture and
serious injury or death.
JUMP STARTING
If your vehicle has a discharged battery it can be jump-
started using a set of jumper cables and a battery in another
vehicle or by using a portable battery booster pack. Jump
starting can be dangerous if done improperly so please
follow the procedures in this section carefully.
NOTE:When using a portable battery booster pack follow
the manufacturer ’s operating instructions and precautions.
CAUTION!
Do not use a portable battery booster pack or any other
booster source with a system voltage greater than
12 Volts or damage to the battery, starter motor, alter-
nator or electrical system may occur.
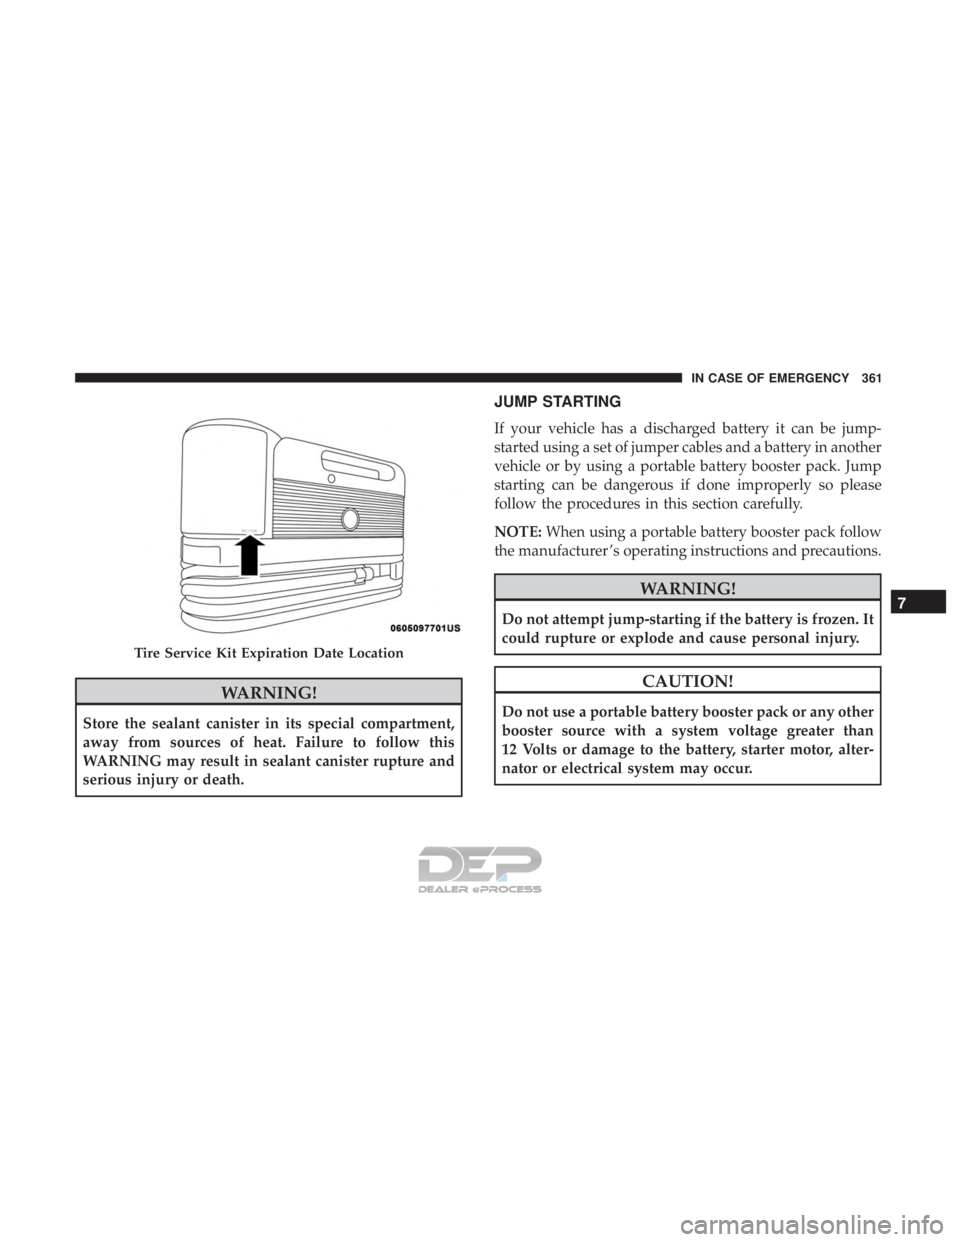
Tire Service Kit Expiration Date Location
7
IN CASE OF EMERGENCY 361
Page 364 of 516
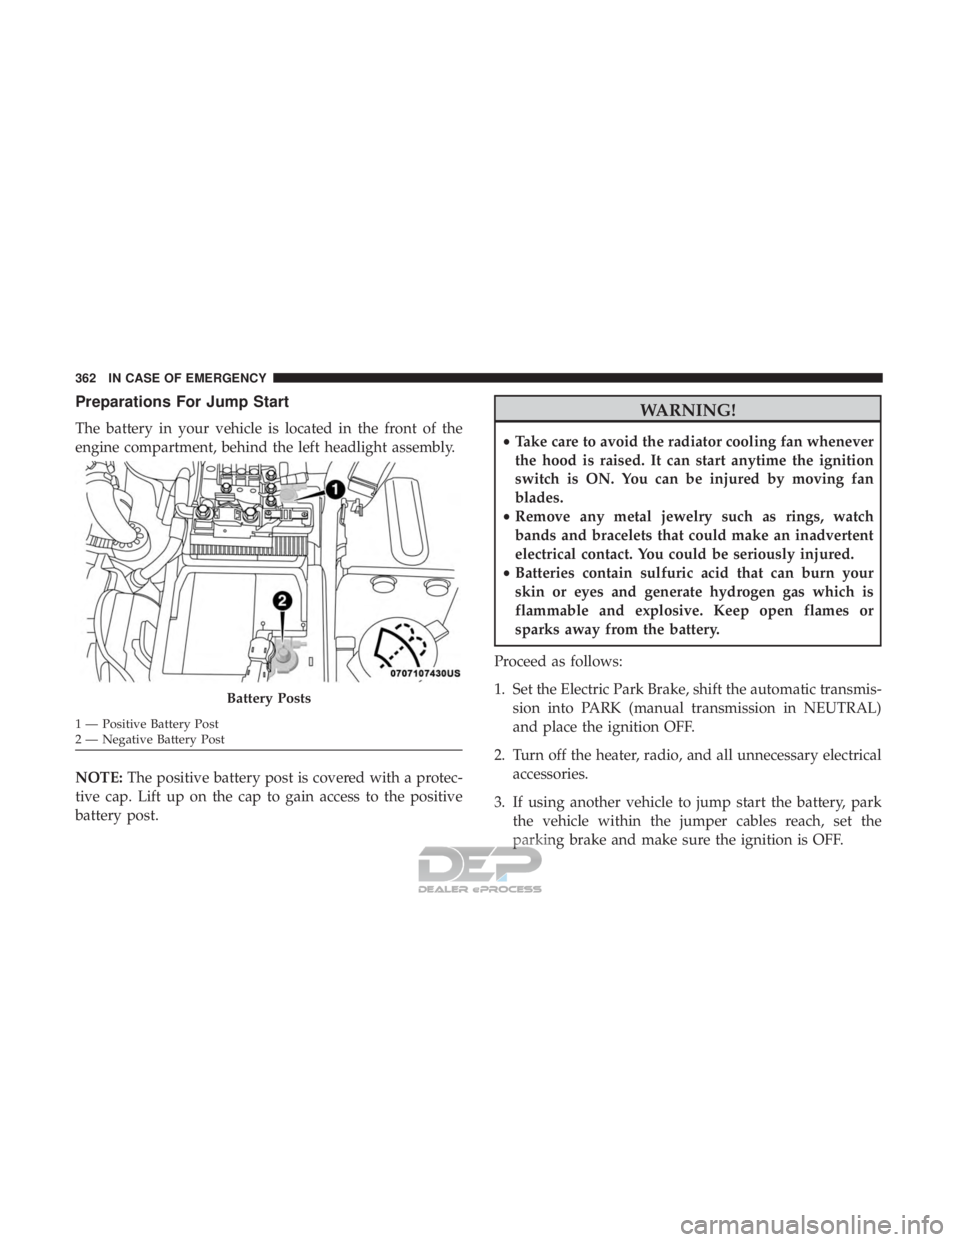
Preparations For Jump Start
The battery in your vehicle is located in the front of the
engine compartment, behind the left headlight assembly.
NOTE:The positive battery post is covered with a protec-
tive cap. Lift up on the cap to gain access to the positive
battery post.
Page 365 of 516
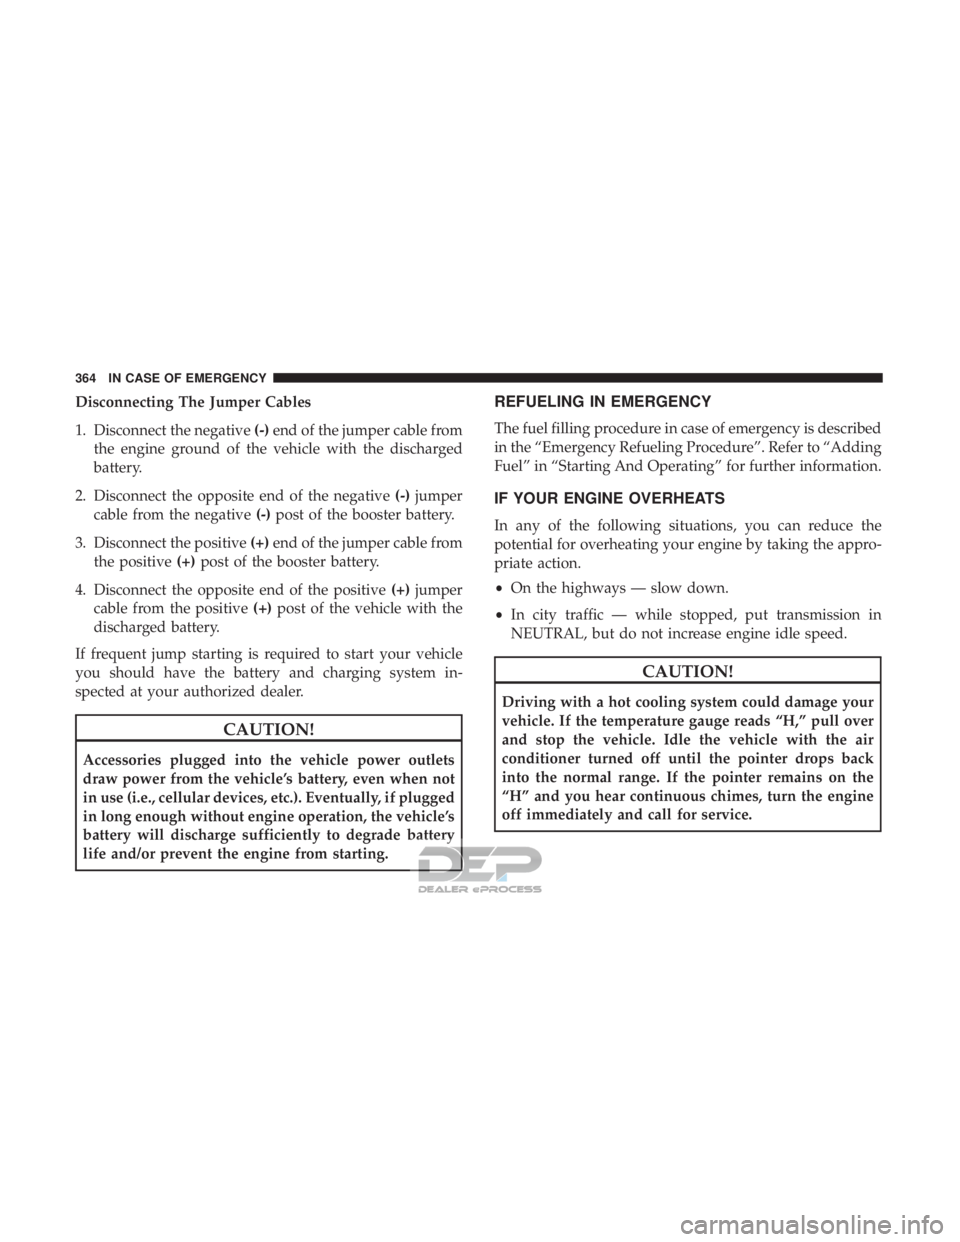
WARNING!
Do not allow vehicles to touch each other as this could
establish a ground connection and personal injury
could result.
Jump Starting Procedure
CAUTION!
Failure to follow these procedures could result in
damage to the charging system of the booster vehicle
or the discharged vehicle.
Connecting The Jumper Cables
1. Connect the positive (+)end of the jumper cable to the
positive (+)post of the discharged vehicle.
2. Connect the opposite end of the positive (+)jumper
cable to the positive (+)post of the booster battery. 3. Connect the negative
(-)end of the jumper cable to the
negative (-)post of the booster battery.
4. Connect the opposite end of the negative (-)jumper
cable to a good engine ground (exposed metal part of
the discharged vehicle’s engine) away from the battery
and the fuel injection system.
Page 366 of 516
Page 367 of 516
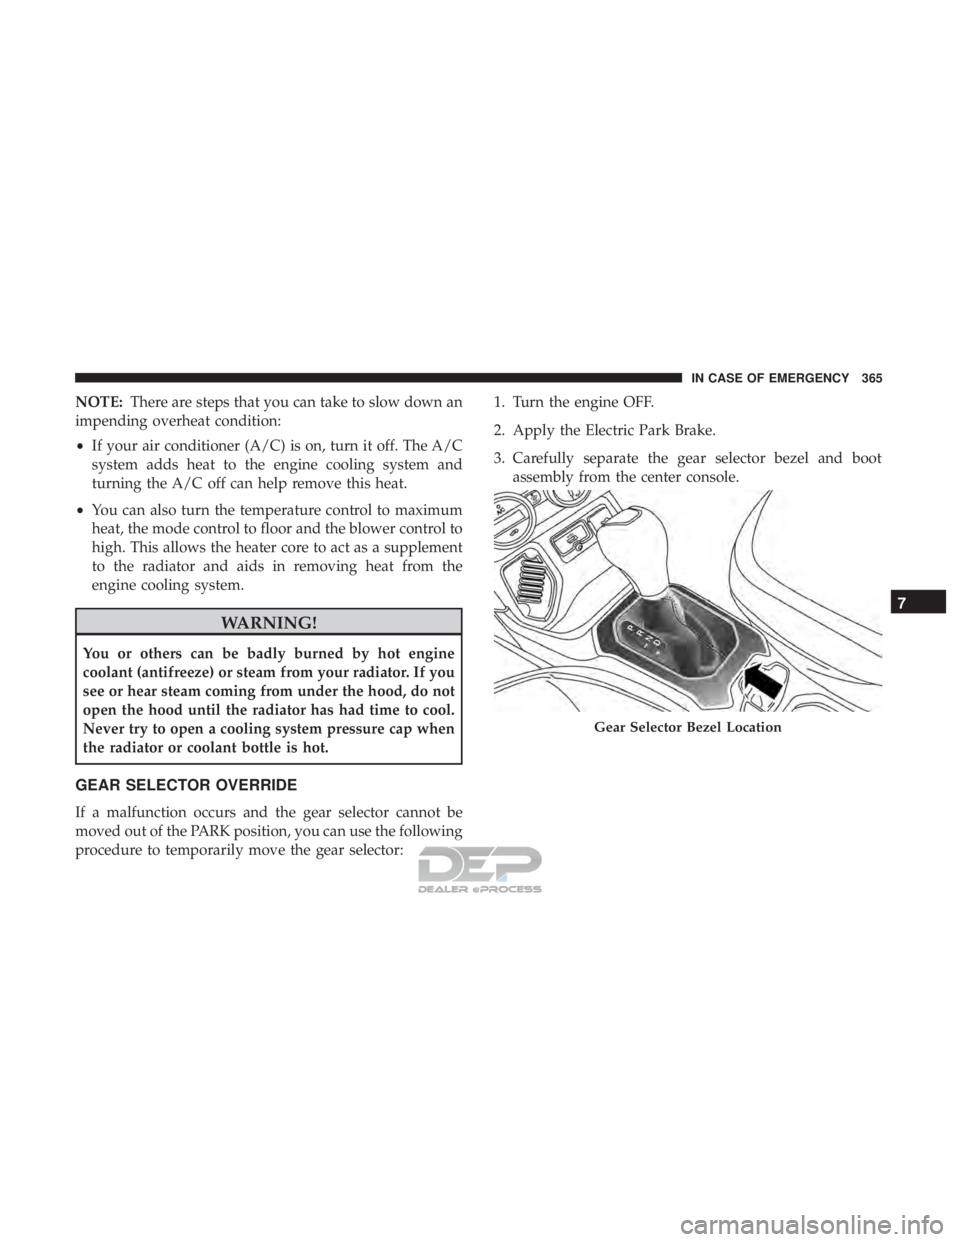
NOTE:There are steps that you can take to slow down an
impending overheat condition:
• If your air conditioner (A/C) is on, turn it off. The A/C
system adds heat to the engine cooling system and
turning the A/C off can help remove this heat.
• You can also turn the temperature control to maximum
heat, the mode control to floor and the blower control to
high. This allows the heater core to act as a supplement
to the radiator and aids in removing heat from the
engine cooling system.
Page 368 of 516
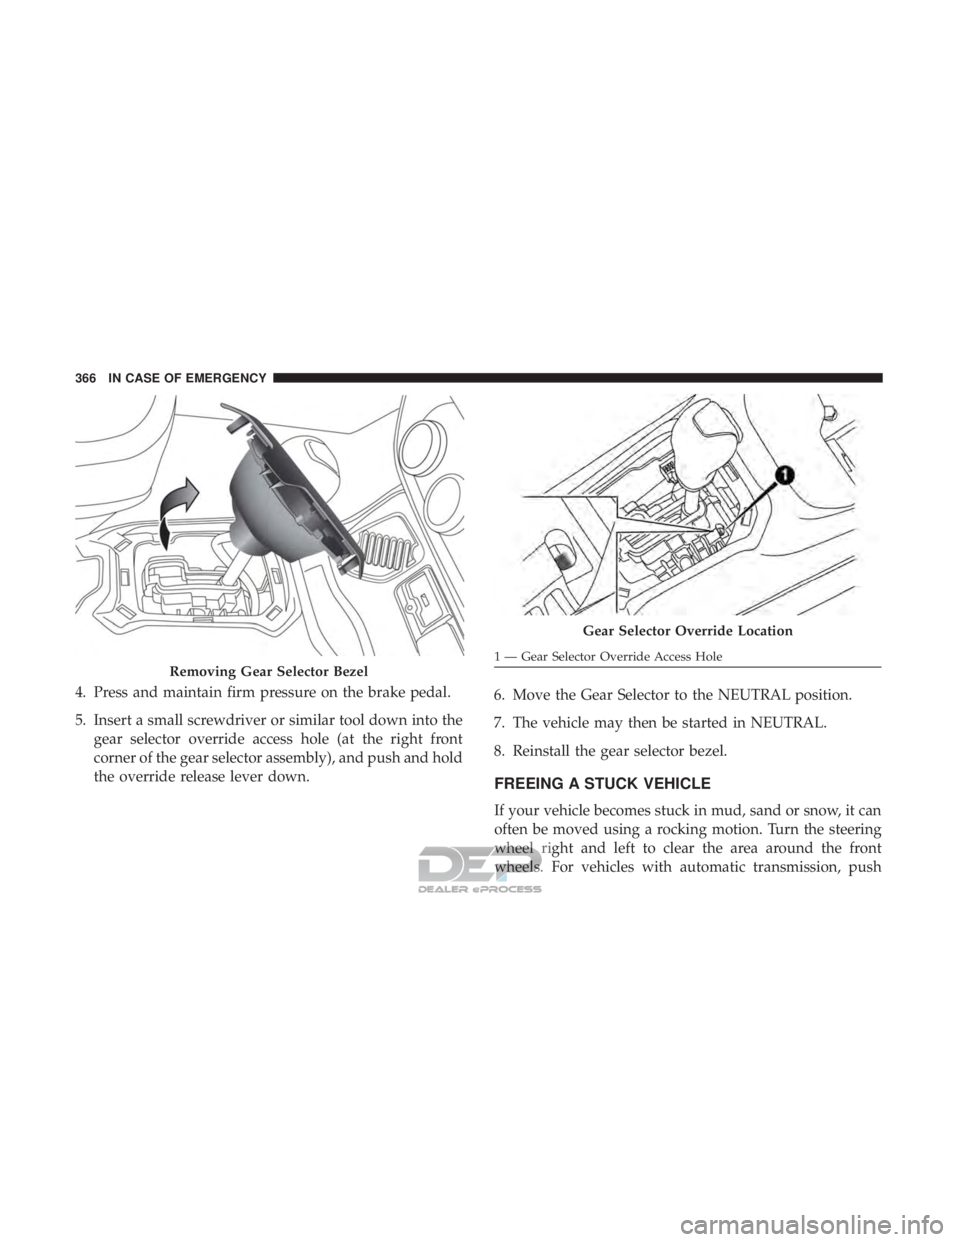
Gear Selector Override Location
Page 369 of 516
and hold the lock button on the gear selector. Then shift
back and forth between DRIVE and REVERSE (with auto-
matic transmission) or SECOND GEAR and REVERSE
(with manual transmission), while gently pressing the
accelerator.
Use the least amount of accelerator pedal pressure that will
maintain the rocking motion without spinning the wheels
or racing the engine.
For Vehicles With Automatic Transmission:
Shifts between DRIVE and REVERSE can only be achieved
at wheel speeds of 5 mph (8 km/h) or less. Whenever the
transmission remains in NEUTRAL for more than two
seconds, you must press the brake pedal to engage DRIVE
or REVERSE.
NOTE:Push the �ESC Off� switch (if necessary), to place
the Electronic Stability Control (ESC) system in �Partial Off�
mode, before rocking the vehicle. Refer to “Electronic
Brake Control” in “Safety” for further information. Once
the vehicle has been freed, push the �ESC Off�switch again
to restore �ESC On�mode.
CAUTION!
•Racing the engine or spinning the wheels may lead
to transmission overheating and failure. Allow the
engine to idle with the transmission in NEUTRAL
for at least one minute after every five rocking-
motion cycles. This will minimize overheating and
reduce the risk of clutch or transmission failure
during prolonged efforts to free a stuck vehicle.
• When “rocking” a stuck vehicle by shifting between
DRIVE/ SECOND gear and REVERSE, do not spin
the wheels faster than 15 mph (24 km/h), or drive-
train damage may result.
(Continued)
7
IN CASE OF EMERGENCY 367
Page 370 of 516
Trending: sat nav, inflation pressure, low beam, roof, manual transmission, engine oil, jump start

