belt JEEP WRANGLER 2004 TJ / 2.G Owner's Manual
[x] Cancel search | Manufacturer: JEEP, Model Year: 2004, Model line: WRANGLER, Model: JEEP WRANGLER 2004 TJ / 2.GPages: 299, PDF Size: 6.82 MB
Page 41 of 299
Safety Checks You Should Make Inside The
Vehicle
Seat Belts
Inspect the belt system periodically, checking for cuts,
frays and loose parts. Damaged parts must be replaced
immediately. Do not disassemble or modify the system.
Seat belt assemblies must be replaced after an accident if
they have been damaged (bent retractor, torn webbing,
etc.). If there is any question regarding belt or retractor
condition, replace the belt.
Airbag Warning Light
The light should come on and remain on for 6 to 8
seconds as a indicator check when the ignition switch is
first turned on. If the indicator is not lit during starting,
have it serviced. If the light stays on or comes on while
driving, have the system checked by an authorized
dealer.
Defrosters
Check operation by selecting the defrost mode and place
the blower control on high speed. You should feel the air
directed against the windshield.
Safety Checks You Should Make Outside The
Vehicle
Tires
Examine tires for excessive tread wear or uneven wear
patterns. Check for stones, nails, glass, or other objects
lodged in the tread. Inspect for tread cuts or sidewall
cracks. Check wheel nuts for tightness and tires (includ-
ing spare) for proper pressure.
Lights
Have someone observe the operation of all exterior lights
while you work the controls. Check turn signal and high
beam indicator lights on the instrument panel.
Fluid Leaks
Check area under vehicle after overnight parking for fuel,
coolant, oil, or other fluid leaks. Also, if gasoline fumes
are detected, the cause should be located and corrected
immediately.
THINGS TO KNOW BEFORE STARTING YOUR VEHICLE 41
2
Page 50 of 299
WARNING!
²Vehicles and other objects seen in the right side
convex mirror will look smaller and f arther away
than they really are. Relying too much on your
right side mirror could cause you to collide with
another vehicle or other object.
²Use your inside mirror when judging the size or
distance of a vehicle seen in the right side mirror.
SEATS
WARNING!
Adjusting a seat while the vehicle is moving is
dangerous. The sudden movement of the seat could
cause you to lose control. The seat belt might not be
properly adjusted and you could be injured. Adjust
any seat only while the vehicle is parked.
Front Seat Adjustment
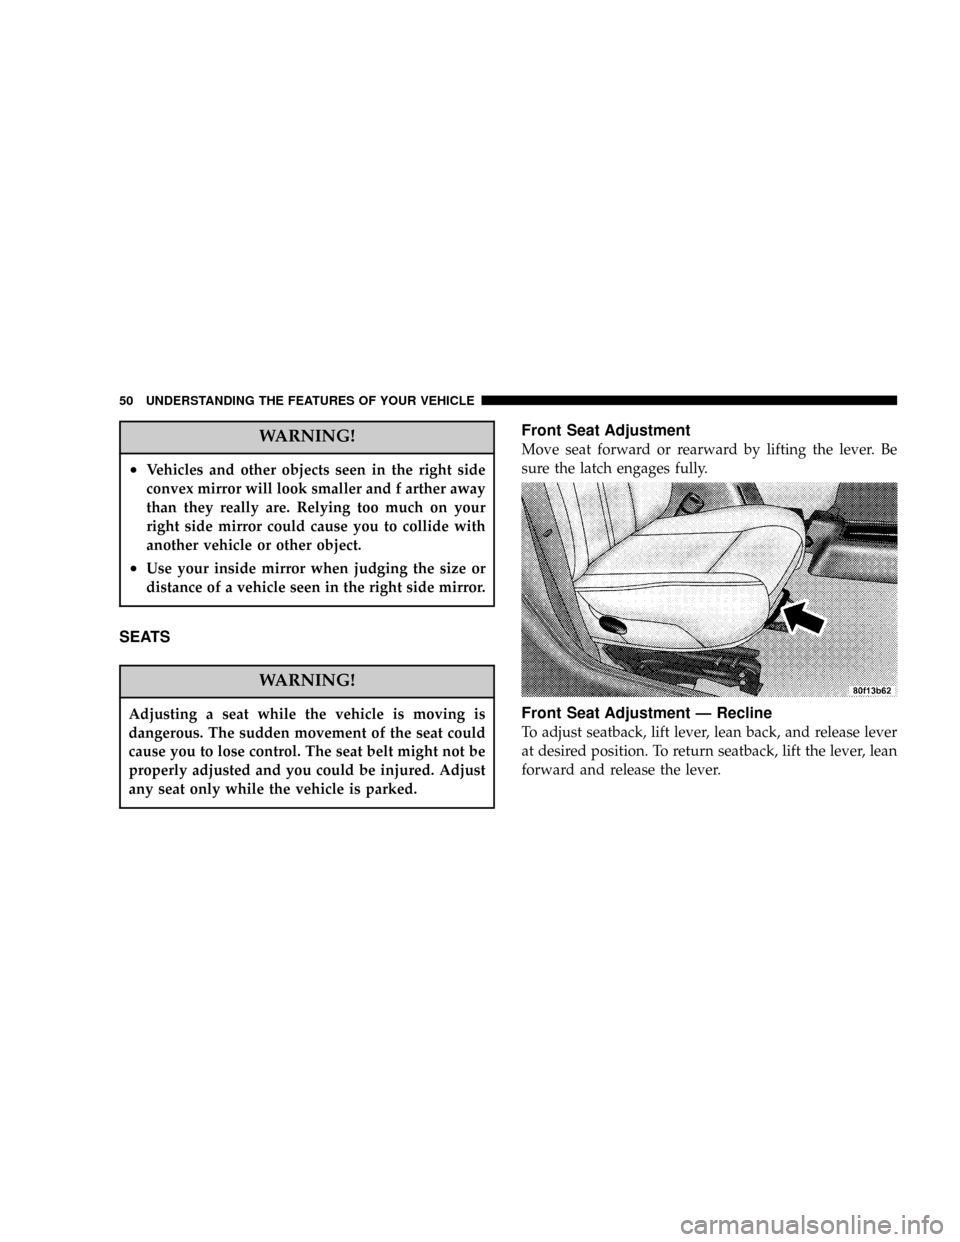
Move seat forward or rearward by lifting the lever. Be
sure the latch engages fully.
Front Seat Adjustment Ð Recline
To adjust seatback, lift lever, lean back, and release lever
at desired position. To return seatback, lift the lever, lean
forward and release the lever.
50 UNDERSTANDING THE FEATURES OF YOUR VEHICLE
Page 51 of 299
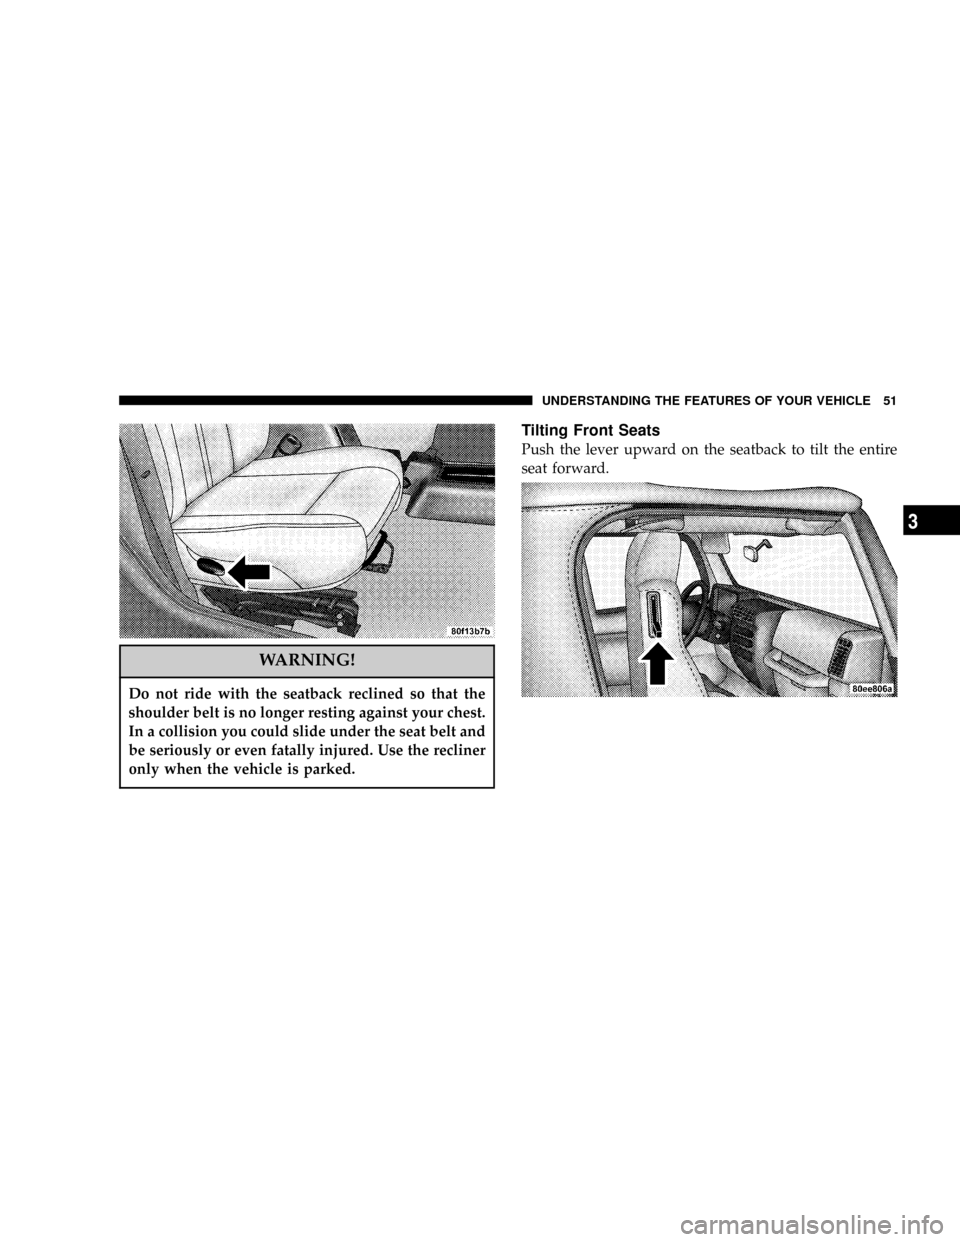
WARNING!
Do not ride with the seatback reclined so that the
shoulder belt is no longer resting against your chest.
In a collision you could slide under the seat belt and
be seriously or even fatally injured. Use the recliner
only when the vehicle is parked.
Tilting Front Seats
Push the lever upward on the seatback to tilt the entire
seat forward.
UNDERSTANDING THE FEATURES OF YOUR VEHICLE 51
3
Page 52 of 299

Fold And Tumble Rear Seat
To expand the cargo area:
1. Slide seat belts through the seat cushions into the
cargo area.
2. Lift the seatback release lever and fold seatback for-
ward.3. Slowly flip the entire seat forward.
52 UNDERSTANDING THE FEATURES OF YOUR VEHICLE
Page 53 of 299
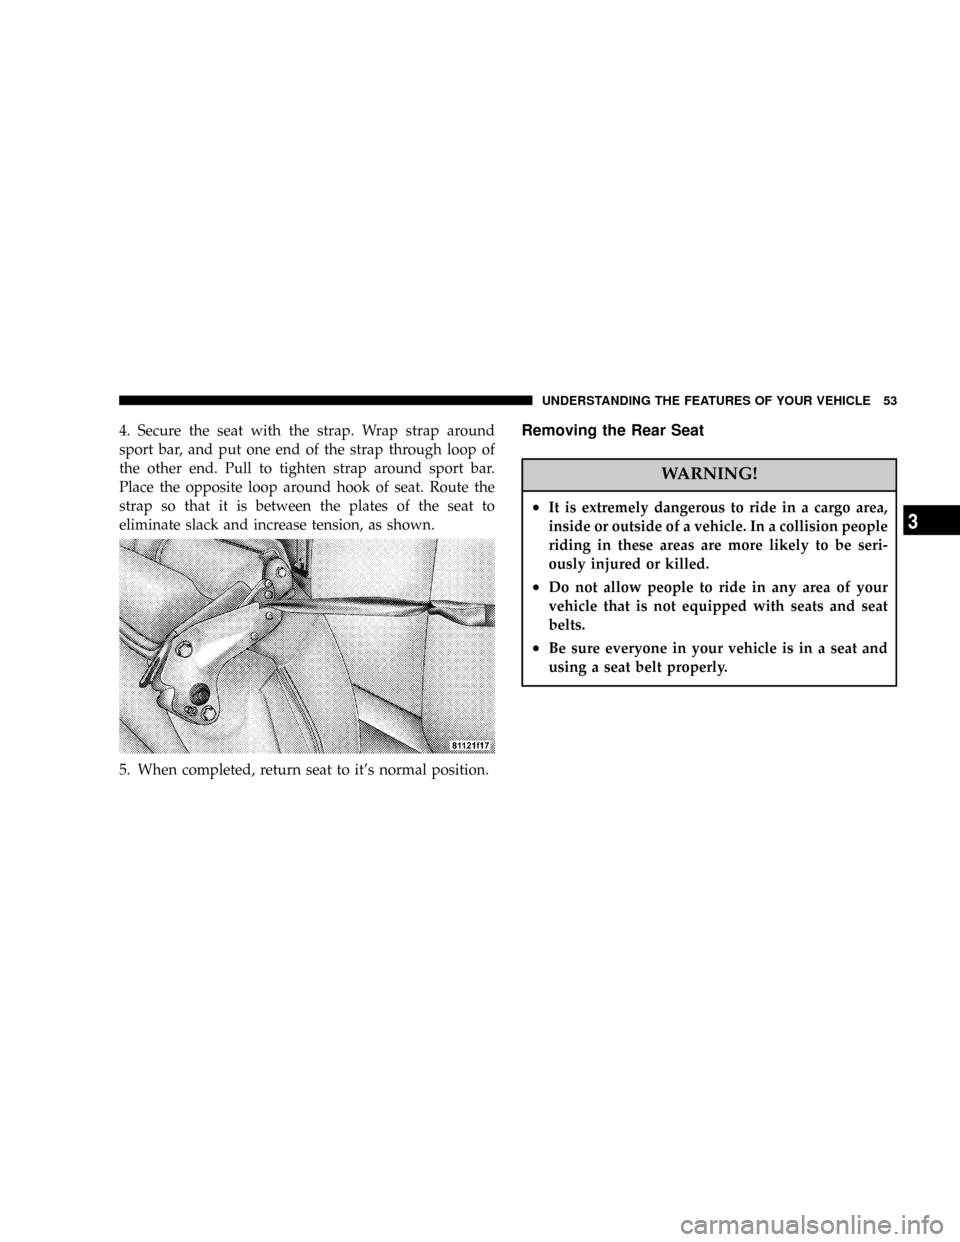
4. Secure the seat with the strap. Wrap strap around
sport bar, and put one end of the strap through loop of
the other end. Pull to tighten strap around sport bar.
Place the opposite loop around hook of seat. Route the
strap so that it is between the plates of the seat to
eliminate slack and increase tension, as shown.
5. When completed, return seat to it's normal position.Removing the Rear Seat
WARNING!
²It is extremely dangerous to ride in a cargo area,
inside or outside of a vehicle. In a collision people
riding in these areas are more likely to be seri-
ously injured or killed.
²Do not allow people to ride in any area of your
vehicle that is not equipped with seats and seat
belts.
²Be sure everyone in your vehicle is in a seat and
using a seat belt properly.
UNDERSTANDING THE FEATURES OF YOUR VEHICLE 53
3
Page 54 of 299
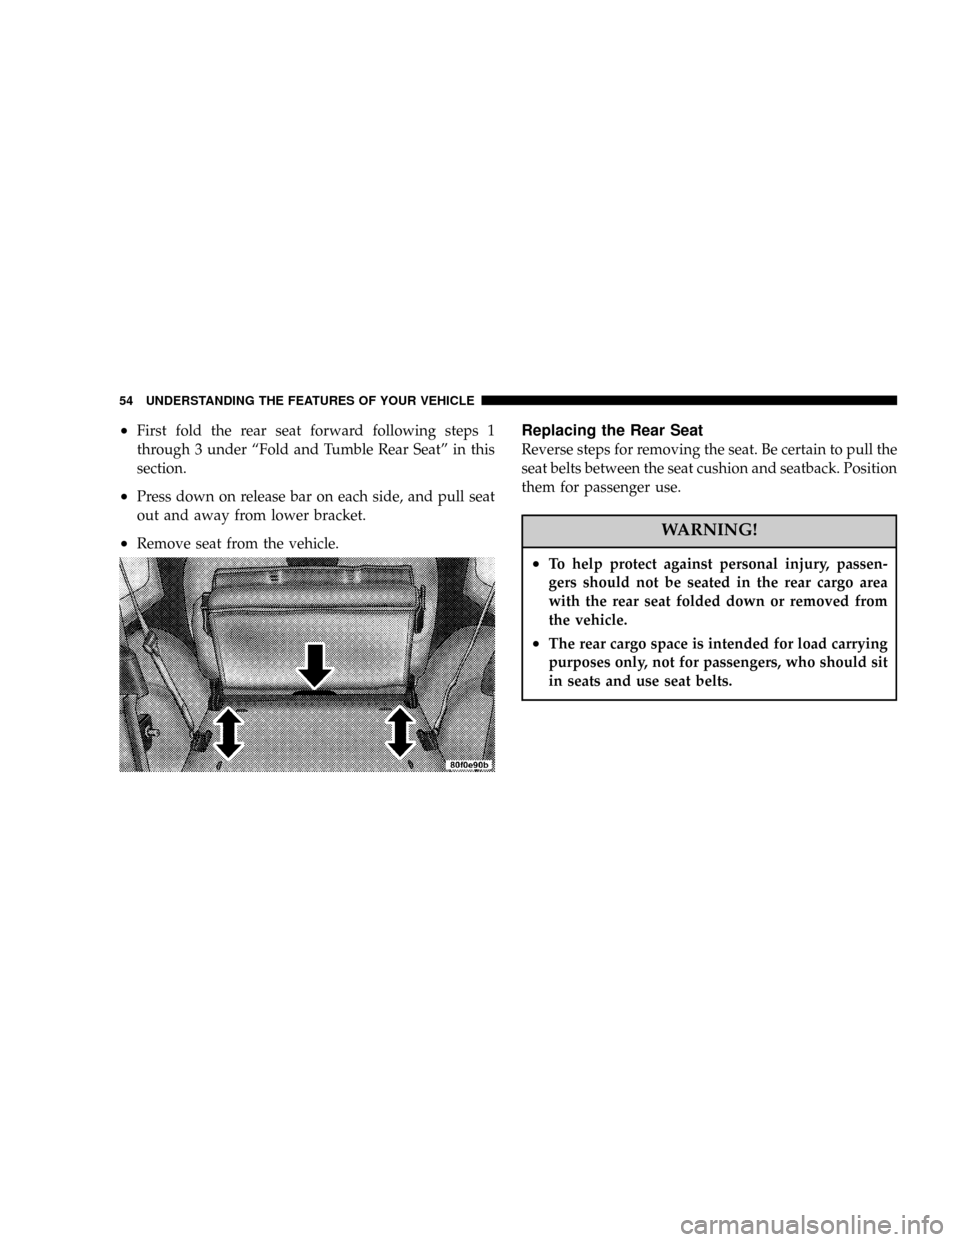
²First fold the rear seat forward following steps 1
through 3 under ªFold and Tumble Rear Seatº in this
section.
²Press down on release bar on each side, and pull seat
out and away from lower bracket.
²Remove seat from the vehicle.
Replacing the Rear Seat
Reverse steps for removing the seat. Be certain to pull the
seat belts between the seat cushion and seatback. Position
them for passenger use.
WARNING!
²To help protect against personal injury, passen-
gers should not be seated in the rear cargo area
with the rear seat folded down or removed from
the vehicle.
²The rear cargo space is intended for load carrying
purposes only, not for passengers, who should sit
in seats and use seat belts.
54 UNDERSTANDING THE FEATURES OF YOUR VEHICLE
Page 79 of 299
CAUTION!
Do not move your vehicle until the top has been
either fully attached to the windshield frame and
bodyside, or fully removed.
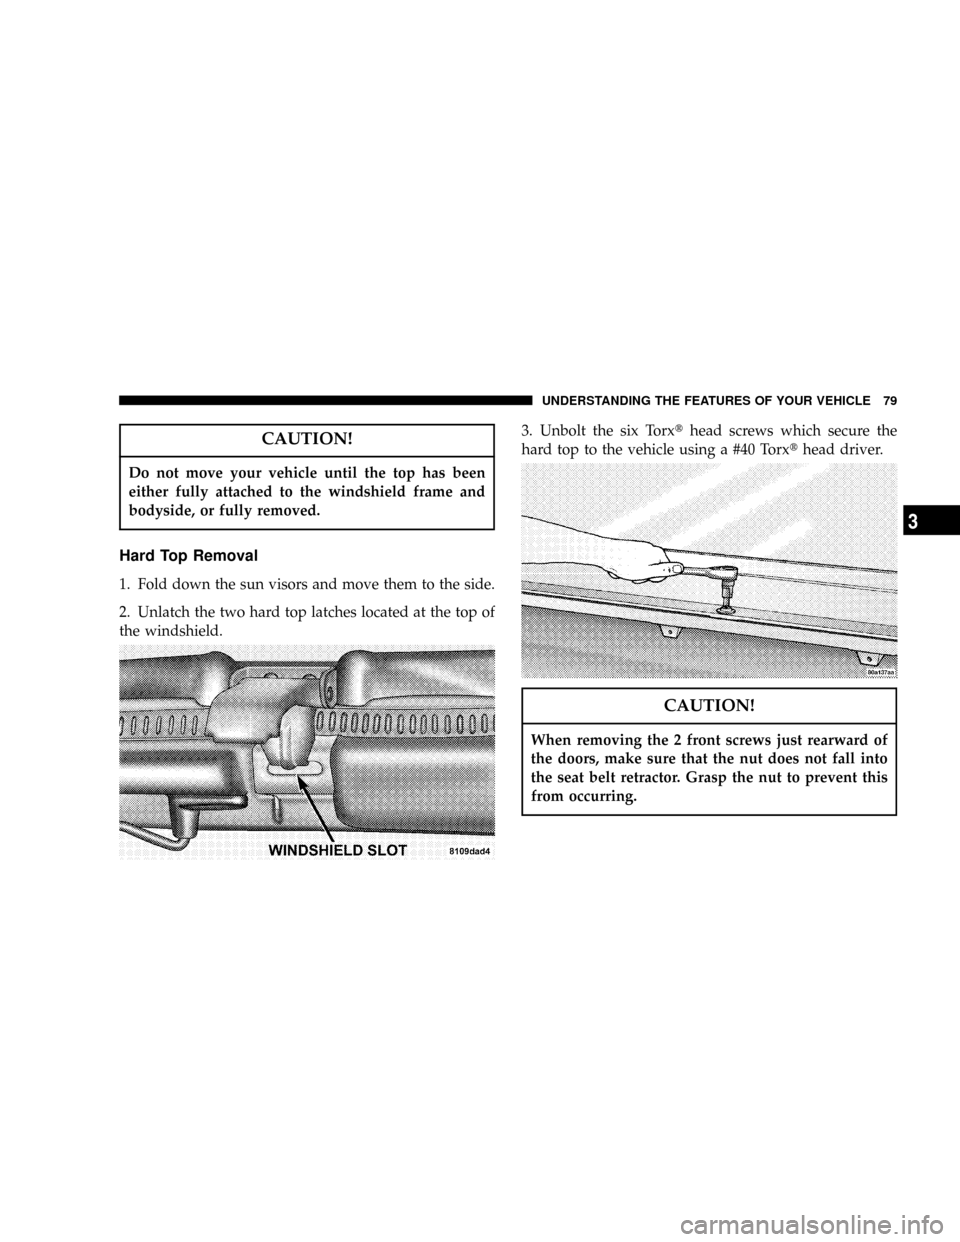
Hard Top Removal
1. Fold down the sun visors and move them to the side.
2. Unlatch the two hard top latches located at the top of
the windshield.3. Unbolt the six Torxthead screws which secure the
hard top to the vehicle using a #40 Torxthead driver.
CAUTION!
When removing the 2 front screws just rearward of
the doors, make sure that the nut does not fall into
the seat belt retractor. Grasp the nut to prevent this
from occurring.
UNDERSTANDING THE FEATURES OF YOUR VEHICLE 79
3
Page 84 of 299
WARNING!
²Do not drive vehicle with rear window curtain up
unless side curtains are also open. Dangerous
exhaust gases which can kill could enter the
vehicle.
²The fabric upper doors and fabric top are de-
signed only for protection against the elements.
Do not rely on them to contain occupants within
the vehicle or to protect against injury during an
accident. Remember, always wear seat belts.
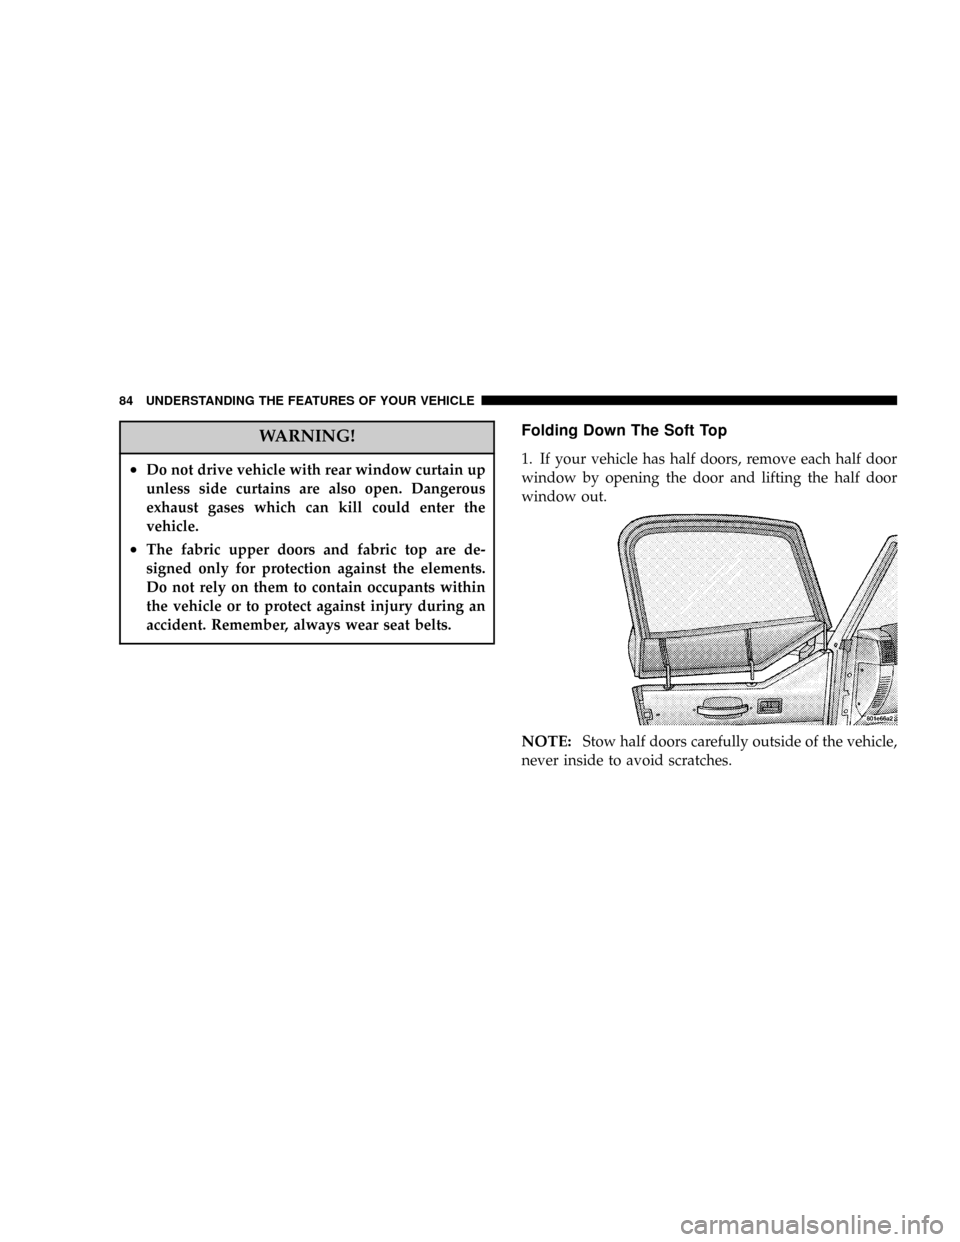
Folding Down The Soft Top
1. If your vehicle has half doors, remove each half door
window by opening the door and lifting the half door
window out.
NOTE:Stow half doors carefully outside of the vehicle,
never inside to avoid scratches.
84 UNDERSTANDING THE FEATURES OF YOUR VEHICLE
Page 103 of 299

NOTE:Before lowering windshield, disconnect the
electrical connector for the inside Compass/Temperature
mirror (if equipped).
If required for certain off-road uses, the side bars can be
removed and the windshield folded down. However, the
protection afforded by these features is then lost. If you
remove the side bars and fold down the windshield,
drive slowly and cautiously. It is recommended that the
speed of the vehicle be limited to 10 mph (16 km/h), with
low range operation preferred, if you are driving off-road
with the windshield folded down.
Raise the windshield and reinstall the side bars as soon as
the task that required their removal is completed and
before you return to on-road driving. Both you and your
passenger should wear seat belts at all times, on-road and
off-road, regardless of whether the windshield is raised
or folded down.Outside rear view mirrors are mounted on the doors. If
you choose to remove the doors, see your authorized
dealer for a replacement cowl-mounted outside mirror.
Federal law requires outside mirrors on vehicles for
on-road use.
NOTE:If the doors are removed, the courtesy lights
will remain on. To turn these lights off, remove fuse #4 in
the fuse panel. Refer to ªFuse Panelº in Section 7 of this
manual.
UNDERSTANDING THE FEATURES OF YOUR VEHICLE 103
3
Page 117 of 299

7. High Beam Indicator Light
This light shows that the headlights are on high
beam. Pull the turn signal lever towards the
steering wheel to switch the headlights from high or
low. If the driver's door is open, and the headlights or
parklights are left on, the ªHigh Beam Indicator Lightº
will flash and a chime will sound.
8. Seat Belt Indicator Light
A warning chime and an indicator light will
alert you to buckle the seat belts. When the belt
is buckled, the chime will stop, but the light will
stay on until it times out (about 6 seconds).
9. Speedometer
Indicates vehicle speed.
10. Front Axle Lock Indicator Light Ð If Equipped
Indicates when the front axle lock has been
activated.11. Rear Axle Lock Indicator Light Ð If Equipped
Indicates when the rear axle lock has been
activated.
12. 4WD Indicator Light
This light alerts the driver that the vehicle is
in the four-wheel drive mode, and the front
and rear driveshafts are mechanically locked
together forcing the front and rear wheels to
rotate at the same speed.
13. Shift Indicator Light Ð If Equipped
This light shows the driver when to shift to the
next higher gear for best fuel economy (4.0L
Only).
14. Oil Pressure Gauge
Indicates engine oil pressure. This gauge does
not indicate oil level, and pressure varies with
engine speed, temperature and oil viscosity. Consis-
tent lower readings indicate possible malfunction.
Seek authorized service.
UNDERSTANDING YOUR INSTRUMENT PANEL 117
4