stop start JEEP WRANGLER 2004 TJ / 2.G Owner's Manual
[x] Cancel search | Manufacturer: JEEP, Model Year: 2004, Model line: WRANGLER, Model: JEEP WRANGLER 2004 TJ / 2.GPages: 299, PDF Size: 6.82 MB
Page 182 of 299

Don't shift to a lower gear than necessary to maintain
headway. Over-revving the engine can spin the wheels
and traction will be lost.
Do not downshift on icy or slippery roads because engine
braking may cause skidding and loss of control.
When driving on soft sand, reduce your tire pressure to
15 psi (103 kPa) minimum to allow greater tire surface
area. You must return the tires to normal air pressure
before driving on pavement or other hard surfaces.
NOTE:Reduced tire pressures below 15 psi (103 kPa)
may cause tire unseating and loss of air pressure.
Hill Climbing
Before climbing a steep hill,change transmission to a
lower gear and shift the transfer case to 4L (Low). Use
first gear and 4L (Low) for very steep hills.
If you stall or begin to lose headwaywhile climbing a
steep hill, allow your vehicle to come to a stop and
immediately apply the brake. Restart the engine and shift
to R (Reverse). Back up slowly down the hill allowing the
compression braking of the engine and transmission tohelp regulate your speed. If the brakes are required to
control vehicle speed, apply them lightly and avoid
locking or skidding the tires.
WARNING!
If the engine stalls or you lose headway or cannot
make it to the top of a steep hill or grade, never
attempt to turn around. To do so may result in
tipping and rolling the vehicle. Always back care-
fully straight down a hill in R (Reverse) gear. Never
back down a hill in N (Neutral) or with the clutch
pedal depressed, using only the brake.
Remember, never drive diagonally across a hill, always
drive straight up or down.
If the wheels start to slip as you approach the crest of a
hill, ease off the accelerator and maintain headway by
turning the front wheels sharply left and right. This will
provide fresh ªbiteº into the surface and will usually
provide traction to complete the climb.
182 STARTING AND OPERATING
Page 191 of 299

WARNING!
Overloading of your tire is dangerous. Overloading
can cause tire failure, affect vehicle handling, and
increase your stopping distance. Use tires of the
recommended load capacity for your vehicle-never
overload them.
TIRES Ð GENERAL INFORMATION
Tire Pressure
Proper tire inflation pressure is essential to the safe and
satisfactory operation of your vehicle. Three primary
areas are affected by improper tire pressure:
1. SafetyÐ
WARNING!
Improperly inflated tires are dangerous and can
cause accidents.
²Under inflation increases tire flexing and can
result in tire failure.
²Over inflation reduces a tire's ability to cushion
shock. Objects on the road and chuck holes can cause
damage that results in tire failure.
²Unequal tire pressures can cause steering prob-
lems. You could lose control of your vehicle.
²Over inflated or under inflated tires can affect
vehicle handling and can fail suddenly, resulting in
loss of vehicle control.
Always drive with each tire inflated to the recom-
mended pressure.
STARTING AND OPERATING 191
5
Page 203 of 299

²The weight of any other type of cargo or equipment
put in or on your vehicle.
Remember that everything put in or on the trailer adds to
the load on your vehicle.
Warranty Requirements
The manufacturer's warranty will apply to vehicles used
to tow trailers for noncommercial use, however the
following conditions must be met:
²The ªDº Overdrive range can be selected when tow-
ing. However, if frequent shifting occurs move the
shift lever to the next lower position to eliminate
excessive automatic transmission shifting. This action
will also reduce the possibility of transmission over-
heating and provide better engine braking. Refer to
ªTransmission Shiftingº in this section for additional
information.
²A load equalizing hitch is recommended for loaded
trailer weights above 1,000 lbs (454 kg).
CAUTION!
If the trailer weighs more than 1,000 lbs (454 kg)
loaded, it should have its own brakes and they
should be of adequate capacity. Failure to do this
could lead to accelerated brake lining wear, higher
brake pedal effort, and longer stopping distances.
WARNING!
Connecting trailer brakes to your vehicle's hydraulic
brake lines can overload your brake system and
cause it to fail. You might not have brakes when you
need them and could have an accident.
²Whenever you pull a trailer, regardless of the trailer
size, stop lights and turn signals on the trailer are
mandatory for motoring safety.
²Follow the maintenance intervals in schedule ªBº for
changing the automatic transmission fluid and filter, if
you REGULARLY tow a trailer for more than 45
minutes of continuous operation.
STARTING AND OPERATING 203
5
Page 228 of 299

WARNING!
You can be badly injured working on or around a
motor vehicle. Do only that service work for which
you have the knowledge and the proper equipment.
If you have any doubt about your ability to perform
a service job, take your vehicle to a competent
mechanic.
MAINTENANCE PROCEDURES
The pages that follow contain therequiredmaintenance
services determined by the engineers who designed your
vehicle.
Besides the maintenance items for which there are fixed
maintenance intervals, there are other items that should
operate satisfactorily without periodic maintenance.
However, if a malfunction of these items does occur, it
could adversely affect the engine or vehicle performance.
These items should be inspected if a malfunction is
observed or suspected.
Engine Oil
Checking Oil Level
To assure proper lubrication of your vehicle's engine, the
engine oil must be maintained at the correct level. Check
the oil level at regular intervals, such as every fuel stop.
The best time to check the engine oil level is about 5
minutes after a fully warmed engine is shut off, or before
starting the engine after it has sat overnight.
Checking the oil while the vehicle is on level ground will
improve the accuracy of the oil level readings. Maintain
the oil level between the ADD and SAFE markings on the
dipstick. Adding 1 U.S. Quart (0.95L) of oil when the
reading is at the ADD mark will result in a SAFE reading
on these engines.
228 MAINTAINING YOUR VEHICLE
Page 233 of 299

WARNING!
A hot exhaust system can start a fire if you park over
materials that can burn. Such materials might be
grass or leaves coming into contact with your ex-
haust system. Do not park or operate your vehicle in
areas where your exhaust system can contact any-
thing that can burn.
In unusual situations involving grossly malfunctioning
engine operation, a scorching odor may suggest severe
and abnormal catalyst overheating. If this occurs, stop
the vehicle, turn off the engine and allow it to cool.
Service, including a tune up to manufacturer's specifica-
tions, should be obtained immediately.
To minimize the possibility of catalytic converter dam-
age:
²Do not shut off the engine or interrupt the ignition
when the transmission is in gear and the vehicle is in
motion.
²Do not try to start the engine by pushing or towing the
vehicle.
²Do not idle the engine with any spark plug wires
disconnected or removed, such as when diagnostic
testing.
²Do not idle the engine for prolonged periods during
very rough idle or malfunctioning operating condi-
tions.
²Do not allow vehicle to run out of fuel.
NOTE:Intentional tampering with emissions control
systems can result in civil penalties being assessed
against you.
Engine Timing Belt Ð 2.4L Engine
Replace the engine timing belt at the intervals described
in the appropriate maintenance schedule.
Ignition Wiring System Ð 2.4L Engine
Replace the ignition cables at the intervals described in
the appropriate maintenance schedule.
MAINTAINING YOUR VEHICLE 233
7
Page 255 of 299

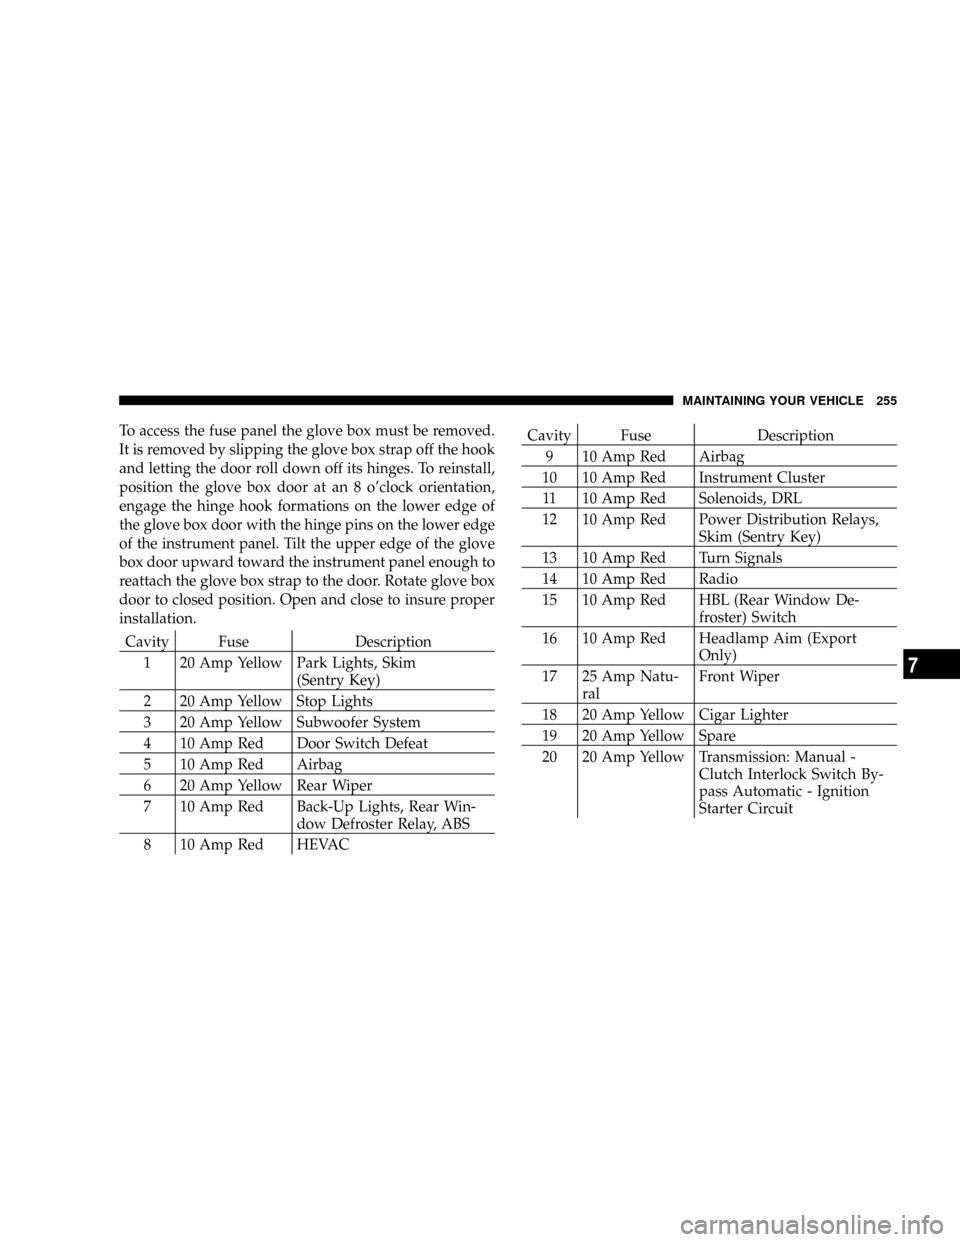
To access the fuse panel the glove box must be removed.
It is removed by slipping the glove box strap off the hook
and letting the door roll down off its hinges. To reinstall,
position the glove box door at an 8 o'clock orientation,
engage the hinge hook formations on the lower edge of
the glove box door with the hinge pins on the lower edge
of the instrument panel. Tilt the upper edge of the glove
box door upward toward the instrument panel enough to
reattach the glove box strap to the door. Rotate glove box
door to closed position. Open and close to insure proper
installation.
Cavity Fuse Description
1 20 Amp Yellow Park Lights, Skim
(Sentry Key)
2 20 Amp Yellow Stop Lights
3 20 Amp Yellow Subwoofer System
4 10 Amp Red Door Switch Defeat
5 10 Amp Red Airbag
6 20 Amp Yellow Rear Wiper
7 10 Amp Red Back-Up Lights, Rear Win-
dow Defroster Relay, ABS
8 10 Amp Red HEVAC
Cavity Fuse Description
9 10 Amp Red Airbag
10 10 Amp Red Instrument Cluster
11 10 Amp Red Solenoids, DRL
12 10 Amp Red Power Distribution Relays,
Skim (Sentry Key)
13 10 Amp Red Turn Signals
14 10 Amp Red Radio
15 10 Amp Red HBL (Rear Window De-
froster) Switch
16 10 Amp Red Headlamp Aim (Export
Only)
17 25 Amp Natu-
ralFront Wiper
18 20 Amp Yellow Cigar Lighter
19 20 Amp Yellow Spare
20 20 Amp Yellow Transmission: Manual -
Clutch Interlock Switch By-
pass Automatic - Ignition
Starter Circuit
MAINTAINING YOUR VEHICLE 255
7