brake light JEEP WRANGLER 2013 JK / 3.G Owner's Manual
[x] Cancel search | Manufacturer: JEEP, Model Year: 2013, Model line: WRANGLER, Model: JEEP WRANGLER 2013 JK / 3.GPages: 666, PDF Size: 5.16 MB
Page 475 of 666
Malfunction Indicator Light” begins to flash during ac-
celeration, ease up on the accelerator and apply as little
throttle as possible. Be sure to adapt your speed and
driving to the prevailing road conditions.
NOTE:
•Each time the ignition is cycled ON, the ESC system
will be ON even if it was cycled off previously.
• The ESC system will make buzzing or clicking sounds
when it is active. This is normal; the sounds will stop
when ESC becomes inactive following the maneuver
that caused the ESC activation.
The “ESC OFF Indicator Light” indicates the
Electronic Stability Control (ESC) is partially off
Trailer Sway Control (TSC)
TSC uses sensors in the vehicle to recognize an exces-
sively swaying trailer and will take the appropriate
actions to attempt to stop the sway. The system may
reduce engine power and apply the brake of the appro-
priate wheel(s) to counteract the sway of the trailer. TSC
will become active automatically once an excessively
swaying trailer is recognized. No driver action is re-
quired. Note that TSC cannot stop all trailers from
swaying. Always use caution when towing a trailer and
follow the tongue weight recommendations. Refer to
“Trailer Towing” in “Starting and Operating” for further
information. When TSC is functioning, the “ESC
Activation/Malfunction Indicator Light” will flash, the
engine power may be reduced and you may feel the
brakes being applied to individual wheels to attempt to
stop the trailer from swaying. TSC is disabled when the
ESP system is in the “Partial Off” or “Full Off” modes.
5
STARTING AND OPERATING 473
Page 476 of 666
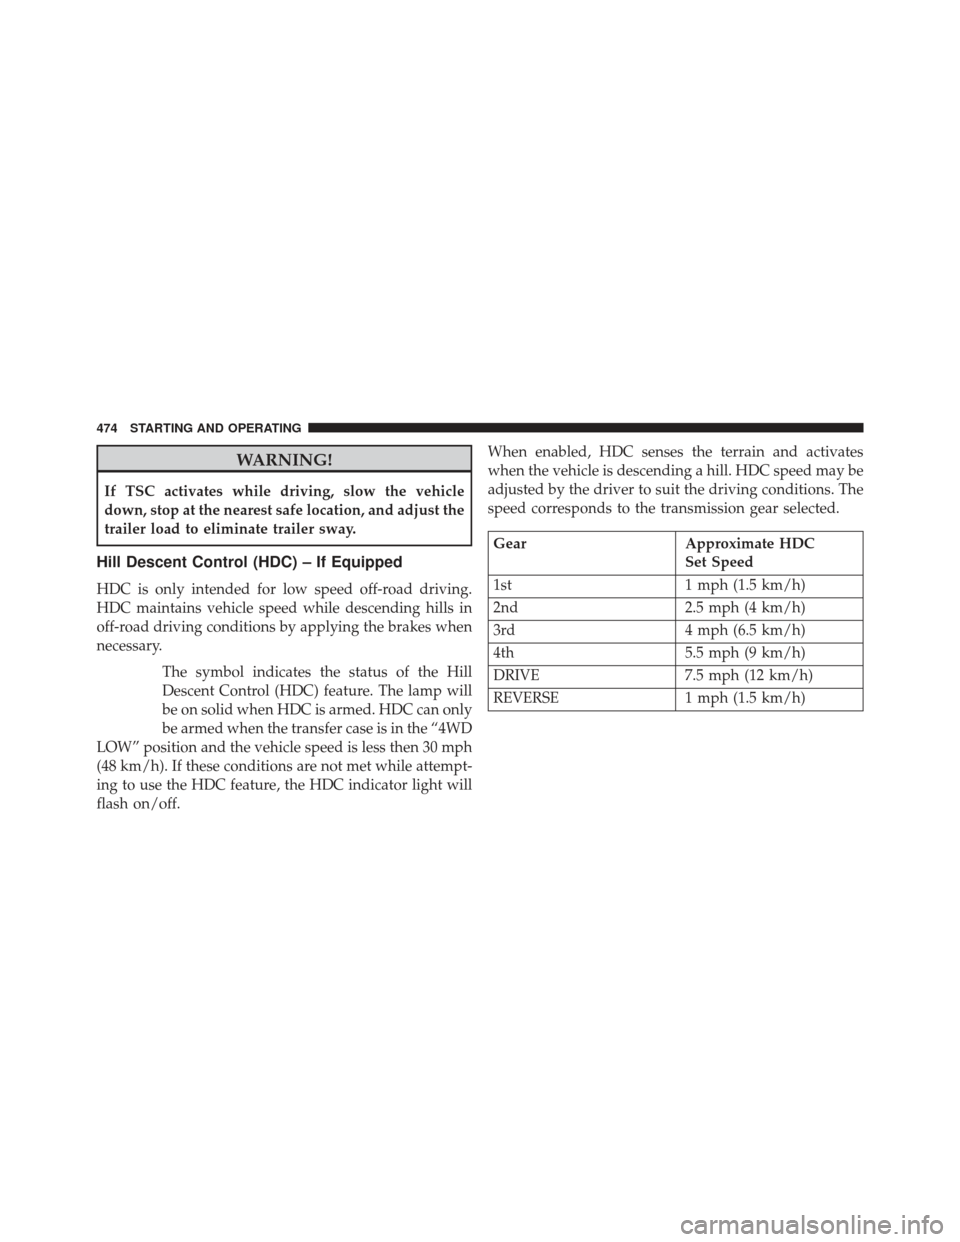
WARNING!
If TSC activates while driving, slow the vehicle
down, stop at the nearest safe location, and adjust the
trailer load to eliminate trailer sway.
Hill Descent Control (HDC) – If Equipped
HDC is only intended for low speed off-road driving.
HDC maintains vehicle speed while descending hills in
off-road driving conditions by applying the brakes when
necessary.The symbol indicates the status of the Hill
Descent Control (HDC) feature. The lamp will
be on solid when HDC is armed. HDC can only
be armed when the transfer case is in the “4WD
LOW” position and the vehicle speed is less then 30 mph
(48 km/h). If these conditions are not met while attempt-
ing to use the HDC feature, the HDC indicator light will
flash on/off. When enabled, HDC senses the terrain and activates
when the vehicle is descending a hill. HDC speed may be
adjusted by the driver to suit the driving conditions. The
speed corresponds to the transmission gear selected.
Gear
Approximate HDC
Set Speed
1st 1 mph (1.5 km/h)
2nd 2.5 mph (4 km/h)
3rd 4 mph (6.5 km/h)
4th 5.5 mph (9 km/h)
DRIVE 7.5 mph (12 km/h)
REVERSE 1 mph (1.5 km/h)
474 STARTING AND OPERATING
Page 477 of 666
However, the driver can override HDC operation by
applying the brake to slow the vehicle down below the
HDC control speed. If more speed is desired during HDC
control, the accelerator pedal will increase vehicle speed
in the usual manner. When either the brake or the
accelerator is released, HDC will control the vehicle at the
original set speed.
Enabling HDC
1. Shift the transfer case into 4WD LOW range. Refer to“Four-Wheel Drive Operation” in “Starting and Oper-
ating” for further information.
2. Press the “Hill Descent” button. The “Hill Descent Control Indicator Light” in the instrument cluster will
turn on solid. NOTE:
If the transfer case is not in 4WD LOW range, the
“Hill Descent Control Indicator Light” will flash for
five seconds and HDC will not be enabled.
Disabling HDC
Press the “Hill Descent” button or shift the transfer case
out of 4WD LOW range. The “Hill Descent Control
Indicator” light in the instrument cluster will turn off.
5
STARTING AND OPERATING 475
Page 527 of 666
WARNING!
•An improperly adjusted Weight Distributing Hitch
system may reduce handling, stability, braking
performance, and could result in a collision.
•
Weight Distributing Systems may not be compatible
with Surge Brake Couplers. Consult with your hitch
and trailer manufacturer or a reputable Recreational
Vehicle dealer for additional information.
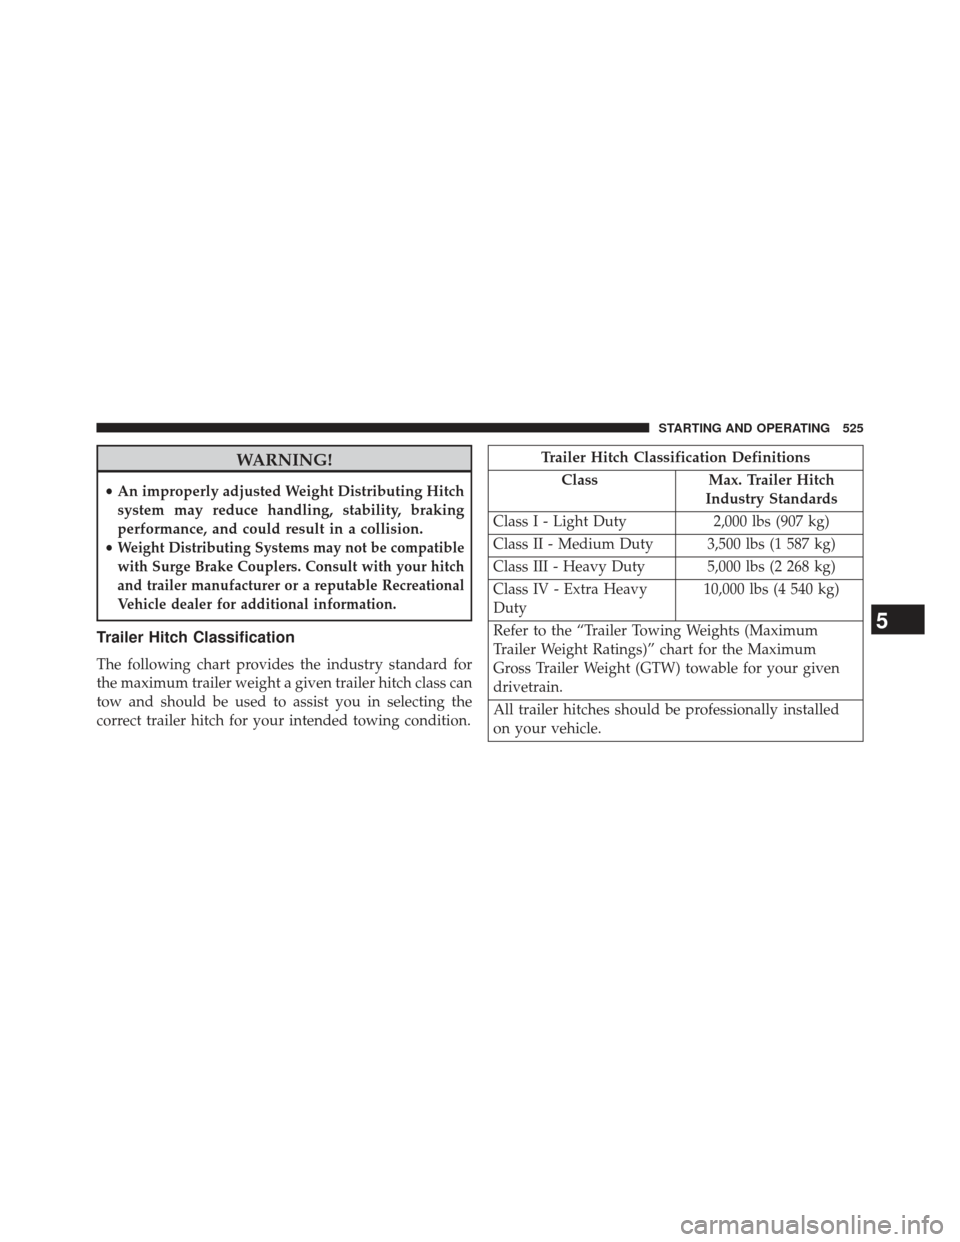
Trailer Hitch Classification
The following chart provides the industry standard for
the maximum trailer weight a given trailer hitch class can
tow and should be used to assist you in selecting the
correct trailer hitch for your intended towing condition.
Trailer Hitch Classification Definitions
Class Max. Trailer Hitch
Industry Standards
Class I - Light Duty 2,000 lbs (907 kg)
Class II - Medium Duty 3,500 lbs (1 587 kg)
Class III - Heavy Duty 5,000 lbs (2 268 kg)
Class IV - Extra Heavy
Duty 10,000 lbs (4 540 kg)
Refer to the “Trailer Towing Weights (Maximum
Trailer Weight Ratings)” chart for the Maximum
Gross Trailer Weight (GTW) towable for your given
drivetrain.
All trailer hitches should be professionally installed
on your vehicle.
5
STARTING AND OPERATING 525
Page 539 of 666
CAUTION!
If the trailer weighs more than 1,000 lbs (454 kg)
loaded, it should have its own brakes and they
should be of adequate capacity. Failure to do this
could lead to accelerated brake lining wear, higher
brake pedal effort, and longer stopping distances.
WARNING!
•Do not connect trailer brakes to your vehicle’s
hydraulic brake lines. It can overload your brake
system and cause it to fail. You might not have
brakes when you need them and could have a
collision.
(Continued)
WARNING! (Continued)
•Towing any trailer will increase your stopping
distance. When towing you should allow for addi-
tional space between your vehicle and the vehicle
in front of you. Failure to do so could result in a
collision.
Towing Requirements – Trailer Lights And Wiring
Whenever you pull a trailer, regardless of the trailer size,
stop lights and turn signals on the trailer are required for
motoring safety.
The Trailer Tow Package will include a four–pin wiring
harness. Use a factory-approved trailer harness and
connector.
NOTE: Do not cut or splice wiring into the vehicles
wiring harness.5
STARTING AND OPERATING 537
Page 599 of 666
CAUTION!
If the fluid temperature is below 50° F (10° C), it may
not register on the dipstick. Do not add fluid until
the temperature is elevated enough to produce an
accurate reading. Run the engine at idle, in PARK, to
warm the fluid.
7. Check for leaks. Release the parking brake.
NOTE: To prevent dirt and water from entering the
transmission after checking or replenishing fluid, make
sure that the dipstick cap is properly reseated. It is
normal for the dipstick cap to spring back slightly from
its fully seated position, as long as its seal remains
engaged in the dipstick tube.
Fluid And Filter Changes
Refer to the “Maintenance Schedule” for the proper
maintenance intervals. In addition, change the fluid and filter if the transmission
is disassembled for any reason.
Clutch Hydraulic System (Manual Transmission) –
If Equipped
The clutch hydraulic system is fed by a segregated
volume of fluid within the brake system master cylinder
reservoir. In the event of leakage or wear, use only the
manufacturer’s recommended brake fluid. Refer to “Flu-
ids, Lubricants, and Genuine Parts” in “Maintaining Your
Vehicle” for further information.
Manual Transmission – If Equipped
Selection Of Lubricant
Use only manufacturer’s recommended manual transmis-
sion fluid. Refer to “Fluids, Lubricants, and Genuine Parts”
in “Maintaining Your Vehicle” for further information.
7
MAINTAINING YOUR VEHICLE 597
Page 625 of 666
NOTE:Under no circumstances should oil change inter-
vals exceed 10,000 miles (16,000 km) or twelve months,
whichever comes first.
Once A Month Or Before A Long Trip:
• Check engine oil level
• Check windshield washer fluid level
• Check the tire inflation pressures and look for unusual
wear or damage
• Check the fluid levels of the coolant reservoir, brake
master cylinder, power steering and transmission as
needed
• Check function of all interior and exterior lights
Required Maintenance Intervals.
Refer to the maintenance schedules on the following
page for the required maintenance intervals.At Every Oil Change Interval As Indicated By Oil Change Indicator System:
•Change oil and filter
• Rotate the tires. Rotate at the first sign of irregu-
lar wear, even if it occurs before the oil indicator
system turns on.
• Inspect battery and clean and tighten terminals as
required
• Inspect automatic transmission fluid if equipped
with dipstick
• Inspect brake pads, shoes, rotors, drums, hoses
and park brake
•
Inspect engine cooling system protection and hoses
• Inspect exhaust system
• Inspect engine air cleaner if using in dusty or
off-road conditions
• Inspect all door latches for presence of grease,
reapply if necessary.
8
M
A I
N T
E
N
A
N
C E
S
C
H E
D
U L
E
SMAINTENANCE SCHEDULES 623
Page 646 of 666
ABS (Anti-Lock Brake System)................307
Adding Engine Coolant (Antifreeze) ............588
Adding Fuel ............................ .517
Additives, Fuel .......................... .515
Airbag ..................................62
Airbag Deployment ........................71
Airbag Light .............................73
Airbag Maintenance ........................72
Airbag, Side ..............................70
Air Cleaner, Engine (Engine Air Cleaner Filter) . . . .577
Air Conditioner Maintenance .................579
Air Conditioning ......................... .395
Air Conditioning Controls ...................395
Air Conditioning Filter .....................407
Air Conditioning, Operating Tips ..............408
Air Conditioning Refrigerant .................579
Air Conditioning System ....................395
Air Pressure, Tires ........................ .489
Alarm Light ............................ .309Alarm (Security Alarm)
......................21
Alterations/Modifications, Vehicle ...............9
Antenna, Satellite Radio .....................357
Antifreeze (Engine Coolant) ..................588
Disposal ............................. .590
Anti-Lock Brake System (ABS) ................459
Anti-Lock Warning Light ....................307
Appearance Care ........................ .600
Arming Theft System (Security Alarm) ...........22
Assistance Towing ........................ .130
Auto Down Power Windows ..................44
Automatic Dimming Mirror ..................113
Automatic Door Locks ......................41
Automatic Headlights ..................... .170
Automatic Oil Change Indicator ...............329
Automatic Temperature Control (ATC) ..........399
Automatic Transaxle Interlock System .........................17
644 INDEX
Page 647 of 666
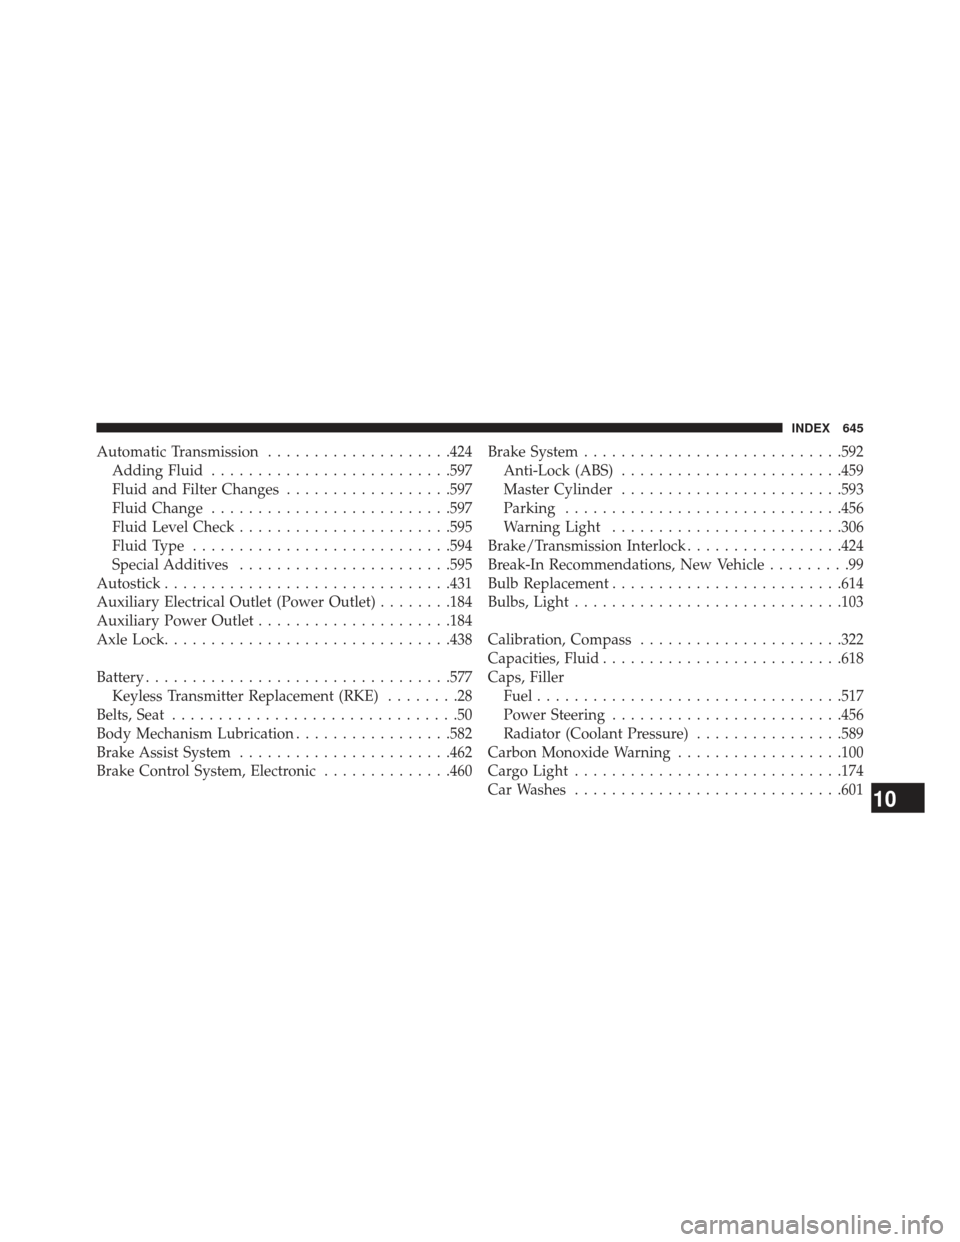
Automatic Transmission....................424
Adding Fluid ......................... .597
Fluid and Filter Changes ..................597
Fluid Change ......................... .597
Fluid Level Check ...................... .595
Fluid Type ........................... .594
Special Additives ...................... .595
Autostick .............................. .431
Auxiliary Electrical Outlet (Power Outlet) ........184
Auxiliary Power Outlet .....................184
Axle Lock .............................. .438
Battery ................................ .577
Keyless Transmitter Replacement (RKE) ........28
Belts, Seat ...............................50
Body Mechanism Lubrication .................582
Brake Assist System ...................... .462
Brake Control System, Electronic ..............460Brake System
........................... .592
Anti-Lock (ABS) ....................... .459
Master Cylinder ....................... .593
Parking ............................. .456
Warning Light ........................ .306
Brake/Transmission Interlock .................424
Break-In Recommendations, New Vehicle .........99
Bulb Replacement ........................ .614
Bulbs, Light ............................ .103
Calibration, Compass ..................... .322
Capacities, Fluid ......................... .618
Caps, Filler Fuel ................................ .517
Power Steering ........................ .456
Radiator (Coolant Pressure) ................589
Carbon Monoxide Warning ..................100
Cargo Light ............................ .174
Car Washes ............................ .601
10
INDEX 645
Page 649 of 666
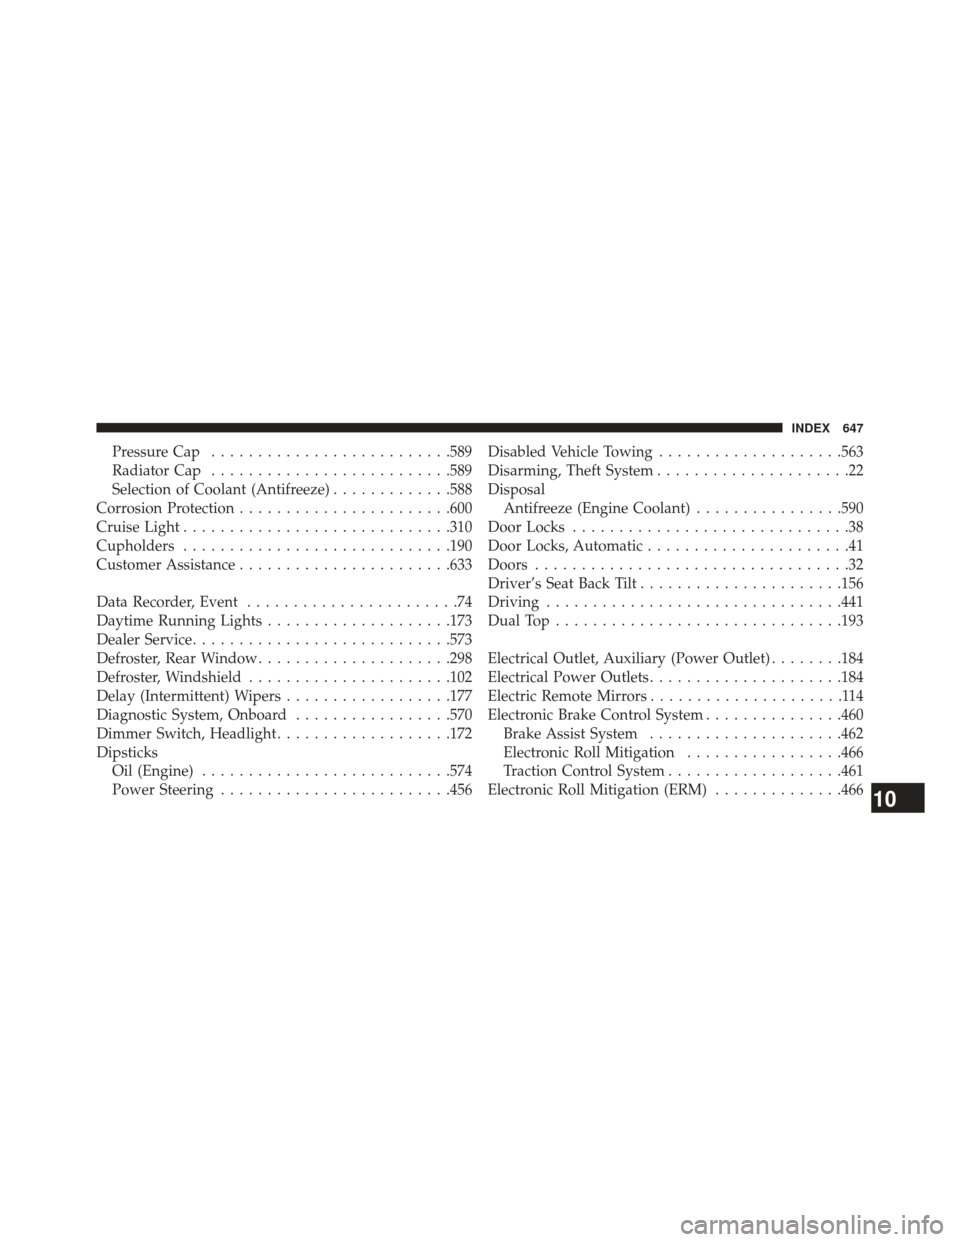
Pressure Cap......................... .589
Radiator Cap ......................... .589
Selection of Coolant (Antifreeze) .............588
Corrosion Protection ...................... .600
Cruise Light ............................ .310
Cupholders ............................ .190
Customer Assistance ...................... .633
Data Recorder, Event .......................74
Daytime Running Lights ....................173
Dealer Service ........................... .573
Defroster, Rear Window .....................298
Defroster, Windshield ..................... .102
Delay (Intermittent) Wipers ..................177
Diagnostic System, Onboard .................570
Dimmer Switch, Headlight ...................172
Dipsticks Oil (Engine) .......................... .574
Power Steering ........................ .456Disabled Vehicle Towing
....................563
Disarming, Theft System .....................22
Disposal Antifreeze (Engine Coolant) ................590
Door Locks ..............................38
Door Locks, Automatic ......................41
Doors ..................................32
Driver’s Seat Back Tilt ..................... .156
Driving ............................... .441
Dual Top .............................. .193
Electrical Outlet, Auxiliary (Power Outlet) ........184
Electrical Power Outlets .....................184
Electric Remote Mirrors .....................114
Electronic Brake Control System ...............460
Brake Assist System .....................462
Electronic Roll Mitigation .................466
Traction Control System ...................461
Electronic Roll Mitigation (ERM) ..............466
10
INDEX 647