JEEP WRANGLER 2014 JK / 3.G Owners Manual
Manufacturer: JEEP, Model Year: 2014, Model line: WRANGLER, Model: JEEP WRANGLER 2014 JK / 3.GPages: 678, PDF Size: 4.97 MB
Page 161 of 678
To return the seat to a sitting position, rotate the seatback
upright until it locks and push the seat rearward until the
track locks.NOTE:
•
The front passenger seats have a track memory, which
returns the seat to just past the halfway point of the
track regardless of its original position.
• The recliner and easy entry levers should not be used
during the automatic returning of the seat to its sitting
position.
Tip n’ Slide™ Seats — Two-Door Models
This feature allows the front seats to be rotated toward
the instrument panel to allow easier entry into the rear
seats.
Easy Entry Seat
3
UNDERSTANDING THE FEATURES OF YOUR VEHICLE 159
Page 162 of 678
Driver’s Seat
Pull upward on the recline lever and bring the seatback
to its full forward position.
Rotate the entire seat assembly toward the instrument
panel.
Passenger Seat
In addition to Easy Entry, the front passenger seat is also
equipped with Tip n’ Slide™. This feature allows for
easier entry for rear passengers.
Recline Lever
Tip n’ Slide™
160 UNDERSTANDING THE FEATURES OF YOUR VEHICLE
Page 163 of 678
Pull upward on the recline lever and slide the entire seat
forward (Easy Entry).
With the seat forward, pull the entire seat assembly
toward the instrument panel.
Heated Seats — If Equipped
On some models, the front driver and passenger seats
may be equipped with heaters in both the seat cushions
and seatbacks.Easy Entry Lever
Tip n’ Slide™
3
UNDERSTANDING THE FEATURES OF YOUR VEHICLE 161
Page 164 of 678
There are two heated seat switches that allow the driver
and passenger to operate the seats independently. The
controls for each seat are located on a switch bank near
the bottom center of the instrument panel.
You can choose from HIGH, LOW or OFF heat settings.
Amber indicator lights in each switch indicate the level of
heat in use. Two indicator lights will illuminate for
HIGH, one for LOW and none for OFF.Press the switch once to select HIGH-level
heating. Press the switch a second time to select
LOW-level heating. Press the switch a third
time to shut the heating elements OFF.
When the HIGH-level setting is selected, the heater will
provide a boosted heat level during the initial stages of
operation. Then, the heat output will drop to the normal
HIGH-level. If the HIGH-level setting is selected, the
system will automatically switch to LOW-level after
approximately 30 minutes of continuous operation. At that time, the number of illuminated LEDs changes from
two to one, indicating the change. The LOW-level setting
will turn OFF automatically after approximately 30 min-
utes.
NOTE:
When a heat setting is selected, heat will be felt
within two to five minutes.
WARNING!
• Persons who are unable to feel pain to the skin
because of advanced age, chronic illness, diabetes,
spinal cord injury, medication, alcohol use, exhaus-
tion or other physical condition must exercise care
when using the seat heater. It may cause burns
even at low temperatures, especially if used for
long periods of time.
(Continued)
162 UNDERSTANDING THE FEATURES OF YOUR VEHICLE
Page 165 of 678
WARNING!(Continued)
•Do not place anything on the seat or seatback that
insulates against heat, such as a blanket or cushion.
This may cause the seat heater to overheat. Sitting
in a seat that has been overheated could cause
serious burns due to the increased surface tempera-
ture of the seat.
Head Restraints
Head restraints are designed to reduce the risk of injury
by restricting head movement in the event of a rear
impact. Head restraints should be adjusted so that the top
of the head restraint is located above the top of your ear.
WARNING!
The head restraints for all occupants must be prop-
erly adjusted prior to operating the vehicle or occu-
pying a seat. Head restraints should never be ad-
justed while the vehicle is in motion. Driving a
vehicle with the head restraints improperly adjusted
or removed could cause serious injury or death in the
event of a collision.
Front Head Restraints
To raise the head restraint, pull upward on the head
restraint. To lower the head restraint, press the adjust-
ment button, located on the base of the head restraint,
and push downward on the head restraint.
3
UNDERSTANDING THE FEATURES OF YOUR VEHICLE 163
Page 166 of 678
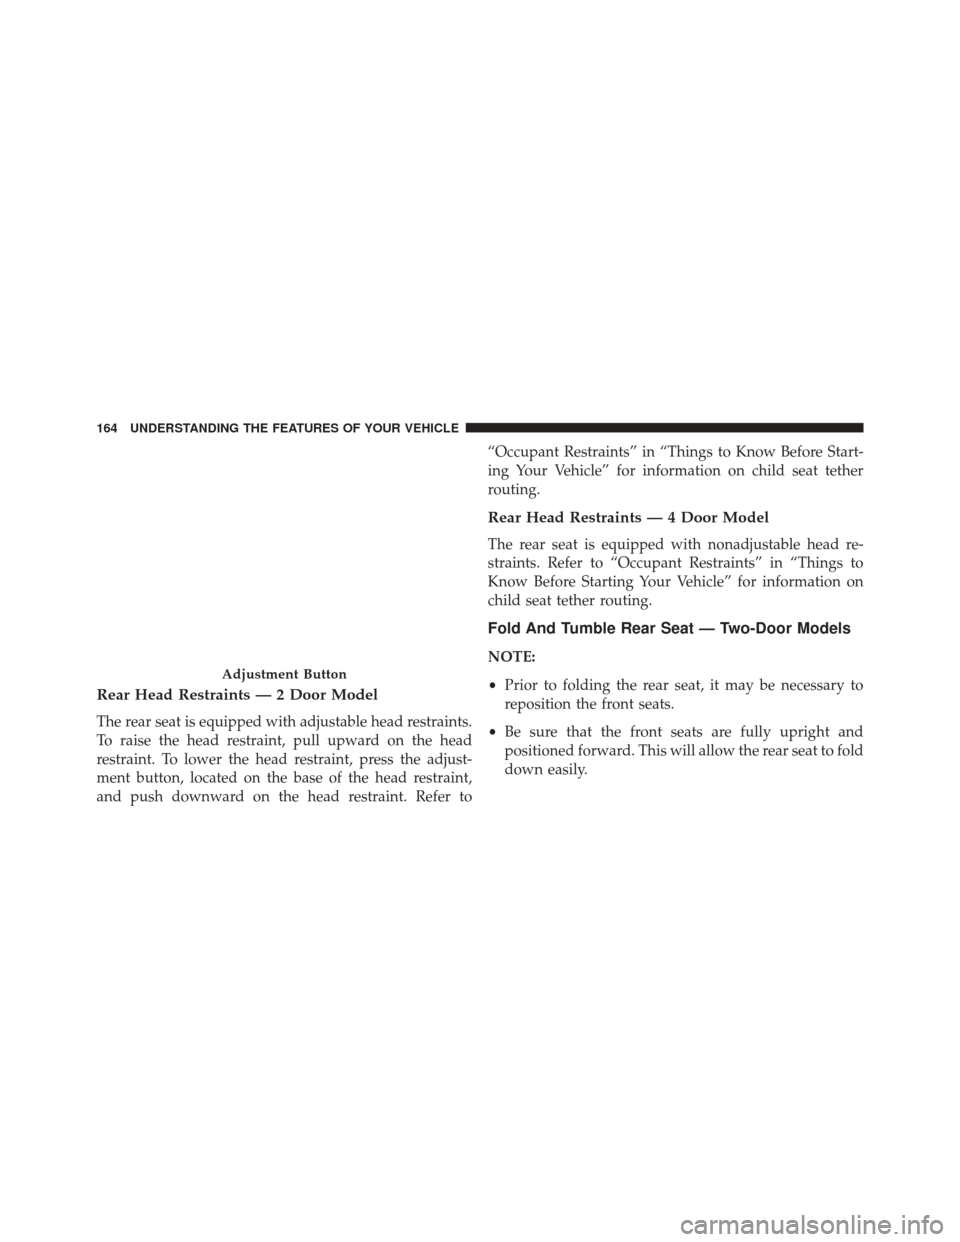
Rear Head Restraints — 2 Door Model
The rear seat is equipped with adjustable head restraints.
To raise the head restraint, pull upward on the head
restraint. To lower the head restraint, press the adjust-
ment button, located on the base of the head restraint,
and push downward on the head restraint. Refer to“Occupant Restraints” in “Things to Know Before Start-
ing Your Vehicle” for information on child seat tether
routing.
Rear Head Restraints — 4 Door Model
The rear seat is equipped with nonadjustable head re-
straints. Refer to “Occupant Restraints” in “Things to
Know Before Starting Your Vehicle” for information on
child seat tether routing.
Fold And Tumble Rear Seat — Two-Door Models
NOTE:
•
Prior to folding the rear seat, it may be necessary to
reposition the front seats.
• Be sure that the front seats are fully upright and
positioned forward. This will allow the rear seat to fold
down easily.
Adjustment Button
164 UNDERSTANDING THE FEATURES OF YOUR VEHICLE
Page 167 of 678
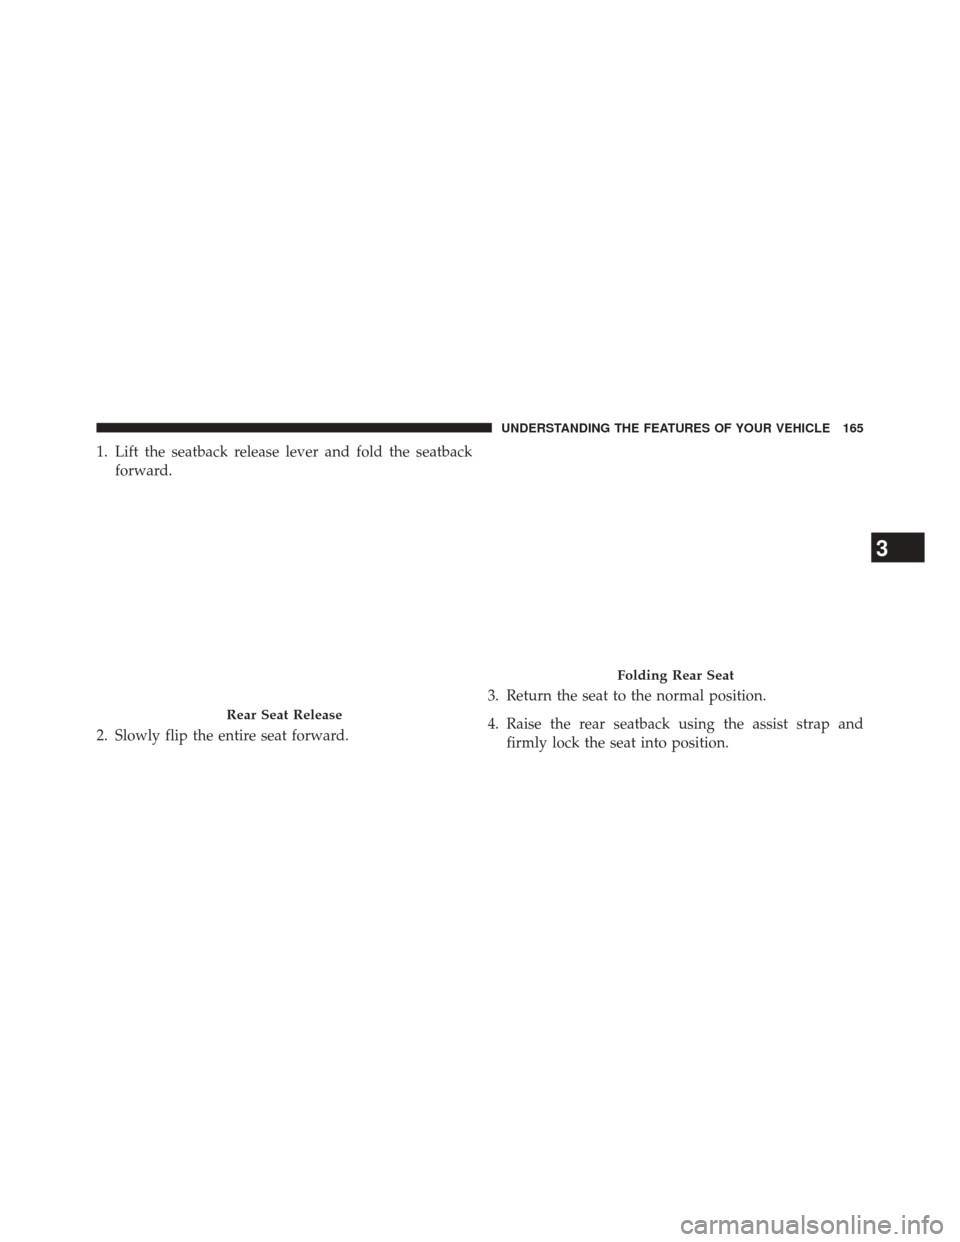
1. Lift the seatback release lever and fold the seatbackforward.
2. Slowly flip the entire seat forward. 3. Return the seat to the normal position.
4. Raise the rear seatback using the assist strap and
firmly lock the seat into position.
Rear Seat Release
Folding Rear Seat
3
UNDERSTANDING THE FEATURES OF YOUR VEHICLE 165
Page 168 of 678
Removing The Rear Seat — Two-Door Models
WARNING!
•It is extremely dangerous to ride in a cargo area,
inside or outside of a vehicle. In a collision, people
riding in these areas are more likely to be seriously
injured or killed.
• Do not allow people to ride in any area of your
vehicle that is not equipped with seats and seat
belts.
• Be sure everyone in your vehicle is in a seat and
using a seat belt properly.
• In a collision, you or others in your vehicle could
be injured if seats are not properly latched to their
floor attachments. Always be sure that the seats are
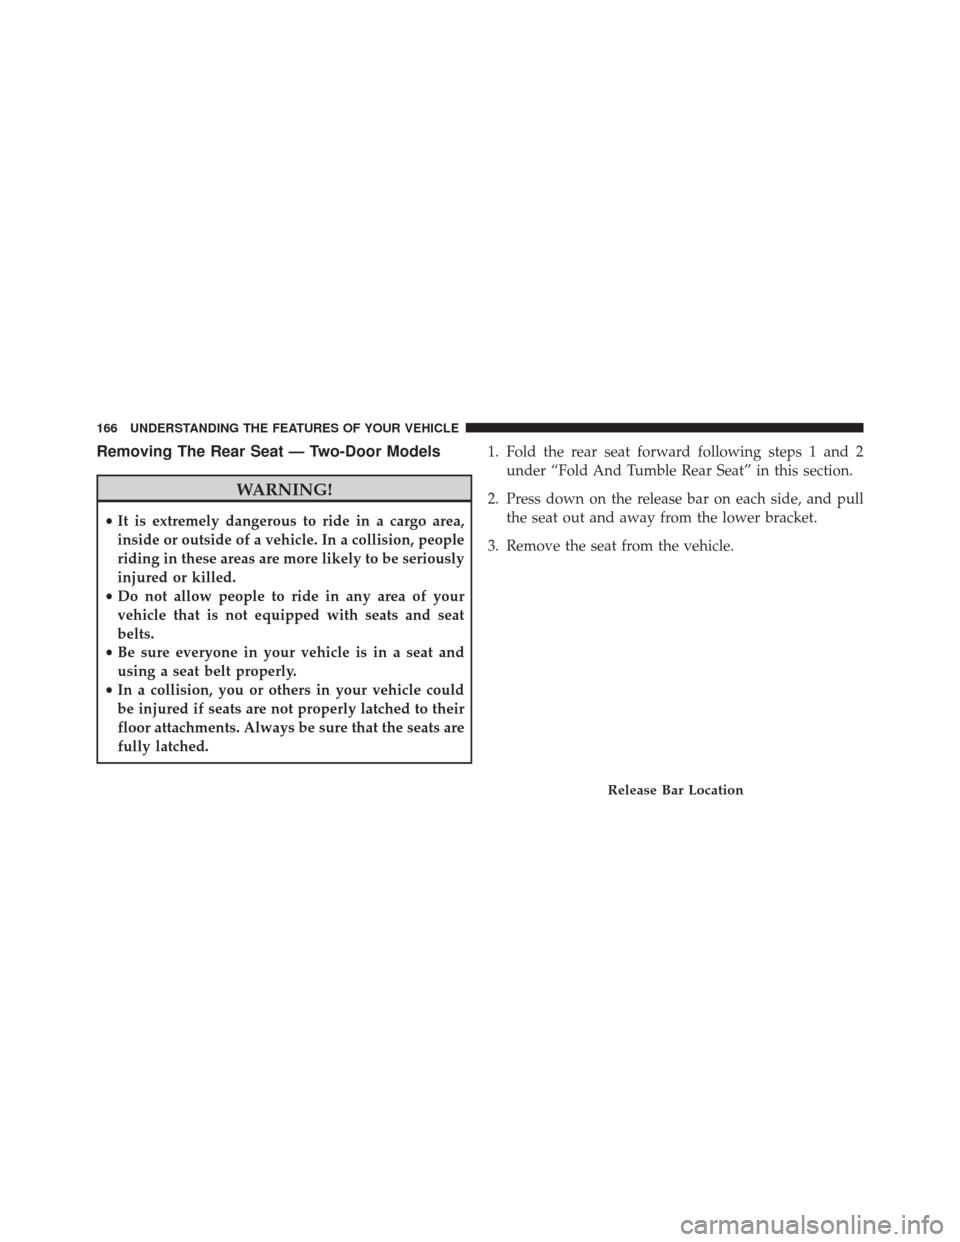
fully latched. 1. Fold the rear seat forward following steps 1 and 2
under “Fold And Tumble Rear Seat” in this section.
2. Press down on the release bar on each side, and pull the seat out and away from the lower bracket.
3. Remove the seat from the vehicle.
Release Bar Location
166 UNDERSTANDING THE FEATURES OF YOUR VEHICLE
Page 169 of 678
Replacing The Rear Seat — Two-Door Models
Reverse the steps for removing the seat.
WARNING!
•To help protect against personal injury, passengers
should not be seated in the rear cargo area with the
rear seat folded down or removed from the vehicle.
• The rear cargo space is intended for load carrying
purposes only, not for passengers who should sit in
seats and use seat belts.
60/40 Split Folding Rear Seat — Four-Door
Models
To provide additional storage area, each rear seat can be
folded flat to allow for extended cargo space and still
maintain some rear seating room. NOTE:
•
Prior to folding the rear seat, it may be necessary to
reposition the front seat to its mid-track position.
• Be sure that the front seats are fully upright and
positioned forward. This will allow the rear seat to fold
down easily.
WARNING!
• It is extremely dangerous to ride in a cargo area,
inside or outside of a vehicle. In a collision, people
riding in these areas are more likely to be seriously
injured or killed.
• Do not allow people to ride in any area of your
vehicle that is not equipped with seats and seat
belts.
• Be sure everyone in your vehicle is in a seat and
using a seat belt properly.
3
UNDERSTANDING THE FEATURES OF YOUR VEHICLE 167
Page 170 of 678
To Fold Down The Rear Seat
Locate the release lever (upper outboard side of seat), and
lift it upward until the seatback releases.
Slowly fold down the seatback.
To Raise The Rear Seat
Raise the seatback and lock it into place. If interference
from the cargo area prevents the seatback from fully
locking, you will have difficulty returning the seat to its
proper position.
NOTE:If the rear seatback is not fully latched, the center
shoulder belt will not be able to be extended for use. If
you cannot extend the center shoulder belt, make sure
your seatback is fully latched.
WARNING!
Be certain that the seatback is securely locked into
position. If the seatback in not securely locked into
position the seat will not provide the proper stability
for child seats and/or passengers. An improperly
latched seat could cause serious injury.
Release Levers
168 UNDERSTANDING THE FEATURES OF YOUR VEHICLE