ECO mode JEEP WRANGLER 2015 JK / 3.G Workshop Manual
[x] Cancel search | Manufacturer: JEEP, Model Year: 2015, Model line: WRANGLER, Model: JEEP WRANGLER 2015 JK / 3.GPages: 695, PDF Size: 20.64 MB
Page 395 of 695
During all List modes, the iPod® displays all lists in
“wrap-around” mode. So if the track is at the bottom of
the list, just turn the wheel backward (counterclockwise)
to get to the track faster.
In List mode, the radioPRESETbuttons are used as
shortcuts to the following lists on the iPod® or external
USB device:
•Preset 1 – Playlists
•Preset 2 – Artists
•Preset 3 – Albums
•Preset 4 – Genres
•Preset 5 – Audiobooks
•Preset 6 – Podcasts
Pushing a PRESET button will display the current list on
the top line and the first item in that list on the second
line.
To exit List mode without selecting a track, push the
samePRESETbutton again to go back toPlay mode.
LISTbutton: TheLISTbutton will display the top level
menu of the iPod® or external USB device.
•Turn theTUNEcontrol knob to list the top-menu item
to be selected and push theTUNEcontrol knob. This
will display the next sub-menu list item on the audio
device, then follow the same steps to go to the desired
track in that list. Not all iPod® or external USB device
sub-menu levels are available on this system.
MUSIC TYPEbutton: TheMUSIC TYPEbutton is
another shortcut button to the genre listing on your audio
device.
4
UNDERSTANDING YOUR INSTRUMENT PANEL 393
Page 403 of 695
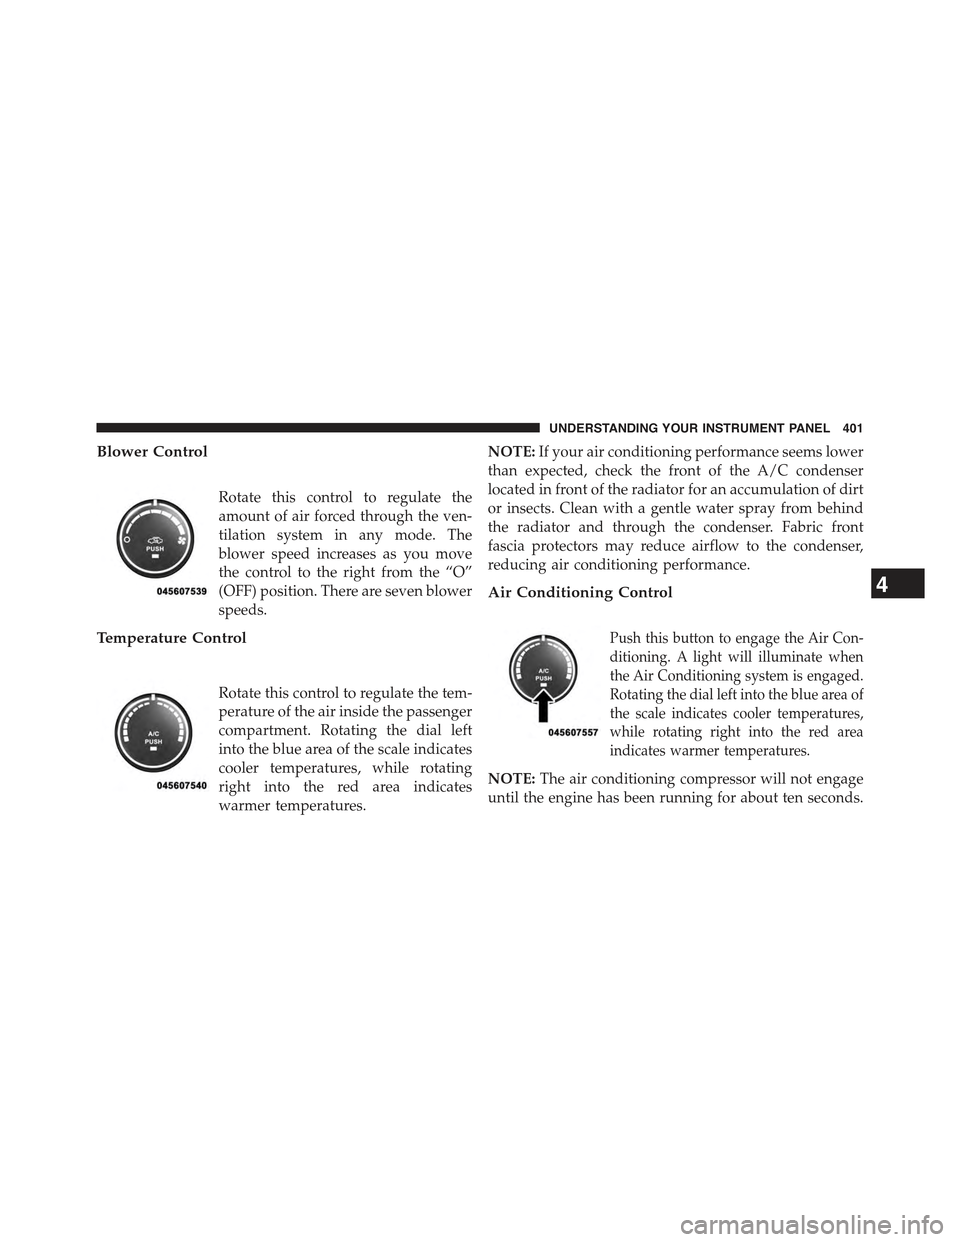
Blower Control
Rotate this control to regulate the
amount of air forced through the ven-
tilation system in any mode. The
blower speed increases as you move
the control to the right from the “O”
(OFF) position. There are seven blower
speeds.
Temperature Control
Rotate this control to regulate the tem-
perature of the air inside the passenger
compartment. Rotating the dial left
into the blue area of the scale indicates
cooler temperatures, while rotating
right into the red area indicates
warmer temperatures.
NOTE:If your air conditioning performance seems lower
than expected, check the front of the A/C condenser
located in front of the radiator for an accumulation of dirt
or insects. Clean with a gentle water spray from behind
the radiator and through the condenser. Fabric front
fascia protectors may reduce airflow to the condenser,
reducing air conditioning performance.
Air Conditioning Control
Push this button to engage the Air Con-
ditioning. A light will illuminate when
the Air Conditioning system is engaged.
Rotating the dial left into the blue area of
the scale indicates cooler temperatures,
while rotating right into the red area
indicates warmer temperatures.
NOTE:The air conditioning compressor will not engage
until the engine has been running for about ten seconds.
4
UNDERSTANDING YOUR INSTRUMENT PANEL 401
Page 404 of 695
•MAX A/C
For maximum cooling, turn on the A/C and recirculation
buttons at the same time.
•ECONOMY MODE
If economy mode is desired, push the A/C button to turn
OFF the indicator light and the A/C compressor. Then,
move the temperature control to the desired temperature.
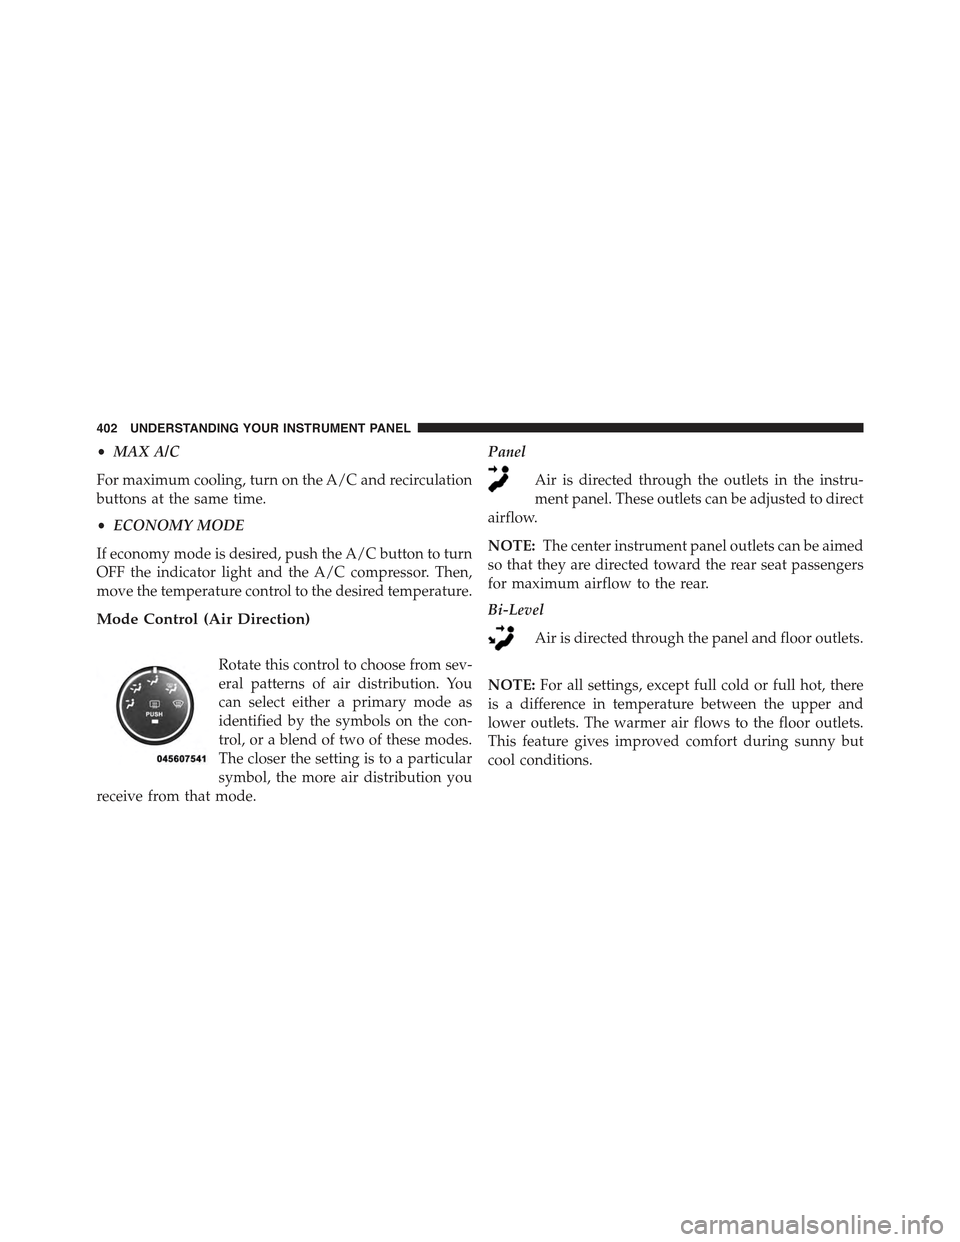
Mode Control (Air Direction)
Rotate this control to choose from sev-
eral patterns of air distribution. You
can select either a primary mode as
identified by the symbols on the con-
trol, or a blend of two of these modes.
The closer the setting is to a particular
symbol, the more air distribution you
receive from that mode.
Panel
Air is directed through the outlets in the instru-
ment panel. These outlets can be adjusted to direct
airflow.
NOTE:The center instrument panel outlets can be aimed
so that they are directed toward the rear seat passengers
for maximum airflow to the rear.
Bi-Level
Air is directed through the panel and floor outlets.
NOTE:For all settings, except full cold or full hot, there
is a difference in temperature between the upper and
lower outlets. The warmer air flows to the floor outlets.
This feature gives improved comfort during sunny but
cool conditions.
402 UNDERSTANDING YOUR INSTRUMENT PANEL
Page 405 of 695
Floor
Air is directed through the floor outlets with a
small amount flowing through the defrost and
side window demist outlets.
Mix
Air is directed through the floor, defrost, and side
window demist outlets. This setting works best in
cold or snowy conditions that require extra heat to the
windshield. This setting is good for maintaining comfort
while reducing moisture on the windshield.
Defrost
Air is directed through the windshield and side
window demist outlets. Use this mode with maxi-
mum blower and temperature settings for best wind-
shield and side window defrosting.
NOTE:The air conditioning compressor operates in Mix,
Defrost, or a blend of these modes, even if the Air
Conditioning (A/C) button is not pushed. This dehu-
midifies the air to help dry the windshield. To improve
fuel economy, use these modes only when necessary.
Recirculation Control
Pushing the Recirculation Control button will
put the system in recirculation mode. This can
be used when outside conditions such as
smoke, odors, dust, or high humidity are pres-
ent. Activating recirculation will cause the LED in the
control button to illuminate.
NOTE:
•Continuous use of the Recirculation mode may make
the inside air stuffy and window fogging may occur.
Extended use of this mode is not recommended.
4
UNDERSTANDING YOUR INSTRUMENT PANEL 403
Page 408 of 695
The recommended setting for maximum comfort is 72° F
(22° C) for the average person; however, this may vary.
NOTE:
•The temperature setting can be adjusted at anytime
without affecting automatic operation.
•Pushing the Air Conditioning Control button while in
AUTO mode will cause the LED in the control button
to flash three times and then turn off. This indicates
that the system is in AUTO mode and requesting the
air conditioning is not necessary.
•If your air conditioning performance seems lower than
expected, check the front of the A/C condenser located
in front of the radiator for an accumulation of dirt or
insects. Clean with a gentle water spray from behind
the radiator and through the condenser. Fabric front
fascia protectors may reduce airflow to the condenser,
reducing air conditioning performance.
•While operating in AUTO, the system will not auto-
matically sense the presence of fog, mist or ice on the
windshield. The defrost mode must be manually se-
lected to clear the windshield and side glass.
406 UNDERSTANDING YOUR INSTRUMENT PANEL
Page 412 of 695
•Defrost
Air is directed through the windshield and side
window demist outlets. Use this mode with maxi-
mum blower and temperature settings for best wind-
shield and side window defrosting.
•Air Conditioner Control
Push this button to turn on the air
conditioning during manual operation
only. When the air conditioning is
turned on, cool dehumidified air will
flow through the outlets selected with
the Mode control dial. Push this but-
ton a second time to turn OFF the air
conditioning. An LED in the button illuminates when
manual compressor operation is selected.
•Recirculation Control
The system will automatically control recircu-
lation. However, pushing the Recirculation
Control button will put the system in recircu-
lation mode. This can be used when outside
conditions such as smoke, odors, dust, or high humidity
are present. Activating recirculation will cause the LED in
the control button to illuminate.
NOTE:
•When the ignition switch is turned to the LOCK
position, the recirculation feature will be cancelled.
410 UNDERSTANDING YOUR INSTRUMENT PANEL
Page 414 of 695
Operating Tips
NOTE:Refer to the chart at the end of this section for
suggested control settings for various weather conditions.
Summer Operation
The engine cooling system must be protected with a
high-quality antifreeze coolant to provide proper corro-
sion protection and to protect against engine overheating.
A solution of 50% OAT (Organic Additive Technology)
coolant that meets the requirements of Chrysler Material
Standard MS-12106 and 50% water is recommended.
Refer to “Maintenance Procedures” in “Maintaining Your
Vehicle” for proper coolant selection.
Winter Operation
Use of the air Recirculation mode during winter months
is not recommended because it may cause window
fogging.
Vacation Storage
Anytime you store your vehicle, or keep it out of service
(i.e., vacation) for two weeks or more, run the air
conditioning system at idle for about five minutes in the
fresh air and high blower settings. This will ensure
adequate system lubrication to minimize the possibility
of compressor damage when the system is started again.
Window Fogging
Interior fogging on the windshield can be quickly re-
moved by turning the mode selector to Defrost. The
Defrost/Floor mode can be used to maintain a clear
windshield and provide sufficient heating. If side win-
dow fogging becomes a problem, increase blower speed.
Vehicle windows tend to fog on the inside in mild but
rainy or humid weather.
NOTE:Recirculate without A/C should not be used for
long periods as fogging may occur.
412 UNDERSTANDING YOUR INSTRUMENT PANEL
Page 423 of 695
The “4WD Indicator Light” will illuminate when the
transfer case has been shifted into this mode.
Automatic Transmission — If Equipped
Start the vehicle with the shift lever in the PARK position
(vehicle can also be started in NEUTRAL). Apply the
brake before shifting to any driving range.
Normal Starting
NOTE:Normal starting of either a cold or a warm engine
is obtained without pumping or pressing the accelerator
pedal.
Cycle the ignition switch to the START position and
release when the engine starts. If the engine fails to start
within 10 seconds, cycle the ignition switch to the
LOCK/OFF position, wait 10 to 15 seconds, then repeat
the “Normal Starting” procedure.
Tip Start Feature — Automatic Transmission Only
Turn the ignition switch to the START position and
release it as soon as the starter engages. The starter motor
will continue to run, but will automatically disengage
itself when the engine is running. If the engine fails to
start, the starter will disengage automatically in 10 sec-
onds. If this occurs, turn the ignition switch to the LOCK
position, wait 10 to 15 seconds, then repeat the “Normal
Starting” procedure.
Extreme Cold Weather (Below –20°F Or−29°C)
To ensure reliable starting at these temperatures, use of
an externally powered electric engine block heater (avail-
able from your authorized dealer) is recommended.
5
STARTING AND OPERATING 421
Page 440 of 695
Transmission Limp Home Mode
Transmission function is monitored electronically for
abnormal conditions. If a condition is detected that could
result in transmission damage, Transmission Limp Home
Mode is activated. In this mode, the transmission remains
in the current gear until the vehicle is brought to a stop.
After the vehicle has stopped, the transmission will
remain in second gear regardless of which forward gear
is selected. PARK, REVERSE, and NEUTRAL will con-
tinue to operate. The Malfunction Indicator Light (MIL)
may be illuminated. Limp Home Mode allows the vehicle
to be driven to an authorized dealer for service without
damaging the transmission.
In the event of a momentary problem, the transmission
can be reset to regain all forward gears by performing the
following steps:
1. Stop the vehicle.
2. Shift the transmission into PARK.
3. Turn the ignition switch to the LOCK/OFF position.
4. Wait approximately 10 seconds.
5. Restart the engine.
6. Shift into the desired gear range. If the problem is no
longer detected, the transmission will return to normal
operation.
NOTE:Even if the transmission can be reset, we recom-
mend that you visit your authorized dealer at your
earliest possible convenience. Your authorized dealer has
diagnostic equipment to determine if the problem could
recur. If the transmission cannot be reset, authorized
dealer service is required.
438 STARTING AND OPERATING
Page 442 of 695
result. It will remain in the selected gear until another
upshift or downshift is chosen, except as described
below.
•The transmission will automatically upshift when nec-
essary to prevent engine over-speed.
•Heavily pressing the accelerator pedal will generate an
automatic downshift (for improved acceleration) when
reasonable.
•The transmission will automatically downshift as the
vehicle slows (to prevent engine lugging) and will
display the current gear.
•The transmission will automatically downshift to first
gear when coming to a stop. After a stop, the driver
should manually upshift (+) the transmission as the
vehicle is accelerated.
•You can start out, from a stop, in first or second gear.
Tapping (+) (at a stop) will allow starting in second
gear. Starting out in second gear can be helpful in
snowy or icy conditions.
•The system will ignore attempts to upshift at too low
of a vehicle speed.
•Avoid using speed control when AutoStick is engaged.
•Transmission shifting will be more noticeable when
AutoStick is engaged.
NOTE:When the transfer case is in the 4L (Low) range,
the transmission will shift automatically (but no higher
than the displayed gear).
To disengage AutoStick mode, hold the shift lever to the
right (+) until#D#is once again displayed in the instru-
ment cluster. You can shift in or out of the AutoStick
mode at any time without taking your foot off the
accelerator pedal.
440 STARTING AND OPERATING