display JEEP WRANGLER 2016 JK / 3.G Owner's Manual
[x] Cancel search | Manufacturer: JEEP, Model Year: 2016, Model line: WRANGLER, Model: JEEP WRANGLER 2016 JK / 3.GPages: 156, PDF Size: 8.82 MB
Page 74 of 156
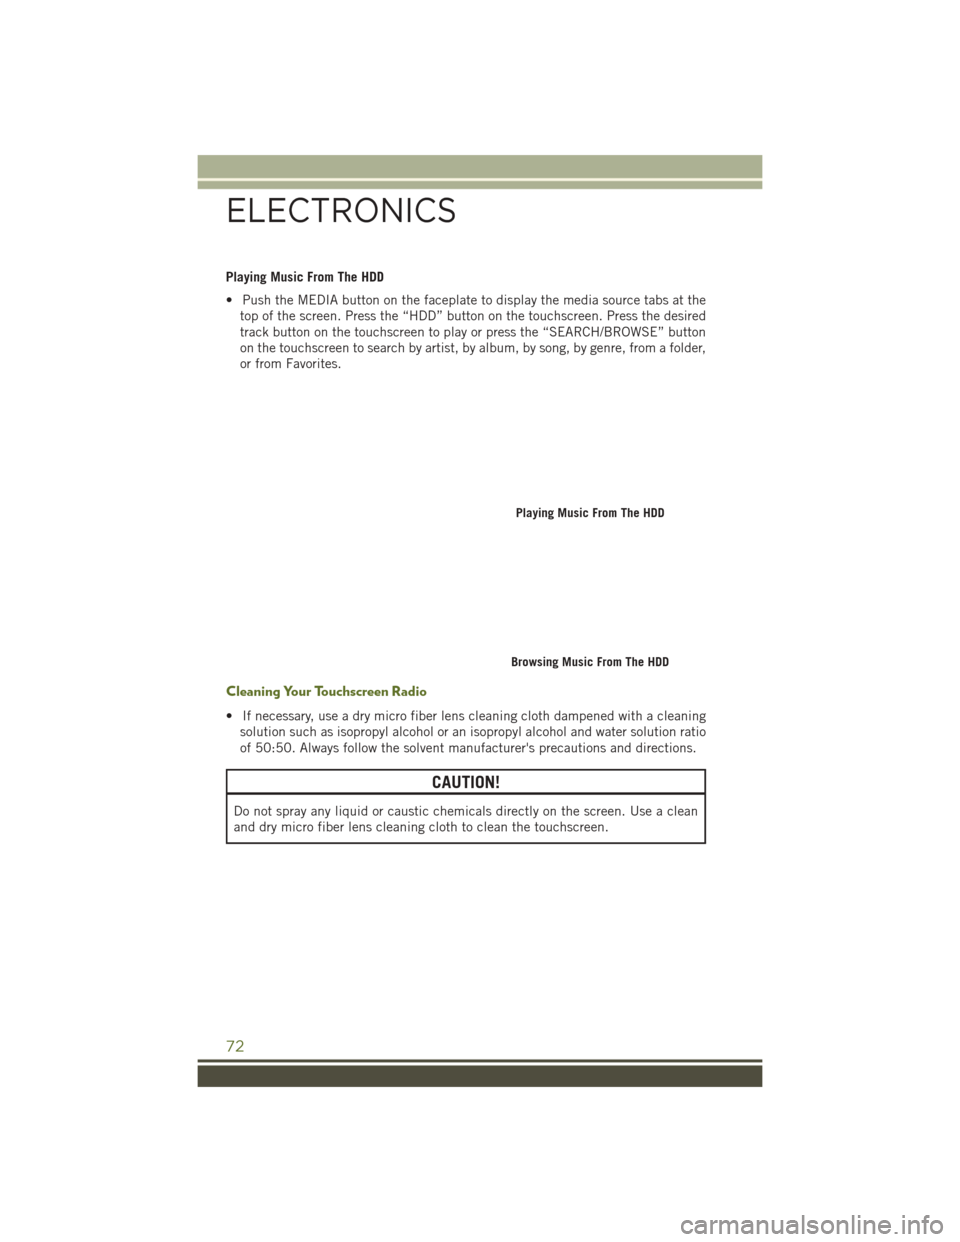
Playing Music From The HDD
• Push the MEDIA button on the faceplate to display the media source tabs at thetop of the screen. Press the “HDD” button on the touchscreen. Press the desired
track button on the touchscreen to play or press the “SEARCH/BROWSE” button
on the touchscreen to search by artist, by album, by song, by genre, from a folder,
or from Favorites.
Cleaning Your Touchscreen Radio
• If necessary, use a dry micro fiber lens cleaning cloth dampened with a cleaningsolution such as isopropyl alcohol or an isopropyl alcohol and water solution ratio
of 50:50. Always follow the solvent manufacturer's precautions and directions.
CAUTION!
Do not spray any liquid or caustic chemicals directly on the screen. Use a clean
and dry micro fiber lens cleaning cloth to clean the touchscreen.
Playing Music From The HDD
Browsing Music From The HDD
ELECTRONICS
72
Page 75 of 156
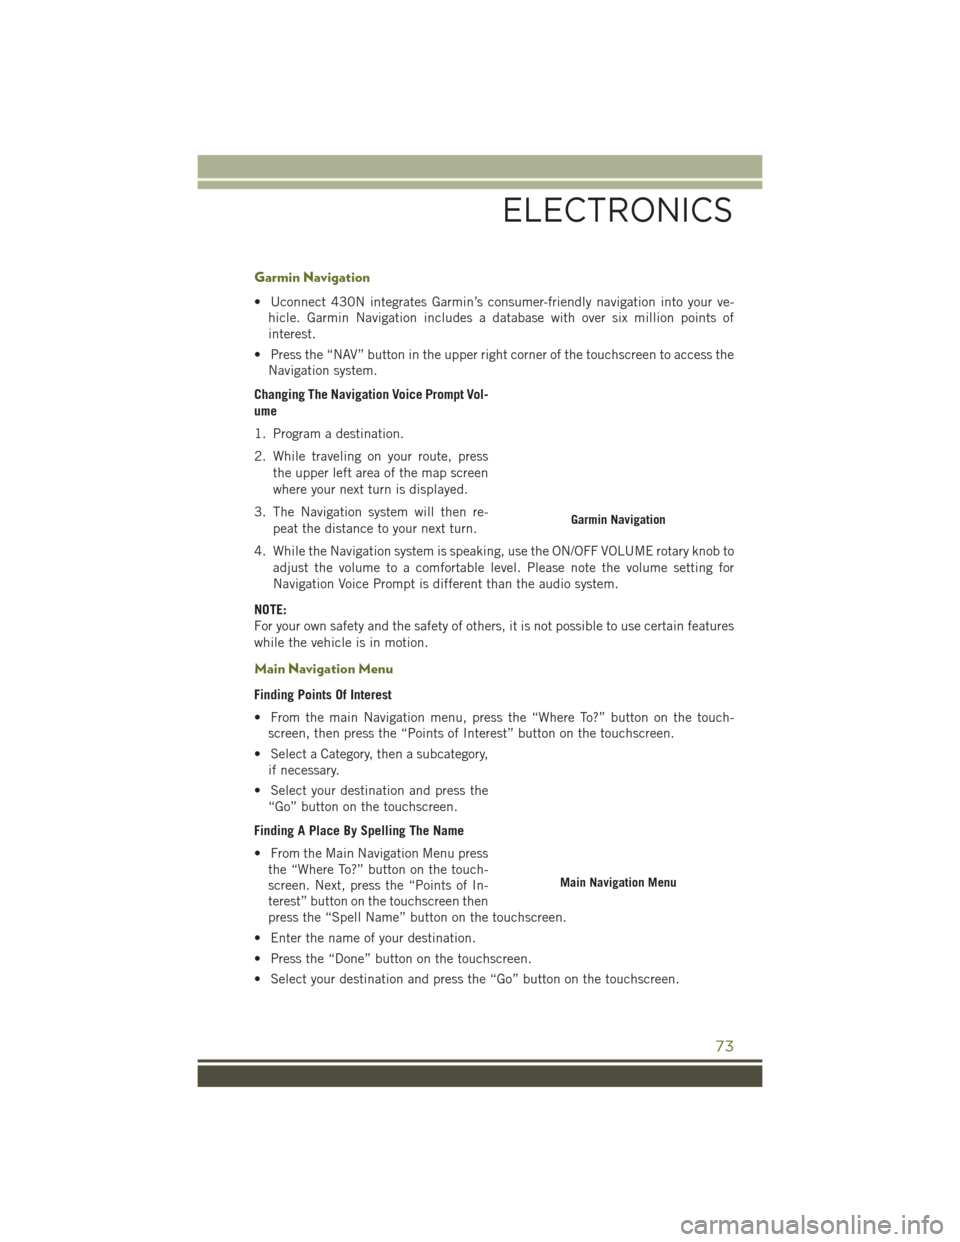
Garmin Navigation
• Uconnect 430N integrates Garmin’s consumer-friendly navigation into your ve-hicle. Garmin Navigation includes a database with over six million points of
interest.
• Press the “NAV” button in the upper right corner of the touchscreen to access the Navigation system.
Changing The Navigation Voice Prompt Vol-
ume
1. Program a destination.
2. While traveling on your route, press the upper left area of the map screen
where your next turn is displayed.
3. The Navigation system will then re- peat the distance to your next turn.
4. While the Navigation system is speaking, use the ON/OFF VOLUME rotary knob to adjust the volume to a comfortable level. Please note the volume setting for
Navigation Voice Prompt is different than the audio system.
NOTE:
For your own safety and the safety of others, it is not possible to use certain features
while the vehicle is in motion.
Main Navigation Menu
Finding Points Of Interest
• From the main Navigation menu, press the “Where To?” button on the touch- screen, then press the “Points of Interest” button on the touchscreen.
• Select a Category, then a subcategory, if necessary.
• Select your destination and press the “Go” button on the touchscreen.
Finding A Place By Spelling The Name
• From the Main Navigation Menu press the “Where To?” button on the touch-
screen. Next, press the “Points of In-
terest” button on the touchscreen then
press the “Spell Name” button on the touchscreen.
• Enter the name of your destination.
• Press the “Done” button on the touchscreen.
• Select your destination and press the “Go” button on the touchscreen.
Garmin Navigation
Main Navigation Menu
ELECTRONICS
73
Page 78 of 156
Taking A Detour
To take a detour you must be navigating a route.
• Press the “back arrow” icon button on the touchscreen multiple times to return tothe Main Navigation menu.
• Press the “Detour” button on the touchscreen.
NOTE:
If the route you are currently taking is the only reasonable option, the device might
not calculate a detour.
Acquiring Satellites
The GPS Satellite strength bars indicate the strength of your satellite reception.
• Acquiring satellite signals can take a few minutes. When at least one of the bars is green, your device has acquired satellite signals.
• You may experience delays receiving satellite signals when in areas with an obstructed view to the sky, such as garages, tunnels, or large cities with tall
buildings.
SiriusXM SATELLITE RADIO/TRAVEL LINK
• SiriusXM Travel Link requires a subscription, sold separately after the five (5) yeartrial subscription included with your vehicle purchase.
• SiriusXM Travel Link is only available in the United States.
• The following describes features that are available when in SiriusXM Satellite Radio mode.
• To access SiriusXM Satellite Radio, push the RADIO/MEDIA or RADIO button on the faceplate, then press the “SAT” button on the touchscreen.
Info
• Press the “i” button on the touchscreen to view detailed information about the current Sirius XM Satellite channel.
SiriusXM Parental Controls
• SiriusXM offers the option to permanently block selected channels. Call 1-888-539-7474 and request the Family Package.
• Uconnect 430/430N: Push the “MENU” button on the faceplate while in SiriusXM
Satellite Radio Mode, then press the “Channel Lock” to enable and/or disable
desired channels. The SEEK and SCAN function will then only display channels
without Channel lock.
ELECTRONICS
76
Page 80 of 156
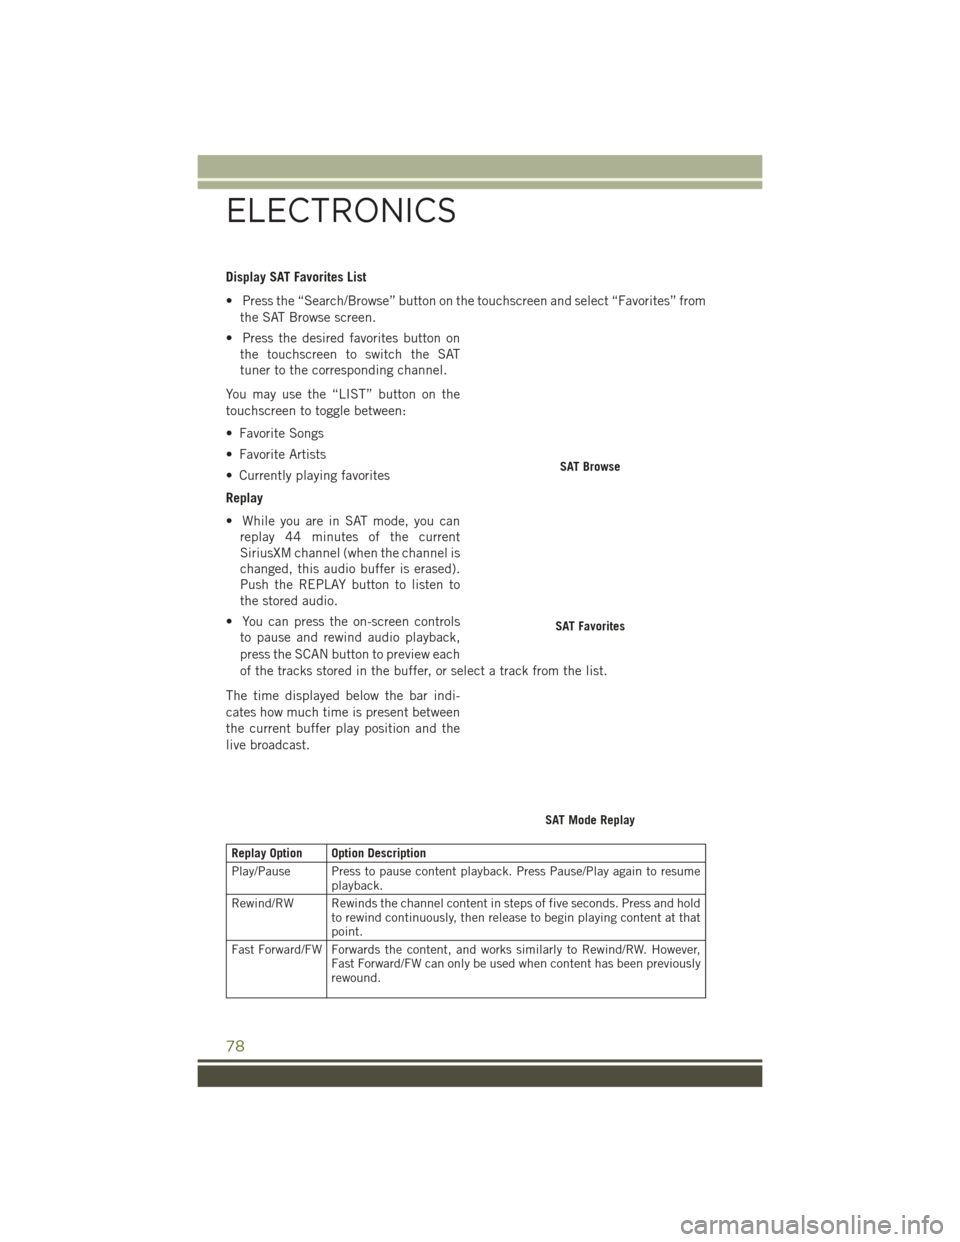
Display SAT Favorites List
• Press the “Search/Browse” button on the touchscreen and select “Favorites” fromthe SAT Browse screen.
• Press the desired favorites button on the touchscreen to switch the SAT
tuner to the corresponding channel.
You may use the “LIST” button on the
touchscreen to toggle between:
• Favorite Songs
• Favorite Artists
• Currently playing favorites
Replay
• While you are in SAT mode, you can replay 44 minutes of the current
SiriusXM channel (when the channel is
changed, this audio buffer is erased).
Push the REPLAY button to listen to
the stored audio.
• You can press the on-screen controls to pause and rewind audio playback,
press the SCAN button to preview each
of the tracks stored in the buffer, or select a track from the list.
The time displayed below the bar indi-
cates how much time is present between
the current buffer play position and the
live broadcast.
Replay Option Option Description
Play/Pause Press to pause content playback. Press Pause/Play again to resume playback.
Rewind/RW Rewinds the channel content in steps of five seconds. Press and hold to rewind continuously, then release to begin playing content at that
point.
Fast Forward/FW Forwards the content, and works similarly to Rewind/RW. However, Fast Forward/FW can only be used when content has been previously
rewound.
SAT Browse
SAT Favorites
SAT Mode Replay
ELECTRONICS
78
Page 81 of 156
Replay Option Option Description
Replay Time Displays the amount of time in the upper center of the screen bywhich your content lags the live channel.
Live Resumes playback of live content at any time while replaying re- wound content.
STEERING WHEEL AUDIO CONTROLS
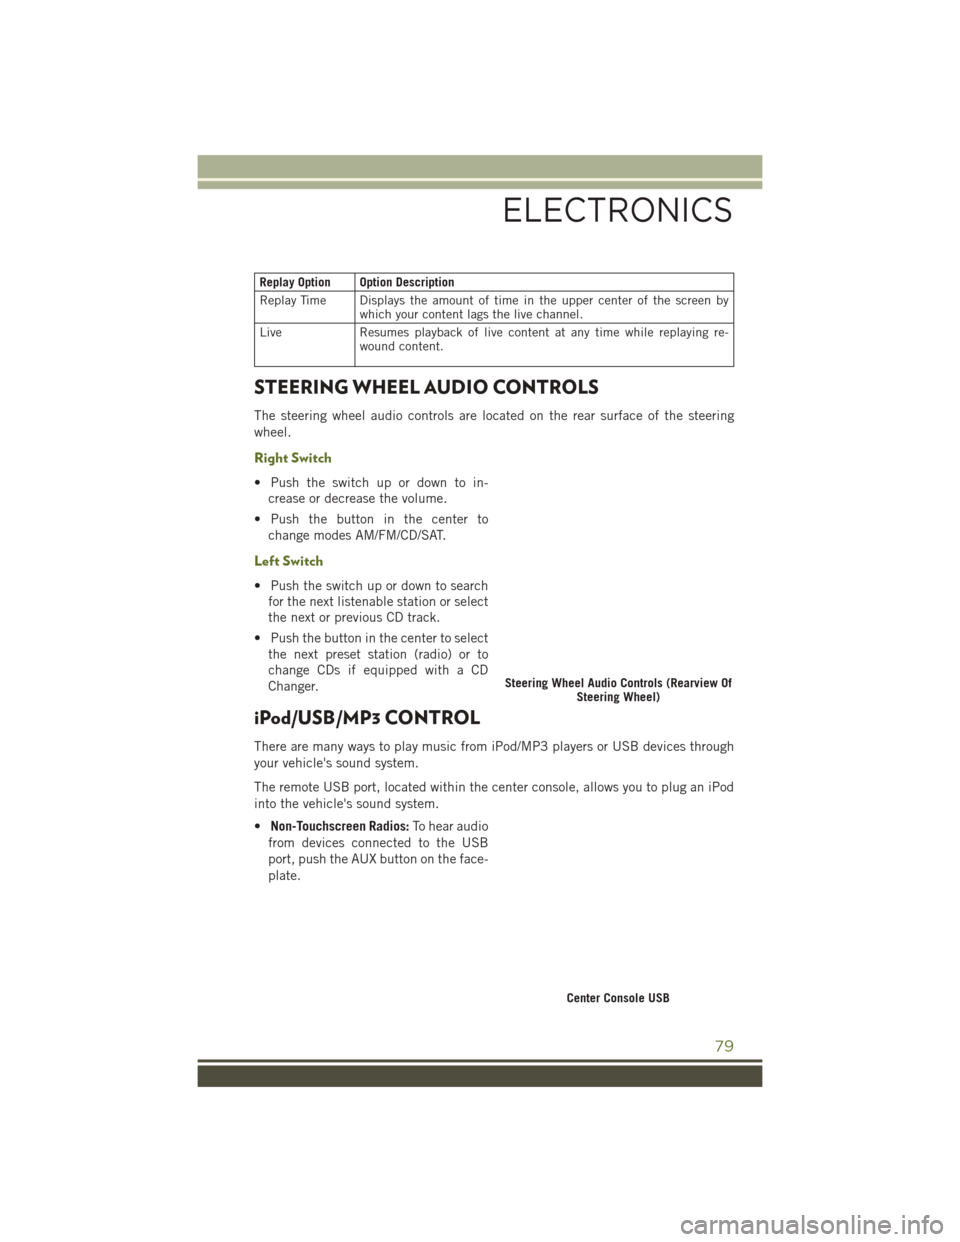
The steering wheel audio controls are located on the rear surface of the steering
wheel.
Right Switch
• Push the switch up or down to in-
crease or decrease the volume.
• Push the button in the center to change modes AM/FM/CD/SAT.
Left Switch
• Push the switch up or down to searchfor the next listenable station or select
the next or previous CD track.
• Push the button in the center to select the next preset station (radio) or to
change CDs if equipped with a CD
Changer.
iPod/USB/MP3 CONTROL
There are many ways to play music from iPod/MP3 players or USB devices through
your vehicle's sound system.
The remote USB port, located within the center console, allows you to plug an iPod
into the vehicle's sound system.
• Non-Touchscreen Radios: To hear audio
from devices connected to the USB
port, push the AUX button on the face-
plate.
Steering Wheel Audio Controls (Rearview Of Steering Wheel)
Center Console USB
ELECTRONICS
79
Page 88 of 156
BLUETOOTH STREAMING AUDIO
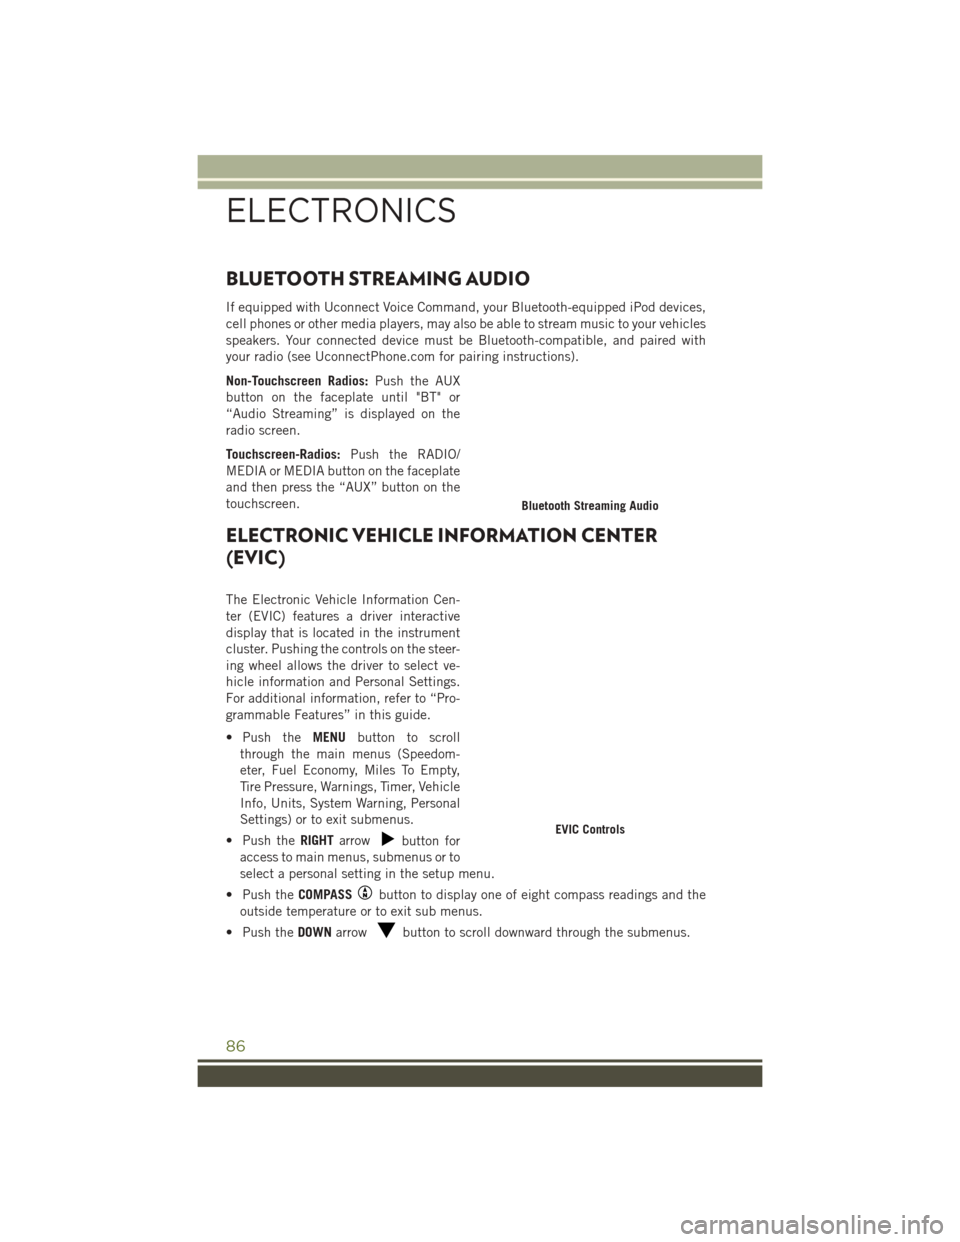
If equipped with Uconnect Voice Command, your Bluetooth-equipped iPod devices,
cell phones or other media players, may also be able to stream music to your vehicles
speakers. Your connected device must be Bluetooth-compatible, and paired with
your radio (see UconnectPhone.com for pairing instructions).
Non-Touchscreen Radios:Push the AUX
button on the faceplate until "BT" or
“Audio Streaming” is displayed on the
radio screen.
Touchscreen-Radios: Push the RADIO/
MEDIA or MEDIA button on the faceplate
and then press the “AUX” button on the
touchscreen.
ELECTRONIC VEHICLE INFORMATION CENTER
(EVIC)
The Electronic Vehicle Information Cen-
ter (EVIC) features a driver interactive
display that is located in the instrument
cluster. Pushing the controls on the steer-
ing wheel allows the driver to select ve-
hicle information and Personal Settings.
For additional information, refer to “Pro-
grammable Features” in this guide.
• Push the MENUbutton to scroll
through the main menus (Speedom-
eter, Fuel Economy, Miles To Empty,
Tire Pressure, Warnings, Timer, Vehicle
Info, Units, System Warning, Personal
Settings) or to exit submenus.
• Push the RIGHTarrow
button for
access to main menus, submenus or to
select a personal setting in the setup menu.
• Push the COMPASS
button to display one of eight compass readings and the
outside temperature or to exit sub menus.
• Push the DOWNarrow
button to scroll downward through the submenus.
Bluetooth Streaming Audio
EVIC Controls
ELECTRONICS
86
Page 89 of 156
EVIC Main Menu
To step to each main menu feature, push the MENU button once for each step. A step
from the last item in the list will cause the first item in the feature list to be displayed.
The following features are in the Main Menu:
• Compass, Outside Temperature, and ECO display
• Digital Speedometer
• Average Fuel Economy
• Distance to Empty
• Elapsed Time
• Vehicle Information• Coolant Temp
• Oil Pressure
• Transmission Temp
• Oil Life Remaining (Automatic Oil Change Indicator)
• EVIC Units Selection
• System Status
• Personal Settings
• Tire PSI
Compass Calibration
This compass is self-calibrating, which eliminates the need to set the compass
manually. When the vehicle is new, the compass may appear erratic, and the EVIC
will display “CAL” until the compass is calibrated.
You may also calibrate the compass by completing one or more 360 degree turns (in
an area free from large metal or metallic objects) until the “CAL” message displayed
in the EVIC turns off. The compass will now function normally.
ECO
The ECO message will appear in your EVIC display whenever you are driving in a fuel
efficient manner.
This feature allows you to monitor when you are driving in a fuel efficient manner, and
it can be used to modify driving habits in order to increase fuel economy.
ELECTRONICS
87
Page 90 of 156
PROGRAMMABLE FEATURES
Electronic Vehicle Information Center (EVIC)
The EVIC can be used to program the following Personal Settings. Push theMENU
button until Personal Settings displays, then push the DOWNarrow button
to
scroll through the settings. Push the RIGHTarrow button
to change the setting.
• Language • Illumin Approach
• Auto UNLK On Exit • Hill Start Assist (HSA)
• RKE Unlock • Display Units of Measure In
• Sound Horn With RKE Lock • Nav – Turn by Turn
• Flash Lamp With Lock • Display Fuel Saver
• Headlamp Off Delay • Compass Variance
• Headlamps With Wipers • Calibrate Compass
• Key-Off Power Delay
Key Fob Programmable Features
The following features may also be programmed by using the Key Fob transmitter or
the ignition and driver's door lock switch. Refer to “Uconnect Settings” in “Under-
standing Your Instrument Panel” in the Owner’s Manual on the DVD for further
information.
NOTE:
Pushing the LOCK button while you are inside the vehicle will activate the Vehicle
Security Alarm. Opening a door with the Vehicle Security Alarm activated will cause
the alarm to sound. Push the UNLOCK button to deactivate the Vehicle Security
Alarm.
Flashing Lamps With Lock
The turn signal lights flashing, when the doors are locked or unlocked, feature can be
turned on or off. To turn this feature on or off:
• Push and hold the UNLOCK button for at least 4 seconds, but no longer than 10 seconds. Then, push and hold the LOCK button while still holding the UNLOCK
button.
• Release both buttons at the same time.
ELECTRONICS
88
Page 128 of 156
MAINTENANCE PROCEDURES
For information on the maintenance procedures for your vehicle, please refer to
“Maintenance Procedures” in “Maintaining Your Vehicle” in your Owner’s Manual or
applicable supplement on the DVD for further details.
MAINTENANCE SCHEDULE
Your vehicle is equipped with an automatic oil change indicator system. The oil
change indicator system will remind you that it is time to take your vehicle in for
scheduled maintenance.
Based on engine operation conditions, the oil change indicator message will
illuminate. This means that service is required for your vehicle. Operating conditions
such as frequent short-trips, trailer tow, extremely hot or cold ambient temperatures
will influence when the “Change Oil” or “Oil Change Required” message is dis-
played. Severe Operating Conditions can cause the change oil message to illuminate
as early as 3,500 miles (5,600 km) since last reset. Have your vehicle serviced as
soon as possible, within the next 500 miles (805 km).
On Electronic Vehicle Information Center (EVIC) equipped vehicles, “Oil Change
Required” will be displayed in the EVIC and a single chime will sound, indicating that
an oil change is necessary.
On Non-EVIC equipped vehicles, “Change Oil” will flash in the instrument cluster
odometer and a single chime will sound, indicating that an oil change is necessary.
Your authorized dealer will reset the oil change indicator message after completing
the scheduled oil change. If a scheduled oil change is performed by someone other
than your authorized dealer, the message can be reset by referring to the steps
described under “Instrument Cluster Warning Lights” in “What To Do In Emergen-
cies” in this guide or “Instrument Cluster Descriptions” or “Electronic Vehicle
Information Center (EVIC)” in “Understanding Your Instrument Panel” in the
Owner’s Manual on your DVD for further information.
NOTE:
Under no circumstances should oil change intervals exceed 10,000 miles
(16,000 km), twelve months or 350 hours of engine run time, whichever comes first.
The 350 hours of engine run or idle time is generally only a concern for fleet
customers.
Severe Duty All Models
Change Engine Oil at 4,000 miles (6,500 km) if the vehicle is operated in a dusty
and off road environment or is operated predominately at idle or only very low engine
RPM’s. This type of vehicle use is considered Severe Duty.
MAINTAINING YOUR VEHICLE
126