ECO mode KIA Borrego 2009 1.G User Guide
[x] Cancel search | Manufacturer: KIA, Model Year: 2009, Model line: Borrego, Model: KIA Borrego 2009 1.GPages: 425, PDF Size: 8.46 MB
Page 166 of 425
489
Features of your vehicle
Outside temperature conversion
You can switch the temperature mode
between Fahrenheit to Centigrade as fol-
lows:
While pressing the air intake control
(recirculated air position) button, press
down the temperature control switch for 3
seconds or more.
The display will change from Fahrenheit
to Centigrade or from Centigrade to
Fahrenheit.
If the battery has been discharged or
disconnected, the temperature mode dis-
play will reset to Centigrade.D230103AHMAir intake control The air intake control is used to select
the outside (fresh) air position or recircu-
lated air position.
To change the air intake control position,
press the control button.Recirculated air position
With the recirculated airposition selected, air from
the passenger compart-
ment will be drawn through
the heating system and
heated or cooled according
to the function selected.
Outside (fresh) air position With the outside (fresh) air
position selected, air
enters the vehicle from out-
side and is heated or
cooled according to the
function selected.
✽ ✽NOTICEProlonged operation of the heater in the
recirculated air position (without air
conditioning selected) may cause fog-
ging of the windshield and side windows
and the air within the passenger com-
partment may become stale.
In addition, prolonged use of the air
conditioning with the recirculated air
position selected will result in excessive-
ly dry air in the passenger compart-
ment.
Page 172 of 425
495
Features of your vehicle
✽
✽NOTICE• When using the air conditioning sys-
tem, monitor the temperature gauge
closely while driving up hills or in
heavy traffic when outside tempera-
tures are high. Air conditioning sys-
tem operation may cause engine over-
heating. Continue to use the blower
fan but turn the air conditioning sys-
tem off if the temperature gauge indi-
cates engine overheating.
• When opening the windows in humid weather air conditioning may create
water droplets inside the vehicle.
Since excessive water droplets may
cause damage to electrical equipment,
air conditioning should only be used
with the windows closed.
Air conditioning system operation tips
If the vehicle has been parked in direct
sunlight during hot weather, open the
windows for a short time to let the hot
air inside the vehicle escape.
To help reduce moisture inside of the windows on rainy or humid days,
decrease the humidity inside the vehi-
cle by operating the air conditioning
system.
During air conditioning system opera- tion, you may occasionally notice a
slight change in engine speed as the
air conditioning compressor cycles.
This is a normal system operation
characteristic.
Use the air conditioning system every month only for a few minutes to ensure
maximum system performance. When using the air conditioning sys-
tem, you may notice clear water drip-
ping (or even puddling) on the ground
under the passenger side of the vehi-
cle. This is a normal system operation
characteristic.
Operating the air conditioning system in the recirculated air position provides
maximum cooling, however, continual
operation in this mode may cause the
air inside the vehicle to become stale.
During cooling operation, you may occasionally notice a misty air flow
because of rapid cooling and humid air
intake. This is a normal system opera-
tion characteristic.
Page 179 of 425
Features of your vehicle102
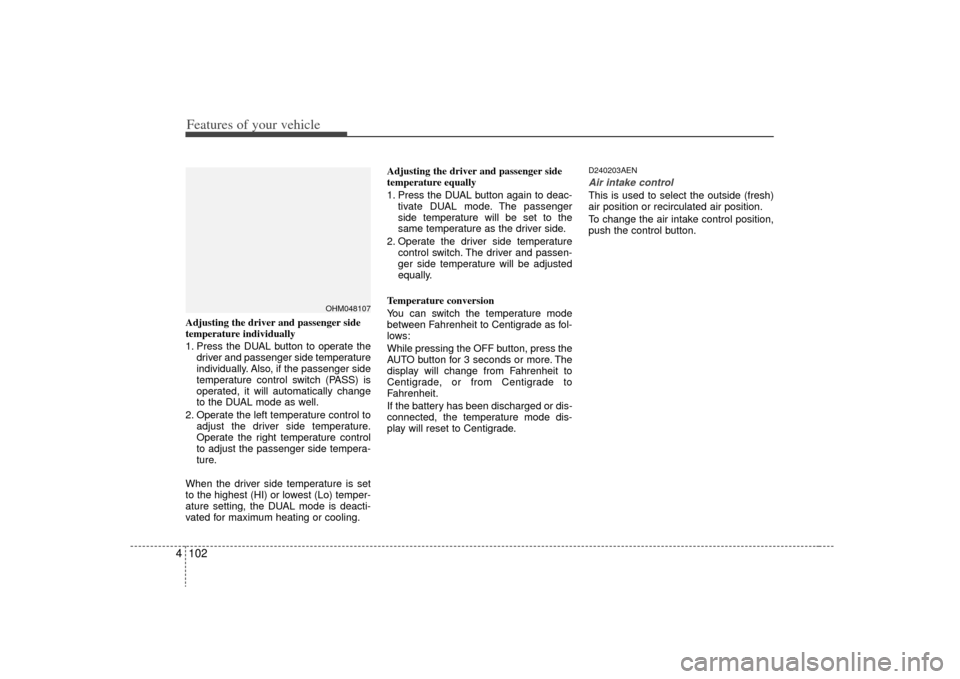
4Adjusting the driver and passenger side
temperature individually
1. Press the DUAL button to operate the
driver and passenger side temperature
individually. Also, if the passenger side
temperature control switch (PASS) is
operated, it will automatically change
to the DUAL mode as well.
2. Operate the left temperature control to adjust the driver side temperature.
Operate the right temperature control
to adjust the passenger side tempera-
ture.
When the driver side temperature is set
to the highest (HI) or lowest (Lo) temper-
ature setting, the DUAL mode is deacti-
vated for maximum heating or cooling. Adjusting the driver and passenger side
temperature equally
1. Press the DUAL button again to deac-
tivate DUAL mode. The passenger
side temperature will be set to the
same temperature as the driver side.
2. Operate the driver side temperature control switch. The driver and passen-
ger side temperature will be adjusted
equally.
Temperature conversion
You can switch the temperature mode
between Fahrenheit to Centigrade as fol-
lows:
While pressing the OFF button, press the
AUTO button for 3 seconds or more. The
display will change from Fahrenheit to
Centigrade, or from Centigrade to
Fahrenheit.
If the battery has been discharged or dis-
connected, the temperature mode dis-
play will reset to Centigrade.
D240203AENAir intake controlThis is used to select the outside (fresh)
air position or recirculated air position.
To change the air intake control position,
push the control button.
OHM048107
Page 187 of 425
Features of your vehicle110
4D250300AHMDefogging logicTo reduce the probability of fogging up
the inside of the windshield, the air intake
or air conditioning are controlled auto-
matically according to certain conditions
such as or position. To cancel or
return to the defogging logic, do the fol-
lowing.
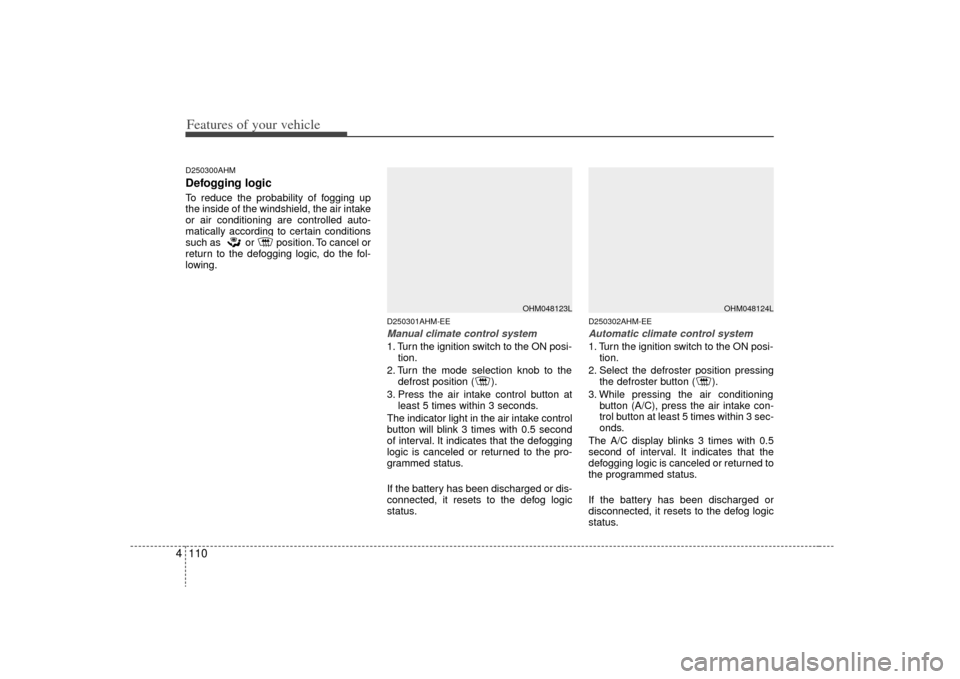
D250301AHM-EEManual climate control system1. Turn the ignition switch to the ON posi-
tion.
2. Turn the mode selection knob to the defrost position ( ).
3. Press the air intake control button at least 5 times within 3 seconds.
The indicator light in the air intake control
button will blink 3 times with 0.5 second
of interval. It indicates that the defogging
logic is canceled or returned to the pro-
grammed status.
If the battery has been discharged or dis-
connected, it resets to the defog logic
status.
D250302AHM-EEAutomatic climate control system1. Turn the ignition switch to the ON posi- tion.
2. Select the defroster position pressing the defroster button ( ).
3. While pressing the air conditioning button (A/C), press the air intake con-
trol button at least 5 times within 3 sec-
onds.
The A/C display blinks 3 times with 0.5
second of interval. It indicates that the
defogging logic is canceled or returned to
the programmed status.
If the battery has been discharged or
disconnected, it resets to the defog logic
status.
OHM048123L
OHM048124L
Page 196 of 425

4 119
Features of your vehicle
D281200AHM-EUOutside thermometerThe current outside temperature is dis-
played in 1°C (1°F) increments. The tem-
perature range is between -40°C ~ 60°C
(-40°F~140°F). The outside temperature on the display
may not change immediately like a
general thermometer to prevent the
driver from being inattentive.
For details, refer to the "Climate control
system" in section 4.
• Temperature ↔ ↔
Seconds
1. Turn the ignition switch to the ON posi- tion.
2. Press the H button at least 3 times within 3 seconds while pressing the R
button.
3. The temperature mode will change to the time mode. The time displays in
seconds.
4. If the M button is pressed, the clock’s minute will change and the counting
will start again from the beginning
(00).
5. To return to the temperature mode, press the H button at least 3 times
within 3 seconds while pressing the R
button.
If the ignition switch turns OFF and ON
again, the temperature mode will be dis-
played.
D280800AHMClothes hanger
CAUTION
Do not hang heavy clothes, the hook may be damaged.
OHM048153
OHM048138OHM048139
■Type A■ Type B
Page 201 of 425
Features of your vehicle124
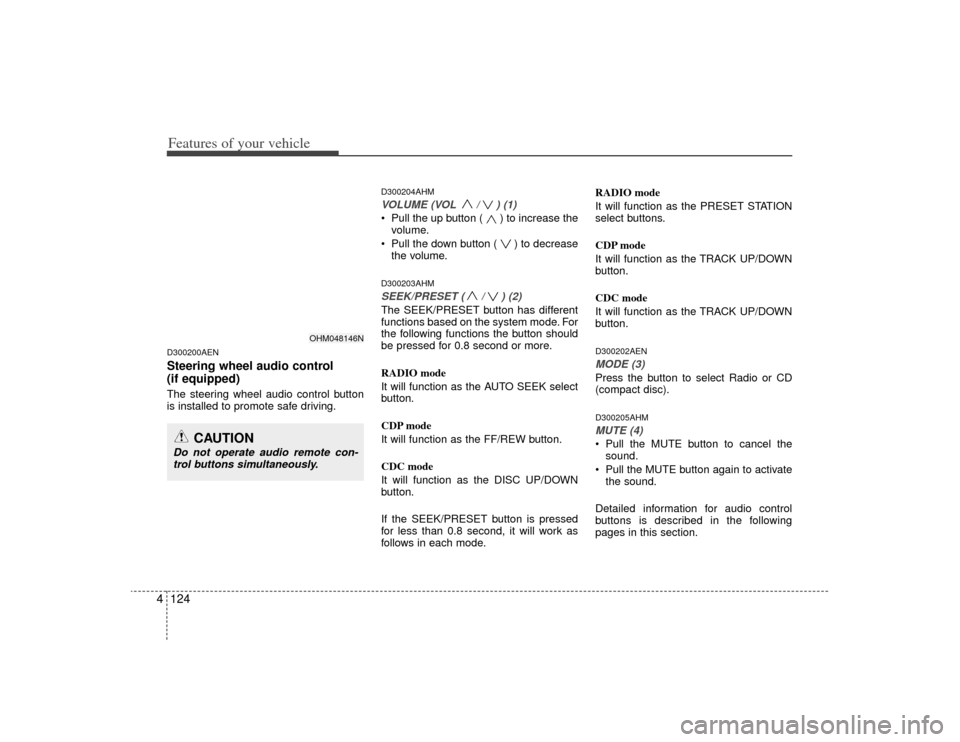
4D300200AENSteering wheel audio control
(if equipped) The steering wheel audio control button
is installed to promote safe driving.
D300204AHMVOLUME (VOL / ) (1)• Pull the up button ( ) to increase the
volume.
Pull the down button ( ) to decrease the volume.D300203AHMSEEK/PRESET ( / ) (2)The SEEK/PRESET button has different
functions based on the system mode. For
the following functions the button should
be pressed for 0.8 second or more.
RADIO mode
It will function as the AUTO SEEK select
button.
CDP mode
It will function as the FF/REW button.
CDC mode
It will function as the DISC UP/DOWN
button.
If the SEEK/PRESET button is pressed
for less than 0.8 second, it will work as
follows in each mode. RADIO mode
It will function as the PRESET STATION
select buttons.
CDP mode
It will function as the TRACK UP/DOWN
button.
CDC mode
It will function as the TRACK UP/DOWN
button.
D300202AENMODE (3)Press the button to select Radio or CD
(compact disc).D300205AHMMUTE (4) Pull the MUTE button to cancel the
sound.
Pull the MUTE button again to activate the sound.
Detailed information for audio control
buttons is described in the following
pages in this section.
OHM048146N
CAUTION
Do not operate audio remote con- trol buttons simultaneously.
Page 208 of 425
4131
Features of your vehicle
How to Activate RADIO,
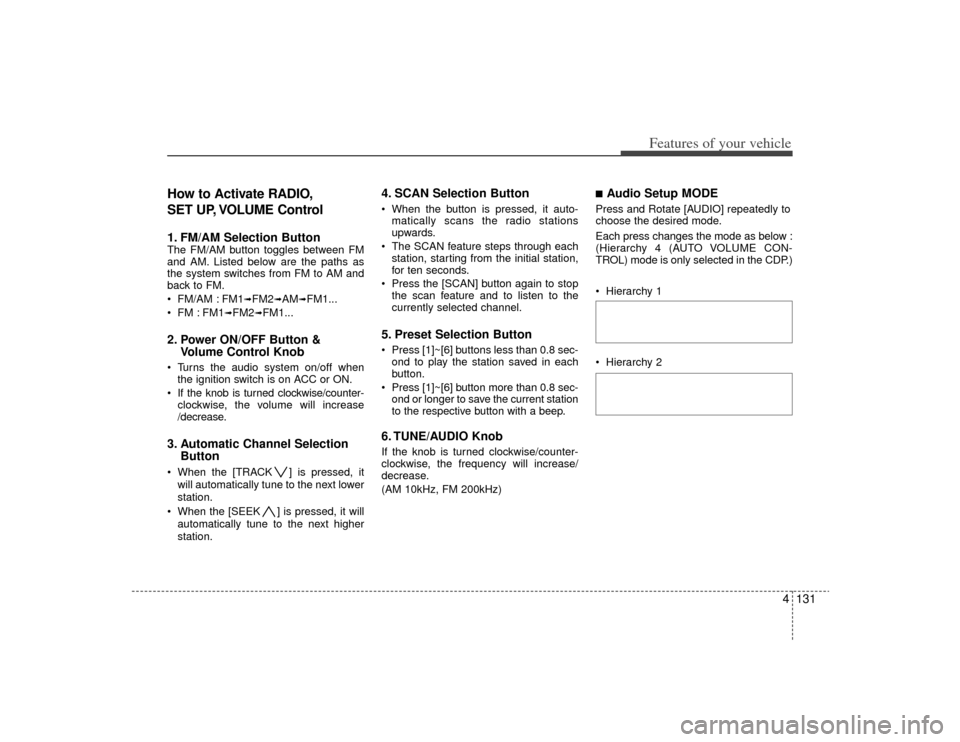
SET UP, VOLUME Control1. FM/AM Selection Button The FM/AM button toggles between FM
and AM. Listed below are the paths as
the system switches from FM to AM and
back to FM.
FM/AM : FM1
➟FM2
➟AM
➟FM1...
FM : FM1
➟FM2
➟FM1...
2. Power ON/OFF Button & Volume Control Knob Turns the audio system on/off when
the ignition switch is on ACC or ON.
If the knob is turned clockwise/counter- clockwise, the volume will increase
/decrease.3. Automatic Channel Selection Button When the [TRACK ] is pressed, it
will automatically tune to the next lower
station.
When the [SEEK ] is pressed, it will automatically tune to the next higher
station.
4. SCAN Selection Button When the button is pressed, it auto-matically scans the radio stations
upwards.
The SCAN feature steps through each station, starting from the initial station,
for ten seconds.
Press the [SCAN] button again to stop the scan feature and to listen to the
currently selected channel.5. Preset Selection Button Press [1]~[6] buttons less than 0.8 sec-ond to play the station saved in each
button.
Press [1]~[6] b utton more than 0.8 sec-
ond or longer to save the current station
to the respective button with a beep.6. TUNE/AUDIO KnobIf the knob is turned clockwise/counter-
clockwise, the frequency will increase/
decrease.
(AM 10kHz, FM 200kHz)
■Audio Setup MODE Press and Rotate [AUDIO] repeatedly to
choose the desired mode.
Each press changes the mode as below :
(Hierarchy 4 (AUTO VOLUME CON-
TROL) mode is only selected in the CDP.)
Hierarchy 1
Hierarchy 2
Page 209 of 425
![KIA Borrego 2009 1.G User Guide Features of your vehicle132
4 Hierarchy 3
Hierarchy 4
Hierarchy 5
❈For example: To Adjusting FADER
Press [AUDIO] to activate SETUP mode, then Hierarchy 1 is selected.
Rotate [AUDIO], Hierarchy](/img/2/2906/w960_2906-208.png "KIA Borrego 2009 1.G User Guide Features of your vehicle132
4 Hierarchy 3
Hierarchy 4
Hierarchy 5
❈For example: To Adjusting FADER
Press [AUDIO] to activate SETUP mode, then Hierarchy 1 is selected.
Rotate [AUDIO], Hierarchy")
Features of your vehicle132
4 Hierarchy 3
Hierarchy 4
Hierarchy 5
❈For example: To Adjusting FADER
Press [AUDIO] to activate SETUP mode, then Hierarchy 1 is selected.
Rotate [AUDIO], Hierarchy 2 is dis- played.
Press [AUDIO] to select the FADER control mode.
Rotate [AUDIO], to adjust the FADER level.
- If [AUDIO] is not pressed/rotated for 5 seconds after adjusting, the display
automatically returns to normal mode.
- Another adjusting mode can be used for same operation.❈To Select "SIRIUS DISPLAY" mode
If "CAT/CH" or "ART/TITLE" is selected
in the SIRIUS DISPLAY mode, selected
mode will be displayed basically and
another display mode will be displayed
for 3 seconds automatically once.
7. MUTE Button (CDP ONLY)Press [MUTE] to stop the sound and
"MUTE" is displayed on the LCD.
Page 213 of 425

Features of your vehicle136
4How to Activate
CDP/CD CHANGER1. CD Loading Slot Please place the CD with the printed
side upward, and then gently push in.
CDP models support both 8cm and 12 cm CDs.
CDC models support only 12 cm CD.
If VCD, Data CD, DVD are loaded, "MEDIA ERROR" message will appear
and the CD will eject.2. CD Eject Button Press this button to eject the CD duringCD playback.
If there is no CD in the deck, "NO DISC" will be displayed for 5 seconds
and returns to the previous mode.❈ ALL EJECT(CDC ONLY)
Press this button for more than 0.8
second to eject all discs inside the
decks in the respective order.
3. RANDOM Play ButtonPress this button for less than 0.8 second
to activate 'RDM' mode and more than
0.8 second to activate 'ALL RDM' mode.
RDM : Only files/tracks in a folder/disc are played in random sequence.
ALL RDM (MP3/WMA Only) : All files /tracks in a folder/disc are played in
random sequence.4. Automatic Track Selection Button Press [TRACK ] to return to thebeginning of the current track(file).
Press again within 1 seconds to return
to the previous track(file).
Press and hold [TRACK ] to initiate rewind search.
Press [SEEK ] for less than 0.8 sec- ond to advance the next track(file).
Press and hold [SEEK ] to initiate fast forward search.
5. REPEAT Play ButtonPress this button for less than 0.8 second
to activate 'RPT' mode and more than 0.8
second to activate 'FLD RPT' mode.
RPT : Only a track(file) is playedrepeatedly.
FLD RPT(MP3/WMA Only) : Only files in a folder are played repeatedly.6. SCROLL Play ButtonFile names are scrolled for 5 seconds on
the display.7. CD Indicator (CDP ONLY)When the ignition switch is in the ACC or
ON position and if the CD is loaded, this
indicator is illuminated.8. CD Selection Button If the CD is loaded, turns to CD mode.
If there is no Disc in the deck, it dis-plays "NO DISC" for 5 seconds and
returns to the previous mode.9. SCAN Selection ButtonPlays back the first 10 seconds of each
song in the CD.
CAUTION
Don’t insert a CD, if CD indicator isilluminated in the CDP.
Page 215 of 425
Features of your vehicle138
4
CAUTION
- Using USB
device
To use the external USB device,
make sure the device is not con-nected when starting the vehicle. Connect the device after starting.
If you start the vehicle when the USB device is mounted, it maydamage the USB device. (USB is not ESA)
If the vehicle is started or turned off while the external USB deviceis connected, the external USBdevice may not work.
It may not play inauthentic MP3 or WMA files.
1) It can only play MP3 files with the compression rate between8Kbps~320Kbps.
2) It can only play WMA music files with the compression ratebetween 8Kbps~320Kbps.
Take cautions for static electricity when connect or disconnect theexternal USB device.
Encoded MP3 PLAYER is not rec- ognizable.
(Continued)
(Continued) Depending on the condition of the external USB device, the con-nected external USB device can be unrecognizable.
When the VHAPTTL byte/sector setting of External USB devices isnot either 512byte or 2048byte,then the device will not be recog-nized.
The USB device should only be formatted to FAT 12/16/32.
USB device without USB I/F (IMPLEMENTERS FORUM)authentication may not be recog-nizable.
Make sure the USB connection terminal does not come in con-tact with human body or anyobject.
If you repeat connecting or dis- connecting USB device in a shortperiod of time, it may break the device.
You might hear a strange noise when connecting or disconnect-ing USB device.
(Continued)
(Continued) If you disconnect the external USB device during playback inUSB mode, the external USBdevice can be damaged or mal- function. Therefore, connect theexternal USB device when theengine is turned off or in anothermode.
Depending on the type and capacity of the external USBdevice or the type of files stored in the device, there is a differencein the time taken for recognition of the device, so you may have towait.
Do not use the USB device for other purposes than playingmusic files.
Use of USB accessories such as recharger or heater using USB I/F(IMPLEMENTERS FORUM) maylower the performance or causetrouble.
(Continued)