tow KIA Carens 2007 2.G Owner's Manual
[x] Cancel search | Manufacturer: KIA, Model Year: 2007, Model line: Carens, Model: KIA Carens 2007 2.GPages: 343, PDF Size: 3.61 MB
Page 7 of 343
Introduction41A020104AUNUse of MTBEKIA recommends avoiding fuels contain-
ing MTBE (Methyl Tertiary Butyl Ether)
over 15.0% vol. (Oxygen Content 2.7%
weight) in your vehicle.
Fuel containing MTBE over 15.0% vol.
(Oxygen Content 2.7% weight) may
reduce vehicle performance and produce
vapor lock or hard starting.
A020105AUNDo not use methanolFuels containing methanol (wood alco-
hol) should not be used in your vehicle.
This type of fuel can reduce vehicle per-
formance and damage components of
the fuel system.A020106AUNGasolines for cleaner airTo help contribute to cleaner air, KIA rec-
ommends that you use gasolines treated
with detergent additives, which help pre-
vent deposit formation in the engine.
These gasolines will help the engine run
cleaner and enhance performance of the
Emission Control System.A020107AUNOperation in foreign countriesIf you are going to drive your vehicle in
another country, be sure to:
Observe all regulations regarding reg-istration and insurance.
Determine that acceptable fuel is avail- able.
A030000AUNNo special break-in period is needed. By
following a few simple precautions for the
first 1,000 km (600 miles) you may add to
the performance, economy and life of
your vehicle.
Do not race the engine.
While driving, keep your engine speed(rpm, or revolutions per minute)
between 2,000 rpm and 4,000 rpm.
Do not maintain a single speed for long periods of time, either fast or slow.
Varying engine speed is needed to
properly break-in the engine.
Avoid hard stops, except in emergen- cies, to allow the brakes to seat prop-
erly.
Don't let the engine idle longer than 3 minutes at one time.
Don't tow a trailer during the first 2,000 km (1,200 miles) of operation.VEHICLE BREAK-IN PROCESS
CAUTION
Your New Vehicle Limited Warrantymay not cover damage to the fuel system and any performance prob-lems that are caused by the use offuels containing methanol or fuels containing MTBE (Methyl TertiaryButyl Ether) over 15.0% vol.(Oxygen Content 2.7% weight.)
Page 27 of 343
Safety features of your vehicle14
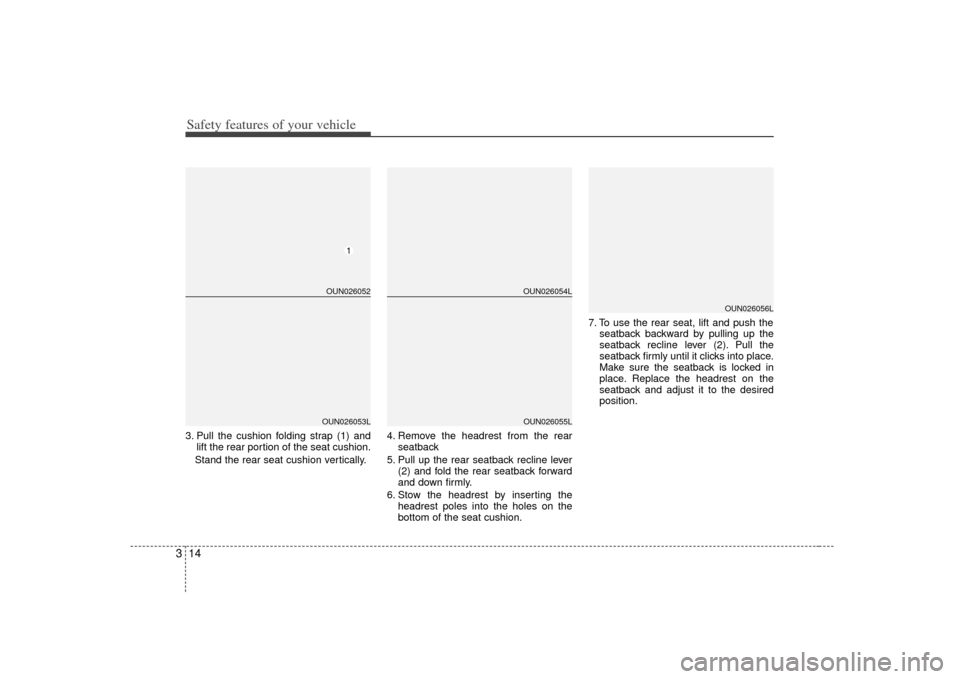
33. Pull the cushion folding strap (1) and
lift the rear portion of the seat cushion.
Stand the rear seat cushion vertically. 4. Remove the headrest from the rear
seatback
5. Pull up the rear seatback recline lever (2) and fold the rear seatback forward
and down firmly.
6. Stow the headrest by inserting the headrest poles into the holes on the
bottom of the seat cushion. 7. To use the rear seat, lift and push the
seatback backward by pulling up the
seatback recline lever (2). Pull the
seatback firmly until it clicks into place.
Make sure the seatback is locked in
place. Replace the headrest on the
seatback and adjust it to the desired
position.
OUN026054LOUN026055L
OUN026052OUN026053L
OUN026056L
Page 28 of 343
315
Safety features of your vehicle
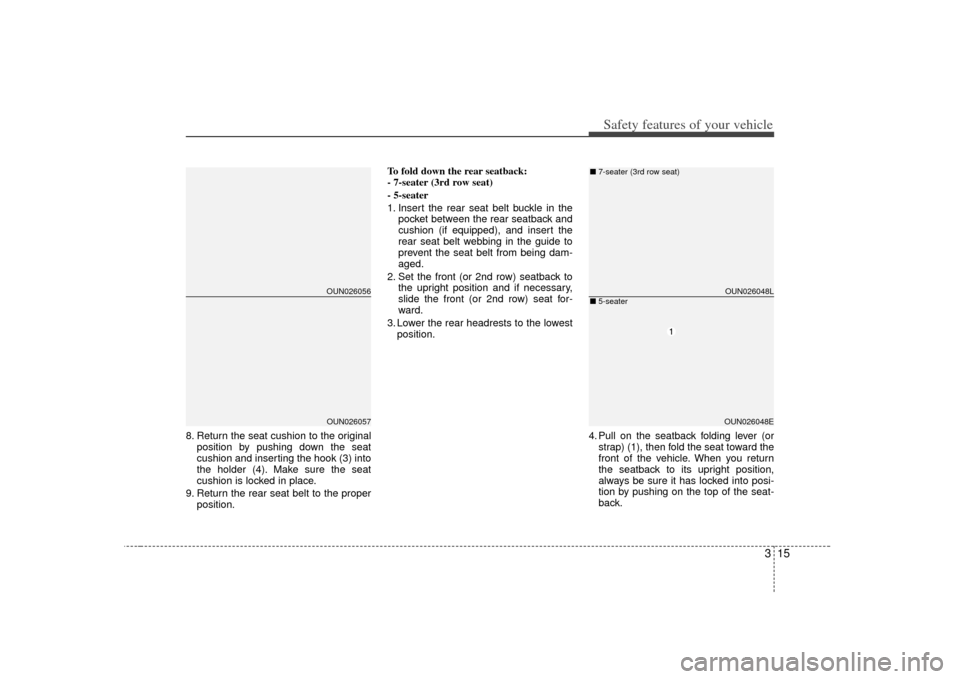
8. Return the seat cushion to the originalposition by pushing down the seat
cushion and inserting the hook (3) into
the holder (4). Make sure the seat
cushion is locked in place.
9. Return the rear seat belt to the proper position. To fold down the rear seatback:
- 7-seater (3rd row seat)
- 5-seater
1. Insert the rear seat belt buckle in the
pocket between the rear seatback and
cushion (if equipped), and insert the
rear seat belt webbing in the guide to
prevent the seat belt from being dam-
aged.
2. Set the front (or 2nd row) seatback to the upright position and if necessary,
slide the front (or 2nd row) seat for-
ward.
3. Lower the rear headrests to the lowest position.
4. Pull on the seatback folding lever (orstrap) (1), then fold the seat toward the
front of the vehicle. When you return
the seatback to its upright position,
always be sure it has locked into posi-
tion by pushing on the top of the seat-
back.
OUN026056OUN026057
OUN026048LOUN026048E
■ 7-seater (3rd row seat)■5-seater
Page 38 of 343
325
Safety features of your vehicle
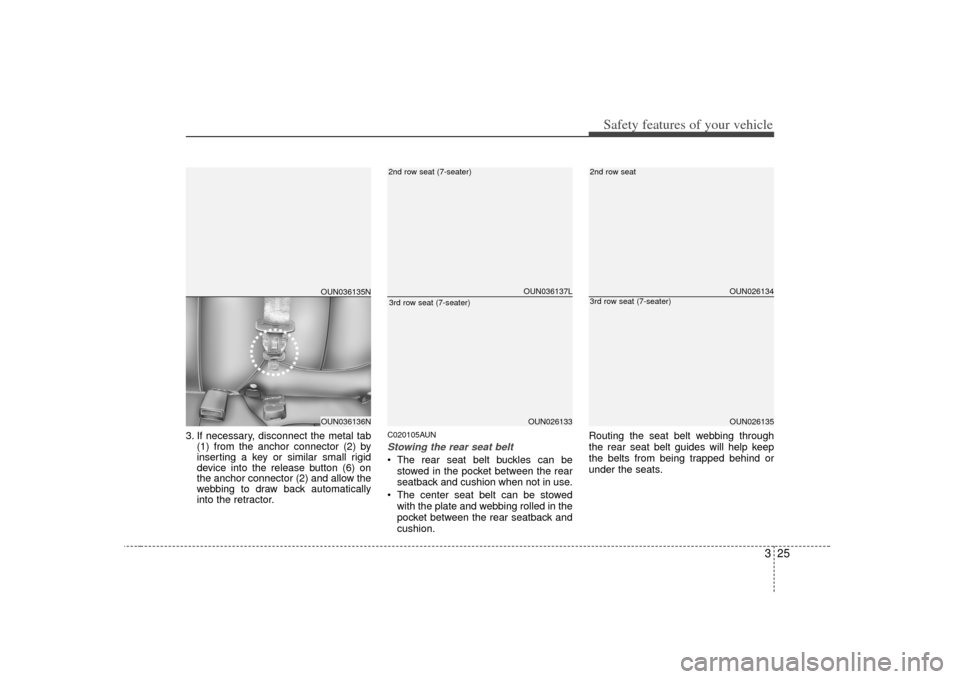
3. If necessary, disconnect the metal tab(1) from the anchor connector (2) by
inserting a key or similar small rigid
device into the release button (6) on
the anchor connector (2) and allow the
webbing to draw back automatically
into the retractor.
C020105AUNStowing the rear seat belt The rear seat belt buckles can be
stowed in the pocket between the rear
seatback and cushion when not in use.
The center seat belt can be stowed with the plate and webbing rolled in the
pocket between the rear seatback and
cushion. Routing the seat belt webbing through
the rear seat belt guides will help keep
the belts from being trapped behind or
under the seats.
OUN036137LOUN026133
2nd row seat (7-seater)3rd row seat (7-seater)
OUN026134OUN026135
2nd row seat3rd row seat (7-seater)
OUN036136NOUN036135N
Page 49 of 343
Safety features of your vehicle36
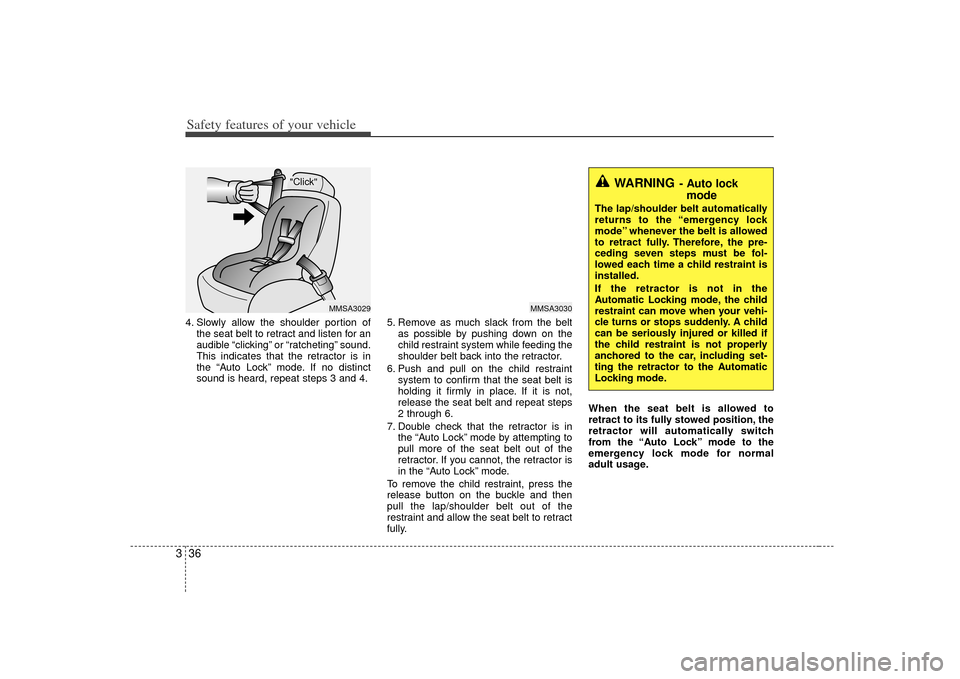
34. Slowly allow the shoulder portion of
the seat belt to retract and listen for an
audible “clicking” or “ratcheting” sound.
This indicates that the retractor is in
the “Auto Lock” mode. If no distinct
sound is heard, repeat steps 3 and 4. 5. Remove as much slack from the belt
as possible by pushing down on the
child restraint system while feeding the
shoulder belt back into the retractor.
6. Push and pull on the child restraint system to confirm that the seat belt is
holding it firmly in place. If it is not,
release the seat belt and repeat steps
2 through 6.
7. Double check that the retractor is in the “Auto Lock” mode by attempting to
pull more of the seat belt out of the
retractor. If you cannot, the retractor is
in the “Auto Lock” mode.
To remove the child restraint, press the
release button on the buckle and then
pull the lap/shoulder belt out of the
restraint and allow the seat belt to retract
fully. When the seat belt is allowed to
retract to its fully stowed position, the
retractor will automatically switch
from the “Auto Lock” mode to the
emergency lock mode for normal
adult usage.
"Click"
MMSA3029
MMSA3030
WARNING
- Auto lock
mode
The lap/shoulder belt automatically
returns to the “emergency lock
mode” whenever the belt is allowed
to retract fully. Therefore, the pre-
ceding seven steps must be fol-
lowed each time a child restraint is
installed.
If the retractor is not in the
Automatic Locking mode, the child
restraint can move when your vehi-
cle turns or stops suddenly. A child
can be seriously injured or killed if
the child restraint is not properly
anchored to the car, including set-
ting the retractor to the Automatic
Locking mode.
Page 58 of 343
345
Safety features of your vehicle
1KMN3663
1KMN36641KMN3665
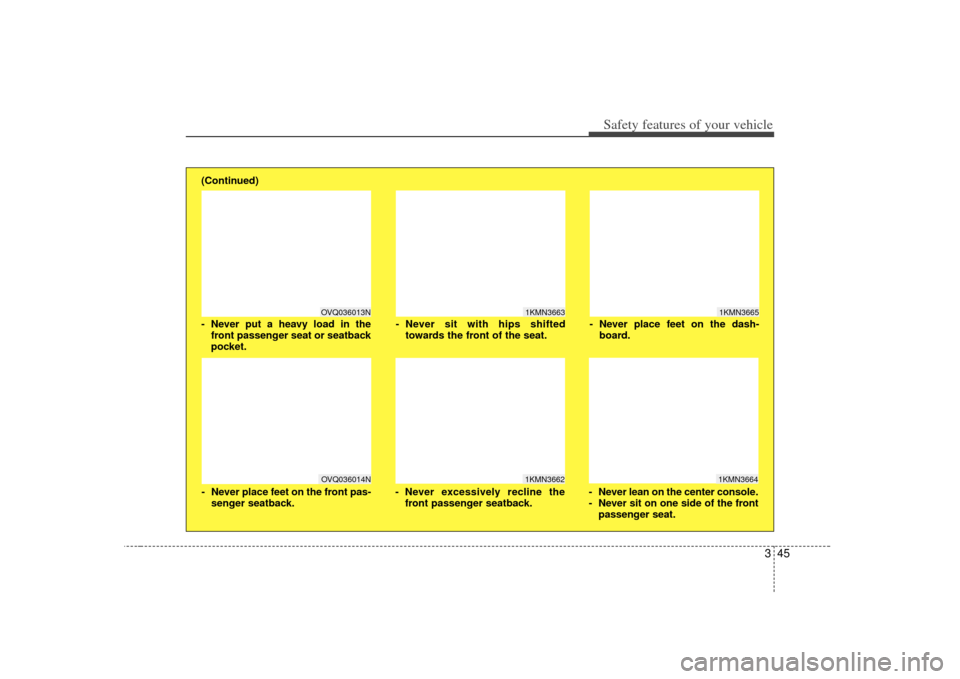
- Never sit with hips shiftedtowards the front of the seat.
- Never lean on the center console.
- Never sit on one side of the frontpassenger seat.
- Never place feet on the dash-
board.
OVQ036013N
1KMN3662
- Never put a heavy load in thefront passenger seat or seatback
pocket.
- Never excessively recline thefront passenger seatback.
OVQ036014N
- Never place feet on the front pas-senger seatback.
(Continued)
Page 77 of 343
Safety features of your vehicle64
3C041100AUNSRS CareThe SRS is virtually maintenance-free
and so there are no parts you can safely
service by yourself. If the SRS "AIR BAG"
warning light does not illuminate, or con-
tinuously remains on, have your vehicle
immediately inspected by an authorized
KIA dealer.
Any work on the SRS system, such as
removing, installing, repairing, or any
work on the steering wheel must be per-
formed by an authorized KIA dealer.
Improper handling of the SRS system
may result in serious personal injury.
WARNING
Modification to SRS components
or wiring, including the addition
of any kind of badges to the pad
covers or modifications to the
body structure, can adversely
affect SRS performance and lead
to possible injury.
For cleaning the air bag pad cov- ers, use only a soft, dry cloth or
one which has been moistened
with plain water. Solvents or
cleaners could adversely affect
the air bag covers and proper
deployment of the system.
No objects should be placed over
or near the air bag modules on the
steering wheel, instrument panel,
and the front passenger's panel
above the glove box, because any
such object could cause harm if the
vehicle is in a crash severe enough
to cause the air bags to inflate.
(Continued)
(Continued)
If the air bags inflate, they must be replaced by an authorized KIA
dealer.
Do not tamper with or disconnect SRS wiring, or other components
of the SRS system. Doing so
could result in injury, due to acci-
dental inflation of the air bags or
by rendering the SRS inopera-
tive.
If components of the air bag sys- tem must be discarded, or if the
vehicle must be scrapped, certain
safety precautions must be
observed. An authorized KIA
dealer knows these precautions
and can give you the necessary
information. Failure to follow
these precautions and proce-
dures could increase the risk of
personal injury.
If your car was flooded and has soaked carpeting or water on
flooring, you shouldn't try to start
the engine; have the car towed to
an authorized KIA dealer.
Page 90 of 343
411
Features of your vehicle
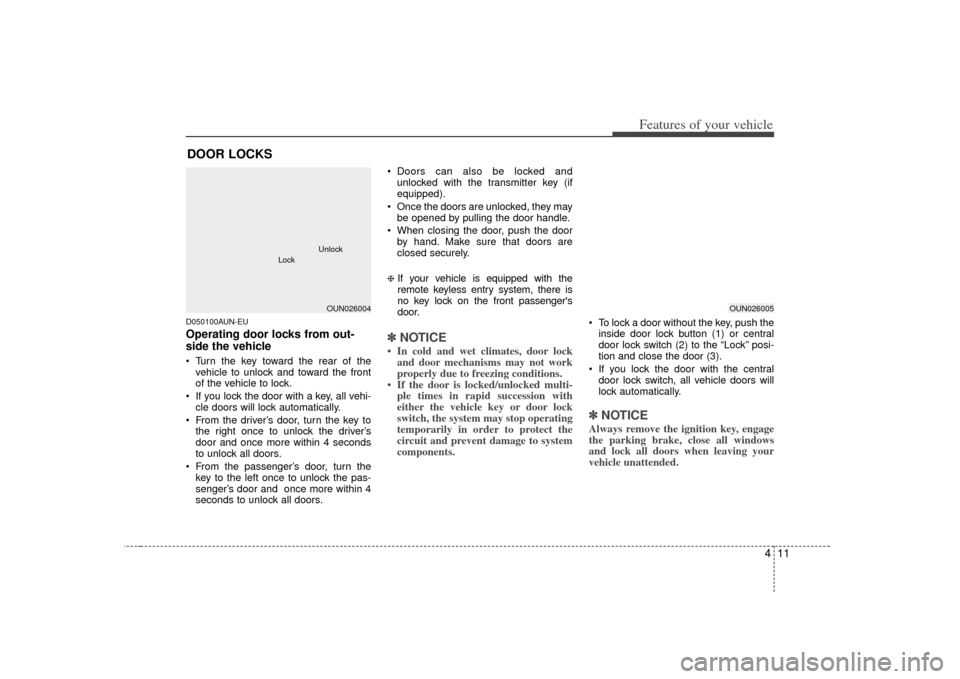
D050100AUN-EUOperating door locks from out-
side the vehicle Turn the key toward the rear of thevehicle to unlock and toward the front
of the vehicle to lock.
If you lock the door with a key, all vehi- cle doors will lock automatically.
From the driver’s door, turn the key to the right once to unlock the driver’s
door and once more within 4 seconds
to unlock all doors.
From the passenger’s door, turn the key to the left once to unlock the pas-
senger’s door and once more within 4
seconds to unlock all doors. Doors can also be locked and
unlocked with the transmitter key (if
equipped).
Once the doors are unlocked, they may be opened by pulling the door handle.
When closing the door, push the door by hand. Make sure that doors are
closed securely.
❈If your vehicle is equipped with the
remote keyless entry system, there is
no key lock on the front passenger's
door.✽ ✽ NOTICE• In cold and wet climates, door lock
and door mechanisms may not work
properly due to freezing conditions.
• If the door is locked/unlocked multi- ple times in rapid succession with
either the vehicle key or door lock
switch, the system may stop operating
temporarily in order to protect the
circuit and prevent damage to system
components.
To lock a door without the key, push the
inside door lock button (1) or central
door lock switch (2 ) to the “Lock” posi-
tion and close the door (3).
If you lock the door with the central door lock switch, all vehicle doors will
lock automatically.✽ ✽ NOTICEAlways remove the ignition key, engage
the parking brake, close all windows
and lock all doors when leaving your
vehicle unattended.
DOOR LOCKS
OUN026004
Lock
Unlock
OUN026005
Page 110 of 343
431
Features of your vehicle
D140100AUNInside rearview mirrorAdjust the rearview mirror to center on
the view through the rear window. Make
this adjustment before you start driving.
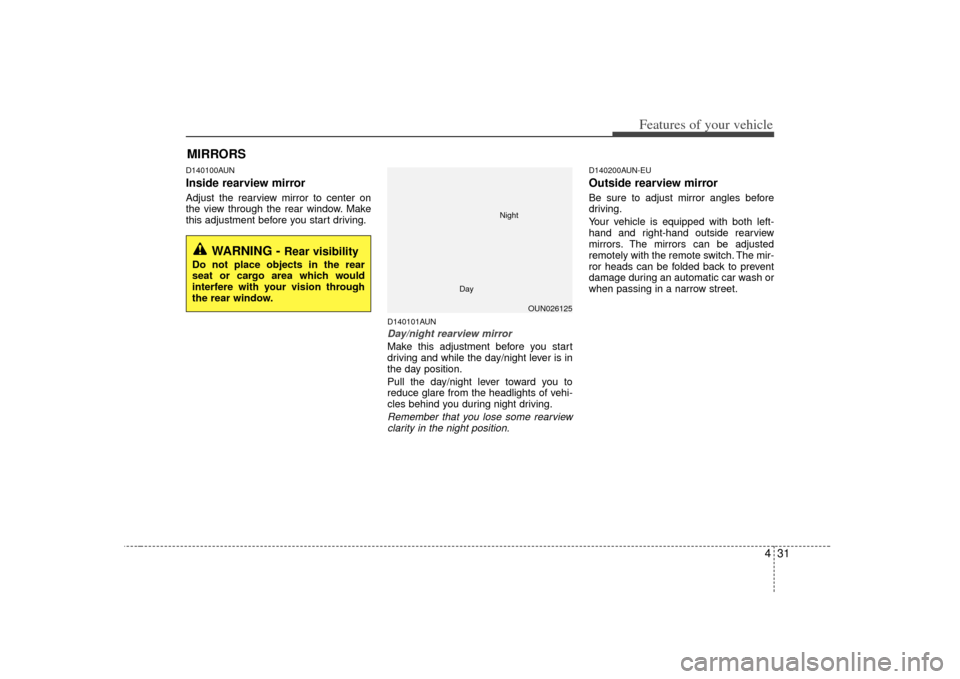
D140101AUNDay/night rearview mirror Make this adjustment before you start
driving and while the day/night lever is in
the day position.
Pull the day/night lever toward you to
reduce glare from the headlights of vehi-
cles behind you during night driving.Remember that you lose some rearviewclarity in the night position.
D140200AUN-EUOutside rearview mirror Be sure to adjust mirror angles before
driving.
Your vehicle is equipped with both left-
hand and right-hand outside rearview
mirrors. The mirrors can be adjusted
remotely with the remote switch. The mir-
ror heads can be folded back to prevent
damage during an automatic car wash or
when passing in a narrow street.
MIRRORS
WARNING -
Rear visibility
Do not place objects in the rear
seat or cargo area which would
interfere with your vision through
the rear window.
OUN026125
Day
Night
Page 112 of 343
433
Features of your vehicle
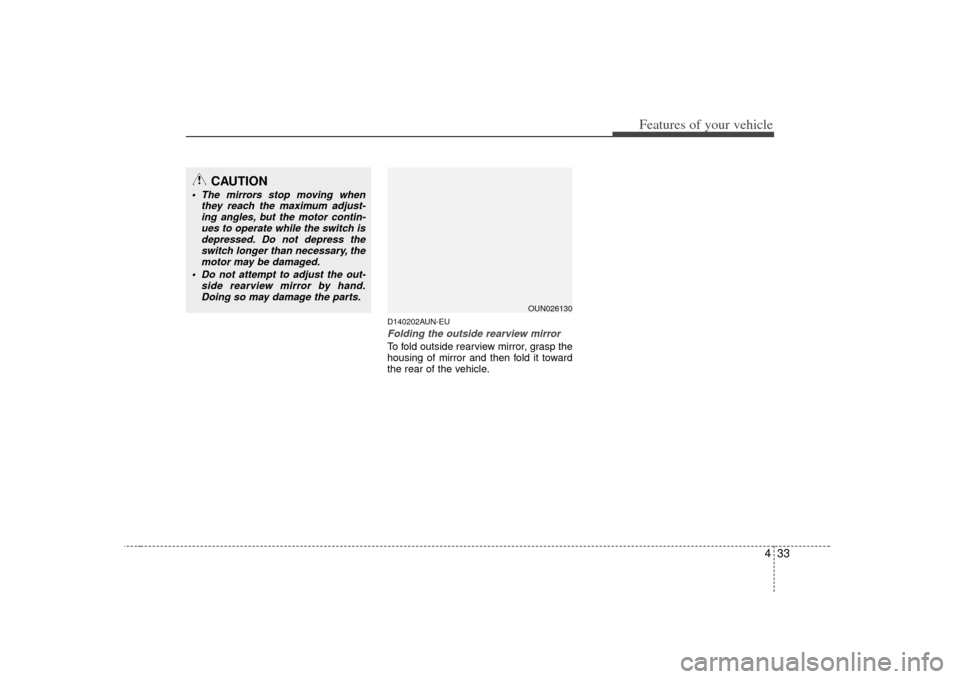
D140202AUN-EUFolding the outside rearview mirrorTo fold outside rearview mirror, grasp the
housing of mirror and then fold it toward
the rear of the vehicle.
CAUTION
The mirrors stop moving whenthey reach the maximum adjust-ing angles, but the motor contin-ues to operate while the switch is depressed. Do not depress theswitch longer than necessary, themotor may be damaged.
Do not attempt to adjust the out- side rearview mirror by hand.Doing so may damage the parts.
OUN026130