wheel bolts KIA CARNIVAL 2007 Workshop Manual
[x] Cancel search | Manufacturer: KIA, Model Year: 2007, Model line: CARNIVAL, Model: KIA CARNIVAL 2007Pages: 1575, PDF Size: 44.86 MB
Page 383 of 1575

13.Remove the starter motor by disconnecting the connector. (see EE group)
14. Using the SST(09200- 38001), hold the engine and transaxle assembly safely.
15.Remove the transaxle insulator mounting (B) bolts (A).
16.Remove the front wheels. (see SS group)
17. Lift up the vehicle.
18. Remove the power steering column joint bolt and the VRS connector (A). (see ST group)
Page 429 of 1575

11.Remove the transaxle insulator bracket (B) by removing the bolts (A).
12.Remove the front wheels and tires. (see SS group)
13. Lift up the vehicle.
14. Remove the steering column joint bolt. (see ST group).
15. Remove the under cover(A).
16.Drain power steering oil through the return tube(A). (see ST group)
Page 438 of 1575

19.Install the under cover(A).
20.Install the steering column joint bolt.(See ST group).
21. Install the front wheels and tires. (see SS group)
22. Install the transaxle insulator and mounting bracket (B) by tightening the bolts (A).
TORQUE:
60~80 Nm (6~8 kgf.m, 43.6~58.2 lb - ft)
23.remove the SST (09200- 38001) holding the engine and transaxle assembly.
TORQUE:
65~85 Nm (6.5~8.5kgf.m, 47.0~61.5 lb - ft)
Page 469 of 1575

2007 > 2.7L V6 GASOLINE >
REMOVAL
1.Raise the vehicle and remove the wheel & tire assembly (A) from the front hub assembly (B).
Tightening torque Nm (Kgf.m, lb - ft):
90 ~ 110 (9.0 ~ 11.0, 65 ~ 80)
2.Remove the wheel speed sensor & wire (A) by loosening the bolts.
3.Disconnect the brake hose (A) from the strut assembly.
4.Unstake the driveshaft lock nut using a chisel and hammer.
Page 488 of 1575

accelerating around a cornerSee DS group - driveshaft.
Front suspension noise - A squeak,
creak, or rattle noise - occurs mostly
over bumps or rough roads Steering components
Loose or bent front struts or shock
absorbers
Damaged spring or spring mounts
Damaged or worn arm bushings
Worn or damaged stabilizer bar
bushing or linksGo to detailed test A.
Groaning or grinding - noise from the
front strut, occurs when driving on
bumpy roads or turning the vehicle Uneven seating surface between the
insulator and panel by the burrs
around the strut insulator mounting
bolts and the insulator boltes
mounting holesRepair or install a new parts as
necessary.
Rear suspension noise - a squeak,
creak or rattle noise - occurs mostly
over bumps or rough roads Loose or bent rear shock absorbers
Damaged spring or spring mounts
Damaged or worn control arm
bushingsGo to detailed test B.
Shudder - occurs during acceleration
from a slow speed or stop Rear axle assembly mis - positioned
Damaged or worn front suspension
componentsCheck the axle mounts and rear
suspension for damage or wear.
Repair as necessary.
Check for a loose stabilizer bar,
damaged or loose strut/strut bushings
or loose or worn ball joints. Inspect
the steering linkage for wear or
damage. Repair or Install new
components as necessary.
Shimmy - most noticeable on
coast/deceleration - also hard steering
condition Excessive positive caster
Check the caster alignment angle.
Correct as necessary.
Tire noise - hum/moan at constant
speeds Abnormal wear patterns
Spin the tire and Check for tire wear.
Install a new tire as necessary.
Inspect for damaged/worn suspension
components. Perform wheel
alignment.
Tire noise - noise tone lowers as the
vehicle speed is lowered Out- of- balance tire
Balance the tire and road test. Install
a new tire as necessary.
Tire noise - ticking noise, change with
speed Nail puncture or stone in tire tread
Inspect the tire. Repair or replace as
necessary.
Wheel and tire - vibration and noise
concern is directly related to vehicle
speed and is not affected by
acceleration, coasting or decelerating Damaged or worn tire
Go to detailed test C.
Tire wobble or shudder - occurs at
lower speeds Damaged wheel bearings
Spin the tire and check for abnormal
wheel bearing play or roughness.
Adjust or Install new wheel bearings
as necessary.
See DS group - front/rear axle.
Damaged wheel Inspect the wheel for damage. Install
a new wheel as necessary.
Damaged or worn suspension
components Inspect the suspension components
for wear or damage. Repair as
necessary.
Page 490 of 1575

Strut and spring assembly
Spring and strut mounting
Front lower arm ball joint
Front lower arm mounting bolt
bushing
Stabilizer bar bushings
Wheel hubs and bearing
Rear suspension arms and bushings
Vehicle leans Tire/wheel
Vehicle load
Suspension components
Incorrect ride heightInflate tires to specification.
Redistribute the load as necessary.
Visually inspect the suspention
system.
Correct the ride height as necessary.
Poor steering returnability High knuckle rotating torque
AlignmentGo to detailed test E.
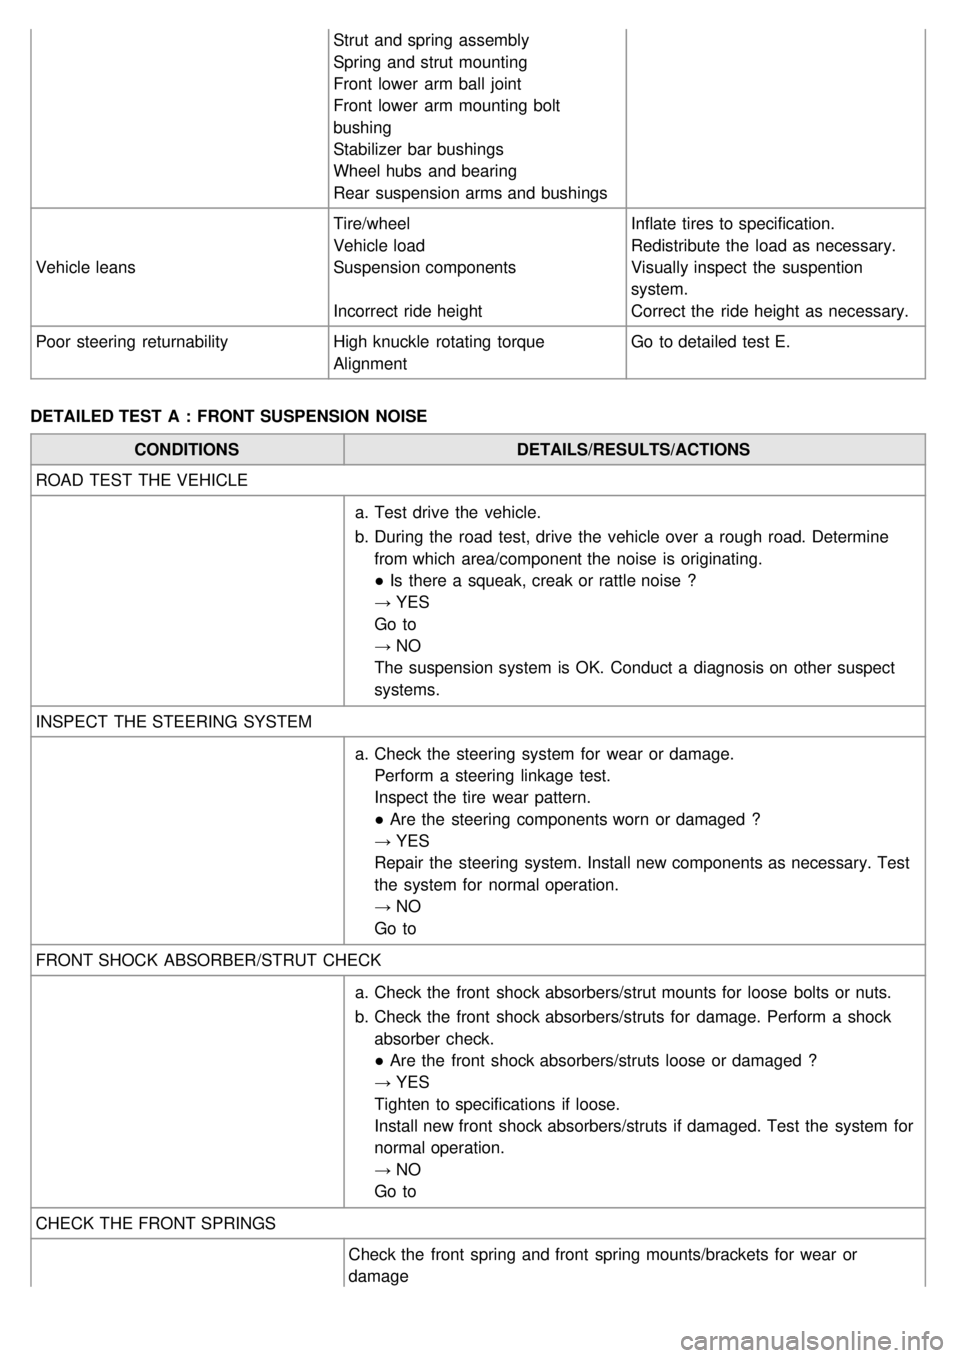
DETAILED TEST A : FRONT SUSPENSION NOISE CONDITIONS DETAILS/RESULTS/ACTIONS
ROAD TEST THE VEHICLE
a.Test drive the vehicle.
b. During the road test, drive the vehicle over a rough road. Determine
from which area/component the noise is originating.
● Is there a squeak, creak or rattle noise ?
→ YES
Go to
→ NO
The suspension system is OK. Conduct a diagnosis on other suspect
systems.
INSPECT THE STEERING SYSTEM a.Check the steering system for wear or damage.
Perform a steering linkage test.
Inspect the tire wear pattern.
● Are the steering components worn or damaged ?
→ YES
Repair the steering system. Install new components as necessary. Test
the system for normal operation.
→ NO
Go to
FRONT SHOCK ABSORBER/STRUT CHECK a.Check the front shock absorbers/strut mounts for loose bolts or nuts.
b. Check the front shock absorbers/struts for damage. Perform a shock
absorber check.
● Are the front shock absorbers/struts loose or damaged ?
→ YES
Tighten to specifications if loose.
Install new front shock absorbers/struts if damaged. Test the system for
normal operation.
→ NO
Go to
CHECK THE FRONT SPRINGS Check the front spring and front spring mounts/brackets for wear or
damage
Page 492 of 1575

operation.
→ NO
Go toB4.
CHECK THE TRAILING ARMS
a.Inspect the trailing arm bushings for wear or damage. Check for loose
trailing arm bolts.
b. Inspect for twisted or bent trailing arms.
● Are the trailing arms loose, damaged or worn ?
→ YES
Repair or Install new components as necessary. Test the system for
normal operation.
→ NO
Suspension system is OK. Conduct diagnosis on other suspect systems.
DETAILED TEST C : WHEEL AND TIRE CONDITIONS DETAILS/RESULTS/ACTIONS
ROAD TEST THE VEHICLE
Wheel or tire vibrations felt in the steering wheel are most likely related
to the front wheel or tire. Vibration felt through the seat are most likely
related to the rear wheel or tire. This may not always be true, but it can
help to isolate the problem to the front or rear of the vehicle.
Test drive the vehicle at different speed ranges.
During the road test, if the vibration can be eliminated by placing the
vehicle in neutral or is affected by the speed of the engine, the cause is not
the wheels or tires.
● Is there a vibration and noise ?
→ YES
Go to C2.
→ NO
The wheel and tires are OK. Conduct a diagnosis on other suspect
systems.
CHECK THE FRONT WHEEL BEARINGS Check the front wheel bearings.
Refer to Wheel Bearing Check (See DS group - front axle).
● Are the wheel bearings OK ?
→ YES
Go to C3.
→ NO
Inspect the wheel bearings. Adjust or Repair as necessary. Test the system
for normal operation.
INSPECT THE TIRES
a.Check the tires for missing weights.
b. Check the wheels for damage.
Page 498 of 1575

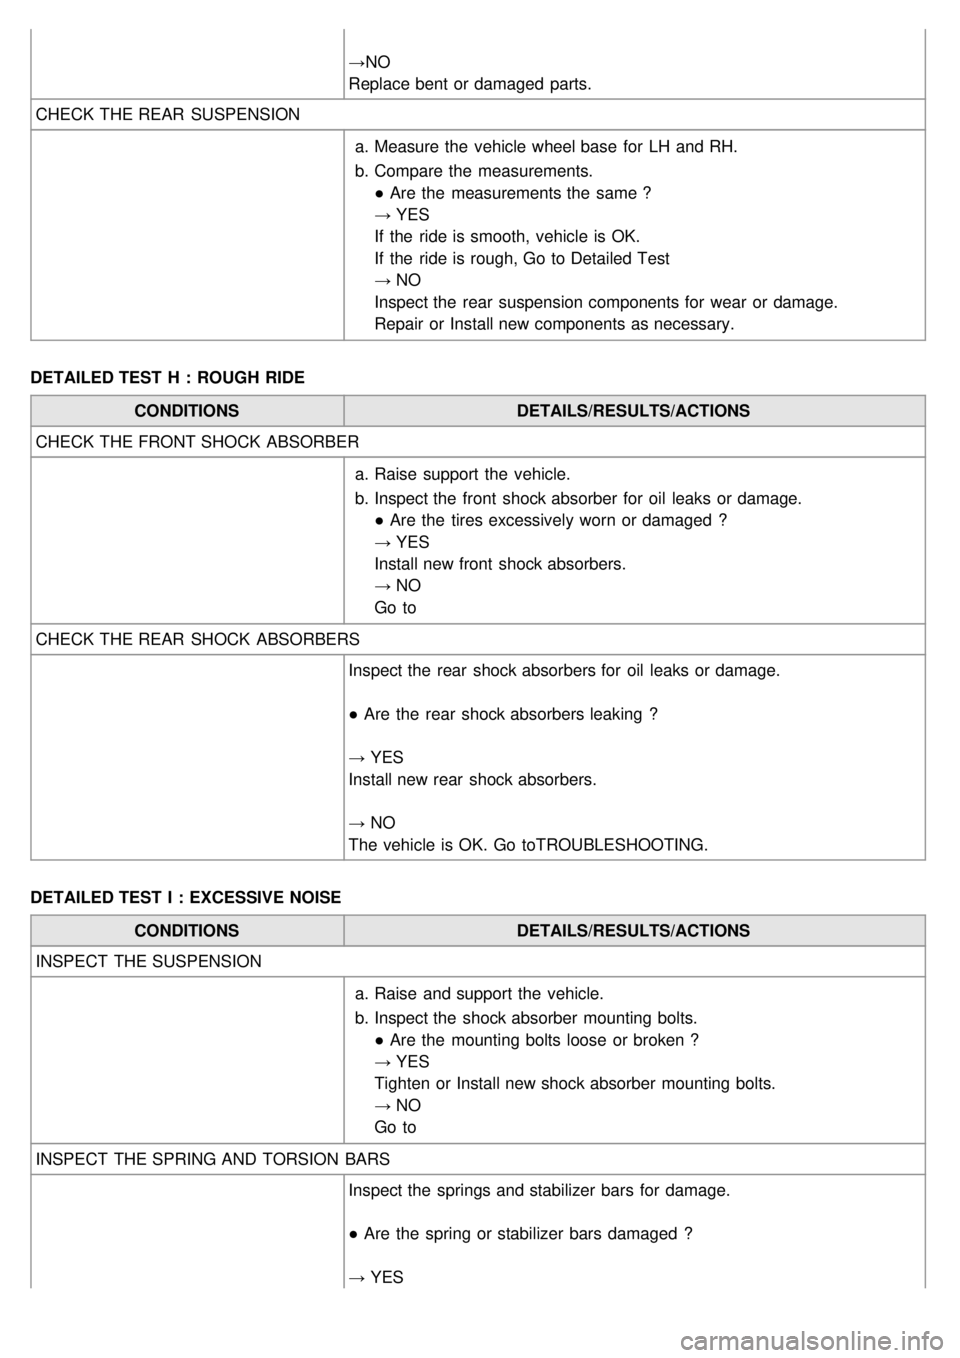
→NO
Replace bent or damaged parts.
CHECK THE REAR SUSPENSION
a.Measure the vehicle wheel base for LH and RH.
b. Compare the measurements.
● Are the measurements the same ?
→ YES
If the ride is smooth, vehicle is OK.
If the ride is rough, Go to Detailed Test
→ NO
Inspect the rear suspension components for wear or damage.
Repair or Install new components as necessary.
DETAILED TEST H : ROUGH RIDE CONDITIONS DETAILS/RESULTS/ACTIONS
CHECK THE FRONT SHOCK ABSORBER
a.Raise support the vehicle.
b. Inspect the front shock absorber for oil leaks or damage.
● Are the tires excessively worn or damaged ?
→ YES
Install new front shock absorbers.
→ NO
Go to
CHECK THE REAR SHOCK ABSORBERS Inspect the rear shock absorbers for oil leaks or damage.
● Are the rear shock absorbers leaking ?
→ YES
Install new rear shock absorbers.
→ NO
The vehicle is OK. Go to TROUBLESHOOTING.
DETAILED TEST I : EXCESSIVE NOISE CONDITIONS DETAILS/RESULTS/ACTIONS
INSPECT THE SUSPENSION
a.Raise and support the vehicle.
b. Inspect the shock absorber mounting bolts.
● Are the mounting bolts loose or broken ?
→ YES
Tighten or Install new shock absorber mounting bolts.
→ NO
Go to
INSPECT THE SPRING AND TORSION BARS Inspect the springs and stabilizer bars for damage.
● Are the spring or stabilizer bars damaged ?
→ YES
Install new spring and/or stabilizer bars.
Page 509 of 1575

2007 > 2.7L V6 GASOLINE >
REMOVAL
1.Loosen the wheel nuts slightly.
Raise the front of the vehicle, and make sure it is securely supported.
2. Remove the front wheel and tire (A) from front hub (B).
Be careful not to damage to the hub bolts (C) when removing the front wheel and tire (A).
3. Remove the brake hose bracket bolt (A, B) from the front strtu assembly.
4.Remove the speed sensor (A) and wire (B) bolts from the front knuckle.
5.Remove the front stabilizer link (A) nut (B) from the strut assembly.
Page 512 of 1575

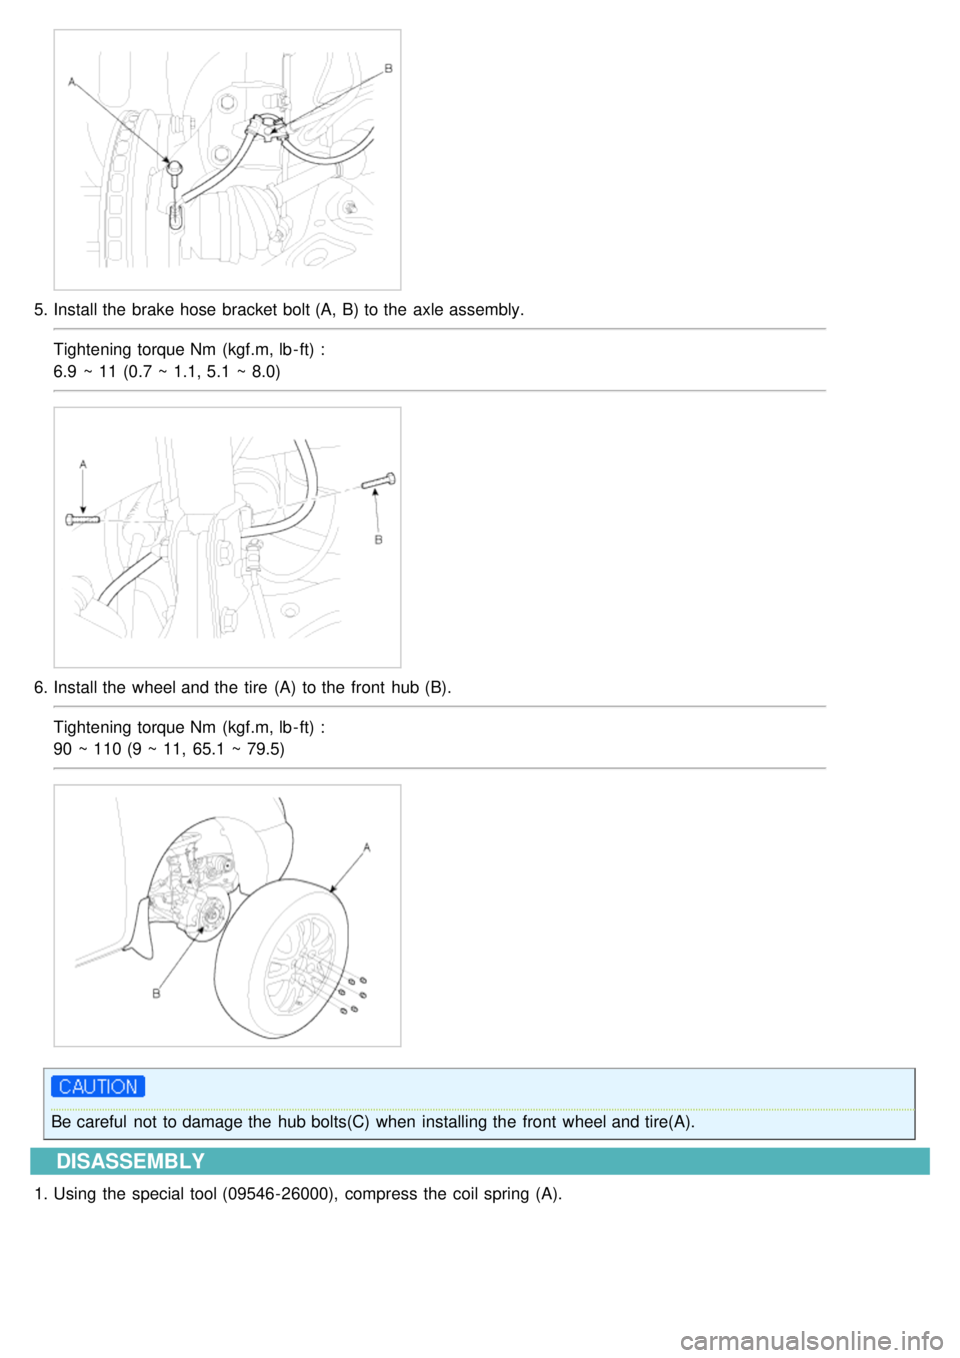
5.Install the brake hose bracket bolt (A, B) to the axle assembly.
Tightening torque Nm (kgf.m, lb - ft) :
6.9 ~ 11 (0.7 ~ 1.1, 5.1 ~ 8.0)
6.Install the wheel and the tire (A) to the front hub (B).
Tightening torque Nm (kgf.m, lb - ft) :
90 ~ 110 (9 ~ 11, 65.1 ~ 79.5)
Be careful not to damage the hub bolts(C) when installing the front wheel and tire(A).
DISASSEMBLY
1.Using the special tool (09546- 26000), compress the coil spring (A).