KIA CERATO 2006 Owners Manual
Manufacturer: KIA, Model Year: 2006, Model line: CERATO, Model: KIA CERATO 2006Pages: 315, PDF Size: 11.29 MB
Page 111 of 315
Knowing your vehicle
100
3
1 23456789
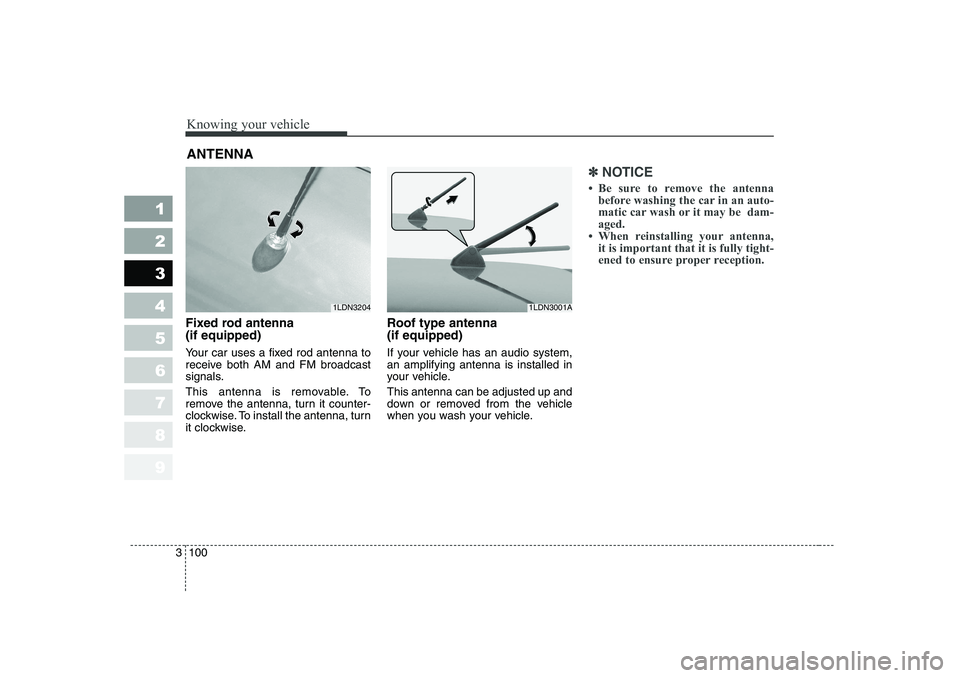
Fixed rod antenna (if equipped)
Your car uses a fixed rod antenna to
receive both AM and FM broadcast
signals.
This antenna is removable. To
remove the antenna, turn it counter-
clockwise. To install the antenna, turn
it clockwise. Roof type antenna (if equipped)
If your vehicle has an audio system, an amplifying antenna is installed in
your vehicle. This antenna can be adjusted up and
down or removed from the vehicle
when you wash your vehicle.
✽✽
NOTICE
Page 112 of 315
3 101
1 23456789
Knowing your vehicle
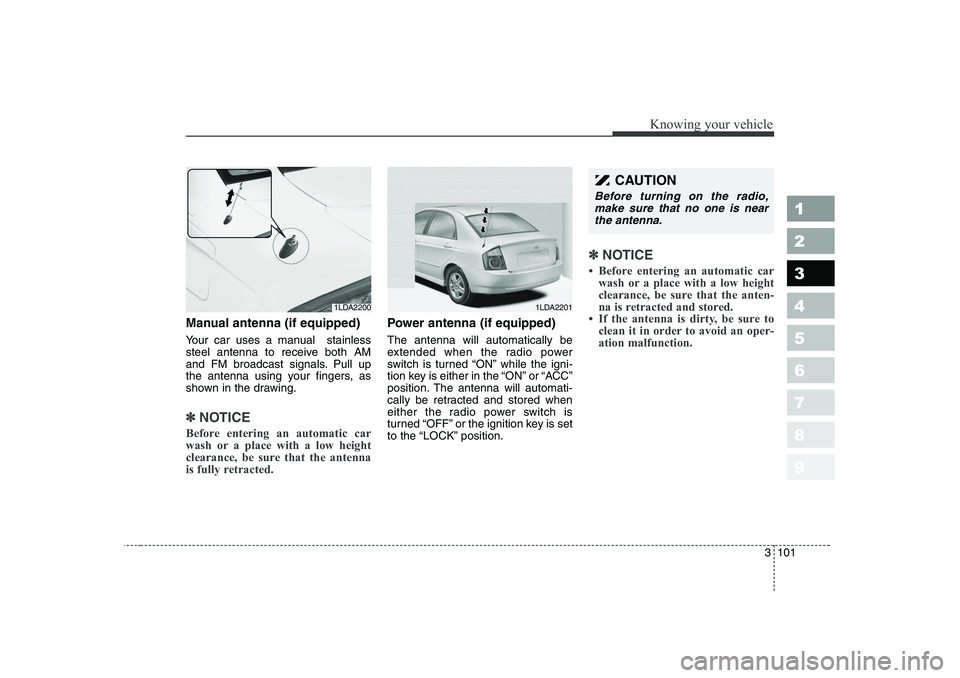
Manual antenna (if equipped)
Your car uses a manual stainless
steel antenna to receive both AM
and FM broadcast signals. Pull up
the antenna using your fingers, as
shown in the drawing.
✽✽NOTICE
Before entering an automatic car
wash or a place with a low height
clearance, be sure that the antenna
is fully retracted.
Power antenna (if equipped) The antenna will automatically be
extended when the radio power
switch is turned “ON” while the igni-
tion key is either in the “ON” or “ACC”
position. The antenna will automati-
cally be retracted and stored when
either the radio power switch is
turned “OFF” or the ignition key is set
to the “LOCK” position.
✽✽ NOTICE
Page 113 of 315
1 23456789Ignition switch / 4-2
Starting the engine / 4-4Manual transaxle / 4-7Automatic transaxle / 4-8Brake system / 4-15
Steering wheel / 4-22
Cruise control / 4-25
Traction control system / 4-30
Instrument cluster / 4-33Gauges / 4-34
Warnings and indicators / 4-38Lighting / 4-46
Wipers and washers / 4-52
Defroster / 4-55
Hazard warning flasher / 4-56
Manual climate control system / 4-57
Automatic climate control system / 4-66
Windshield defrosting and defogging / 4-79Theft-alarm system / 4-84
Driving your vehicle
Page 114 of 315
Driving your vehicle
2
4
1 23456789
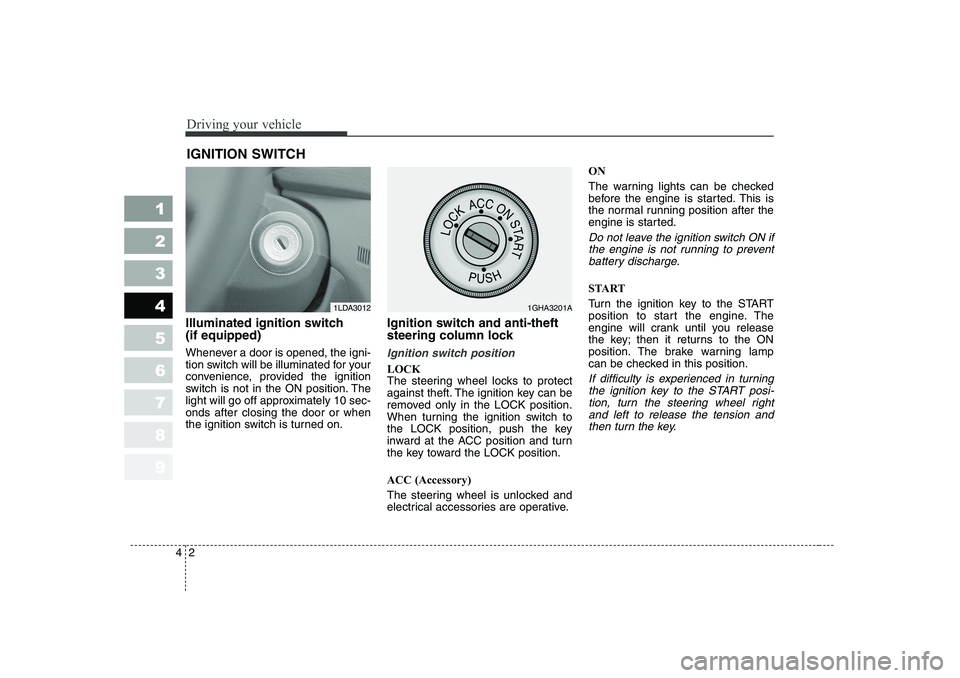
Illuminated ignition switch (if equipped)
Whenever a door is opened, the igni-
tion switch will be illuminated for your
convenience, provided the ignition
switch is not in the ON position. The
light will go off approximately 10 sec-onds after closing the door or when
the ignition switch is turned on. Ignition switch and anti-theft
steering column lock
Ignition switch position
LOCK
The steering wheel locks to protect
against theft. The ignition key can be
removed only in the LOCK position.
When turning the ignition switch to
the LOCK position, push the key
inward at the ACC position and turn
the key toward the LOCK position. ACC (Accessory)
The steering wheel is unlocked and
electrical accessories are operative.ON
The warning lights can be checked
before the engine is started. This is
the normal running position after the
engine is started.
Do not leave the ignition switch ON if
the engine is not running to preventbattery discharge.
START
Turn the ignition key to the START
position to start the engine. The
engine will crank until you release
the key; then it returns to the ON
position. The brake warning lamp
can be checked in this position.
If difficulty is experienced in turning the ignition key to the START posi-tion, turn the steering wheel rightand left to release the tension and then turn the key.
IGNITION SWITCH
1LDA30121GHA3201A
Page 115 of 315
43
1 23456789
Driving your vehicle
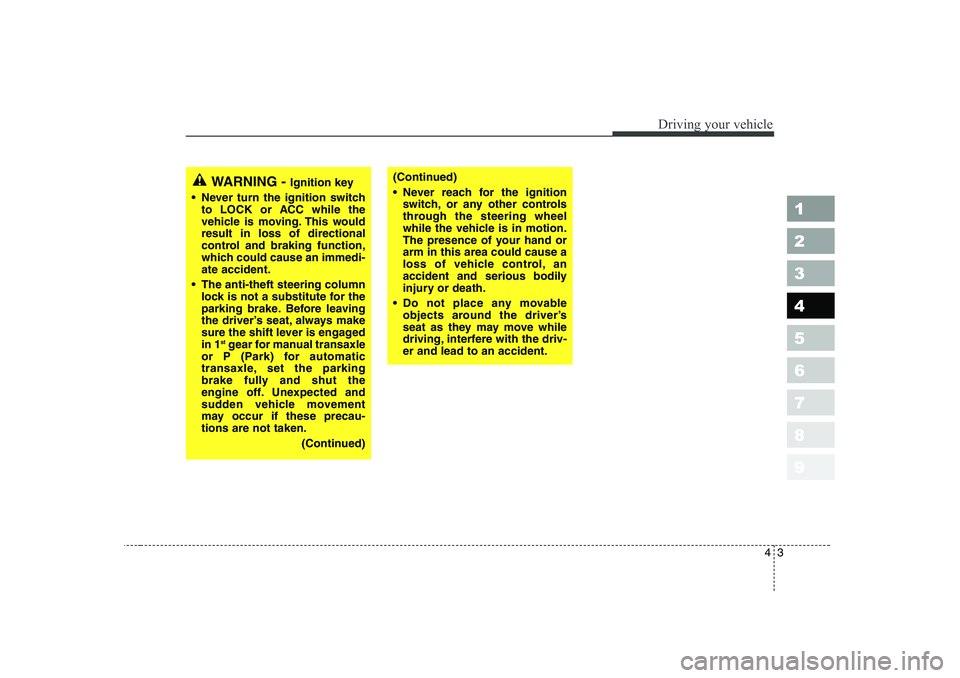
WARNING - Ignition key
• Never turn the ignition switch to LOCK or ACC while the
vehicle is moving. This wouldresult in loss of directional
control and braking function,
which could cause an immedi-ate accident.
The anti-theft steering column lock is not a substitute for the
parking brake. Before leaving
the driver’s seat, always make
sure the shift lever is engagedin 1 st
gear for manual transaxle
or P (Park) for automatic
transaxle, set the parking
brake fully and shut the
engine off. Unexpected and
sudden vehicle movement
may occur if these precau-tions are not taken.
(Continued)(Continued)
Never reach for the ignitionswitch, or any other controls
through the steering wheel
while the vehicle is in motion.
The presence of your hand orarm in this area could cause a
loss of vehicle control, an
accident and serious bodily
injury or death.
Do not place any movable objects around the driver’s
seat as they may move while
driving, interfere with the driv-er and lead to an accident.
Page 116 of 315
Driving your vehicle
4
4
1 23456789
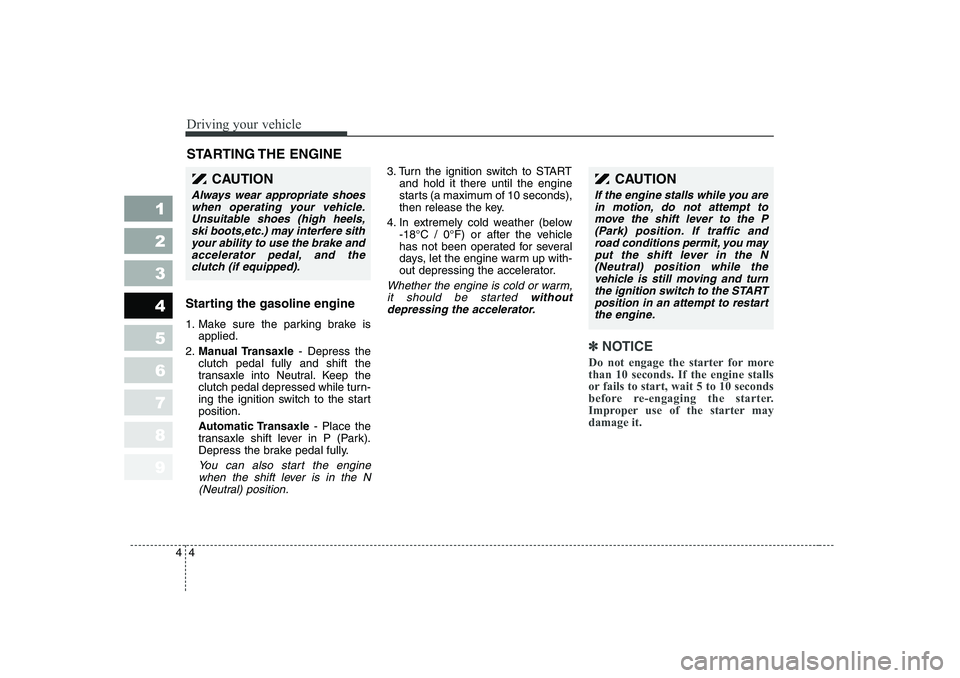
Starting the gasoline engine
1. Make sure the parking brake is
applied.
2. Manual Transaxle - Depress the
clutch pedal fully and shift the
transaxle into Neutral. Keep the
clutch pedal depressed while turn-
ing the ignition switch to the startposition.
Automatic Transaxle - Place the
transaxle shift lever in P (Park).
Depress the brake pedal fully.
You can also start the engine
when the shift lever is in the N(Neutral) position.
3. Turn the ignition switch to START and hold it there until the engine
starts (a maximum of 10 seconds),
then release the key.
4. In extremely cold weather (below -18°C / 0°F) or after the vehicle
has not been operated for several
days, let the engine warm up with-
out depressing the accelerator.
Whether the engine is cold or warm,
it should be started without
depressing the accelerator.
✽✽
NOTICE
Do not engage the starter for more than 10 seconds. If the engine stalls
or fails to start, wait 5 to 10 seconds
before re-engaging the starter.
Improper use of the starter maydamage it.
STARTING THE ENGINE
CAUTION
If the engine stalls while you are in motion, do not attempt tomove the shift lever to the P(Park) position. If traffic and road conditions permit, you mayput the shift lever in the N(Neutral) position while thevehicle is still moving and turn the ignition switch to the STARTposition in an attempt to restartthe engine.
CAUTION
Always wear appropriate shoeswhen operating your vehicle.Unsuitable shoes (high heels, ski boots,etc.) may interfere sithyour ability to use the brake andaccelerator pedal, and theclutch (if equipped).
Page 117 of 315
45
1 23456789
Driving your vehicle
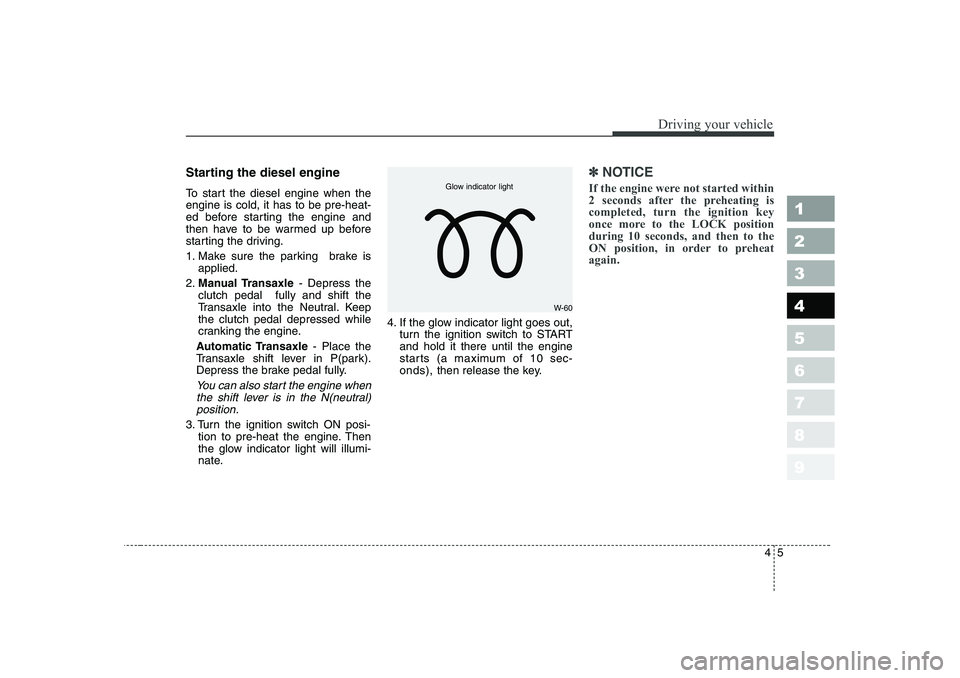
Starting the diesel engine
To start the diesel engine when the engine is cold, it has to be pre-heat-
ed before starting the engine and
then have to be warmed up before
starting the driving.
1. Make sure the parking brake isapplied.
2. Manual Transaxle - Depress the
clutch pedal fully and shift the
Transaxle into the Neutral. Keepthe clutch pedal depressed while
cranking the engine.
Automatic Transaxle - Place the
Transaxle shift lever in P(park).
Depress the brake pedal fully.
You can also start the engine when
the shift lever is in the N(neutral) position.
3. Turn the ignition switch ON posi- tion to pre-heat the engine. Then
the glow indicator light will illumi-
nate. 4. If the glow indicator light goes out,
turn the ignition switch to STARTand hold it there until the engine
starts (a maximum of 10 sec-onds), then release the key.
✽✽
NOTICE
If the engine were not started within
2 seconds after the preheating iscompleted, turn the ignition key
once more to the LOCK positionduring 10 seconds, and then to the
ON position, in order to preheatagain.
W-60
Glow indicator light
Page 118 of 315
Driving your vehicle
6
4
1 23456789
Starting and stopping the
engine for turbo charger
intercooler
1. Do not race or accelerate the
engine immediately after starting.
If the engine is cold, allow the
engine to idle for several seconds
before it is driven to ensure suffi-
cient lubrication of the turbocharger unit.
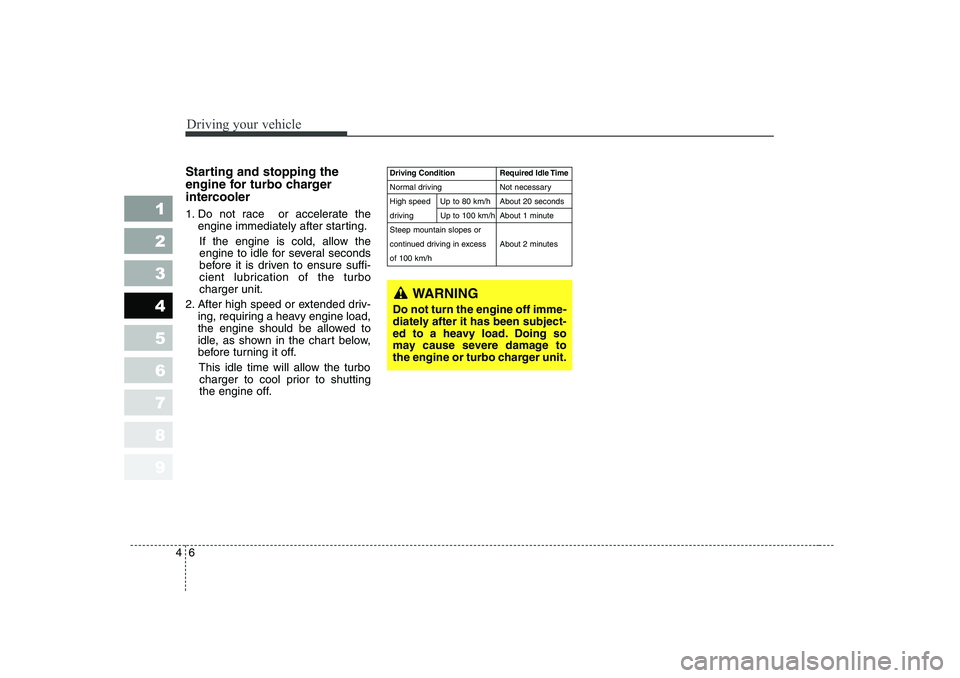
2. After high speed or extended driv- ing, requiring a heavy engine load,
the engine should be allowed to
idle, as shown in the chart below,
before turning it off.
This idle time will allow the turbocharger to cool prior to shutting
the engine off.
WARNING
Do not turn the engine off imme-
diately after it has been subject-
ed to a heavy load. Doing so
may cause severe damage to
the engine or turbo charger unit.
Driving Condition Required Idle Time
Normal driving Not necessary
High speed Up to 80 km/h About 20 seconds
driving Up to 100 km/h About 1 minuteSteep mountain slopes or
continued driving in excess About 2 minutesof 100 km/h
Page 119 of 315
47
1 23456789
Driving your vehicle
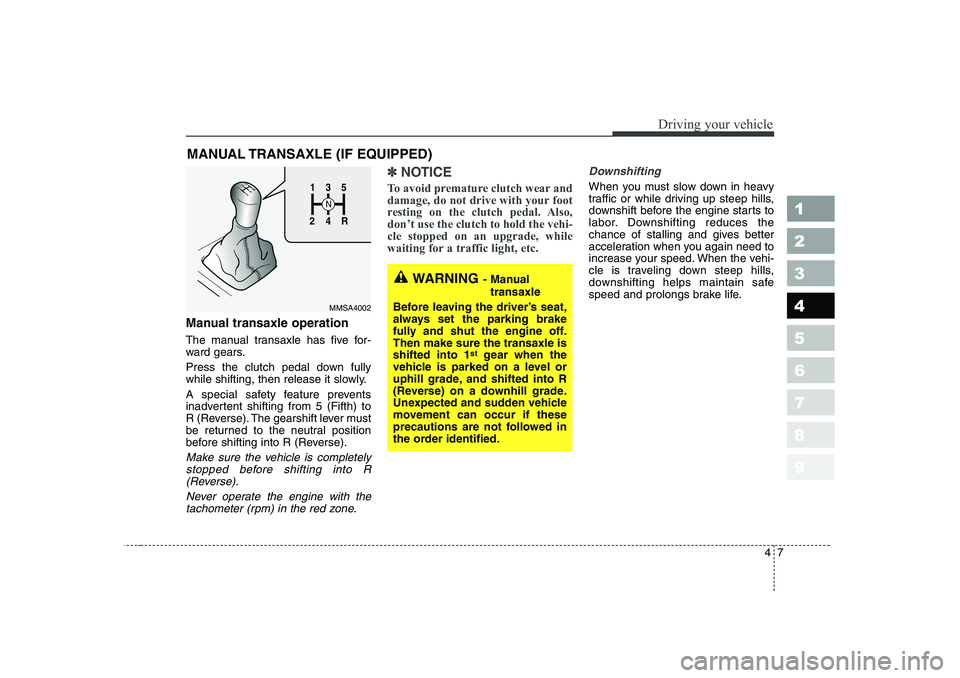
Manual transaxle operation
The manual transaxle has five for-
ward gears.
Press the clutch pedal down fully
while shifting, then release it slowly.
A special safety feature prevents
inadvertent shifting from 5 (Fifth) to
R (Reverse). The gearshift lever must
be returned to the neutral position
before shifting into R (Reverse).
Make sure the vehicle is completelystopped before shifting into R (Reverse).
Never operate the engine with thetachometer (rpm) in the red zone.
✽✽ NOTICE
To avoid premature clutch wear and
damage, do not drive with your foot
resting on the clutch pedal. Also,don’t use the clutch to hold the vehi-cle stopped on an upgrade, while
waiting for a traffic light, etc.Downshifting
When you must slow down in heavy
traffic or while driving up steep hills,
downshift before the engine starts to
labor. Downshifting reduces the
chance of stalling and gives better
acceleration when you again need to
increase your speed. When the vehi-
cle is traveling down steep hills,
downshifting helps maintain safe
speed and prolongs brake life.
MANUAL TRANSAXLE (IF EQUIPPED)1
2 4
R
3
S
N
135
R
4
2
MMSA4002
WARNING - Manual
transaxle
Before leaving the driver ’s seat,
always set the parking brake
fully and shut the engine off.Then make sure the transaxle isshifted into 1 st
gear when the
vehicle is parked on a level or
uphill grade, and shifted into R
(Reverse) on a downhill grade.
Unexpected and sudden vehicle
movement can occur if these
precautions are not followed in
the order identified.
Page 120 of 315
Driving your vehicle
8
4
1 23456789
AUTOMATIC TRANSAXLE (IF EQUIPPED)
1LDE3019
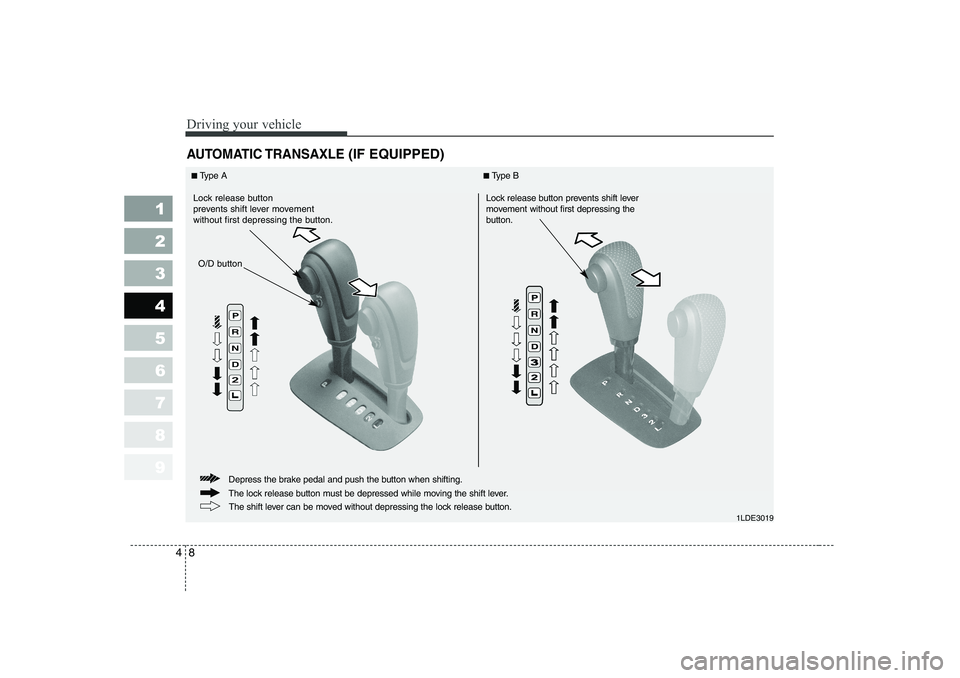
The lock release button must be depressed while moving the shift lever.
Depress the brake pedal and push the button when shifting.
The shift lever can be moved without depressing the lock release button.
■ Type A ■ Type B
Lock release button prevents shift lever
movement without first depressing the
button.
Lock release button
prevents shift lever movement
without first depressing the button.
O/D button