brakes KIA Optima 2006 2.G Owner's Manual
[x] Cancel search | Manufacturer: KIA, Model Year: 2006, Model line: Optima, Model: KIA Optima 2006 2.GPages: 225, PDF Size: 3.77 MB
Page 6 of 225
1-3
VEHICLE BREAK-IN
PROCESSNo special break-in period is needed.
By following a few simple precautions
for the first 1,000 km (600 miles) you
may add to the performance, economy
and life of your vehicle.
Do not race the engine.
Do not maintain a single speed for
long periods of time, either fast or
slow. Varying engine speeds are
beneficial for proper engine break-in.
Avoid hard stops, except in
emergencies, to allow the brakes to
seat properly.
Avoid full-throttle starts.
MS-CNA-Eng 1.QXD 7/25/2005 5:14 PM Page 3
Page 87 of 225

AUTOMATIC TRANSAXLE
OPERATIONAll normal forward driving is done with
the shift lever in the D (Drive) position.
To move the shift lever from the P (Park)
position, the ignition switch must be in
the ON position, the brake pedal must be
depressed, and the lock release button
must be depressed.
For smooth operation, depress the brake
pedal when shifting from N (Neutral) to
a forward or Reverse gear.
DRIVING YOUR VEHICLE
4-8
CAUTION
• Do not accelerate the engine in R
(Reverse) or any of the forward
positions with the brakes on.
When stopped on an upgrade,
do not hold the vehicle station-
ary with engine power. Use the
service brake or the parking
brake.
Do not shift from N (Neutral) or
P (Park) into D (Drive) or R
(Reverse) when the engine is
above idle speed.
WARNING - Automatic
Transaxle
Before leaving the driver’s seat,
always make sure the shift
lever is in the P (park) position;
then set the parking brake fully
and shut the engine off.
Unexpected and sudden vehicle
movement can occur if these
precautions are not followed in
the order identified.
MS-CNA-Eng 4(~39).QXD 7/25/2005 5:16 PM Page 8
Page 88 of 225
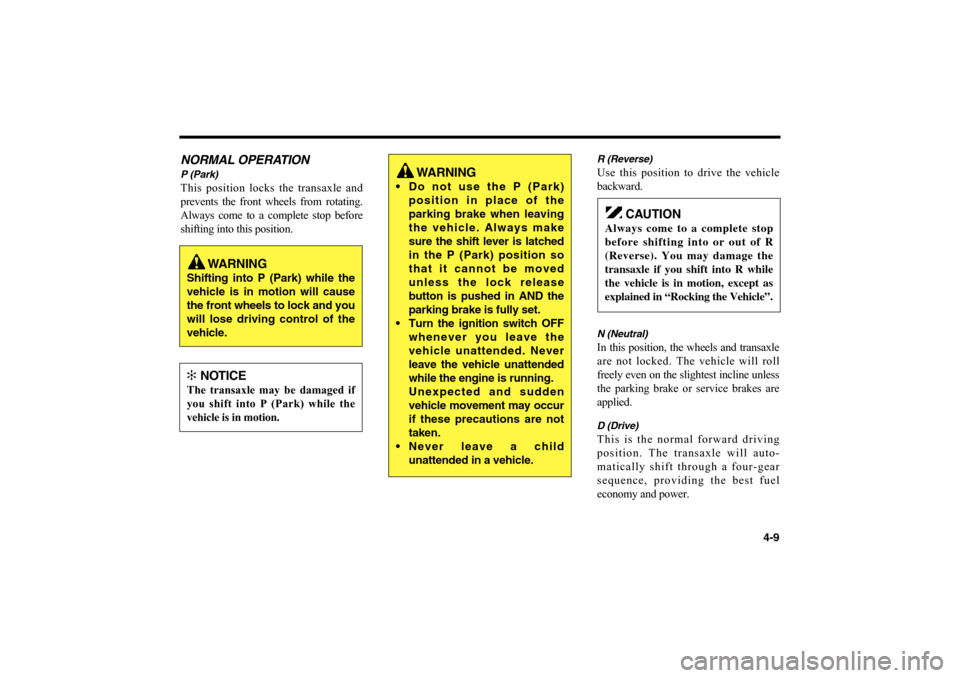
NORMAL OPERATIONP (Park)This position locks the transaxle and
prevents the front wheels from rotating.
Always come to a complete stop before
shifting into this position.
R (Reverse)Use this position to drive the vehicle
backward.N (Neutral)In this position, the wheels and transaxle
are not locked. The vehicle will roll
freely even on the slightest incline unless
the parking brake or service brakes are
applied.D (Drive)This is the normal forward driving
position. The transaxle will auto-
matically shift through a four-gear
sequence, providing the best fuel
economy and power.
4-9
WARNING
Shifting into P (Park) while the
vehicle is in motion will cause
the front wheels to lock and you
will lose driving control of the
vehicle.✻
NOTICE
The transaxle may be damaged if
you shift into P (Park) while the
vehicle is in motion.
WARNING
Do not use the P (Park)
position in place of the
parking brake when leaving
the vehicle. Always make
sure the shift lever is latched
in the P (Park) position so
that it cannot be moved
unless the lock release
button is pushed in AND the
parking brake is fully set.
Turn the ignition switch OFF
whenever you leave the
vehicle unattended. Never
leave the vehicle unattended
while the engine is running.
Unexpected and sudden
vehicle movement may occur
if these precautions are not
taken.
Never leave a child
unattended in a vehicle.
CAUTION
Always come to a complete stop
before shifting into or out of R
(Reverse). You may damage the
transaxle if you shift into R while
the vehicle is in motion, except as
explained in “Rocking the Vehicle”.
MS-CNA-Eng 4(~39).QXD 7/25/2005 5:16 PM Page 9
Page 90 of 225
MOVING UP A STEEP GRADE
FROM A STANDING STARTTo move up a steep grade from a
standing start, depress the brake pedal,
shift the shift lever to D (Drive). Select
the appropriate gear depending on load
weight and steepness of the grade, and
release the parking brake. Depress the
accelerator gradually while releasing the
service brakes.
When accelerating from a stop on a
steep hill, the vehicle may have a
tendency to roll backwards. Shifting
the shift lever into 2 (Second Gear)
while in Sports mode will help prevent
the vehicle from rolling backwards.
SHIFT LOCK SYSTEMFor your safety, the Automatic Transaxle
has a shift lock system which prevents
shifting the transaxle out of P (Park)
unless the brake pedal is depressed.
To shift the transaxle out of P (Park) ;
1. Depress and hold the brake pedal.
2. Start the engine or turn the ignition
key to the ON position.
3. Depress the lock release button and
move the shift lever.
When the ignition switch is in the ACC
or LOCK position, the transaxle cannot
be shifted from P (Park).
If the brake pedal is repeatedly depressed
and released with the shift lever in the P
(Park) position, a chattering noise near
the shift lever may be heard.
This is a normal condition.
Note that the ignition key cannot be
removed unless the shift lever is in the P
(Park) position. If the ignition switch is
in any other position, the key cannot be
removed.
4-11
CAUTION
Shift into the “R” and “P” posi-
tion only when the vehicle has
completely stopped.
Do not accelerate the engine in
reverse or any of the forward
positions with the brakes applied.
Always apply the footbrake when
shifting from “P” or “N”, to “R”
or “D” position.
Do not use the “P” (Park) posi-
tion in place of the parking
brake. Always set the parking
brake, shift the transaxle into
“P” (Park) position and turn off
the ignition when you leave the
vehicle, even momentarily.
Never leave the vehicle unat-
tended while the engine is run-
ning.
Check the automatic transaxle
fluid level regularly, and add
fluid as necessary.
MS-CNA-Eng 4(~39).QXD 7/25/2005 5:16 PM Page 11
Page 91 of 225
BRAKE SYSTEMPOWER BRAKESYour vehicle has power-assisted brakes
that adjust automatically through normal
usage.
In the event that brake system power
assist is lost because of a stalled engine
or some other reason, you can still stop
your vehicle by applying greater force to
the brake pedal than you normally
would. The stopping distance, however,
will be longer than usual.
When the engine is not running, the
reserve brake power is partially depleted
each time the brake pedal is depressed.
Do not pump the brake pedal when the
power assist has been interrupted, except
when necessary to maintain steering
control on slippery surfaces.
ANTI LOCK BRAKES (ABS)
(IF EQUIPPED)The anti-lock brake system is designed
to prevent lock-up of the wheels during
sudden braking or braking on slippery
surfaces. Compared to a conventional
brake system, the anti-lock brake system
provides greater steering control during
braking in such situations.DRIVING YOUR VEHICLE
4-12
WARNING - ABS Brakes
The anti-lock brake system
(ABS) cannot compensate for
bad road conditions, for
unsafe or reckless driving or
for bad judgement.
The ABS is designed to
improve maximum braking
effectiveness on typical
highways and roads in good
condition.
On road surfaces which are
in poor condition, the ABS
may actually reduce braking
effectiveness.
Always operate your vehicle
at reasonable speeds that are
safe for weather and traffic
conditions.
MS-CNA-Eng 4(~39).QXD 7/25/2005 5:16 PM Page 12
Page 92 of 225
During normal driving conditions, the
anti-lock brake system operates the same
as a conventional brake system. When
the anti-lock brake system is engaged
due to imminent loss of traction, a
pulsation of the brake pedal will result
and you may hear or feel “chattering”.
This is a normal condition and indicates
the system is functioning properly.
When driving a vehicle equipped with
anti-lock brakes, adjust your driving
according to the road and traffic conditions
and keep the following in mind.
• Do not pump the brakes as you would
when driving a vehicle not equipped
with an anti-lock brake system (ABS).
In order for the ABS to function
normally, press the brake pedal firmly,
without pumping the pedal.
• Even with the anti-lock brake system,
your vehicle still requires a sufficient
stopping distance. Always maintain a
safe distance from the vehicle in
front of you.• Always slow down when cornering.
The anti-lock brake system cannot
prevent accidents resulting from
excessive speeds.
• On loose or uneven road surfaces,
operation of the anti-lock brake
system may result in a longer stopping
distance than for vehicles equipped
with a conventional brake system.
• Avoid high speeds on wet roads. The
anti-lock brake system cannot
eliminate the risk of hydroplaning.
If the anti-lock brake system should fail,
the brake system will function as a
conventional brake system. Have your
vehicle checked by an Authorized Kia
Dealer as soon as possible.
4-13
✻
NOTICE
• If the ABS warning light is on
and stays on, you may have a
problem with the ABS system.
In this case, however, your regu-
lar brakes will work normally.
• The ABS warning light will stay
on for 2-3 seconds after the igni-
tion “ON”. During that time, the
ABS will go through self-diagno-
sis and the light will go off if
everything is normal. If the light
stays on you may have a problem
with your ABS.
Contact an Authorized Kia
Dealer for service as soon as pos-
sible.
MS-CNA-Eng 4(~39).QXD 7/25/2005 5:16 PM Page 13
Page 93 of 225
IN THE EVENT OF BRAKE
FAILUREIf the service brakes should fail to operate
while the vehicle is in motion, you can
make an emergency stop with the parking
brake. The stopping distance, however,
will be much greater than normal.DRIVING YOUR VEHICLE
4-14✻
NOTICE
• If the battery is discharged and
the engine is jump started, the
ABS warning light may come on.
This condition occurs because of
a discharged battery and not
because there is an anti-lock
brake system malfunction.
• Have the battery recharged
before driving the vehicle.
WARNING -
Parking Brake
Pulling on the parking brake
while the vehicle is moving at
normal speed can cause a
sudden loss of control of the
vehicle. If you must use the
parking brake to stop the
vehicle, use great caution in
applying the brake.
WARNING
Do not drive with your foot
resting on the brake pedal.
This will create abnormally
high brake temperatures,
excessive brake lining and
pad wear, and increased
stopping distances.
When descending a long or
steep hill, shift to a lower gear
and avoid continuous applica-
tion of the brakes.
Continuous brake application
will cause the brakes to
overheat and could result in a
temporary loss of braking
performance.
MS-CNA-Eng 4(~39).QXD 7/25/2005 5:16 PM Page 14
Page 94 of 225
DISC BRAKE WEAR
INDICATORSYour vehicle has front disc brakes.
When your front brake pads are worn
and it’s time for new pads, you will hear
a high-pitched warning sound from your
front brakes. You may hear this sound
intermittently or constantly.Some driving conditions or climates may
cause a brake squeal when you first
apply, or lightly apply, the brakes. This
is normal and does not indicate a
problem with your brakes.
4-15
Wet brakes may result in the
vehicle not slowing down at
the usual rate and/or
pulling to one side when the
brakes are applied. Applying
the brakes lightly will
indicate whether they have
been affected in this way.
Always test your brakes in
this fashion after driving
through deep water.
To dry the brakes, apply
them lightly while
maintaining a safe forward
speed until brake
performance returns to
normal.
WARNING - Brake Wear
This brake-wear warning sound
means your vehicle needs
service. If you ignore this
audible warning, you will
eventually lose braking
performance, which could lead
to a serious accident.
✻
NOTICE
To avoid costly brake repairs, do not
continue to drive with worn brake
pads.
MS-CNA-Eng 4(~39).QXD 7/25/2005 5:16 PM Page 15
Page 95 of 225
REAR DRUM BRAKES
(IF EQUIPPED)Your rear drum brakes don’t have wear
indicators. Have the rear brake linings
inspected if you hear a rear brake
rubbing noise. Also, have your rear
brakes inspected each time you change
or rotate your tires and when you have
the front brakes replaced.
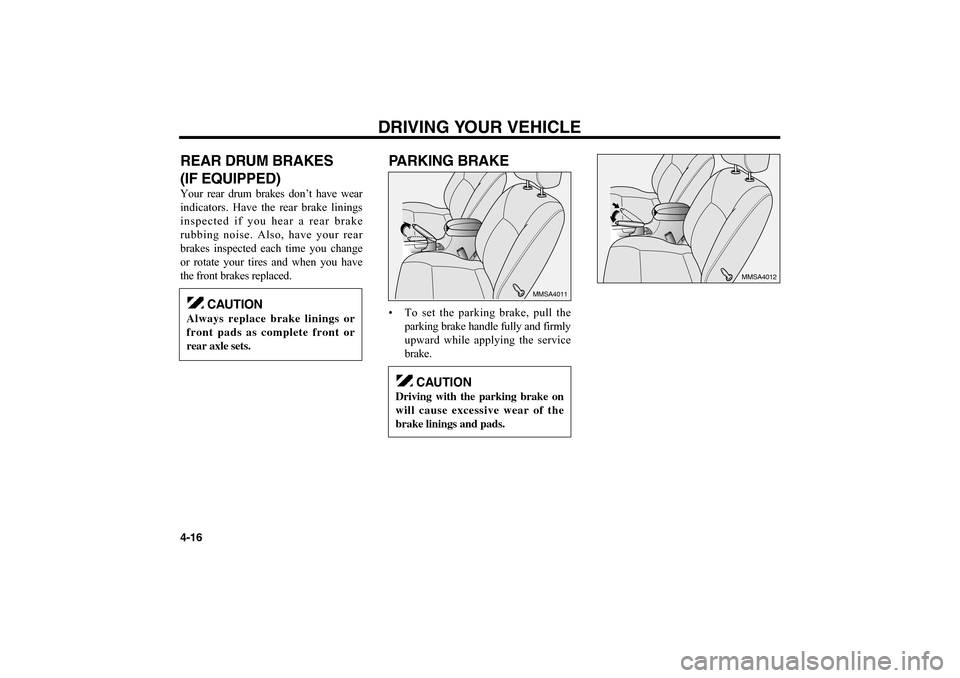
PARKING BRAKE• To set the parking brake, pull the
parking brake handle fully and firmly
upward while applying the service
brake.DRIVING YOUR VEHICLE
4-16
MMSA4012
MMSA4011
CAUTION
Always replace brake linings or
front pads as complete front or
rear axle sets.
CAUTION
Driving with the parking brake on
will cause excessive wear of the
brake linings and pads.
MS-CNA-Eng 4(~39).QXD 7/25/2005 5:16 PM Page 16
Page 101 of 225
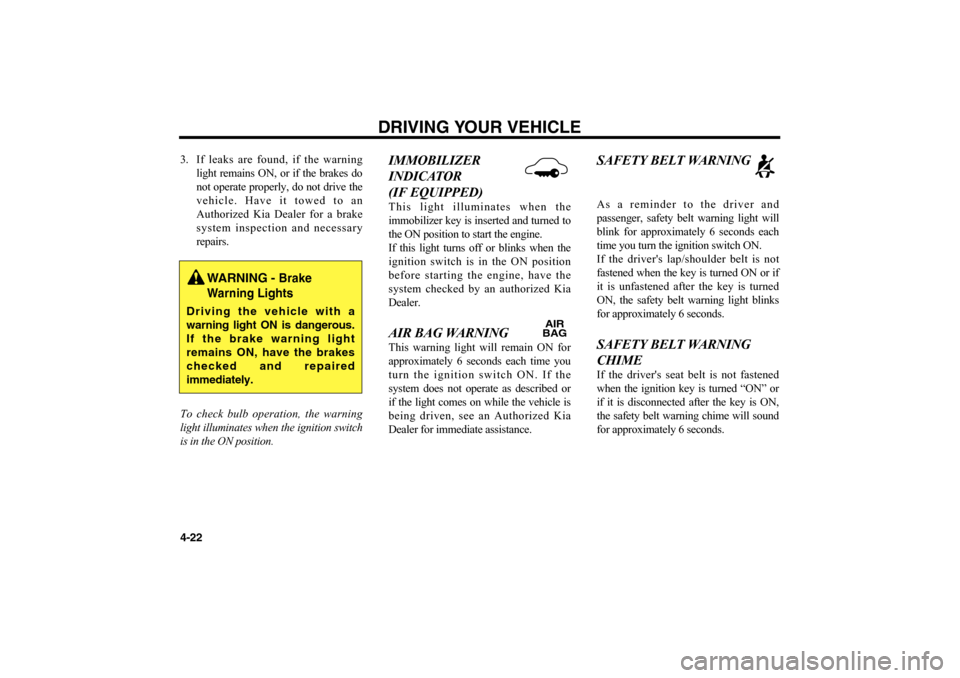
3. If leaks are found, if the warning
light remains ON, or if the brakes do
not operate properly, do not drive the
vehicle. Have it towed to an
Authorized Kia Dealer for a brake
system inspection and necessary
repairs.
To check bulb operation, the warning
light illuminates when the ignition switch
is in the ON position.
IMMOBILIZER
INDICATOR
(IF EQUIPPED)This light illuminates when the
immobilizer key is inserted and turned to
the ON position to start the engine.
If this light turns off or blinks when the
ignition switch is in the ON position
before starting the engine, have the
system checked by an authorized Kia
Dealer. AIR BAG WARNING This warning light will remain ON for
approximately 6 seconds each time you
turn the ignition switch ON. If the
system does not operate as described or
if the light comes on while the vehicle is
being driven, see an Authorized Kia
Dealer for immediate assistance.
SAFETY BELT WARNINGAs a reminder to the driver and
passenger, safety belt warning light will
blink for approximately 6 seconds each
time you turn the ignition switch ON.
If the driver's lap/shoulder belt is not
fastened when the key is turned ON or if
it is unfastened after the key is turned
ON, the safety belt warning light blinks
for approximately 6 seconds. SAFETY BELT WARNING
CHIME If the driver's seat belt is not fastened
when the ignition key is turned “ON” or
if it is disconnected after the key is ON,
the safety belt warning chime will sound
for approximately 6 seconds.
DRIVING YOUR VEHICLE
4-22
WARNING -
Brake
Warning Lights
Driving the vehicle with a
warning light ON is dangerous.
If the brake warning light
remains ON, have the brakes
checked and repaired
immediately.
AIR
BAG
MS-CNA-Eng 4(~39).QXD 7/25/2005 5:16 PM Page 22