ecu KIA Optima Hybrid 2011 3.G Owner's Guide
[x] Cancel search | Manufacturer: KIA, Model Year: 2011, Model line: Optima Hybrid, Model: KIA Optima Hybrid 2011 3.GPages: 394, PDF Size: 8.63 MB
Page 182 of 394
4111
Features of your vehicle
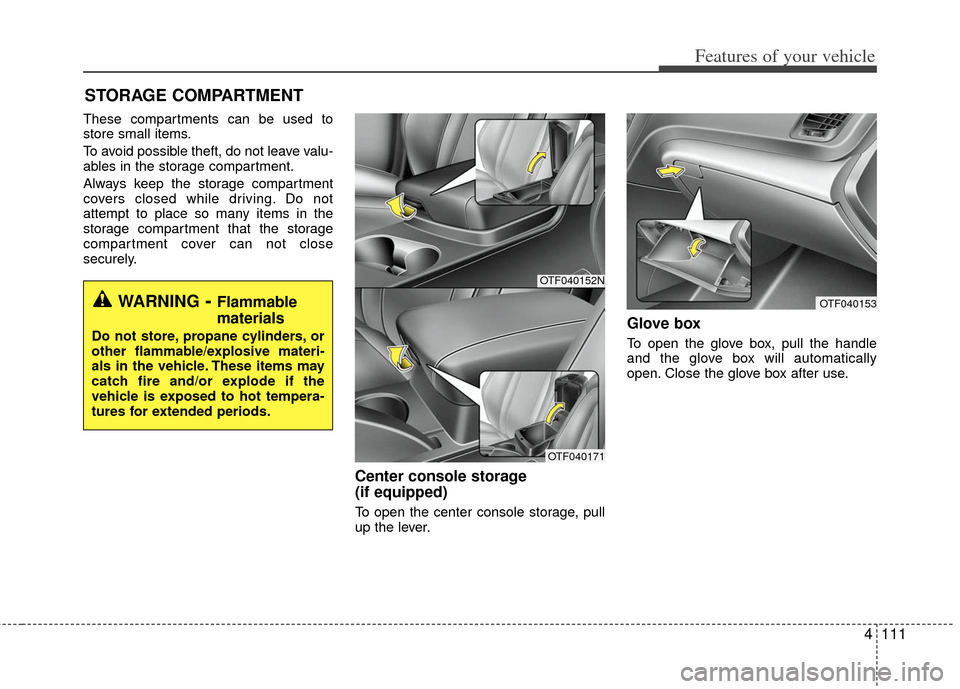
These compartments can be used to
store small items.
To avoid possible theft, do not leave valu-
ables in the storage compartment.
Always keep the storage compartment
covers closed while driving. Do not
attempt to place so many items in the
storage compartment that the storage
compartment cover can not close
securely.
Center console storage
(if equipped)
To open the center console storage, pull
up the lever.
Glove box
To open the glove box, pull the handle
and the glove box will automatically
open. Close the glove box after use.
STORAGE COMPARTMENT
WARNING- Flammable
materials
Do not store, propane cylinders, or
other flammable/explosive materi-
als in the vehicle. These items may
catch fire and/or explode if the
vehicle is exposed to hot tempera-
tures for extended periods.
OTF040152N
OTF040171
OTF040153
Page 185 of 394
Features of your vehicle
114
4
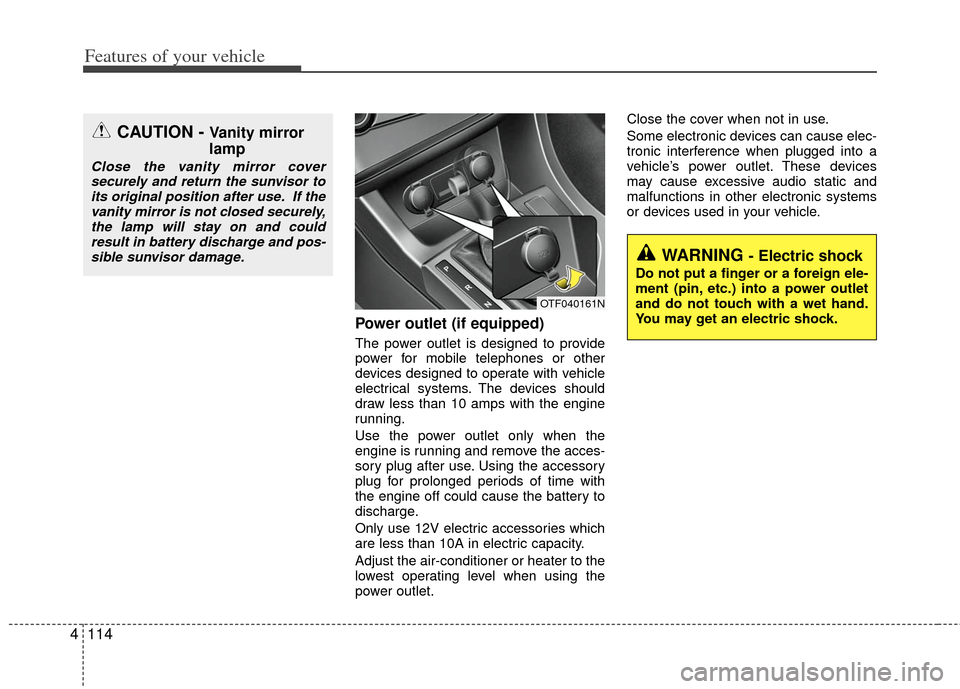
Power outlet (if equipped)
The power outlet is designed to provide
power for mobile telephones or other
devices designed to operate with vehicle
electrical systems. The devices should
draw less than 10 amps with the engine
running.
Use the power outlet only when the
engine is running and remove the acces-
sory plug after use. Using the accessory
plug for prolonged periods of time with
the engine off could cause the battery to
discharge.
Only use 12V electric accessories which
are less than 10A in electric capacity.
Adjust the air-conditioner or heater to the
lowest operating level when using the
power outlet. Close the cover when not in use.
Some electronic devices can cause elec-
tronic interference when plugged into a
vehicle’s power outlet. These devices
may cause excessive audio static and
malfunctions in other electronic systems
or devices used in your vehicle.
CAUTION - Vanity mirror
lamp
Close the vanity mirror cover
securely and return the sunvisor toits original position after use. If thevanity mirror is not closed securely,the lamp will stay on and could result in battery discharge and pos-sible sunvisor damage.
OTF040161N
WARNING - Electric shock
Do not put a finger or a foreign ele-
ment (pin, etc.) into a power outlet
and do not touch with a wet hand.
You may get an electric shock.
Page 187 of 394
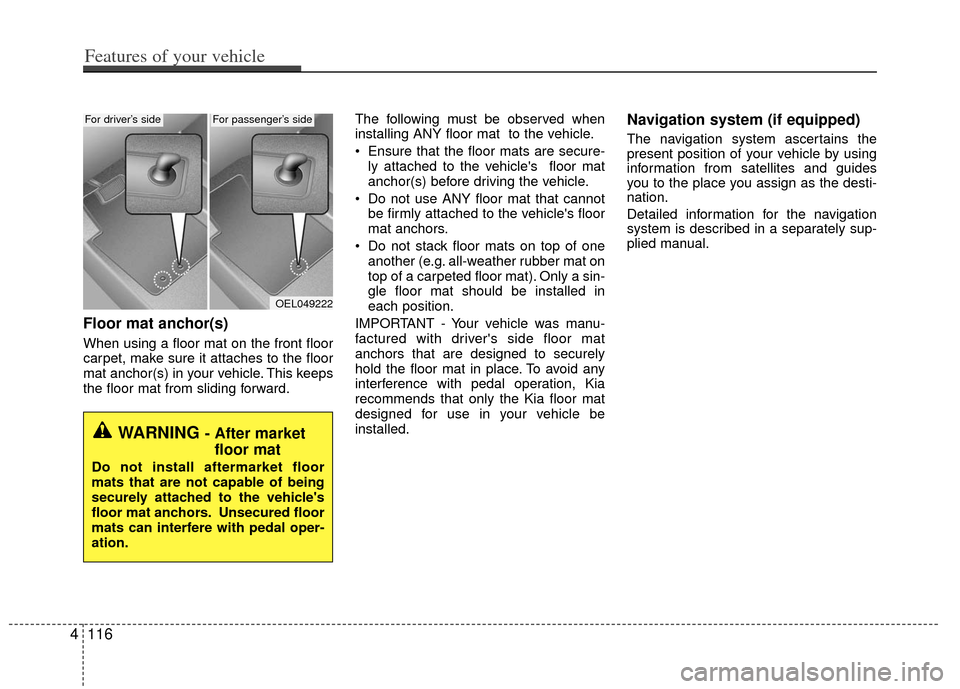
Floor mat anchor(s)
When using a floor mat on the front floor
carpet, make sure it attaches to the floor
mat anchor(s) in your vehicle. This keeps
the floor mat from sliding forward.The following must be observed when
installing ANY floor mat to the vehicle.
Ensure that the floor mats are secure-
ly attached to the vehicle's floor mat
anchor(s) before driving the vehicle.
Do not use ANY floor mat that cannot be firmly attached to the vehicle's floor
mat anchors.
Do not stack floor mats on top of one another (e.g. all-weather rubber mat on
top of a carpeted floor mat). Only a sin-
gle floor mat should be installed in
each position.
IMPORTANT - Your vehicle was manu-
factured with driver's side floor mat
anchors that are designed to securely
hold the floor mat in place. To avoid any
interference with pedal operation, Kia
recommends that only the Kia floor mat
designed for use in your vehicle be
installed.
Navigation system (if equipped)
The navigation system ascertains the
present position of your vehicle by using
information from satellites and guides
you to the place you assign as the desti-
nation.
Detailed information for the navigation
system is described in a separately sup-
plied manual.
OEL049222
WARNING - After market floor mat
Do not install aftermarket floor
mats that are not capable of being
securely attached to the vehicle's
floor mat anchors. Unsecured floor
mats can interfere with pedal oper-
ation.
For driver’s sideFor passenger’s side
4116
Features of your vehicle
Page 217 of 394
Features of your vehicle
146
4
■Voice Recognition Activation
in the Bluetooth®wireless technology
System can be activated in the follow-
ing conditions:
- Button Activation
The voice recognition system will be
active when the button is pressed
and after the sound of a Beep.
- Active Listening The voice recognition system will be
active for a period of time when the
Voice Recognition system has asked
for a customer response.
from zero to nine while number greater
than ten will not be recognized.
tion mode in following cases : When
pressing the button and saying
“cancel” following the beep. When not
making a call and pressing the
button. When voice recognition has
failed 3 consecutive times.
will announce what commands are
available.
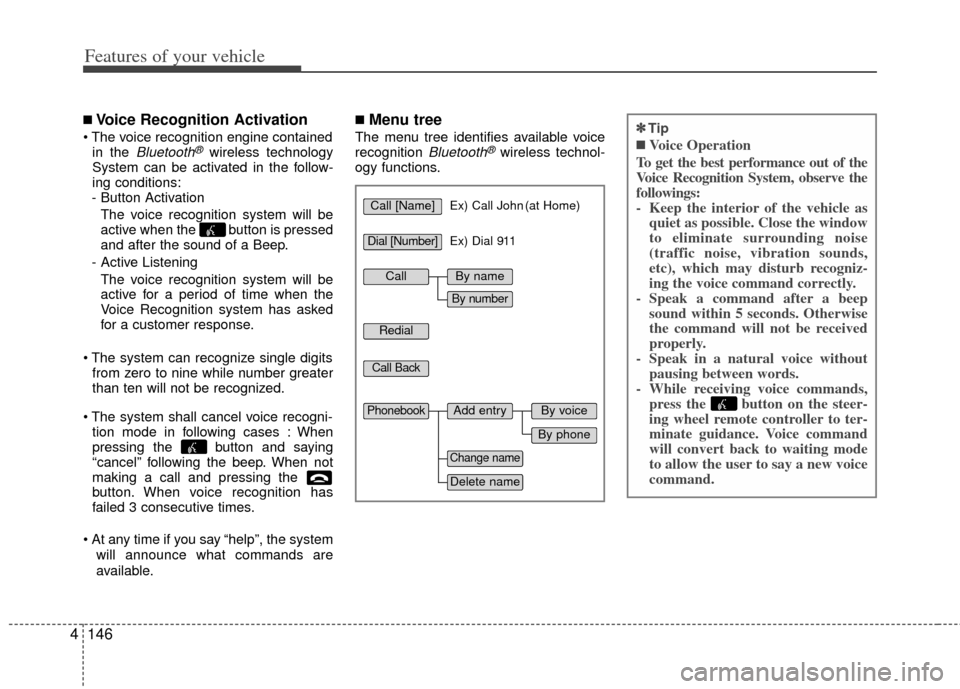
■Menu tree
The menu tree identifies available voice
recognition Bluetooth®wireless technol-
ogy functions.
✽
✽ Tip
■Voice Operation
To get the best performance out of the
Voice Recognition System, observe the
followings:
- Keep the interior of the vehicle as quiet as possible. Close the window
to eliminate surrounding noise
(traffic noise, vibration sounds,
etc), which may disturb recogniz-
ing the voice command correctly.
- Speak a command after a beep sound within 5 seconds. Otherwise
the command will not be received
properly.
- Speak in a natural voice without pausing between words.
- While receiving voice commands, press the button on the steer-
ing wheel remote controller to ter-
minate guidance. Voice command
will convert back to waiting mode
to allow the user to say a new voice
command.
Call [Name]Ex) Call John (at Home)
Ex) Dial 911
Dial [Number]
Redial
Call Back
Add entryPhonebook
Change name
Delete name
By phone
By voice
CallBy name
By number
Page 225 of 394
Driving your vehicle
45
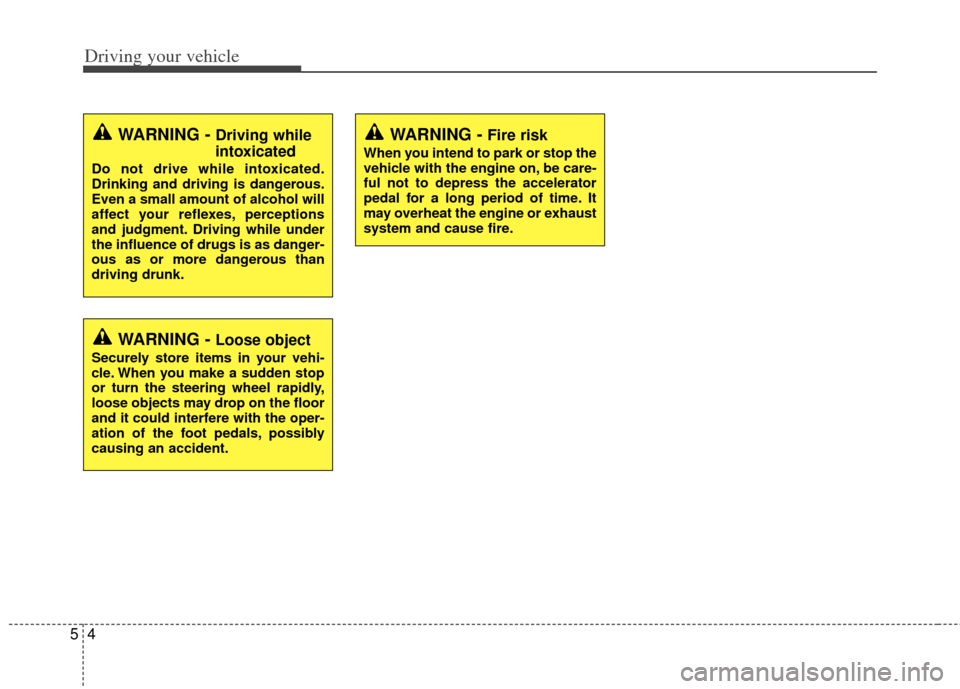
WARNING - Fire risk
When you intend to park or stop the
vehicle with the engine on, be care-
ful not to depress the accelerator
pedal for a long period of time. It
may overheat the engine or exhaust
system and cause fire.
WARNING - Driving while
intoxicated
Do not drive while intoxicated.
Drinking and driving is dangerous.
Even a small amount of alcohol will
affect your reflexes, perceptions
and judgment. Driving while under
the influence of drugs is as danger-
ous as or more dangerous than
driving drunk.
WARNING - Loose object
Securely store items in your vehi-
cle. When you make a sudden stop
or turn the steering wheel rapidly,
loose objects may drop on the floor
and it could interfere with the oper-
ation of the foot pedals, possibly
causing an accident.
Page 233 of 394
Driving your vehicle
12
5
Up (+) : Push the lever forward once to
shift up one gear.
Down (-) : Pull the lever backwards once to shift down one gear.
In sports mode, the driver must exe- cute upshifts in accordance with road
conditions, taking care to keep the
engine speed below the red zone.
In sports mode, only the 6 forward gears can be selected. To reverse or
park the vehicle, move the shift lever to
the R (Reverse) or P (Park) position as
required.
In sports mode, downshifts are made automatically when the vehicle slows
down. When the vehicle stops, 1st gear
is automatically selected.
In sports mode, when the engine rpm approaches the red zone shift points
are varied to upshift automatically. To maintain the required levels of vehi-
cle performance and safety, the system
may not execute certain gearshifts
when the shift lever is operated.
When driving on a slippery road, push the shift lever forward into the +(up)
position. This causes the transaxle to
shift into the 2nd gear which is better
for smooth driving on a slippery road.
Push the shift lever to the -(down) side
to shift back to the 1st gear.Shift lock system (if equipped)
For your safety, the automatic transaxle
has a shift lock system which prevents
shifting the transaxle out of P (Park)
unless the brake pedal is depressed.
To shift the transaxle from P (Park) into R
(Reverse):
1. Depress and hold the brake pedal.
2. Start the engine or turn the ignitionswitch to the ON position.
3. Move the shift lever.
If the brake pedal is repeatedly
depressed and released with the shift
lever in the P (Park) position, a chattering
noise near the shift lever may be heard.
This is a normal condition.
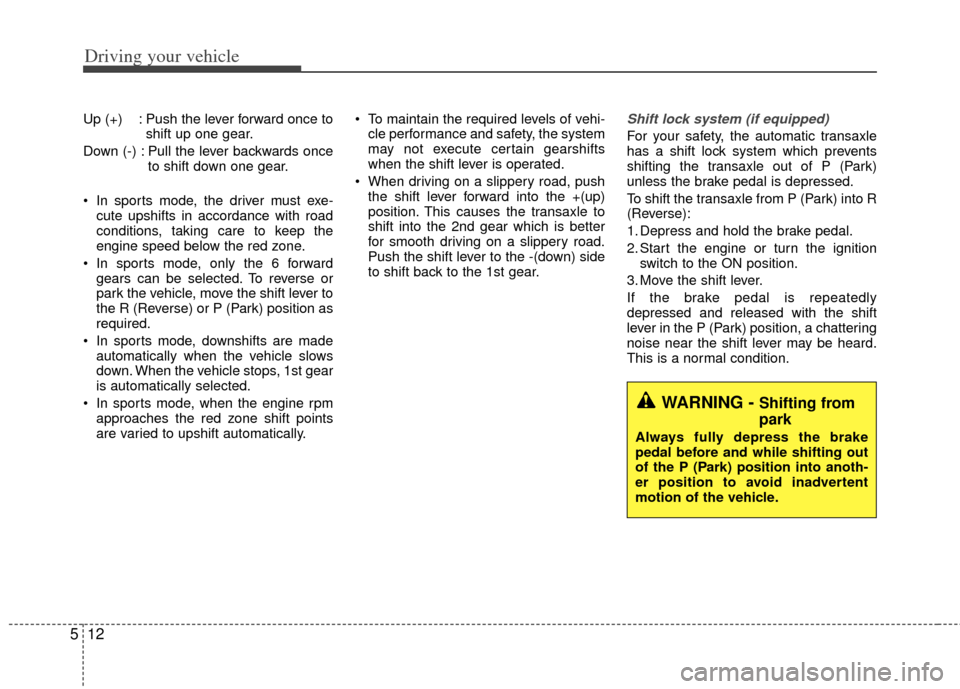
WARNING - Shifting from
park
Always fully depress the brake
pedal before and while shifting out
of the P (Park) position into anoth-
er position to avoid inadvertent
motion of the vehicle.
Page 265 of 394
Driving your vehicle
44
5
✽
✽
NOTICE
Overloading your vehicle may cause
damage. Repairs would not be cov-
ered by your warranty. Do not over-
load your vehicle.
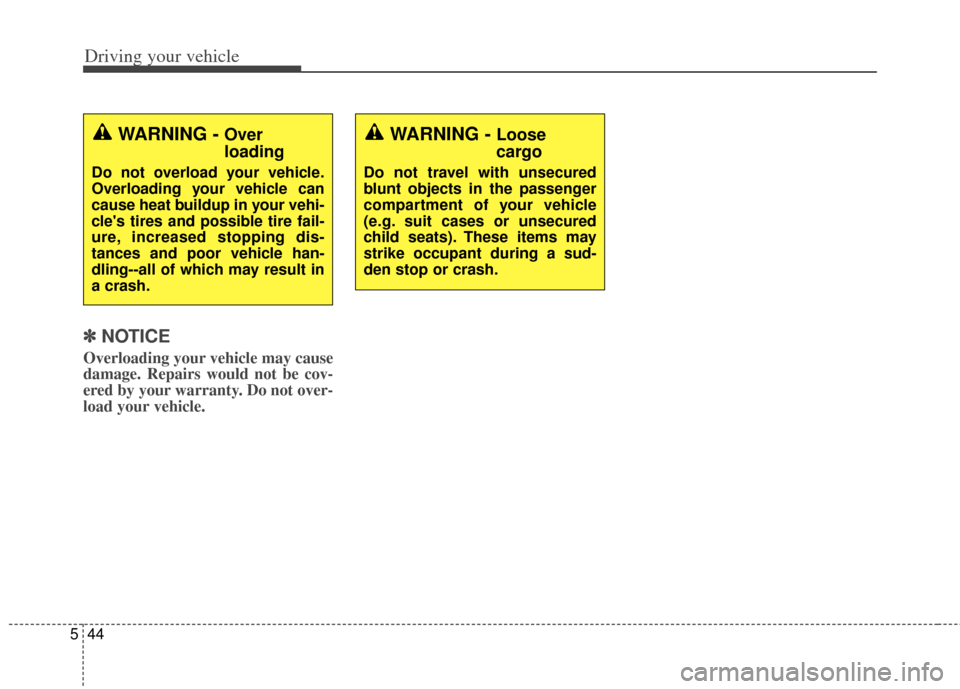
WARNING - Over
loading
Do not overload your vehicle.
Overloading your vehicle can
cause heat buildup in your vehi-
cle's tires and possible tire fail-
ure, increased stopping dis-
tances and poor vehicle han-
dling--all of which may result in
a crash.
WARNING - Loose
cargo
Do not travel with unsecured
blunt objects in the passenger
compartment of your vehicle
(e.g. suit cases or unsecured
child seats). These items may
strike occupant during a sud-
den stop or crash.
Page 270 of 394
What to do in an emergency
46
IF THE ENGINE WILL NOT START
If the engine doesn't turn over orturns over slowly
1. If your vehicle has an automatic transaxle, be sure the shift lever is in N
(Neutral) or P (Park) and the emer-
gency brake is set.
2. Check the battery connections to be sure they are clean and tight.
3. Turn on the interior light. If the light dims or goes out when you operate the
starter, the battery is discharged.
4. Check the starter connections to be sure they are securely tightened.
5. Do not push or pull the vehicle to start it. See instructions for "Jump starting".
If engine turns over normally butdoes not start
1. Check fuel level.
2. With the ignition switch in the LOCK position, check all connectors at the
ignition coil and spark plugs.
Reconnect any that may be discon-
nected or loose.
3. Check the fuel line in the engine com- partment.
4. If the engine still does not start, call an authorized Kia dealer or seek other
qualified assistance.
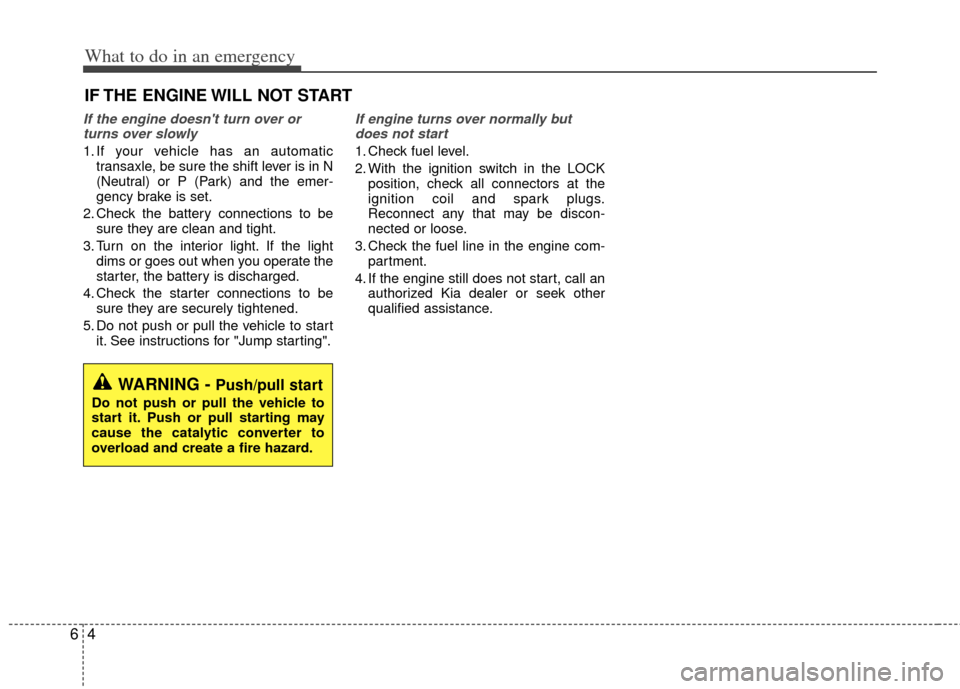
WARNING - Push/pull start
Do not push or pull the vehicle to
start it. Push or pull starting may
cause the catalytic converter to
overload and create a fire hazard.
Page 280 of 394
What to do in an emergency
14
6
Do not allow anyone to remain in the
vehicle while it is on the jack.
Make sure any children present are
in a secure place away from the road
and from the vehicle to be raised with
the jack.
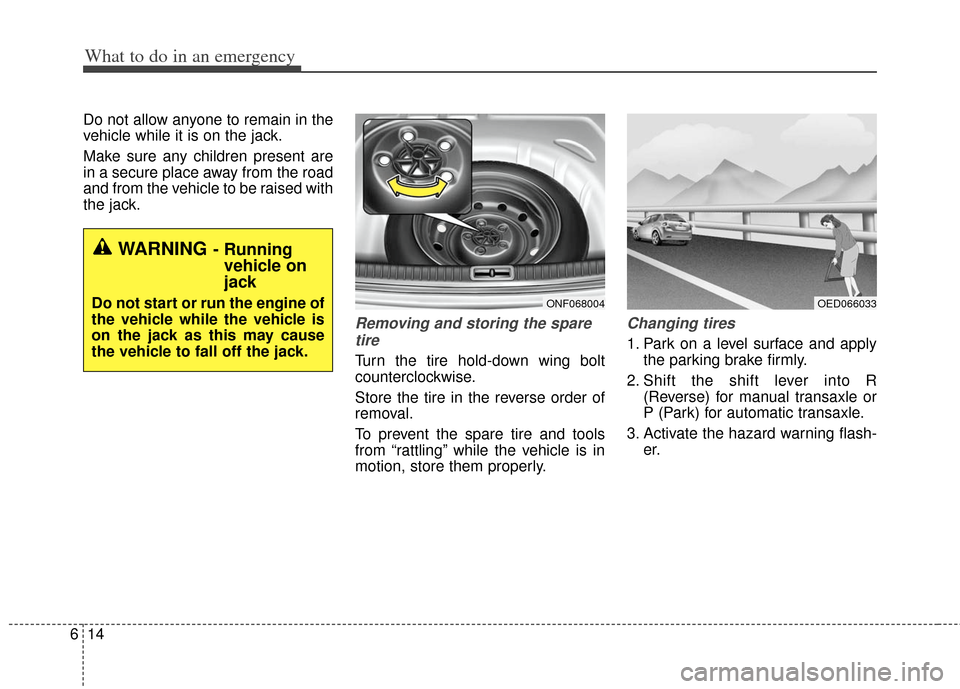
Removing and storing the spare
tire
Turn the tire hold-down wing bolt
counterclockwise.
Store the tire in the reverse order of
removal.
To prevent the spare tire and tools
from “rattling” while the vehicle is in
motion, store them properly.
Changing tires
1. Park on a level surface and apply the parking brake firmly.
2. Shift the shift lever into R (Reverse) for manual transaxle or
P (Park) for automatic transaxle.
3. Activate the hazard warning flash- er.
OED066033
WARNING- Runningvehicle on
jack
Do not start or run the engine of
the vehicle while the vehicle is
on the jack as this may cause
the vehicle to fall off the jack.ONF068004
Page 284 of 394
What to do in an emergency
18
6
If you have a tire gauge, remove the
valve cap and check the air pressure.
If the pressure is lower than recom-
mended, drive slowly to the nearest
service station and inflate to the cor-
rect pressure. If it is too high, adjust
it until it is correct. Always reinstall
the valve cap after checking or
adjusting the tire pressure. If the cap
is not replaced, air may leak from the
tire. If you lose a valve cap, buy
another and install it as soon as pos-
sible.
After you have changed wheels,
always secure the flat tire in its place
and return the jack and tools to their
proper storage locations.
Note that most lug nuts do not have
metric threads. Be sure to use
extreme care in checking for thread
style before installing aftermarket lug
nuts or wheels. If in doubt, consult an
authorized Kia dealer.To prevent the jack, jack handle,
wheel lug nut wrench and spare tire
from rattling while the vehicle is in
motion, store them properly.
Check the inflation pressures as
soon as possible after installing the
spare tire. Adjust it to the specified
pressure, if necessary. Refer to
“Tires and wheels” in section 8.CAUTION - Reducing lug
nuts
Make certain during wheel
removal that the same nuts thatwere removed are reinstalled -or, if replaced, that nuts withmetric threads and the samechamfer configuration are used.Your vehicle has metric threadson the wheel studs and nuts.Installation of a non-metricthread nut on a metric stud willnot secure the wheel to the hubproperly and will damage thestud so that it must be replaced.
WARNING- Wheel studs
Do not drive your vehicle with
damaged wheel studs. If the
studs are damaged, they may
lose their ability to retain the
wheel. This could lead to the
loss of the wheel and a colli-
sion.