service indicator KIA Optima Hybrid 2016 4.G Owner's Manual
[x] Cancel search | Manufacturer: KIA, Model Year: 2016, Model line: Optima Hybrid, Model: KIA Optima Hybrid 2016 4.GPages: 466, PDF Size: 14.92 MB
Page 123 of 466
Features of your vehicle
48
4
✽
✽
NOTICE- Fuel Gauge
Running out of fuel can expose vehi-
cle occupants to danger.
You must stop and obtain additional
fuel as soon as possible after the
warning light comes on or when the
gauge indicator comes close to the
“E (Empty)” level.
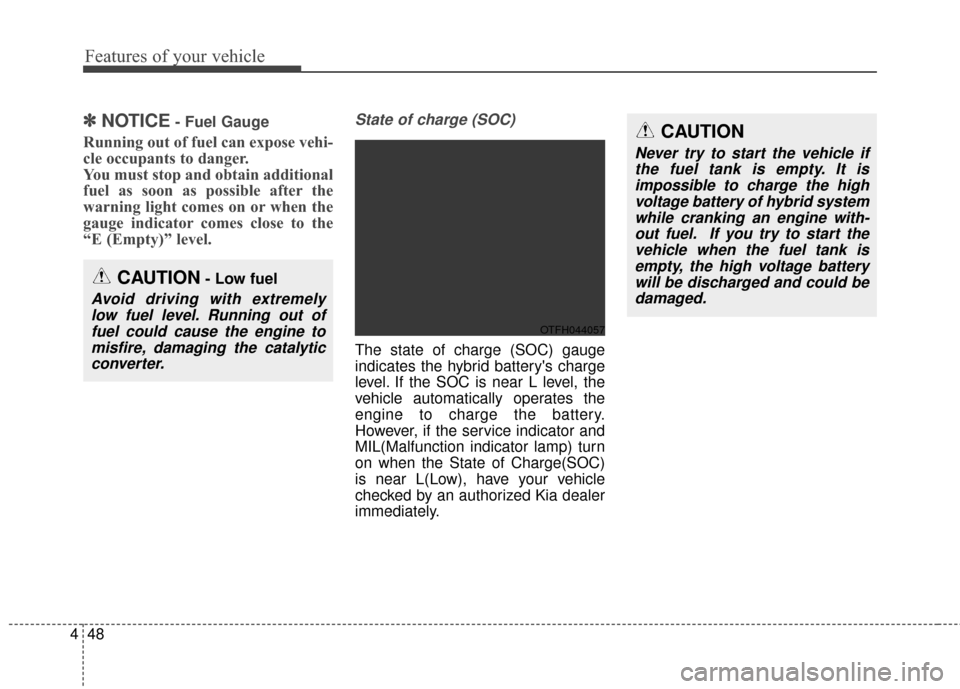
State of charge (SOC)
The state of charge (SOC) gauge
indicates the hybrid battery's charge
level. If the SOC is near L level, the
vehicle automatically operates the
engine to charge the battery.
However, if the service indicator and
MIL(Malfunction indicator lamp) turn
on when the State of Charge(SOC)
is near L(Low), have your vehicle
checked by an authorized Kia dealer
immediately.
CAUTION- Low fuel
Avoid driving with extremely
low fuel level. Running out offuel could cause the engine tomisfire, damaging the catalyticconverter.
OTFH044057
CAUTION
Never try to start the vehicle ifthe fuel tank is empty. It isimpossible to charge the highvoltage battery of hybrid systemwhile cranking an engine with-out fuel. If you try to start thevehicle when the fuel tank isempty, the high voltage batterywill be discharged and could bedamaged.
Page 152 of 466
477
Features of your vehicle
Master Warning light
This warning light informs the driv-er of the following situations
- Low washer fluid
- Service required
The Master Warning Light illumi-
nates when more than one of the
above warning situations occur. At
this time, the LCD Modes Icon will
change from ( ) to ( ).
If the warning situation is solved, the
master warning light will be turned off
and the LCD Modes Icon will be
changed back to its previous icon ( ).
(ex : refill the washer fluid)
Indicator Lights
EV mode indicator Light
This indicator light illuminates:
When the vehicle is moved by the electric motor only.
When the engine turned off while the vehicle is stopped.
When the vehicle is in regeneration mode.
READY indicator Light
This indicator light illuminates :
It is possible to drive your vehiclewith hybrid system when the engine
start/stop button is turned to the
START position. If the vehicle fail to
start with hybrid system, this light
doesn’t come on. Also, if this light is
blinking while driving, it indicates a
fault to enter into a limited operating
mode.
If this light goes off while driving, it indicates a fault that will cause the
vehicle to shut down.
In this case, have your vehicle
inspected by an authorized Kia
dealer.
Page 269 of 466
513
Driving your vehicle
For smooth operation, depress thebrake pedal when shifting from N(Neutral) to a forward or reversegear.
When stopped on an incline, do not
hold the vehicle with engine power.
Use the service brake or the parking
brake.
Transaxle ranges
The indicator light in the instrument
cluster displays the shift lever posi-
tion when the ignition switch is in the
ON position.
P (Park)
Always come to a complete stop
before shifting into P (Park). This
position locks the transaxle and pre-
vents the front wheels from rotating.
Shifting into P (Park) while the vehi-
cle is in motion will cause the drive
wheels to lock which will cause you
to lose control of the vehicle.CAUTION - Transaxle
To avoid damage to yourtransaxle, do not accelerate theengine in R (Reverse) or any for-ward gear position with thebrakes on. The transaxle may bedamaged if you shift into P(Park) while the vehicle is inmotion.
WARNING - Leaving the
Vehicle
Before leaving the driver's seat,
always make sure the shift lever
is engaged in P (Park), set the
parking brake fully and shut the
engine off. Unexpected and
sudden vehicle movement may
occur if these precautions are
not taken.
Page 274 of 466
Driving your vehicle
18
5
Wet brakes may impair the vehicle’s
ability to safely slow down; the vehi-
cle may also pull to one side when
the brakes are applied. Applying the
brakes lightly will indicate whether
they have been affected in this way.
To dry the brakes, apply them lightly
while maintaining a safe forward
speed until brake performance
returns to normal.In the event of brake failure
If service brakes fail to operate while
the vehicle is in motion, you can
make an emergency stop with the
parking brake. The stopping dis-
tance, however, will be much greater
than normal.
Disc brakes wear indicator
When your brake pads are worn and
new pads are required, you will hear
a high-pitched warning sound from
your front brakes or rear brakes (if
equipped). You may hear this sound
come and go or it may occur when-
ever you depress the brake pedal.
Please remember that some driving
conditions or climates may cause a
brake squeal when you first apply (or
lightly apply) the brakes. This is nor-
mal and does not indicate a problem
with your brakes.
Always replace the front or rear
brake pads as pairs.
CAUTION - Replace brake
pads
Do not continue to drive withworn brake pads. Continuing todrive with worn brake pads candamage the braking system andresult in costly brake repairs.
WARNING - Parking brake
Avoid applying the parking
brake to stop the vehicle while it
is moving except in an emer-
gency situation. Applying the
parking brake while the vehicle
is moving at normal speeds can
cause a sudden loss of control
of the vehicle. If you must use
the parking brake to stop the
vehicle, use great caution in
applying the brake.
Page 443 of 466
H3
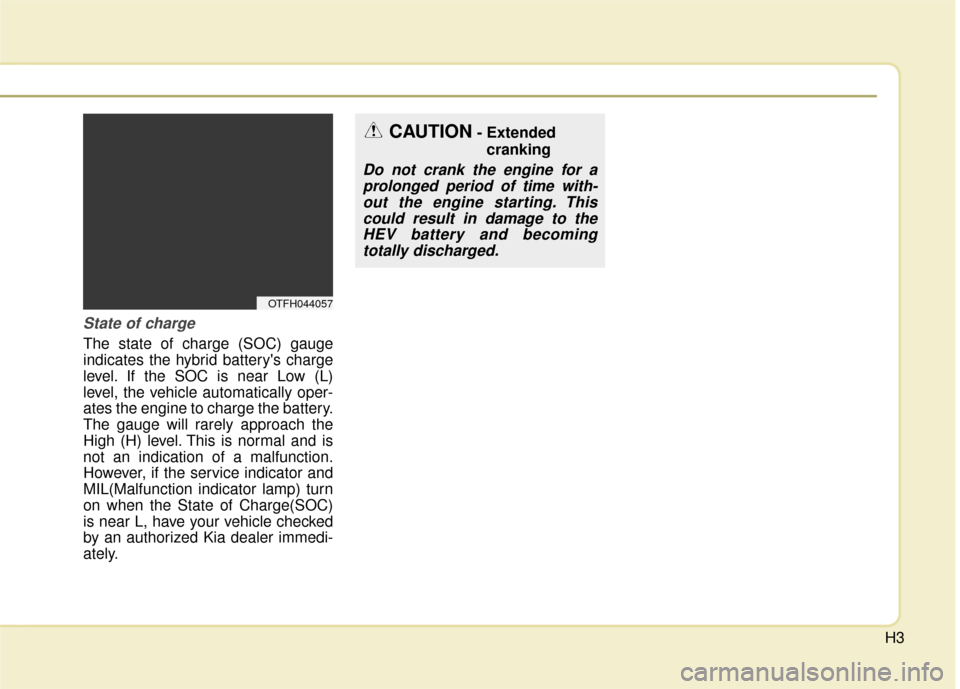
State of charge
The state of charge (SOC) gauge
indicates the hybrid battery's charge
level. If the SOC is near Low (L)
level, the vehicle automatically oper-
ates the engine to charge the battery.
The gauge will rarely approach the
High (H) level. This is normal and is
not an indication of a malfunction.
However, if the service indicator and
MIL(Malfunction indicator lamp) turn
on when the State of Charge(SOC)
is near L, have your vehicle checked
by an authorized Kia dealer immedi-
ately.
OTFH044057
CAUTION- Extendedcranking
Do not crank the engine for aprolonged period of time with-out the engine starting. Thiscould result in damage to theHEV battery and becomingtotally discharged.
Page 462 of 466
I5
Index
If the engine overheats . . . . . . . . . . . . . . . . . . . . . . . . . . 6-7
If the engine will not start . . . . . . . . . . . . . . . . . . . . . . . 6-4If engine doesn’t turn over or turns over slowly . . . . 6-4
If engine turns over normally but does not start . . . . 6-4
If you have a flat tire (with Spare Tire) . . . . . . . . . . . . . 6-8 Changing tires . . . . . . . . . . . . . . . . . . . . . . . . . . . . . . 6-9
Jack and tools . . . . . . . . . . . . . . . . . . . . . . . . . . . . . . . 6-8
Removing and storing the spare tire . . . . . . . . . . . . . 6-9
Use of temporary compact spare tire . . . . . . . . . . . . 6-14
If you have a flat tire (with Tire Mobility Kit). . . . . . . 6-17 Checking the tire inflation pressure . . . . . . . . . . . . . 6-21
Components of the Tire Mobility Kit . . . . . . . . . . . 6-19
Distributing the sealant . . . . . . . . . . . . . . . . . . . . . . 6-21
Introduction . . . . . . . . . . . . . . . . . . . . . . . . . . . . . . . 6-19
Notes on the safe use of the Tire Mobility Kit . . . . 6-18
Technical Data . . . . . . . . . . . . . . . . . . . . . . . . . . . . . 6-22
Using the Tire Mobility Kit . . . . . . . . . . . . . . . . . . . 6-20
In case of an emergency while driving . . . . . . . . . . . . . . 6-3 If engine stalls while driving . . . . . . . . . . . . . . . . . . . 6-3
If the engine stalls at a crossroad or crossing . . . . . . 6-3
If you have a flat tire while driving . . . . . . . . . . . . . . 6-3
Instrument cluster . . . . . . . . . . . . . . . . . . . . . . . . . . . . . 4-45 Gauges . . . . . . . . . . . . . . . . . . . . . . . . . . . . . . . . . . . 4-\
47
Instrument Cluster Control. . . . . . . . . . . . . . . . . . . . 4-46
LCD Display Control . . . . . . . . . . . . . . . . . . . . . . . . 4-46
Transaxle Shift Indicator . . . . . . . . . . . . . . . . . . . . . 4-50 Instrument panel overview . . . . . . . . . . . . . . . . . . . . . . . 2-5
Interior features. . . . . . . . . . . . . . . . . . . . . . . . . . . . . . 4-120
Clothes hanger . . . . . . . . . . . . . . . . . . . . . . . . . . . . 4-122
Cup holder . . . . . . . . . . . . . . . . . . . . . . . . . . . . . . . 4-120
Digital clock . . . . . . . . . . . . . . . . . . . . . . . . . . . . . . 4-122
Floor mat anchor(s) . . . . . . . . . . . . . . . . . . . . . . . . 4-123
Navigation system . . . . . . . . . . . . . . . . . . . . . . . . . 4-123
Power outlet . . . . . . . . . . . . . . . . . . . . . . . . . . . . . . 4-121
Sunvisor . . . . . . . . . . . . . . . . . . . . . . . . . . . . . . . . . 4-120
Interior light . . . . . . . . . . . . . . . . . . . . . . . . . . . . . . . . . 4-95 Automatic turn off function . . . . . . . . . . . . . . . . . . . 4-95
Glove box lamp . . . . . . . . . . . . . . . . . . . . . . . . . . . . 4-98
Map lamp . . . . . . . . . . . . . . . . . . . . . . . . . . . . . . . . . 4-95
Room lamp . . . . . . . . . . . . . . . . . . . . . . . . . . . . . . . . 4-96
Trunk room lamp . . . . . . . . . . . . . . . . . . . . . . . . . . . 4-97
Vanity mirror lamp . . . . . . . . . . . . . . . . . . . . . . . . . . 4-98
Interior overview. . . . . . . . . . . . . . . . . . . . . . . . . . . . . . . 2-4
LCD Display . . . . . . . . . . . . . . . . . . . . . . . . . . . . . . . . . 4-51 Hybrid information modes . . . . . . . . . . . . . . . . . . . . 4-52
LCD Modes . . . . . . . . . . . . . . . . . . . . . . . . . . . . . . . 4-51
Service Mode . . . . . . . . . . . . . . . . . . . . . . . . . . . . . . 4-55
User Settings Mode . . . . . . . . . . . . . . . . . . . . . . . . . 4-56
Warning Messages . . . . . . . . . . . . . . . . . . . . . . . . . . 4-59
Light bulbs . . . . . . . . . . . . . . . . . . . . . . . . . . . . . . . . . . 7-70\
Front light replacement . . . . . . . . . . . . . . . . . . . . . . 7-70
I
L
Page 465 of 466
Index
8I
Recommended cold tire inflation pressures . . . . . . . 7-43
Tire care . . . . . . . . . . . . . . . . . . . . . . . . . . . . . . . . . . 7-43\
Tire maintenance . . . . . . . . . . . . . . . . . . . . . . . . . . . 7-48
Tire replacement . . . . . . . . . . . . . . . . . . . . . . . . . . . . 7-47
Tire rotation . . . . . . . . . . . . . . . . . . . . . . . . . . . . . . . 7-45
Tire sidewall labeling . . . . . . . . . . . . . . . . . . . . . . . . 7-48
Tire traction . . . . . . . . . . . . . . . . . . . . . . . . . . . . . . . 7-48
Wheel alignment and tire balance . . . . . . . . . . . . . . 7-46
Wheel replacement . . . . . . . . . . . . . . . . . . . . . . . . . . 7-48
Towing . . . . . . . . . . . . . . . . . . . . . . . . . . . . . . . . . . . . \
. 6-23 Emergency towing . . . . . . . . . . . . . . . . . . . . . . . . . . 6-25
Removable towing hook (front) . . . . . . . . . . . . . . . . 6-24
Towing service . . . . . . . . . . . . . . . . . . . . . . . . . . . . . 6-23
Trip computer . . . . . . . . . . . . . . . . . . . . . . . . . . . . . . . . 4-67 Fuel Economy . . . . . . . . . . . . . . . . . . . . . . . . . . . . . 4-67
One time driving information mode . . . . . . . . . . . . 4-70
Overview . . . . . . . . . . . . . . . . . . . . . . . . . . . . . . . . . 4-67
Trip A/B . . . . . . . . . . . . . . . . . . . . . . . . . . . . . . . . . . 4-69\
Trunk . . . . . . . . . . . . . . . . . . . . . . . . . . . . . . . . . . . . \
. . . 4-18 Closing the trunk . . . . . . . . . . . . . . . . . . . . . . . . . . . 4-19
Emergency trunk lid release cable . . . . . . . . . . . . . . 4-19
Emergency trunk safety release . . . . . . . . . . . . . . . . 4-20
Opening the trunk. . . . . . . . . . . . . . . . . . . . . . . . . . . 4-18 Vehicle break-in process . . . . . . . . . . . . . . . . . . . . . . . . . 1-5
Vehicle certification label . . . . . . . . . . . . . . . . . . . . . . . . 8-8
Vehicle Data Collection and Event Data Recorders . . . . 1-6
Vehicle identification number (VIN) . . . . . . . . . . . . . . . 8-8
Vehicle load limit . . . . . . . . . . . . . . . . . . . . . . . . . . . . . 5-52
Certification label . . . . . . . . . . . . . . . . . . . . . . . . . . . 5-55
Tire and loading information label. . . . . . . . . . . . . . 5-52
Vehicle weight . . . . . . . . . . . . . . . . . . . . . . . . . . . . . . . 5-57
Warning and indicator lights. . . . . . . . . . . . . . . . . . . . . 4-71 Indicator Lights . . . . . . . . . . . . . . . . . . . . . . . . . . . . 4-77
Warning lights . . . . . . . . . . . . . . . . . . . . . . . . . . . . . 4-71
Washer fluid . . . . . . . . . . . . . . . . . . . . . . . . . . . . . . . . . 7-32 Checking the washer fluid level . . . . . . . . . . . . . . . . 7-32
Welcome system . . . . . . . . . . . . . . . . . . . . . . . . . . . . . . 4-85 Interior light . . . . . . . . . . . . . . . . . . . . . . . . . . . . . . 4-85
Welcome light (position light) . . . . . . . . . . . . . . . . . 4-85
Welcome light (room lamp, positon light) . . . . . . . . 4-85
Windows . . . . . . . . . . . . . . . . . . . . . . . . . . . . . . . . . . . . \
4-21 Power window lock button. . . . . . . . . . . . . . . . . . . . 4-24
Power windows . . . . . . . . . . . . . . . . . . . . . . . . . . . . 4-22
Windshield defrosting and defogging. . . . . . . . . . . . . 4-113 Automatic climate control system . . . . . . . . . . . . . 4-113
Defogging logic . . . . . . . . . . . . . . . . . . . . . . . . . . . 4-114V
W