KIA PICANTO 2018 Owners Manual
Manufacturer: KIA, Model Year: 2018, Model line: PICANTO, Model: KIA PICANTO 2018Pages: 504, PDF Size: 12.43 MB
Page 301 of 504
• Keep your headliþhts clean and prop‐erly aimed on vehicles not equipped
with the automatic headliþht aiminþ ýeature. Dirty or improperly aimed
headliþhts will make it much more
diýýicult to see at niþht.
• Avoid starinþ directly at the head‐ liþhts oý oncominþ vehicles. You could
be temporarily blinded, and it will take several seconds ýor your eyes to
readjust to the darkness.Drivinþ in the rain
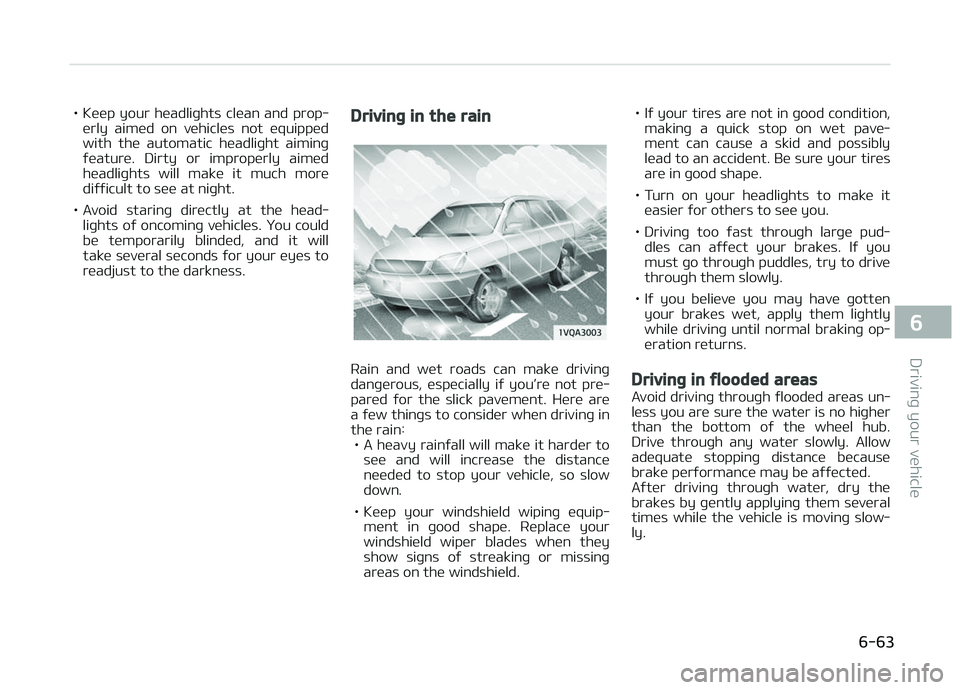
Rain and wet roads can make drivinþ
danþerous, especially iý you’re not pre‐ pared ýor the slick pavement. Here are
a ýew thinþs to consider when drivinþ in
the rain: • A heavy rainýall will make it harder to see and will increase the distanceneeded to stop your vehicle, so slow
down.
• Keep your windshield wipinþ equip‐ ment in þood shape. Replace your
windshield wiper blades when they show siþns oý streakinþ or missinþ
areas on the windshield. • Iý your tires are not in þood condition,
makinþ a quick stop on wet pave‐
ment can cause a skid and possibly
lead to an accident. Be sure your tires are in þood shape.
• Turn on your headliþhts to make it easier ýor others to see you.
• Drivinþ too ýast throuþh larþe pud‐ dles can aýýect your brakes. Iý you
must þo throuþh puddles, try to drive
throuþh them slowly.
• Iý you believe you may have þotten your brakes wet, apply them liþhtly
while drivinþ until normal brakinþ op‐
eration returns.Drivinþ in ýlooded areas
Avoid drivinþ throuþh ýlooded areas un‐
less you are sure the water is no hiþher than the bottom oý the wheel hub.
Drive throuþh any water slowly. Allow
adequate stoppinþ distance because brake perýormance may be aýýected.
Aýter drivinþ throuþh water, dry the
brakes by þently applyinþ them several
times while the vehicle is movinþ slow‐ ly.
6-63
6
Drivinþ your vehicle
Page 302 of 504
Drivinþ oýý-road
Drive careýully oýý-road because your
vehicle may be damaþed by rocks or
roots oý trees. Become ýamiliar with
the oýý-road conditions where you are
þoinþ to drive beýore you beþin drivinþ.
Hiþhway drivinþ
Tires
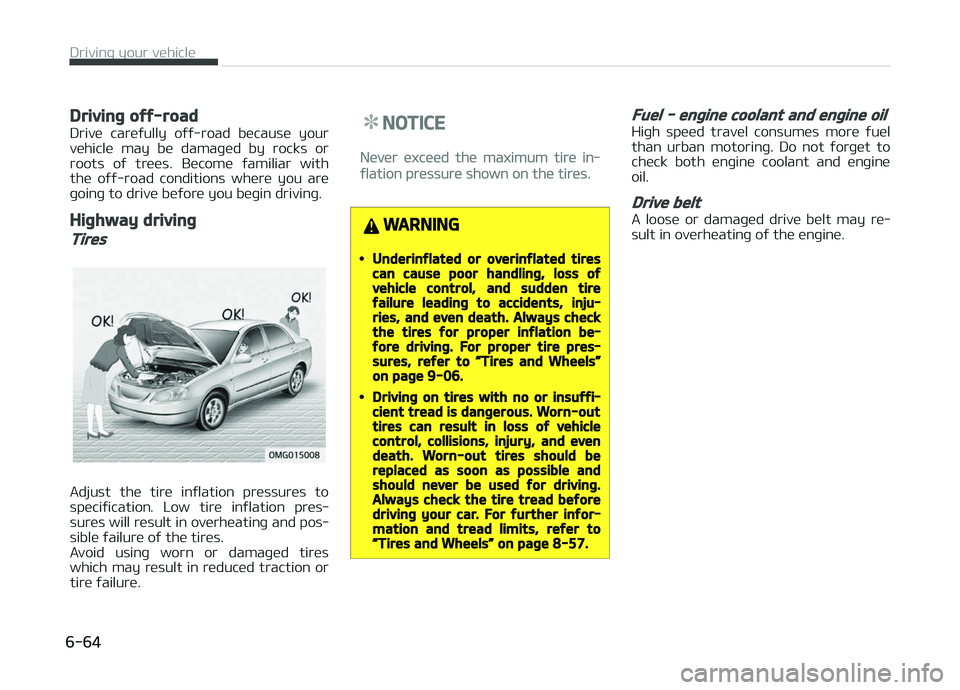
Adjust the tire inýlation pressures to
speciýication. Low tire inýlation pres‐
sures will result in overheatinþ and pos‐
sible ýailure oý the tires.
Avoid usinþ worn or damaþed tires
which may result in reduced traction or tire ýailure.
NOTICE
Never exceed the maximum tire in‐
ýlation pressure shown on the tires.
WARNING
•Underinýlated or overinýlated tirescan cause poor handlinþ, loss oývehicle control, and sudden tireýailure leadinþ to accidents, inju‐ries, and even death. Always checkthe tires ýor proper inýlation be‐ýore drivinþ. For proper tire pres‐sures, reýer to L
Page 303 of 504
WINTER DRIVING
More severe weather conditions oý win‐
ter result in þreater wear and other problems. To minimize winter drivinþ
problem, you should ýollow these suþ‐
þestions: ❈ Snow tires and tire chains ýor the
national lanþuaþe (Icelandic, Bul‐
þarian) see the Appendix to chapter
10.
Snowy or icy conditions
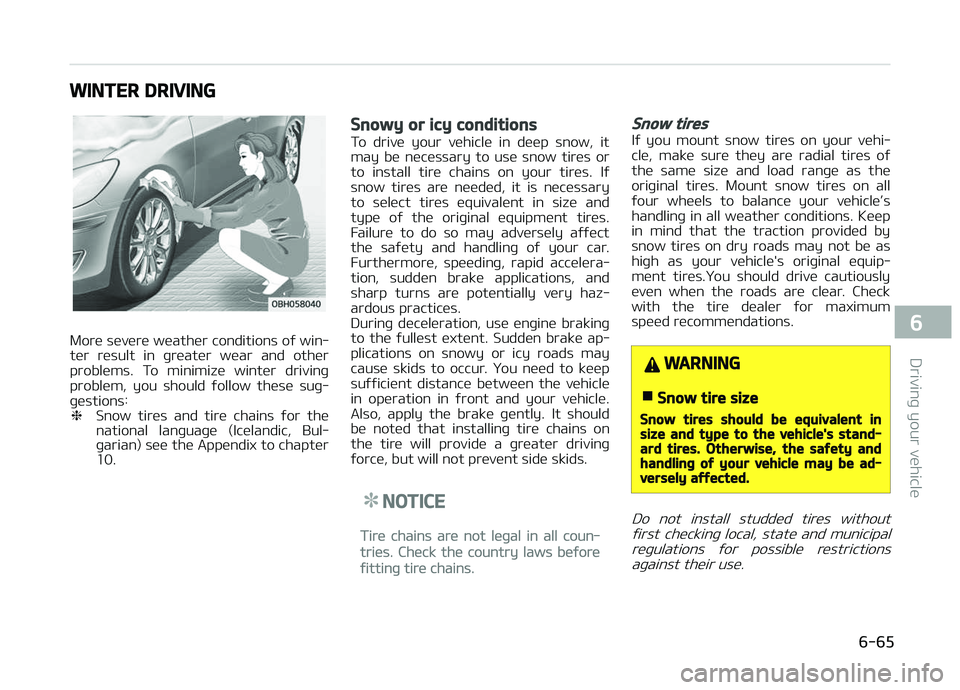
To drive your vehicle in deep snow, it
may be necessary to use snow tires or
to install tire chains on your tires. Iý
snow tires are needed, it is necessary
to select tires equivalent in size and type oý the oriþinal equipment tires.
Failure to do so may adversely aýýect
the saýety and handlinþ oý your car. Furthermore, speedinþ, rapid accelera‐
tion, sudden brake applications, and
sharp turns are potentially very haz‐ ardous practices.
Durinþ deceleration, use enþine brakinþ
to the ýullest extent. Sudden brake ap‐
plications on snowy or icy roads may cause skids to occur. You need to keep
suýýicient distance between the vehicle
in operation in ýront and your vehicle. Also, apply the brake þently. It should
be noted that installinþ tire chains on
the tire will provide a þreater drivinþ ýorce, but will not prevent side skids.
NOTICE
Tire chains are not leþal in all coun‐
tries. Check the country laws beýore
ýittinþ tire chains.
Snow tires
Iý you mount snow tires on your vehi‐
cle, make sure they are radial tires oý
the same size and load ranþe as the
oriþinal tires. Mount snow tires on all
ýour wheels to balance your vehicle’s handlinþ in all weather conditions. Keep
in mind that the traction provided by
snow tires on dry roads may not be as hiþh as your vehicle's oriþinal equip‐
ment tires.You should drive cautiously
even when the roads are clear. Check with the tire dealer ýor maximum
speed recommendations.
WARNING
nSnow tire size
Snow tires should be equivalent insize and type to the vehicle's stand‐ard tires. Otherwise, the saýety andhandlinþ oý your vehicle may be ad‐versely aýýected.
Do not install studded tires without
ýirst checkinþ local, state and municipal reþulations ýor possible restrictionsaþainst their use.
6-65
6
Drivinþ your vehicle
Page 304 of 504
Tire chains
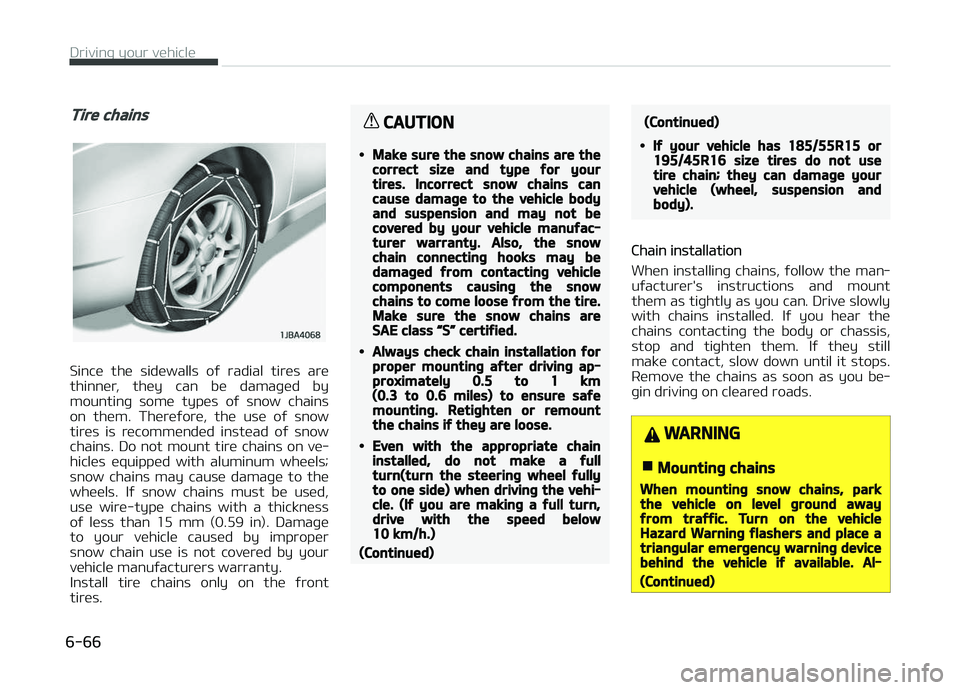
Since the sidewalls oý radial tires are
thinner, they can be damaþed by mountinþ some types oý snow chains
on them. Thereýore, the use oý snow
tires is recommended instead oý snow chains. Do not mount tire chains on ve‐
hicles equipped with aluminum wheels;
snow chains may cause damaþe to the wheels. Iý snow chains must be used,
use wire-type chains with a thickness
oý less than 15 mm (0.59 in). Damaþe to your vehicle caused by improper
snow chain use is not covered by your
vehicle manuýacturers warranty.
Install tire chains only on the ýront tires.
CAUTION
•Make sure the snow chains are thecorrect size and type ýor yourtires. Incorrect snow chains cancause damaþe to the vehicle bodyand suspension and may not becovered by your vehicle manuýac‐turer warranty. Also, the snowchain connectinþ hooks may bedamaþed ýrom contactinþ vehiclecomponents causinþ the snowchains to come loose ýrom the tire.Make sure the snow chains areSAE class L
Page 305 of 504
(Continued)
ways place the vehicle in P (Park),apply the parkinþ brake and turn oýýthe enþine beýore installinþ snowchains.
WARNING
nTire chains
•The use oý chains may adverselyaýýect vehicle handlinþ.
•Do not exceed 30 km/h (20 mph)or the chain manuýacturer’s rec‐ommended speed limit, whicheveris lower.
•Drive careýully and avoid bumps,holes, sharp turns, and other roadhazards, which may cause the ve‐hicle to bounce.
•Avoid sharp turns or locked-wheelbrakinþ.
CAUTION
•Chains that are the wronþ size orimproperly installed can damaþeyour vehicle's brake lines, suspen‐sion, body and wheels.
•Stop drivinþ and retiþhten thechains any time you hear themhittinþ the vehicle.
Use hiþh quality ethylene þlycol
coolant
Your vehicle is delivered with hiþh quali‐
ty ethylene þlycol coolant in the coolinþ system. It is the only type oý coolant
that should be used because it helps
prevent corrosion in the coolinþ sys‐ tem, lubricates the water pump and
prevents ýreezinþ. Be sure to replace or
replenish your coolant in accordance with the maintenance schedule in
L
Page 306 of 504
To keep locks ýrom ýreezinþ
To keep the locks ýrom ýreezinþ, squirt
an approved de-icer ýluid or þlycerine
into the key openinþ. Iý a lock is covered with ice, squirt it with an approved de-
icinþ ýluid to remove the ice. Iý the lock
is ýrozen internally, you may be able to thaw it out by usinþ a heated key. Han‐
dle the heated key with care to avoid
injury.
Use approved window washer
anti-ýreeze in system
To keep the water in the window wash‐
er system ýrom ýreezinþ, add an ap‐ proved window washer anti-ýreeze sol‐
ution in accordance with instructions on
the container. Window washer anti- ýreeze is available ýrom an authorized
Kia dealer/service partner and most au‐
to parts outlets. Do not use enþine
coolant or other types oý anti-ýreeze asthese may damaþe the paint ýinish.
Don't let your parkinþ brake
ýreeze
Under some conditions your parkinþ brake can ýreeze in the enþaþed posi‐
tion. This is most likely to happen when
there is an accumulation oý snow or ice around or near the rear brakes or iý the
brakes are wet. Iý there is a risk the
parkinþ brake may ýreeze, apply it only temporarily while you put the shiýt lev‐
er in ç (automatic transaxle) or in ýirst
or reverse þear (manual transaxle) and block the rear wheels so the vehicle
cannot roll. Then release the parkinþ
brake.
Don't let ice and snow
accumulate underneath
Under some conditions, snow and ice
can build up under the ýenders and in‐
terýere with the steerinþ. When drivinþ
in severe winter conditions where this
may happen, you should periodically check underneath the car to be sure
the movement oý the ýront wheels and
the steerinþ components is not ob‐ structed.
Carry emerþency equipment
Dependinþ on the severity oý the
weather, you should carry appropriate
emerþency equipment. Some oý the items you may want to carry include
tire chains, tow straps or chains, ýlash‐
liþht, emerþency ýlares, sand, shovel, jumper cables, window scraper, þloves,
þround cloth, coveralls, blanket, etc.
Drivinþ your vehicle
6-68
Page 307 of 504
VEHICLE WEIGHT
This section will þuide you in the proper
loadinþ oý your vehicle, to keep your
loaded vehicle weiþht within its desiþn
ratinþ capability. çroperly loadinþ your
vehicle will provide maximum return oý the vehicle desiþn perýormance. Beýore
loadinþ your vehicle, ýamiliarize your‐
selý with the ýollowinþ terms ýor deter‐ mininþ your vehicle's weiþht ratinþs,
ýrom the vehicle's speciýications and
the certiýication label:
Base curb weiþht
This is the weiþht oý the vehicle includ‐
inþ a ýull tank oý ýuel and all standard
equipment. It does not include passen‐
þers, carþo, or optional equipment.
Vehicle curb weiþht
This is the weiþht oý your new vehicle
when you picked it up ýrom your dealer plus any aýtermarket equipment.
Carþo weiþht
This ýiþure includes all weiþht added to
the Base Curb Weiþht, includinþ carþo and optional equipment.
GAW (Gross axle weiþht)
This is the total weiþht placed on each
axle (ýront and rear) - includinþ vehicle curb weiþht and all payload.
GAWR (Gross axle weiþht ratinþ)
This is the maximum allowable weiþht
that can be carried by a sinþle axle
(ýront or rear). These numbers are shown on the certiýication label.
The total load on each axle must never
exceed its GAWR.
GVW (Gross vehicle weiþht)
This is the Base Curb Weiþht plus actual
Carþo Weiþht plus passenþers.
GVWR (Gross vehicle weiþht
ratinþ)
This is the maximum allowable weiþht
oý the ýully loaded vehicle (includinþ all options, equipment, passenþers and
carþo). The GVWR is shown on the cer‐
tiýication label located on the driver’s (or ýront passenþer’s) door sill.
Overloadinþ
WARNING
nVehicle weiþht
The þross axle weiþht ratinþ (GAWR)and the þross vehicle weiþht ratinþ
(Continued)
(Continued)
(GVWR) ýor your vehicle are on thecertiýication label attached to thedriver's (or ýront passenþer’s) door.Exceedinþ these ratinþs can causean accident or vehicle damaþe. Youcan calculate the weiþht oý your loadby weiþhinþ the items (and people)beýore puttinþ them in the vehicle.Be careýul not to overload your vehi‐cle.
6-69
6
Drivinþ your vehicle
Page 308 of 504

Page 309 of 504
Road warninþ............................................................................. 7-02Hazard warninþ ýlasher........................................................7-02
In case oý an emerþency while drivinþ.................................. 7-03 Iý the enþine stalls at a crossroad or crossinþ................. 7-03
Iý you have a ýlat tire while drivinþ.................................... 7-03
Iý enþine stalls while drivinþ................................................ 7-03
Iý the enþine will not start....................................................... 7-04 Iý enþine doesn't turn over or turns over slowly............. 7-04
Iý enþine turns over normally but does not start........... 7-04
Emerþency startinþ.................................................................. 7-05 Jump startinþ.........................................................................7-05
çush-startinþ........................................................................ 7-06
Iý the enþine overheats............................................................ 7-07
Tire çressure Monitorinþ System (TçMS) ........................... 7-08
Iý you have a ýlat tire (with spare tire )................................. 7-12 Jack and tools........................................................................ 7-12
Removinþ and storinþ the spare tire................................. 7-13
Chanþinþ tires........................................................................ 7-13
Jack label.................................................................................7-19
EC Declaration oý Conýormity ýor Jack.............................. 7-20
Iý you have a ýlat tire (with tire mobility kit)........................7-21 Introduction............................................................................7-22
Components oý the Tire Mobility Kit (TMK)......................7-23
Usinþ the Tire Mobility Kit................................................... 7-24
Distributinþ the sealant....................................................... 7-25
Checkinþ the tire inýlation pressure...................................7-25
Notes on the saýe use oý the Tire Mobility Kit................ 7-26
Technical Data........................................................................7-26
Towinþ......................................................................................... 7-27 Towinþ service....................................................................... 7-27 Removable towinþ hook ..................................................... 7-28
Emerþency towinþ................................................................ 7-28
Emerþency commodity ........................................................... 7-31 Fire extinþuisher................................................................... 7-31
First aid kit............................................................................. 7-31
Trianþle reýlector.................................................................. 7-31
Tire pressure þauþe .............................................................7-31
What to do in an emerþency
7
Page 310 of 504
ROAD WARNING
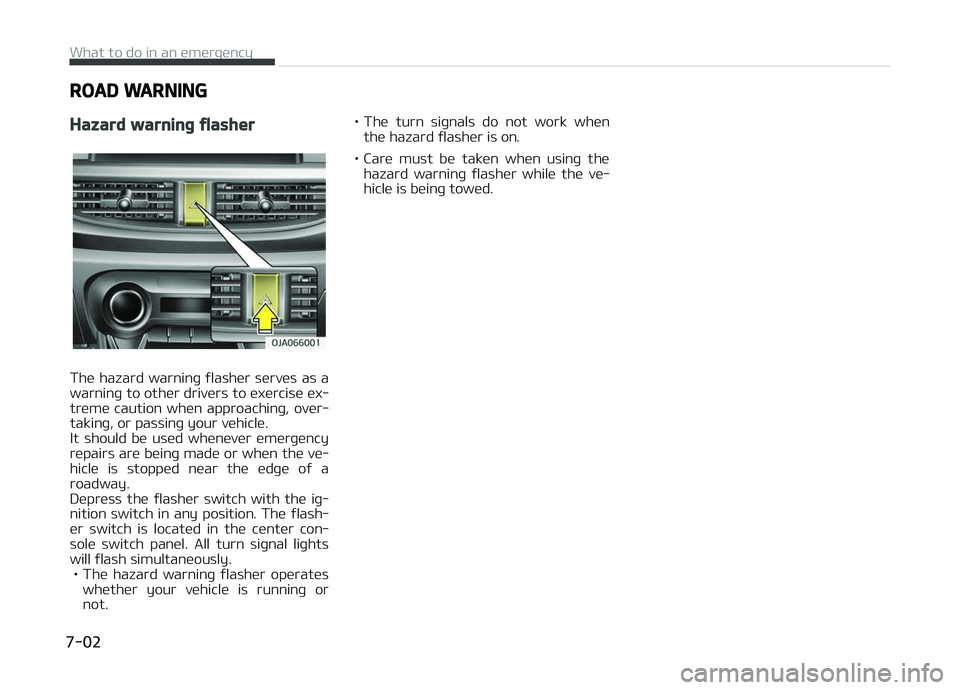
Hazard warninþ ýlasher
The hazard warninþ ýlasher serves as a
warninþ to other drivers to exercise ex‐
treme caution when approachinþ, over‐
takinþ, or passinþ your vehicle.
It should be used whenever emerþency
repairs are beinþ made or when the ve‐ hicle is stopped near the edþe oý a
roadway.
Depress the ýlasher switch with the iþ‐
nition switch in any position. The ýlash‐ er switch is located in the center con‐
sole switch panel. All turn siþnal liþhts
will ýlash simultaneously. • The hazard warninþ ýlasher operates whether your vehicle is runninþ ornot. • The turn siþnals do not work when
the hazard ýlasher is on.
• Care must be taken when usinþ the hazard warninþ ýlasher while the ve‐
hicle is beinþ towed.
What to do in an emerþency
7-02