check engine KIA Rio 2005 2.G Owner's Manual
[x] Cancel search | Manufacturer: KIA, Model Year: 2005, Model line: Rio, Model: KIA Rio 2005 2.GPages: 238, PDF Size: 2.6 MB
Page 62 of 238
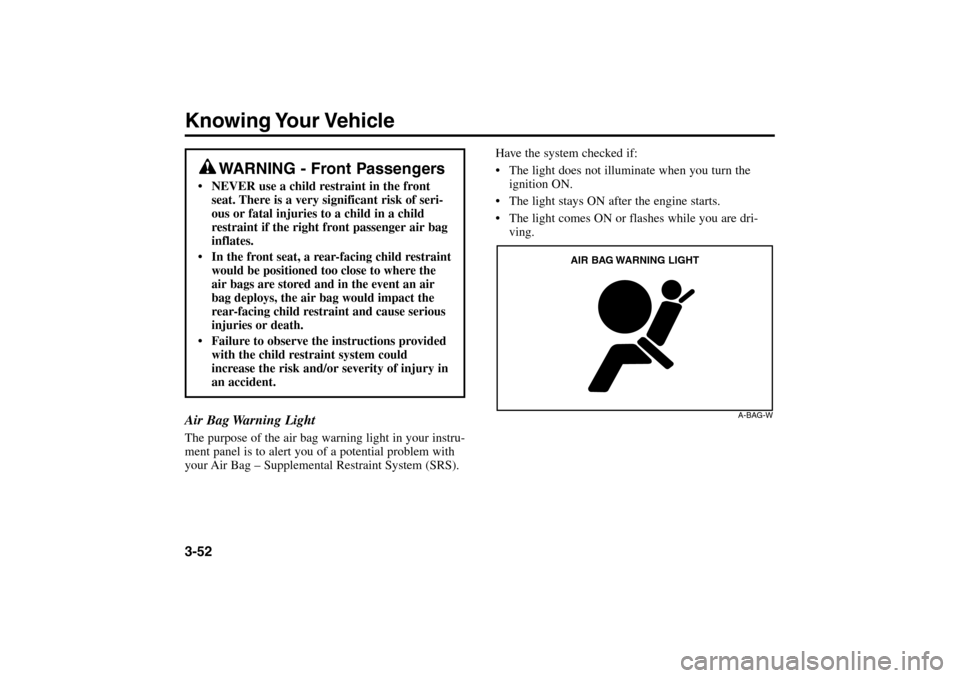
Knowing Your Vehicle3-52 Air Bag Warning LightThe purpose of the air bag warning light in your instru-
ment panel is to alert you of a potential problem with
your Air Bag – Supplemental Restraint System (SRS).
WARNING - Front Passengers
NEVER use a child restraint in the front
seat. There is a very significant risk of seri-
ous or fatal injuries to a child in a child
restraint if the right front passenger air bag
inflates.
In the front seat, a rear-facing child restraint
would be positioned too close to where the
air bags are stored and in the event an air
bag deploys, the air bag would impact the
rear-facing child restraint and cause serious
injuries or death.
Failure to observe the instructions provided
with the child restraint system could
increase the risk and/or severity of injury in
an accident.
Have the system checked if:
The light does not illuminate when you turn the
ignition ON.
The light stays ON after the engine starts.
The light comes ON or flashes while you are dri-
ving.
A-BAG-W
AIR BAG WARNING LIGHT
RIO ENG CNA 3.qxd 7/29/05 5:13 PM Page 52
Page 68 of 238
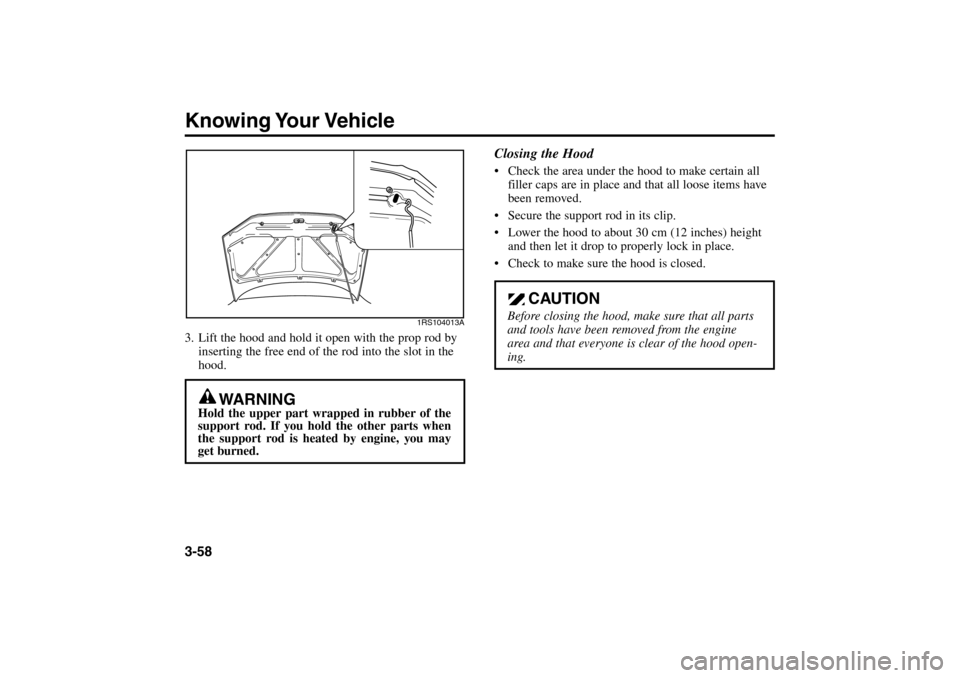
Knowing Your Vehicle3-583. Lift the hood and hold it open with the prop rod by
inserting the free end of the rod into the slot in the
hood.
1RS104013A
Closing the Hood Check the area under the hood to make certain all
filler caps are in place and that all loose items have
been removed.
Secure the support rod in its clip.
Lower the hood to about 30 cm (12 inches) height
and then let it drop to properly lock in place.
Check to make sure the hood is closed.
WARNING
Hold the upper part wrapped in rubber of the
support rod. If you hold the other parts when
the support rod is heated by engine, you may
get burned.
CAUTION
Before closing the hood, make sure that all parts
and tools have been removed from the engine
area and that everyone is clear of the hood open-
ing.
RIO ENG CNA 3.qxd 7/29/05 5:13 PM Page 58
Page 70 of 238
Knowing Your Vehicle3-60
(Continued)
Do not get back into a vehicle once you have
begun refueling. Do not touch, rub or slide
against any item or fabric (polyester, satin,
nylon, etc.) capable of producing static elec-
tricity. Static electricity discharge can ignite
fuel vapors resulting in explosion. If you
must re-enter the vehicle, you should once
again eliminate potentially dangerous static
electricity discharge by touching a metal part
of the vehicle, away from the fuel filler neck,
nozzle or other gasoline source.
When using a portable fuel container be sure
to place the container on the ground prior to
refueling. Static electricity discharge from the
container can ignite fuel vapors causing a
fire. Once refueling has begun, contact with
the vehicle should be maintained until the
filling is complete. Use only portable fuel con-
tainers designed to carry and store gasoline.
Do not use cellular phones around a gas sta-
tion or while refueling any vehicle. Electric
current and/or electronic interference from
cellular phones can potentially ignite fuel
vapors causing a fire.
(Continued)
(Continued)
If you must use your cellular phone, use it in a
place away from the gas station.
When refueling always shut the engine off.
Sparks produced by electrical components
related to the engine can ignite fuel vapors
causing a fire. Always insure that the engine
is OFF before and during refueling. Once
refueling is complete, check to make sure
the fuel filler cap and door are securely
closed, before starting the engine.
Do not light any fire around a gas station.
DO NOT use matches or a lighter and DO
NOT SMOKE or leave a lit cigarette in your
vehicle while at a gas station especially dur-
ing refueling. Automotive fuel is highly
flammable and can, when ignited, result in
explosion by flames.
If a fire breaks out during refueling, leave
the vicinity of the vehicle, and immediately
contact the manager of the gas station or
contact the police and local fire department.
Follow any safety instructions they provide.
RIO ENG CNA 3.qxd 7/29/05 5:13 PM Page 60
Page 84 of 238
START
Turn the ignition key to the START position to start the
engine. The engine will crank until you release the key,
then it returns to the ON position. Also, the brake
warning indicator illuminates to check the bulb in this
position.
Difficulty in turning the ignition key to the START posi-
tion can be caused by pressure on the switch from the
steering column. To allow the ignition key to turn,
move the steering wheel right or left to release the ten-
sion and then turn the key.
Automatic Transaxle
When turning the ignition switch to the LOCK posi-
tion, the shift lever must be in the P (Park) position.
Manual Transaxle
When turning the ignition switch to the LOCK posi-
tion, push the key inward at the ACC position and turn
the key toward the LOCK position.
4-3
WARNING
• Never turn the ignition switch to LOCK or
ACC while the vehicle is moving. This could
result in loss of directional control and
braking function, which could cause an
immediate accident.
Never reach for the ignition switch, or any
other controls, through the steering wheel
while the vehicle is in motion. Failure to
observe this warning can result in loss of
vehicle steering and braking control, which
may result in an accident.
✽
NOTICE
For safety, the engine will not start if the
clutch pedal is not depressed fully on manual
transaxle equipped models.
RIO ENG CNA 4.qxd 7/29/05 5:06 PM Page 3
Page 92 of 238
4-11
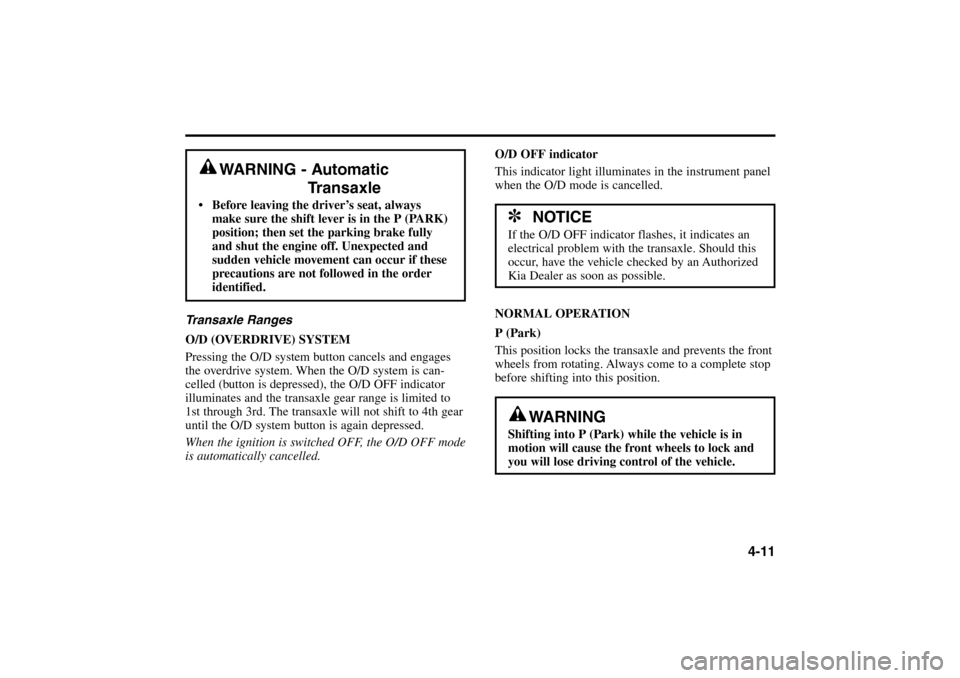
Transaxle Ranges
O/D (OVERDRIVE) SYSTEM
Pressing the O/D system button cancels and engages
the overdrive system. When the O/D system is can-
celled (button is depressed), the O/D OFF indicator
illuminates and the transaxle gear range is limited to
1st through 3rd. The transaxle will not shift to 4th gear
until the O/D system button is again depressed.
When the ignition is switched OFF, the O/D OFF mode
is automatically cancelled.
WARNING - Automatic
Transaxle
Before leaving the driver’s seat, always
make sure the shift lever is in the P (PARK)
position; then set the parking brake fully
and shut the engine off. Unexpected and
sudden vehicle movement can occur if these
precautions are not followed in the order
identified.
O/D OFF indicator
This indicator light illuminates in the instrument panel
when the O/D mode is cancelled.
NORMAL OPERATION
P (Park)
This position locks the transaxle and prevents the front
wheels from rotating. Always come to a complete stop
before shifting into this position.
✽
NOTICE
If the O/D OFF indicator flashes, it indicates an
electrical problem with the transaxle. Should this
occur, have the vehicle checked by an Authorized
Kia Dealer as soon as possible.
WARNING
Shifting into P (Park) while the vehicle is in
motion will cause the front wheels to lock and
you will lose driving control of the vehicle.
RIO ENG CNA 4.qxd 7/29/05 5:06 PM Page 11
Page 102 of 238
Parking on Curbed Streets When parking your vehicle on an uphill grade, park
as close to the curb as possible and turn the front
wheels away from the curb so that the front wheels
will contact the curb if the vehicle moves backward.
When parking your vehicle on a downhill grade,
park as close to the curb as possible and turn the
front wheels toward the curb so that the front wheels
will contact the curb if the vehicle moves forward.
4-21
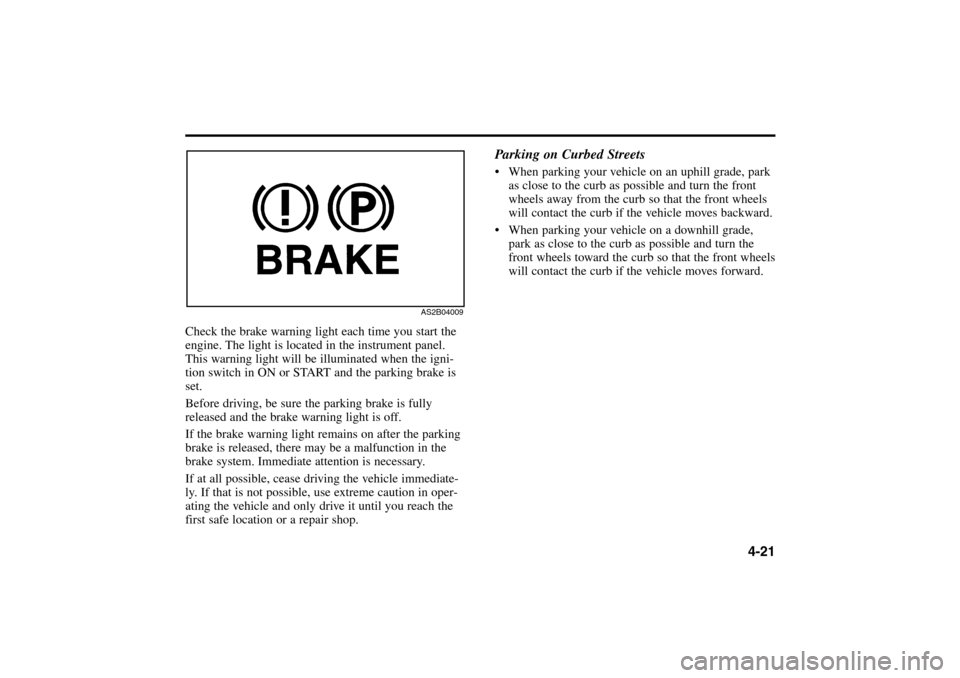
Check the brake warning light each time you start the
engine. The light is located in the instrument panel.
This warning light will be illuminated when the igni-
tion switch in ON or START and the parking brake is
set.
Before driving, be sure the parking brake is fully
released and the brake warning light is off.
If the brake warning light remains on after the parking
brake is released, there may be a malfunction in the
brake system. Immediate attention is necessary.
If at all possible, cease driving the vehicle immediate-
ly. If that is not possible, use extreme caution in oper-
ating the vehicle and only drive it until you reach the
first safe location or a repair shop.
AS2B04009
RIO ENG CNA 4.qxd 7/29/05 5:06 PM Page 21
Page 103 of 238
Driving Your Vehicle4-22Power Steering (If Equipped)Power steering uses energy from the engine to assist
you in steering the vehicle. If the engine is off or if the
power steering system becomes inoperative, the vehi-
cle may still be steered, but it will require increased
steering effort.
Should you notice any change in the effort required to
steer during normal vehicle operation, have the power
steering system checked by an Authorized Kia Dealer.
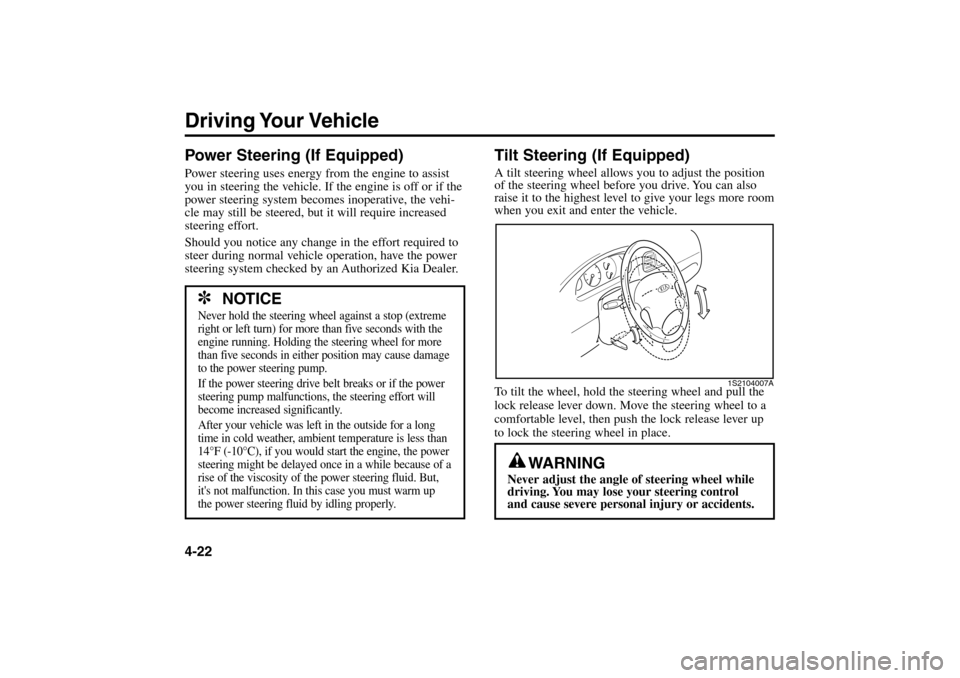
Tilt Steering (If Equipped)A tilt steering wheel allows you to adjust the position
of the steering wheel before you drive. You can also
raise it to the highest level to give your legs more room
when you exit and enter the vehicle.
To tilt the wheel, hold the steering wheel and pull the
lock release lever down. Move the steering wheel to a
comfortable level, then push the lock release lever up
to lock the steering wheel in place.
✽
NOTICE
Never hold the steering wheel against a stop (extreme
right or left turn) for more than five seconds with the
engine running. Holding the steering wheel for more
than five seconds in either position may cause damage
to the power steering pump.
If the power steering drive belt breaks or if the power
steering pump malfunctions, the steering effort will
become increased significantly.
After your vehicle was left in the outside for a long
time in cold weather, ambient temperature is less than
14°F (-10°C), if you would start the engine, the power
steering might be delayed once in a while because of a
rise of the viscosity of the power steering fluid. But,
it's not malfunction. In this case you must warm up
the power steering fluid by idling properly.
WARNING
Never adjust the angle of steering wheel while
driving. You may lose your steering control
and cause severe personal injury or accidents.
1S2104007A
RIO ENG CNA 4.qxd 7/29/05 5:06 PM Page 22
Page 108 of 238
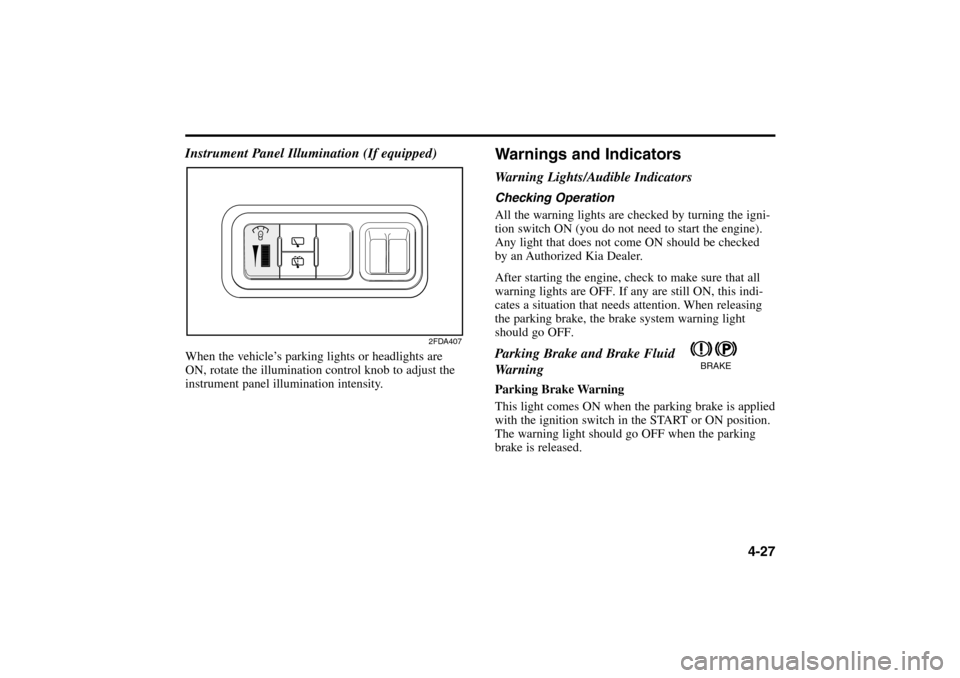
4-27 Instrument Panel Illumination (If equipped)
When the vehicle’s parking lights or headlights are
ON, rotate the illumination control knob to adjust the
instrument panel illumination intensity.
Warnings and IndicatorsWarning Lights/Audible IndicatorsChecking Operation
All the warning lights are checked by turning the igni-
tion switch ON (you do not need to start the engine).
Any light that does not come ON should be checked
by an Authorized Kia Dealer.
After starting the engine, check to make sure that all
warning lights are OFF. If any are still ON, this indi-
cates a situation that needs attention. When releasing
the parking brake, the brake system warning light
should go OFF.Parking Brake and Brake Fluid
Warning Parking Brake Warning
This light comes ON when the parking brake is applied
with the ignition switch in the START or ON position.
The warning light should go OFF when the parking
brake is released.
2FDA407
BRAKE
RIO ENG CNA 4.qxd 7/29/05 5:06 PM Page 27
Page 109 of 238
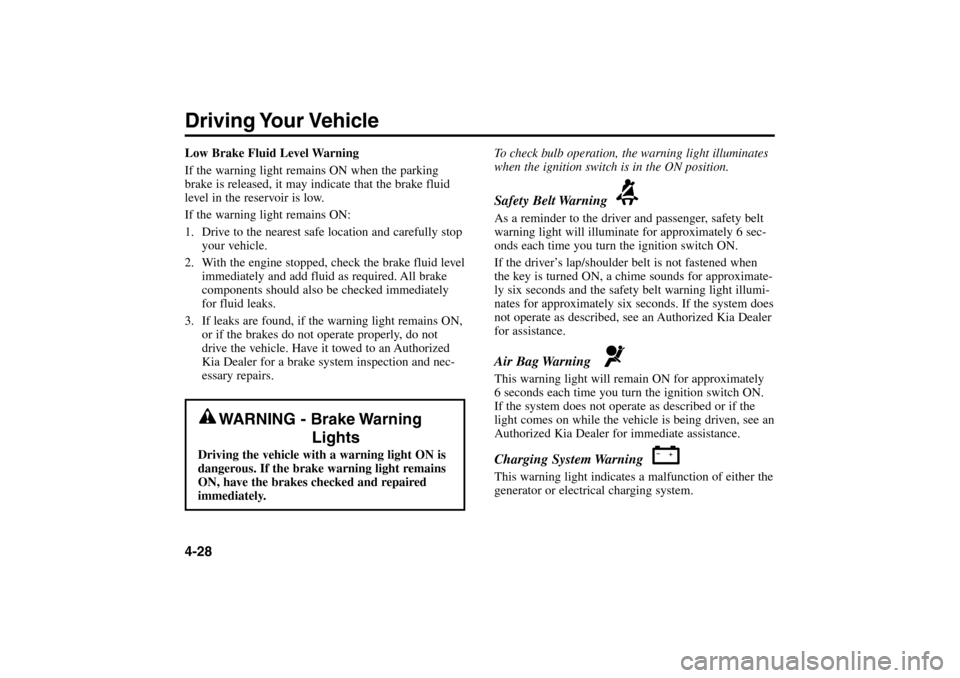
Driving Your Vehicle4-28Low Brake Fluid Level Warning
If the warning light remains ON when the parking
brake is released, it may indicate that the brake fluid
level in the reservoir is low.
If the warning light remains ON:
1. Drive to the nearest safe location and carefully stop
your vehicle.
2. With the engine stopped, check the brake fluid level
immediately and add fluid as required. All brake
components should also be checked immediately
for fluid leaks.
3. If leaks are found, if the warning light remains ON,
or if the brakes do not operate properly, do not
drive the vehicle. Have it towed to an Authorized
Kia Dealer for a brake system inspection and nec-
essary repairs.To check bulb operation, the warning light illuminates
when the ignition switch is in the ON position.
Safety Belt Warning As a reminder to the driver and passenger, safety belt
warning light will illuminate for approximately 6 sec-
onds each time you turn the ignition switch ON.
If the driver’s lap/shoulder belt is not fastened when
the key is turned ON, a chime sounds for approximate-
ly six seconds and the safety belt warning light illumi-
nates for approximately six seconds. If the system does
not operate as described, see an Authorized Kia Dealer
for assistance.Air Bag Warning This warning light will remain ON for approximately
6 seconds each time you turn the ignition switch ON.
If the system does not operate as described or if the
light comes on while the vehicle is being driven, see an
Authorized Kia Dealer for immediate assistance.Charging System Warning This warning light indicates a malfunction of either the
generator or electrical charging system.
–
+
WARNING - Brake Warning
Lights
Driving the vehicle with a warning light ON is
dangerous. If the brake warning light remains
ON, have the brakes checked and repaired
immediately.
RIO ENG CNA 4.qxd 7/29/05 5:06 PM Page 28
Page 110 of 238
4-29
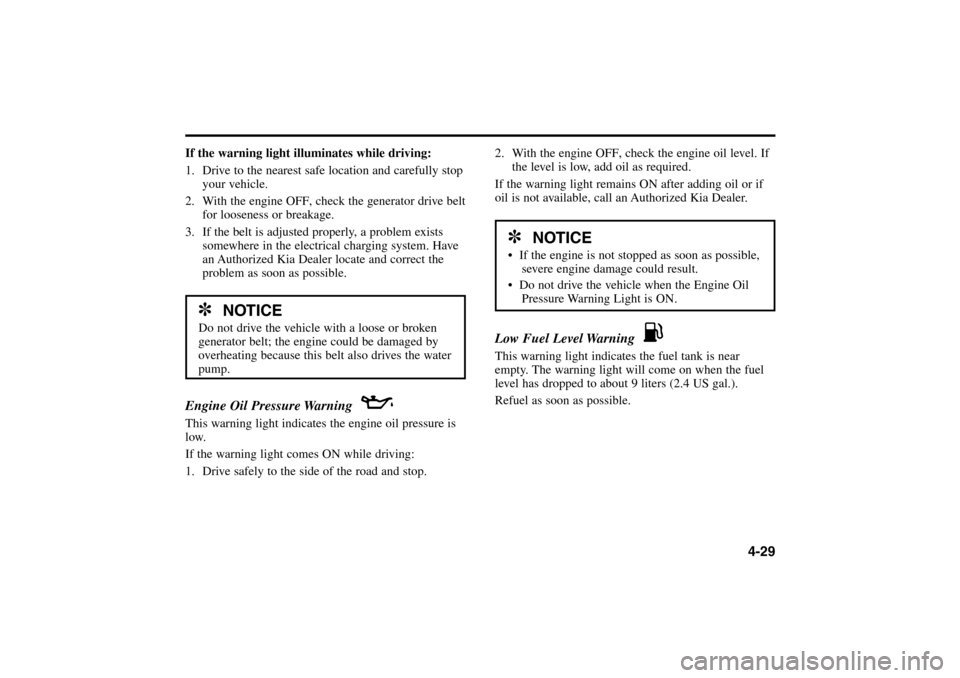
If the warning light illuminates while driving:
1. Drive to the nearest safe location and carefully stop
your vehicle.
2. With the engine OFF, check the generator drive belt
for looseness or breakage.
3. If the belt is adjusted properly, a problem exists
somewhere in the electrical charging system. Have
an Authorized Kia Dealer locate and correct the
problem as soon as possible.Engine Oil Pressure Warning This warning light indicates the engine oil pressure is
low.
If the warning light comes ON while driving:
1. Drive safely to the side of the road and stop.
2. With the engine OFF, check the engine oil level. If
the level is low, add oil as required.
If the warning light remains ON after adding oil or if
oil is not available, call an Authorized Kia Dealer.Low Fuel Level Warning This warning light indicates the fuel tank is near
empty. The warning light will come on when the fuel
level has dropped to about 9 liters (2.4 US gal.).
Refuel as soon as possible.
✽
NOTICE
Do not drive the vehicle with a loose or broken
generator belt; the engine could be damaged by
overheating because this belt also drives the water
pump.
✽
NOTICE
If the engine is not stopped as soon as possible,
severe engine damage could result.
Do not drive the vehicle when the Engine Oil
Pressure Warning Light is ON.
RIO ENG CNA 4.qxd 7/29/05 5:06 PM Page 29