ECO mode KIA Sedona 2009 2.G User Guide
[x] Cancel search | Manufacturer: KIA, Model Year: 2009, Model line: Sedona, Model: KIA Sedona 2009 2.GPages: 356, PDF Size: 4.04 MB
Page 175 of 356
Features of your vehicle166
3Defogging logicManual climate control systemTo reduce the probability of fogging up
the inside of the windshield, the air intake
control is set to the outside (fresh) air
position automatically if any of following
occur. The mode is selected to the or
while the system is activated. The ignition switch is turned on while the
mode is selected to the or .
In this case, the air conditioning will auto-
matically operate if the mode is selected
to the or (while the fan is operat-
ed).
If you don’t want the air-conditioning or
outside (fresh) air position, press the cor-
responding button to cancel the opera-
tion. How to cancel or return defogging logic
of manual climate control system
1. Turn the ignition switch to the ON posi-
tion.
2. Turn the fan speed control knob to the OFF (0) position.
3. Turn the mode selection knob to the defrost position ( ).
4. Push the air intake control button ( ) at least 5 times within 3 sec-
onds. The indicator light in the air intake control
button will blink 3 times with 0.5 second
of interval. It indicates that the defogging
logic is canceled or returned to the pro-
grammed status.
If the battery has been discharged or dis-
connected, it is reset as the defog logic
status.
OVQ049341
Page 176 of 356
3 167
Features of your vehicle
Automatic climate control systemTo reduce the probability of fogging up
inside of the windshield, the air intake
control is set to outside (fresh) air posi-
tion automatically if any of following
occur.
The ignition switch is turned on whilethe mode is selected to the
,
.
The OFF button is pushed.
The mode is selected to the or position.
In this case, the air conditioning will auto-
matically operate if the mode is selected
to the (while the fan is operated) or .
If you don’t want the air-conditioning or
outside (fresh) air position, press the cor-
responding button to cancel the opera-
tion.
If the mode is selected to the posi-
tion, higher fan speed will be selected
automatically regardless of the fan speed
control knob adjustment. How to cancel or return defogging logic
of automatic climate control system
1. Turn the ignition switch to the ON posi-
tion.
2. Select the defrost position pressing defrost button ( ).
3. While holding the air conditioning but- ton (A/C) pressed, press the air intake
control button ( ) at least 5 times
within 3 seconds.
The display panel blinks 3 times with 0.5
second of interval. It indicates that the
defogging logic is canceled or returned to
the programmed status.
If the battery has been discharged or dis-
connected, it is reset as the defog logic
status. To keep items from shifting in the cargo
area, you can use the four holders locat-
ed in the cargo area to attach the lug-
gage net.
Contact your authorized Kia dealer to
obtain a luggage net.
OVQ049342
OVQ036085N
LUGGAGE NET HOLDER
(IF EQUIPPED)
Page 178 of 356
3 169
Features of your vehicle
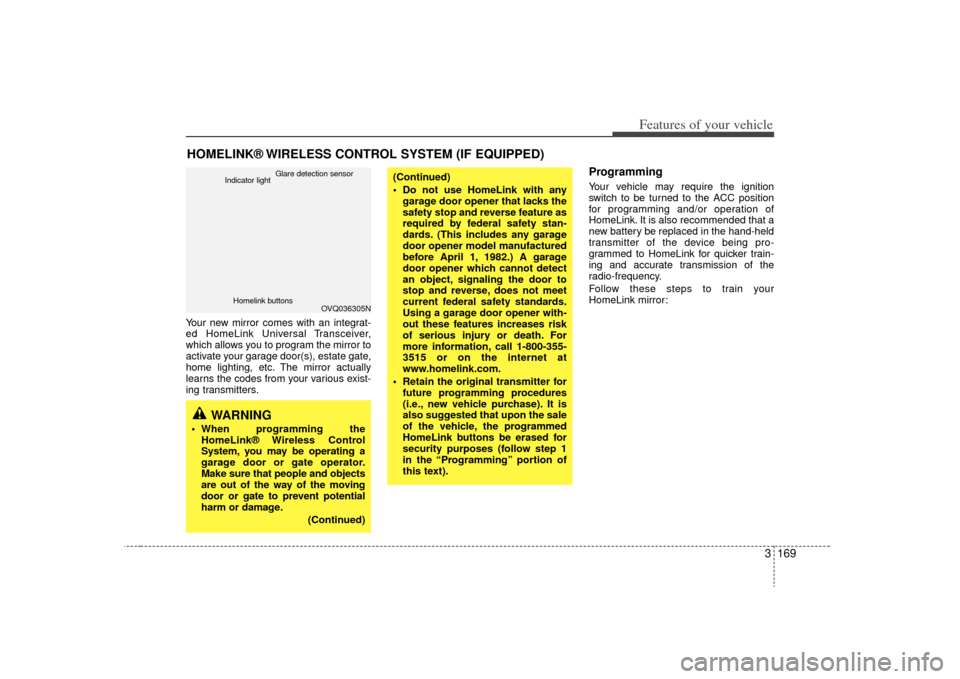
Your new mirror comes with an integrat-
ed HomeLink Universal Transceiver,
which allows you to program the mirror to
activate your garage door(s), estate gate,
home lighting, etc. The mirror actually
learns the codes from your various exist-
ing transmitters.
ProgrammingYour vehicle may require the ignition
switch to be turned to the ACC position
for programming and/or operation of
HomeLink. It is also recommended that a
new battery be replaced in the hand-held
transmitter of the device being pro-
grammed to HomeLink for quicker train-
ing and accurate transmission of the
radio-frequency.
Follow these steps to train your
HomeLink mirror:
HOMELINK® WIRELESS CONTROL SYSTEM (IF EQUIPPED)
WARNING
When programming theHomeLink® Wireless Control
System, you may be operating a
garage door or gate operator.
Make sure that people and objects
are out of the way of the moving
door or gate to prevent potential
harm or damage.
(Continued)
(Continued)
Do not use HomeLink with anygarage door opener that lacks the
safety stop and reverse feature as
required by federal safety stan-
dards. (This includes any garage
door opener model manufactured
before April 1, 1982.) A garage
door opener which cannot detect
an object, signaling the door to
stop and reverse, does not meet
current federal safety standards.
Using a garage door opener with-
out these features increases risk
of serious injury or death. For
more information, call 1-800-355-
3515 or on the internet at
www.homelink.com.
Retain the original transmitter for future programming procedures
(i.e., new vehicle purchase). It is
also suggested that upon the sale
of the vehicle, the programmed
HomeLink buttons be erased for
security purposes (follow step 1
in the “Programming” portion of
this text).
OVQ036305N
Glare detection sensor
Indicator light
Homelink buttons
Page 180 of 356
3 171
Features of your vehicle
Rolling code programmingTo train a garage door opener (or other
rolling code equipped devices) with the
rolling code feature, follow these instruc-
tions after completing the “Programming”
portion of this text. (A second person
may make the following training proce-
dures quicker & easier.)
4. Locate the “learn” or “smart” button onthe device’s motor head unit. Exact
location and color of the button may
vary by product brand. If there is diffi-
culty locating the “learn” or “smart” but-
ton, reference the device’s owner’s
manual or contact HomeLink at 1-800-
355-3515 or on the internet at
www.homelink.com.
5. Press and release the “learn” or “smart” button on the device’s motor
head unit. You have 30 seconds to
complete step number 6.
6. Return to the vehicle and firmly press and release the programmed
HomeLink button up to three times.
The rolling code equipped device
should now recognize the HomeLink
signal and activate when the
HomeLink button is pressed. The
remaining two buttons may now be
programmed if this has not previously
been done. Refer to the
“Programming” portion of this text.
Operating HomeLink To operate, simply press the pro-
grammed HomeLink button. Activation
will now occur for the trained product
(garage door, security system, entry door
lock, estate gate, or home or office light-
ing). For convenience, the hand-held
transmitter of the device may also be
used at any time. The HomeLink
Wireless Controls System (once pro-
grammed) or the original hand-held
transmitter may be used to activate the
device (e.g. garage door, entry door lock,
etc.). In the event that there are still pro-
gramming difficulties, contact HomeLink
at 1-800-355-3515 or on the internet at
www.homelink.com.
Erasing programmed HomeLink
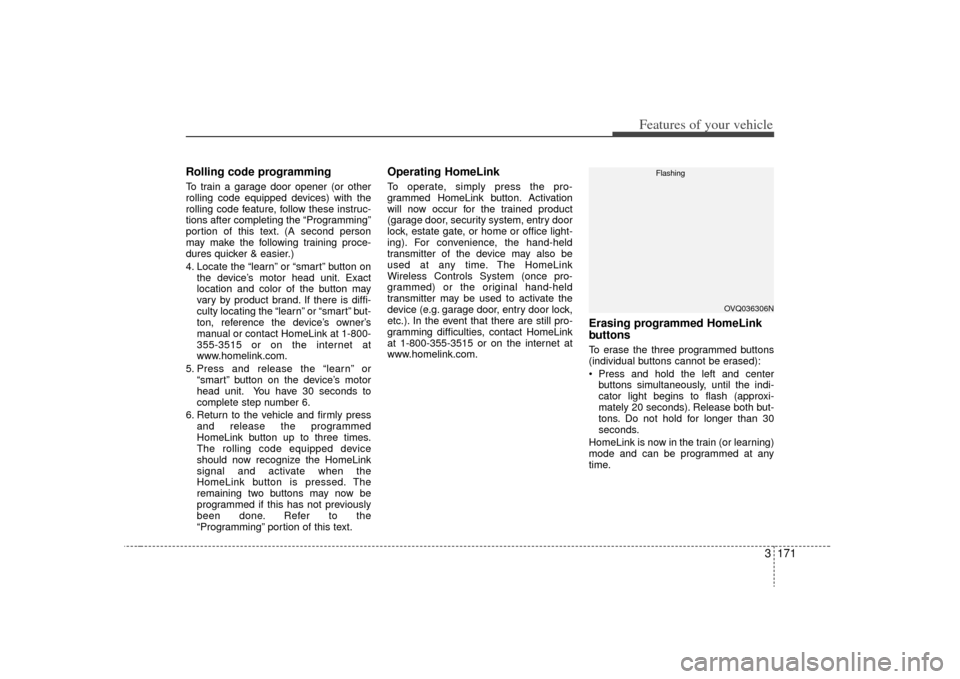
buttonsTo erase the three programmed buttons
(individual buttons cannot be erased):
Press and hold the left and centerbuttons simultaneously, until the indi-
cator light begins to flash (approxi-
mately 20 seconds). Release both but-
tons. Do not hold for longer than 30
seconds.
HomeLink is now in the train (or learning)
mode and can be programmed at any
time.
OVQ036306N
Flashing
Page 181 of 356
Features of your vehicle172
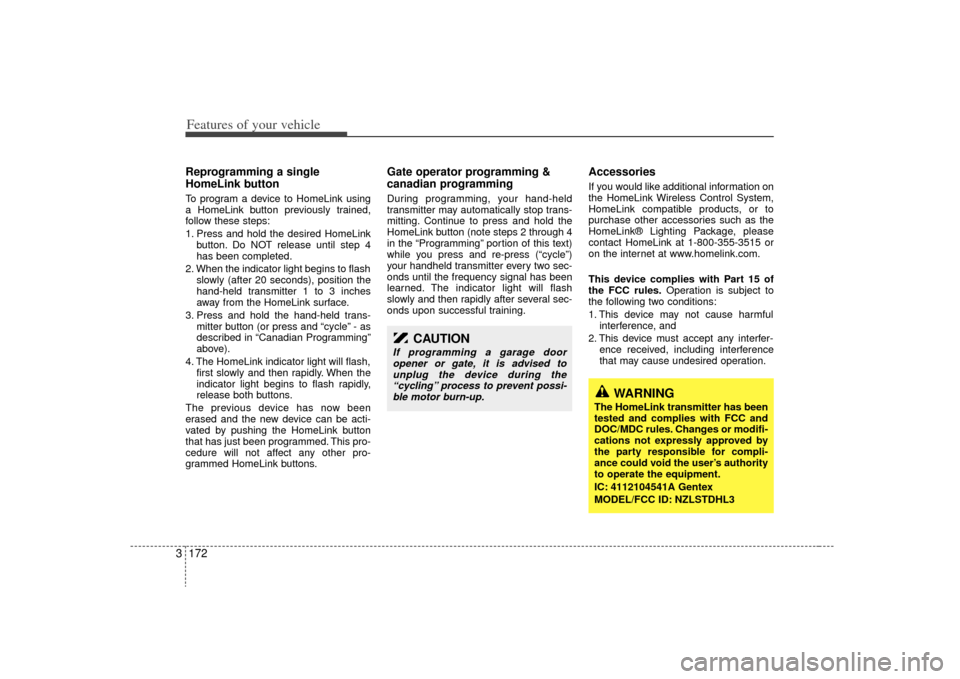
3Reprogramming a single
HomeLink buttonTo program a device to HomeLink using
a HomeLink button previously trained,
follow these steps:
1. Press and hold the desired HomeLink
button. Do NOT release until step 4
has been completed.
2. When the indicator light begins to flash slowly (after 20 seconds), position the
hand-held transmitter 1 to 3 inches
away from the HomeLink surface.
3. Press and hold the hand-held trans- mitter button (or press and “cycle” - as
described in “Canadian Programming”
above).
4. The HomeLink indicator light will flash, first slowly and then rapidly. When the
indicator light begins to flash rapidly,
release both buttons.
The previous device has now been
erased and the new device can be acti-
vated by pushing the HomeLink button
that has just been programmed. This pro-
cedure will not affect any other pro-
grammed HomeLink buttons.
Gate operator programming &
canadian programmingDuring programming, your hand-held
transmitter may automatically stop trans-
mitting. Continue to press and hold the
HomeLink button (note steps 2 through 4
in the “Programming” portion of this text)
while you press and re-press (“cycle”)
your handheld transmitter every two sec-
onds until the frequency signal has been
learned. The indicator light will flash
slowly and then rapidly after several sec-
onds upon successful training.
AccessoriesIf you would like additional information on
the HomeLink Wireless Control System,
HomeLink compatible products, or to
purchase other accessories such as the
HomeLink® Lighting Package, please
contact HomeLink at 1-800-355-3515 or
on the internet at www.homelink.com.
This device complies with Part 15 of
the FCC rules. Operation is subject to
the following two conditions:
1. This device may not cause harmful interference, and
2. This device must accept any interfer- ence received, including interference
that may cause undesired operation.
CAUTION
If programming a garage dooropener or gate, it is advised to unplug the device during the“cycling” process to prevent possi- ble motor burn-up.
WARNING
The HomeLink transmitter has been
tested and complies with FCC and
DOC/MDC rules. Changes or modifi-
cations not expressly approved by
the party responsible for compli-
ance could void the user’s authority
to operate the equipment.
IC: 4112104541A Gentex
MODEL/FCC ID: NZLSTDHL3
Page 196 of 356
3187
Features of your vehicle
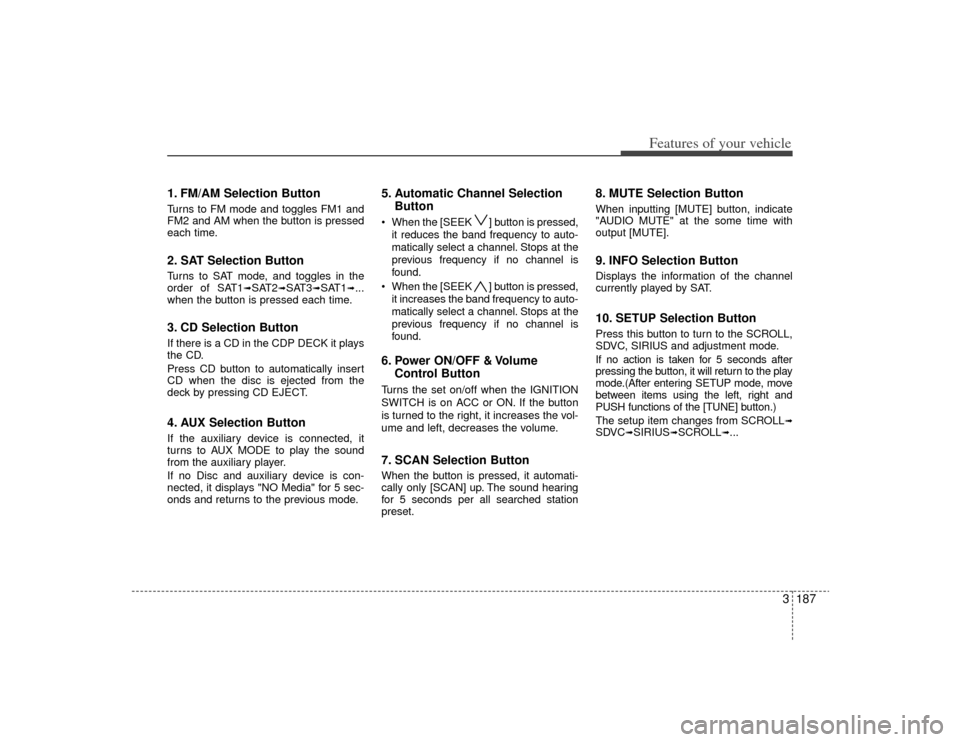
1. FM/AM Selection ButtonTurns to FM mode and toggles FM1 and
FM2 and AM when the button is pressed
each time.2. SAT Selection ButtonTurns to SAT mode, and toggles in the
order of SAT1
➟SAT2
➟SAT3
➟SAT1
➟...
when the button is pressed each time.
3. CD Selection ButtonIf there is a CD in the CDP DECK it plays
the CD.
Press CD button to automatically insert
CD when the disc is ejected from the
deck by pressing CD EJECT.4. AUX Selection ButtonIf the auxiliary device is connected, it
turns to AUX MODE to play the sound
from the auxiliary player.
If no Disc and auxiliary device is con-
nected, it displays "NO Media" for 5 sec-
onds and returns to the previous mode.
5. Automatic Channel Selection Button When the [SEEK ] button is pressed,
it reduces the band frequency to auto-
matically select a channel. Stops at the
previous frequency if no channel is
found.
When the [SEEK ] button is pressed, it increases the band frequency to auto-
matically select a channel. Stops at the
previous frequency if no channel is
found.6. Power ON/OFF & Volume Control ButtonTurns the set on/off when the IGNITION
SWITCH is on ACC or ON. If the button
is turned to the right, it increases the vol-
ume and left, decreases the volume.7. SCAN Selection ButtonWhen the button is pressed, it automati-
cally only [SCAN] up. The sound hearing
for 5 seconds per all searched station
preset.
8. MUTE Selection ButtonWhen inputting [MUTE] button, indicate
"AUDIO MUTE" at the some time with
output [MUTE].9. INFO Selection ButtonDisplays the information of the channel
currently played by SAT.10. SETUP Selection ButtonPress this button to turn to the SCROLL,
SDVC, SIRIUS and adjustment mode.
If no action is taken for 5 seconds after
pressing the button, it will return to the play
mode.(After entering SETUP mode, move
between items using the left, right and
PUSH functions of the [TUNE] button.)
The setup item changes from SCROLL
➟
SDVC
➟SIRIUS
➟SCROLL
➟...
Page 199 of 356
Features of your vehicle190
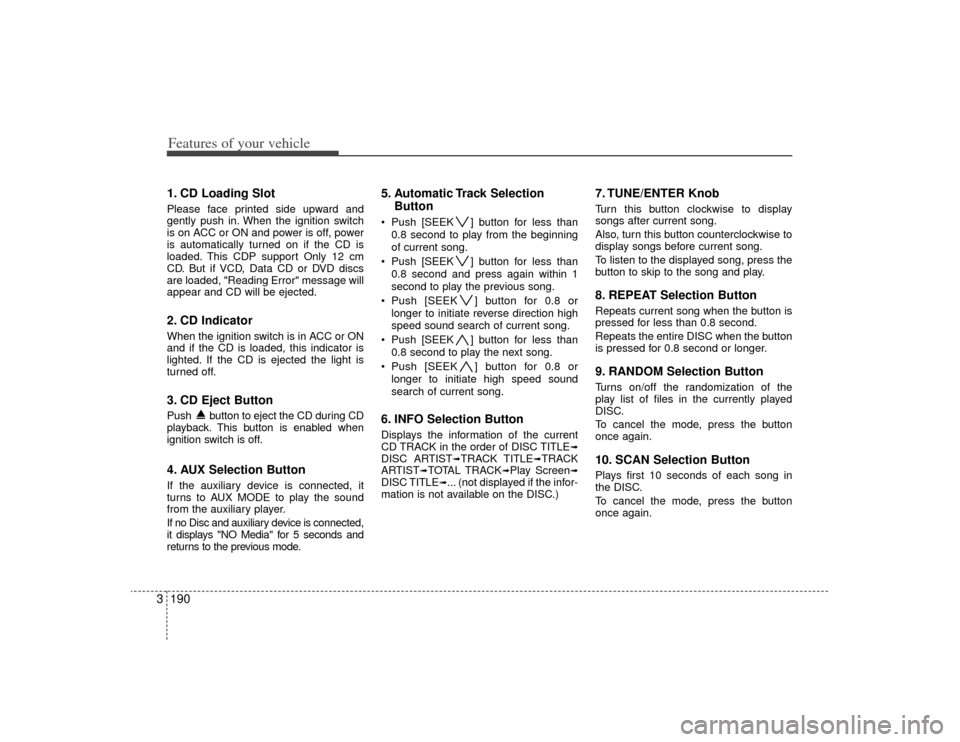
31. CD Loading SlotPlease face printed side upward and
gently push in. When the ignition switch
is on ACC or ON and power is off, power
is automatically turned on if the CD is
loaded. This CDP support Only 12 cm
CD. But if VCD, Data CD or DVD discs
are loaded, "Reading Error" message will
appear and CD will be ejected.2. CD Indicator When the ignition switch is in ACC or ON
and if the CD is loaded, this indicator is
lighted. If the CD is ejected the light is
turned off.3. CD Eject ButtonPush button to eject the CD during CD
playback. This button is enabled when
ignition switch is off.4. AUX Selection ButtonIf the auxiliary device is connected, it
turns to AUX MODE to play the sound
from the auxiliary player.
If no Disc and auxiliary device is connected,
it displays "NO Media" for 5 seconds and
returns to the previous mode.
5. Automatic Track Selection
Button Push [SEEK ] button for less than
0.8 second to play from the beginning
of current song.
Push [SEEK ] button for less than 0.8 second and press again within 1
second to play the previous song.
Push [SEEK ] button for 0.8 or longer to initiate reverse direction high
speed sound search of current song.
Push [SEEK ] button for less than 0.8 second to play the next song.
Push [SEEK ] button for 0.8 or longer to initiate high speed sound
search of current song.6. INFO Selection ButtonDisplays the information of the current
CD TRACK in the order of DISC TITLE
➟
DISC ARTIST
➟TRACK TITLE
➟TRACK
ARTIST
➟TOTAL TRACK
➟Play Screen
➟
DISC TITLE
➟... (not displayed if the infor-
mation is not available on the DISC.)
7. TUNE/ENTER KnobTurn this button clockwise to display
songs after current song.
Also, turn this button counterclockwise to
display songs before current song.
To listen to the displayed song, press the
button to skip to the song and play.8. REPEAT Selection ButtonRepeats current song when the button is
pressed for less than 0.8 second.
Repeats the entire DISC when the button
is pressed for 0.8 second or longer.9. RANDOM Selection ButtonTurns on/off the randomization of the
play list of files in the currently played
DISC.
To cancel the mode, press the button
once again.10. SCAN Selection ButtonPlays first 10 seconds of each song in
the DISC.
To cancel the mode, press the button
once again.
Page 200 of 356
3191
Features of your vehicle
CAUTION
- Using USBdevice
To use an external USB device,
make sure the device is notmounted when starting up the vehicle and mount the deviceafter starting up.
If you start the vehicle when the USB device is mounted, it maydamage the USB device. (USB isnot ESA)
If the vehicle is started up or turned off while the external USBdevice is connected, the externalUSB device may not work.
It may not play inauthentic MP3 or WMA files.
1) It can only play MP3 files with the compression rate between8Kbps~320Kbps.
2) It can only play WMA music files with the compression ratebetween 8Kbps~320Kbps.
Take cautions for static electricity when mounting or dismountingthe external USB device.
An encoded MP3 PLAYER is not recognizable.
(Continued)
(Continued) Depending on the condition of the external USB device, the con-nected external USB device can be unrecognizable.
When the formatted byte/sector setting of External USB devices isnot either 512BYTE or 2048BYTE,then the device will not be recog-nized.
Use only a USB device formatted to FAT 12/16/32.
USB devices without USB IF authentication may not be recog-nizable.
Make sure the USB connection terminal does not come in contactwith a human body or any object.
If you repeat mounting or dis- mounting USB device in a shortperiod of time, it may break thedevice.
You might hear a strange noise when mounting or dismounting aUSB device.
(Continued)
(Continued) If you dismount the external USB device during playback in USBmode, the external USB device can be damaged or malfunction.Therefore, mount the external USBdevice when the engine is turnedoff or in another mode.
Depending on the type and capac- ity of the external USB device orthe type of the files stored in thedevice, there is a difference in thetime taken for recognition of the device, but this is not an indicatorof trouble and you only have towait.
Do not use the USB device for other purposes than playing music files.
Use of USB accessories such as recharger or heater using USB I/Fmay lower performance or causetrouble.
If you use devices such as a USB hub you purchased separately,the vehicle’s audio system maynot recognize the USB device. Connect the USB device directlyto the multimedia terminal of the vehicle.
(Continued)
Page 203 of 356
Features of your vehicle194
3Using a USB that is connected to the
multiple terminal inside the console on
the right hand side of the driver’s seat.
When USB is connected, the ‘USB’ icon
will be displayed on the top right corner
of the display screen.1. AUX Selection ButtonIf USB is not connected, it switches to the
USB mode from the Radio and CD mode
to play the song files stored in the USB.
If AUX is not connected, it is invalid button.2. Track Moving Button Press the [SEEK ] button for less
than 0.8 second to play from the begin-
ning of the song currently played.
Press the button for less than 0.8 sec-
ond and press it again within 1 seconds
to move to and play the previous track.
Press the button for 0.8 second or
longer to play the song in reverse direc-
tion in fast speed.
Press the [SEEK ] button for less
than 0.8 second to move to the next
track.
Press the button for 0.8 second or
longer to play the song in forward direc-
tion in fast speed.
3. INFO Selection ButtonDisplays the information of the file current-
ly played in the order of FILE NAME
➟
TITLE
➟ARTIST
➟ALBUM
➟FOLDER
➟TO
TAL FILE
➟PLAY SCREEN
➟FILE NAME
➟… (Displays no information if the file has
no song information.)4. Folder Moving Button Moves [FLDR ] button sub folder of
the current folder and displays the first
song in the folder. Press ENT/TUNE
button to move to the folder displayed.
It will play the first song in the folder.
Moves [FLDR ] button main folder and displays the first song in the folder.
Press ENT/TUNE button to move to
the folder displayed. It will play the first
song in the folder.5. TUNE/ENTER KnobTurn this button clockwise to display the
songs next to the currently played song.
Turn the button counterclockwise to dis-
play the songs before the currently
played song.
Press the button to skip to and play the
selected song.
6. RANDOM Playback ButtonPress the button for less than 0.8 second
to start or stop the random playback of
the songs in the current folder.
Press the button for more than 0.8 sec-
ond to randomly play the entire songs in
the USB device.
Press the button again to cancel the mode.7. REPEAT Selection ButtonPress the button for less than 0.8 second
to repeat the song currently played.
Press the button for more than 0.8 sec-
ond to repeat the entire songs in the USB
device.8. SCAN Selection ButtonPlays 10 seconds of each song in the USB
device.
Press the button once again to cancel
scanning.
Page 205 of 356
Features of your vehicle196
3Using an iPod when the exclusive cable
is connected to the multiple terminal
inside the console on the right hand side
of the driver’s seat. When the iPod is con-
nected, the ‘iPod’ icon will be displayed
on the top right corner of the display
screen.1. iPod Selection ButtonIf an iPod is connected, it switches to the
iPod mode from the Radio and CD mode
to play the song files stored in the iPod.
If there are no CD and AUX mode from
the Radio mode, it displays ‘NO MEDIA’.2. Track Moving Button Press the [SEEK ] button for less
than 0.8 second to play from the begin-
ning of the current song.
Press the button for less than 0.8 sec-
ond and press it again within 1 second
to move to and play the previous track.
Press the button for 0.8 second or
longer to play the song in reverse
direction in fast speed. Press the [SEEK ] button for
less
than 0.8 second to move to the next
track.
Press the button for 0.8 second or
longer to play the song in forward direc-
tion in fast speed.
3. INFO Selection ButtonDisplays the information of the file cur-
rently played in the order of FILE NAME➟TITLE
➟ARTIST
➟ALBUM
➟FILE NAME
➟… (Displays no information if the file
has no song information.)4. MENU Selection ButtonMoves to the upper category from cur-
rently played category of the iPod.
To move to (play) the category (song)
displayed, press TUNE/ENTER knob.
You will be able to search through the
lower category of the selected category.
The order of iPod’s category is SONG,
ALBUMES, ARTISTS, GENRES, and
iPod.
5. TUNE/ENTER KnobWhen you turn the button clockwise, it
will display the songs (category) next to
the song currently played (category in
the same level).
Also, when you turn the button counter-
clockwise, it will display the songs (cate-
gory) before the song currently played
(category in the same level).
If you want to listen to the song displayed
in the song category, press the button,
then it will skip to the selected song and
play.6. RANDOM Playback ButtonPress the button for less than 0.8 second
to activate or deactivate the random play-
back of the songs within the current cat-
egory.
Press the button for longer than 0.8 sec-
ond to randomly play all songs in the
entire album of the iPod.
Press the button once again to cancel the
mode.7. REPEAT Selection ButtonRepeats the song currently played.