engine KIA Sorento 2007 1.G Service Manual
[x] Cancel search | Manufacturer: KIA, Model Year: 2007, Model line: Sorento, Model: KIA Sorento 2007 1.GPages: 325, PDF Size: 5.01 MB
Page 166 of 325
Driving your vehicle36
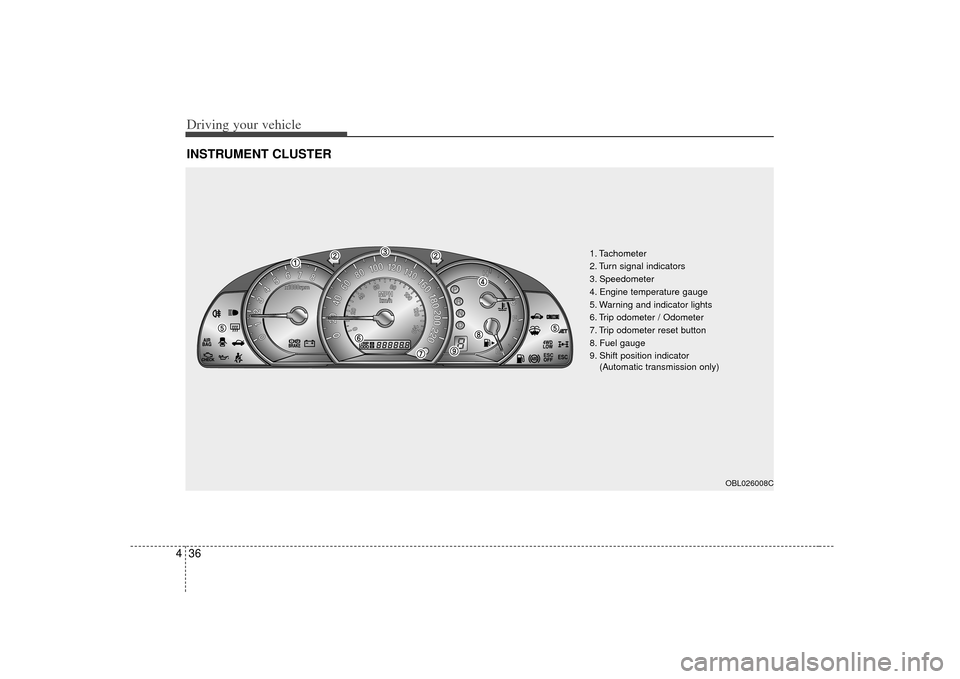
4INSTRUMENT CLUSTER
ESC
ESC
1. Tachometer
2. Turn signal indicators
3. Speedometer
4. Engine temperature gauge
5. Warning and indicator lights
6. Trip odometer / Odometer
7. Trip odometer reset button
8. Fuel gauge
9. Shift position indicator
(Automatic transmission only)
OBL026008C
Page 167 of 325
437
Driving your vehicle
Speedometer The speedometer indicates the forward
speed of the vehicle.Odometer/Trip odometerYou can choose the odometer, trip
odometer A or trip odometer B by press-
ing the tripmeter mode button.OdometerThe odometer indicates the total dis-
tance the vehicle has been driven.Trip odometerTRIP A: Trip odometer A
TRIP B: Trip odometer B
The trip odometer indicates the distance
of individual trips selected by the driver.
Trip odometer A and B can be reset to 0
by pressing the reset button for 1 second
or more, and then releasing.
Tachometer The tachometer indicates the approxi-
mate number of engine revolutions per
minute (rpm).
Use the tachometer to select the correct
shift points and to prevent lugging and/or
over-revving the engine.
The tachometer pointer may move slight-
ly when the ignition switch is in ACC or
ON position with the engine OFF. This
movement is normal and will not affect
the accuracy of the tachometer once the
engine is running.
Engine temperature gauge This gauge shows the temperature of the
engine coolant when the ignition switch
is ON.
Do not continue driving with an overheat-
ed engine. If your vehicle overheats, refer
to “Overheating” in the Index.
GAUGES
CAUTION
Do not operate the engine withinthe tachometer's RED ZONE.
This may cause severe engine dam-age.
CAUTION
If the gauge pointer moves beyond the normal range area toward the“H” position, it indicates overheat-ing that may damage the engine.
Page 169 of 325
439
Driving your vehicle
Warning lights / audible indica-
tors Checking operation All warning lights are checked by turning
the ignition switch ON (do not start the
engine). Any light that does not illuminate
should be checked by an Authorized Kia
Dealer.
After starting the engine, check to make
sure that all warning lights are off. If any
are still on, this indicates a situation that
needs attention. When releasing the
parking brake, the brake system warning
light should go off. The fuel warning light
will stay on if the fuel level is low.
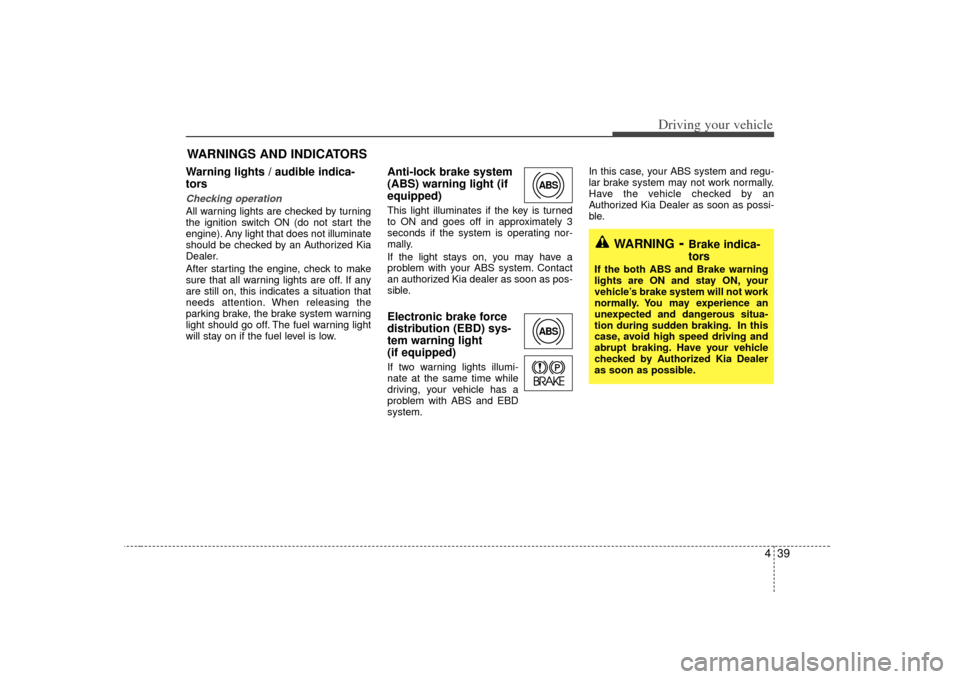
Anti-lock brake system
(ABS) warning light (if
equipped) This light illuminates if the key is turned
to ON and goes off in approximately 3
seconds if the system is operating nor-
mally.
If the light stays on, you may have a
problem with your ABS system. Contact
an authorized Kia dealer as soon as pos-
sible.Electronic brake force
distribution (EBD) sys-
tem warning light
(if equipped)If two warning lights illumi-
nate at the same time while
driving, your vehicle has a
problem with ABS and EBD
system.In this case, your ABS system and regu-
lar brake system may not work normally.
Have the vehicle checked by an
Authorized Kia Dealer as soon as possi-
ble.
WARNINGS AND INDICATORS
ABSABS
WARNING
- Brake indica-
tors
If the both ABS and Brake warning
lights are ON and stay ON, your
vehicle’s brake system will not work
normally. You may experience an
unexpected and dangerous situa-
tion during sudden braking. In this
case, avoid high speed driving and
abrupt braking. Have your vehicle
checked by Authorized Kia Dealer
as soon as possible.
Page 170 of 325
Driving your vehicle40
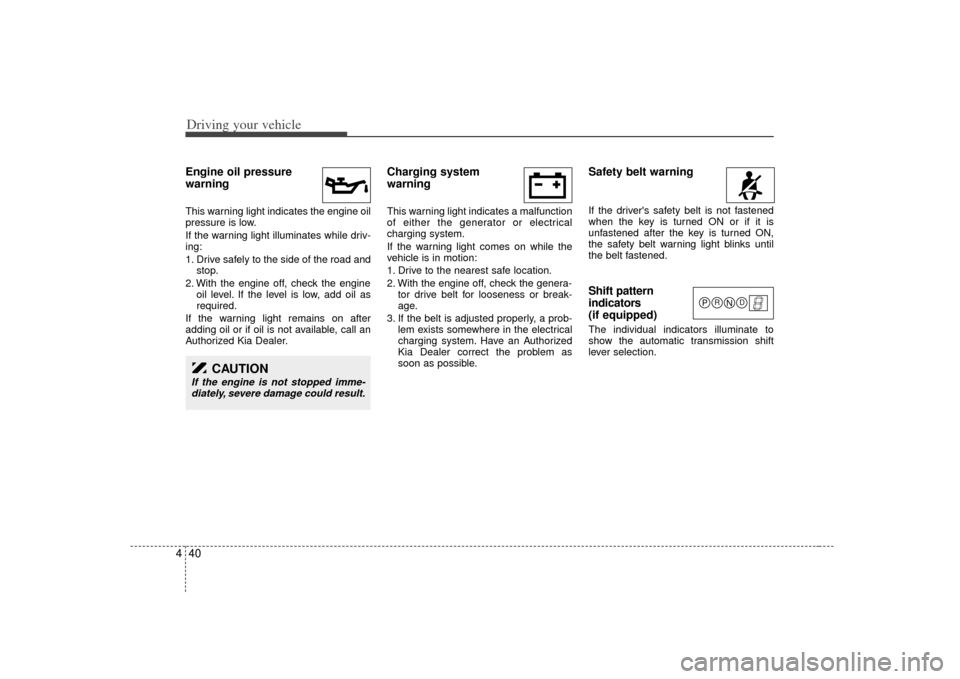
4Engine oil pressure
warning This warning light indicates the engine oil
pressure is low.
If the warning light illuminates while driv-
ing:
1. Drive safely to the side of the road and
stop.
2. With the engine off, check the engine oil level. If the level is low, add oil as
required.
If the warning light remains on after
adding oil or if oil is not available, call an
Authorized Kia Dealer.
Charging system
warning This warning light indicates a malfunction
of either the generator or electrical
charging system.
If the warning light comes on while the
vehicle is in motion:
1. Drive to the nearest safe location.
2. With the engine off, check the genera- tor drive belt for looseness or break-
age.
3. If the belt is adjusted properly, a prob- lem exists somewhere in the electrical
charging system. Have an Authorized
Kia Dealer correct the problem as
soon as possible.
Safety belt warning If the driver's safety belt is not fastened
when the key is turned ON or if it is
unfastened after the key is turned ON,
the safety belt warning light blinks until
the belt fastened.Shift pattern
indicators
(if equipped)The individual indicators illuminate to
show the automatic transmission shift
lever selection.
CAUTION
If the engine is not stopped imme-diately, severe damage could result.
P
R
N
D
Page 171 of 325
441
Driving your vehicle
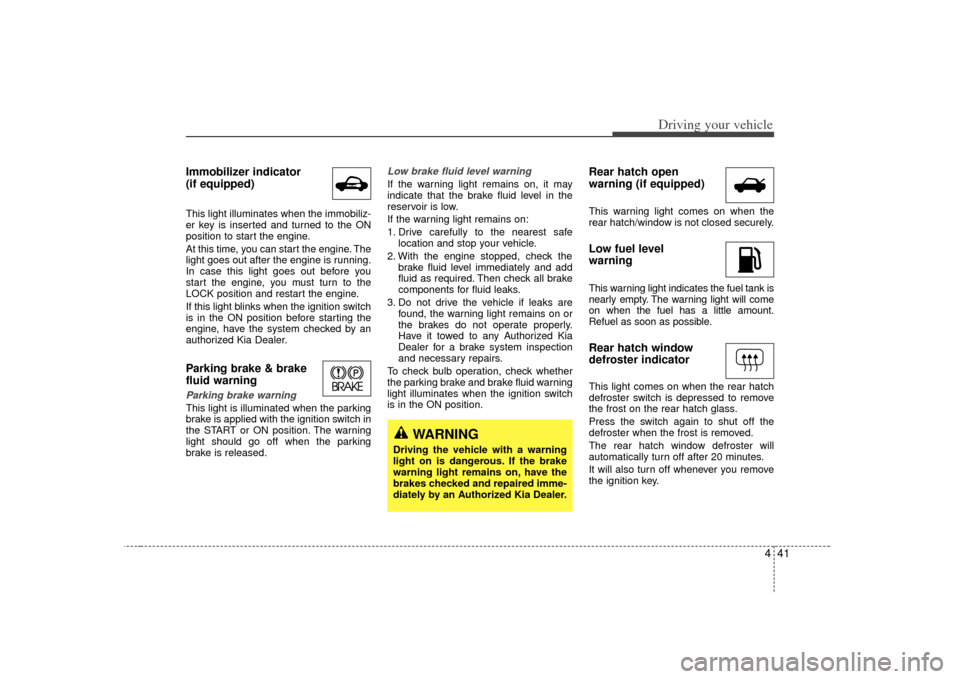
Immobilizer indicator
(if equipped)This light illuminates when the immobiliz-
er key is inserted and turned to the ON
position to start the engine.
At this time, you can start the engine. The
light goes out after the engine is running.
In case this light goes out before you
start the engine, you must turn to the
LOCK position and restart the engine.
If this light blinks when the ignition switch
is in the ON position before starting the
engine, have the system checked by an
authorized Kia Dealer.Parking brake & brake
fluid warning Parking brake warning This light is illuminated when the parking
brake is applied with the ignition switch in
the START or ON position. The warning
light should go off when the parking
brake is released.
Low brake fluid level warningIf the warning light remains on, it may
indicate that the brake fluid level in the
reservoir is low.
If the warning light remains on:
1. Drive carefully to the nearest safelocation and stop your vehicle.
2. With the engine stopped, check the brake fluid level immediately and add
fluid as required. Then check all brake
components for fluid leaks.
3. Do not drive the vehicle if leaks are found, the warning light remains on or
the brakes do not operate properly.
Have it towed to any Authorized Kia
Dealer for a brake system inspection
and necessary repairs.
To check bulb operation, check whether
the parking brake and brake fluid warning
light illuminates when the ignition switch
is in the ON position.
Rear hatch open
warning (if equipped)This warning light comes on when the
rear hatch/window is not closed securely.Low fuel level
warningThis warning light indicates the fuel tank is
nearly empty. The warning light will come
on when the fuel has a little amount.
Refuel as soon as possible.Rear hatch window
defroster indicatorThis light comes on when the rear hatch
defroster switch is depressed to remove
the frost on the rear hatch glass.
Press the switch again to shut off the
defroster when the frost is removed.
The rear hatch window defroster will
automatically turn off after 20 minutes.
It will also turn off whenever you remove
the ignition key.
WARNING
Driving the vehicle with a warning
light on is dangerous. If the brake
warning light remains on, have the
brakes checked and repaired imme-
diately by an Authorized Kia Dealer.
Page 172 of 325
Driving your vehicle42
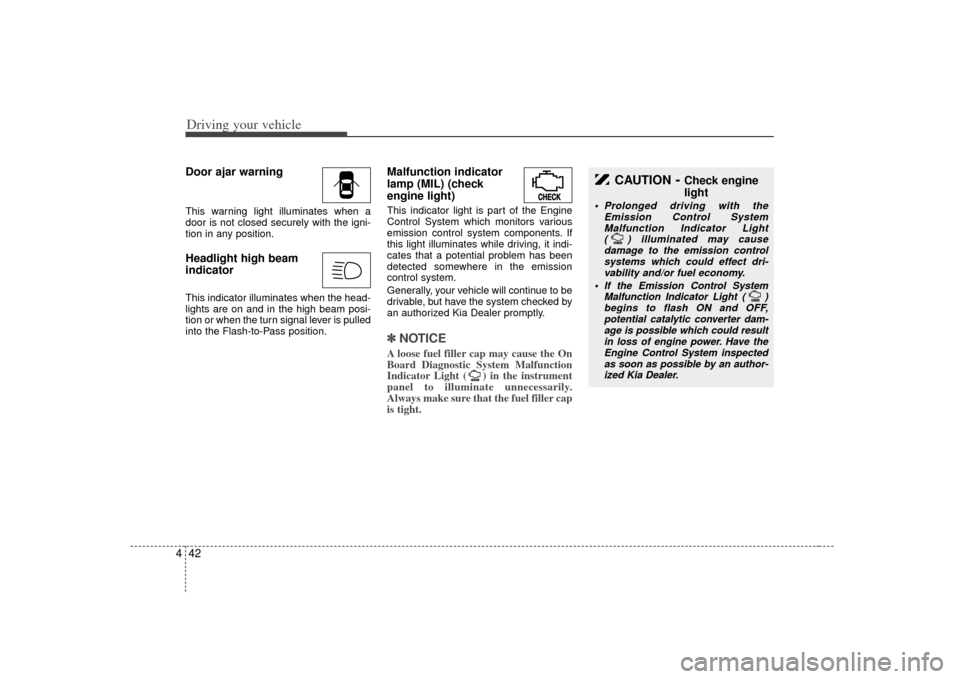
4Door ajar warningThis warning light illuminates when a
door is not closed securely with the igni-
tion in any position.Headlight high beam
indicator This indicator illuminates when the head-
lights are on and in the high beam posi-
tion or when the turn signal lever is pulled
into the Flash-to-Pass position.
Malfunction indicator
lamp (MIL) (check
engine light)This indicator light is part of the Engine
Control System which monitors various
emission control system components. If
this light illuminates while driving, it indi-
cates that a potential problem has been
detected somewhere in the emission
control system.
Generally, your vehicle will continue to be
drivable, but have the system checked by
an authorized Kia Dealer promptly.✽ ✽
NOTICEA loose fuel filler cap may cause the On
Board Diagnostic System Malfunction
Indicator Light ( ) in the instrument
panel to illuminate unnecessarily.
Always make sure that the fuel filler cap
is tight.
CAUTION
- Check engine
light
Prolonged driving with the
Emission Control SystemMalfunction Indicator Light ( ) illuminated may cause damage to the emission controlsystems which could effect dri-vability and/or fuel economy.
If the
Emission
Control System
Malfunction Indicator Light ( ) begins to flash ON and OFF,potential catalytic converter dam- age is possible which could resultin loss of engine power. Have the Engine Control System inspectedas soon as possible by an author-ized Kia Dealer.
Page 179 of 325
449
Driving your vehicle
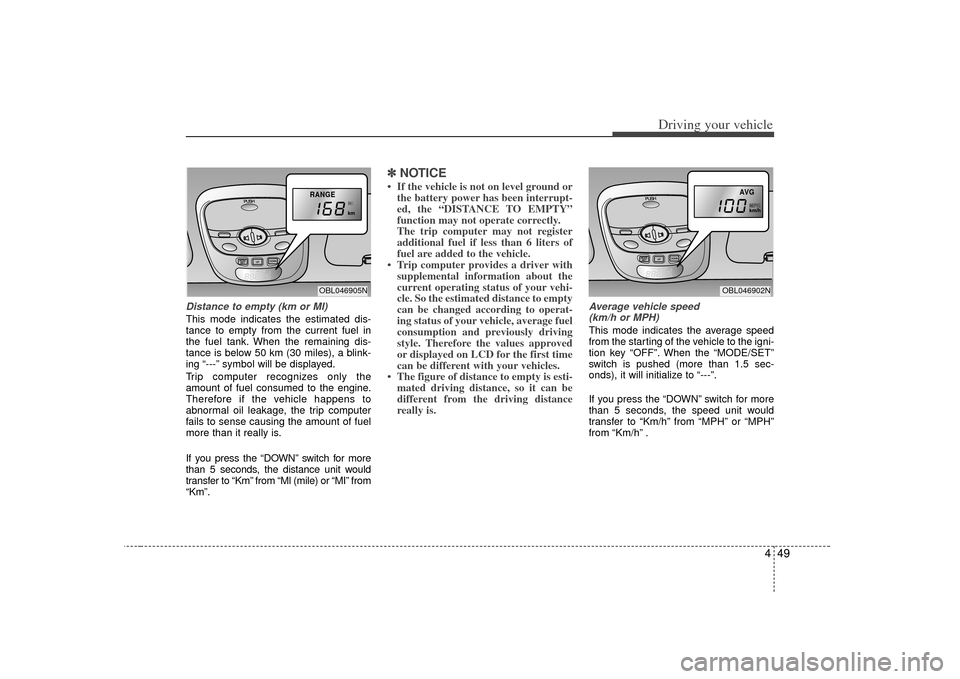
Distance to empty (km or MI)This mode indicates the estimated dis-
tance to empty from the current fuel in
the fuel tank. When the remaining dis-
tance is below 50 km (30 miles), a blink-
ing “---” symbol will be displayed.
Trip computer recognizes only the
amount of fuel consumed to the engine.
Therefore if the vehicle happens to
abnormal oil leakage, the trip computer
fails to sense causing the amount of fuel
more than it really is.
If you press the “DOWN” switch for more
than 5 seconds, the distance unit would
transfer to “Km” from “Ml (mile) or “MI” from
“Km”.
✽ ✽NOTICE• If the vehicle is not on level ground or
the battery power has been interrupt-
ed, the “DISTANCE TO EMPTY”
function may not operate correctly.
The trip computer may not register
additional fuel if less than 6 liters of
fuel are added to the vehicle.
• Trip computer provides a driver with supplemental information about the
current operating status of your vehi-
cle. So the estimated distance to empty
can be changed according to operat-
ing status of your vehicle, average fuel
consumption and previously driving
style. Therefore the values approved
or displayed on LCD for the first time
can be different with your vehicles.
• The figure of distance to empty is esti- mated driving distance, so it can be
different from the driving distance
really is.
Average vehicle speed
(km/h or MPH)This mode indicates the average speed
from the starting of the vehicle to the igni-
tion key “OFF”. When the “MODE/SET”
switch is pushed (more than 1.5 sec-
onds), it will initialize to “---”.
If you press the “DOWN” switch for more
than 5 seconds, the speed unit would
transfer to “Km/h” from “MPH” or “MPH”
from “Km/h” .
RANGEOBL046905N
AVG
OBL046902N
Page 182 of 325
Driving your vehicle52
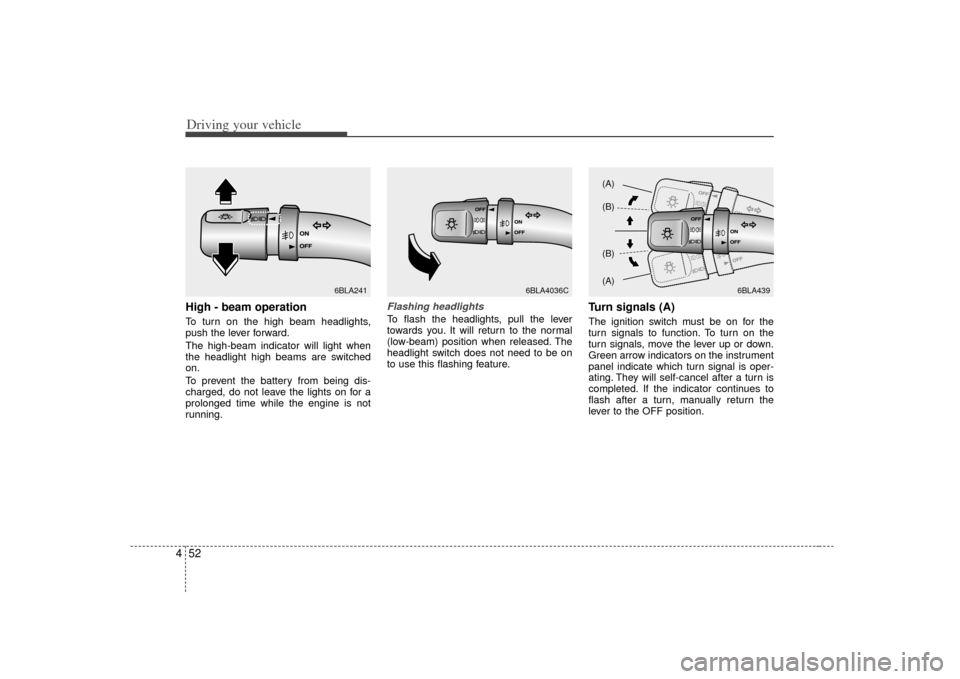
4High - beam operation To turn on the high beam headlights,
push the lever forward.
The high-beam indicator will light when
the headlight high beams are switched
on.
To prevent the battery from being dis-
charged, do not leave the lights on for a
prolonged time while the engine is not
running.
Flashing headlights To flash the headlights, pull the lever
towards you. It will return to the normal
(low-beam) position when released. The
headlight switch does not need to be on
to use this flashing feature.
Turn signals (A)The ignition switch must be on for the
turn signals to function. To turn on the
turn signals, move the lever up or down.
Green arrow indicators on the instrument
panel indicate which turn signal is oper-
ating. They will self-cancel after a turn is
completed. If the indicator continues to
flash after a turn, manually return the
lever to the OFF position.
6BLA241
6BLA4036C
6BLA439
(A)
(B)
(B)
(A)
Page 183 of 325
453
Driving your vehicle
Lane change signals (B)To signal a lane change, move the turn
signal lever slightly and hold it in position.
The lever will return to the OFF position
when released.
If an indicator stays on and does not
flash or if it flashes abnormally, one of the
turn signal bulbs may be burned out and
will require replacement.✽ ✽
NOTICEIf an indicator flash is abnormally quick
or slow, bulb may be burned out or have
a poor electrical connection in the cir-
cuit.
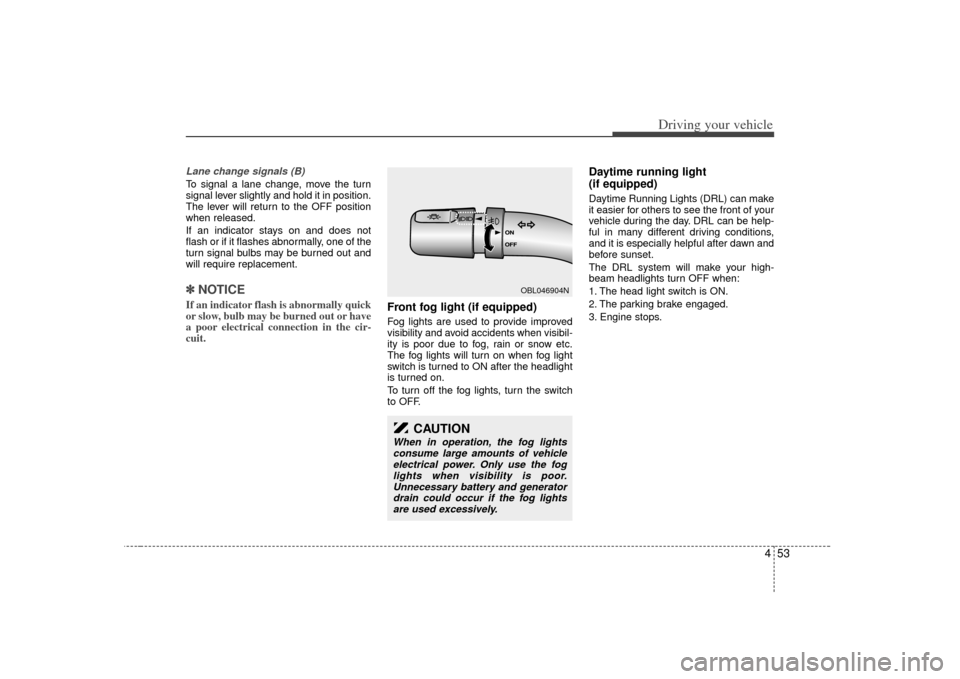
Front fog light (if equipped) Fog lights are used to provide improved
visibility and avoid accidents when visibil-
ity is poor due to fog, rain or snow etc.
The fog lights will turn on when fog light
switch is turned to ON after the headlight
is turned on.
To turn off the fog lights, turn the switch
to OFF.
Daytime running light
(if equipped)Daytime Running Lights (DRL) can make
it easier for others to see the front of your
vehicle during the day. DRL can be help-
ful in many different driving conditions,
and it is especially helpful after dawn and
before sunset.
The DRL system will make your high-
beam headlights turn OFF when:
1. The head light switch is ON.
2. The parking brake engaged.
3. Engine stops.
OBL046904N
CAUTION
When in operation, the fog lights
consume large amounts of vehicle electrical power. Only use the foglights when visibility is poor.Unnecessary battery and generator drain could occur if the fog lightsare used excessively.
Page 186 of 325
Driving your vehicle56
4If the washer does not work, check the
washer fluid level. If the fluid level is not
sufficient, you will need to add appropri-
ate non-abrasive windshield washer fluid
to the washer reservoir.
The reservoir filler neck is located in the
front of the engine compartment on the
passenger side.
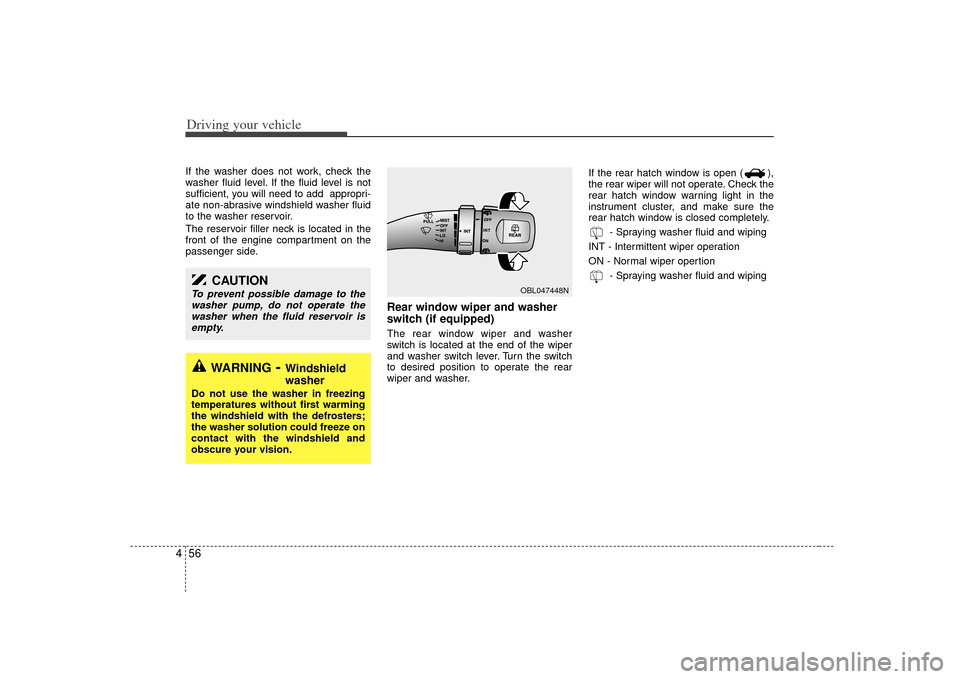
Rear window wiper and washer
switch (if equipped)The rear window wiper and washer
switch is located at the end of the wiper
and washer switch lever. Turn the switch
to desired position to operate the rear
wiper and washer. If the rear hatch window is open ( ),
the rear wiper will not operate. Check the
rear hatch window warning light in the
instrument cluster, and make sure the
rear hatch window is closed completely.
- Spraying washer fluid and wiping
INT - Intermittent wiper operation
ON - Normal wiper opertion - Spraying washer fluid and wiping
WARNING
- Windshield
washer
Do not use the washer in freezing
temperatures without first warming
the windshield with the defrosters;
the washer solution could freeze on
contact with the windshield and
obscure your vision.
CAUTION
To prevent possible damage to thewasher pump, do not operate thewasher when the fluid reservoir isempty.
OBL047448N