KIA Spectra 2006 2.G Owners Manual
Manufacturer: KIA, Model Year: 2006, Model line: Spectra, Model: KIA Spectra 2006 2.GPages: 273, PDF Size: 2.83 MB
Page 91 of 273
Knowing your vehicle80
3
1
2
3
4
5
6
7
8
9
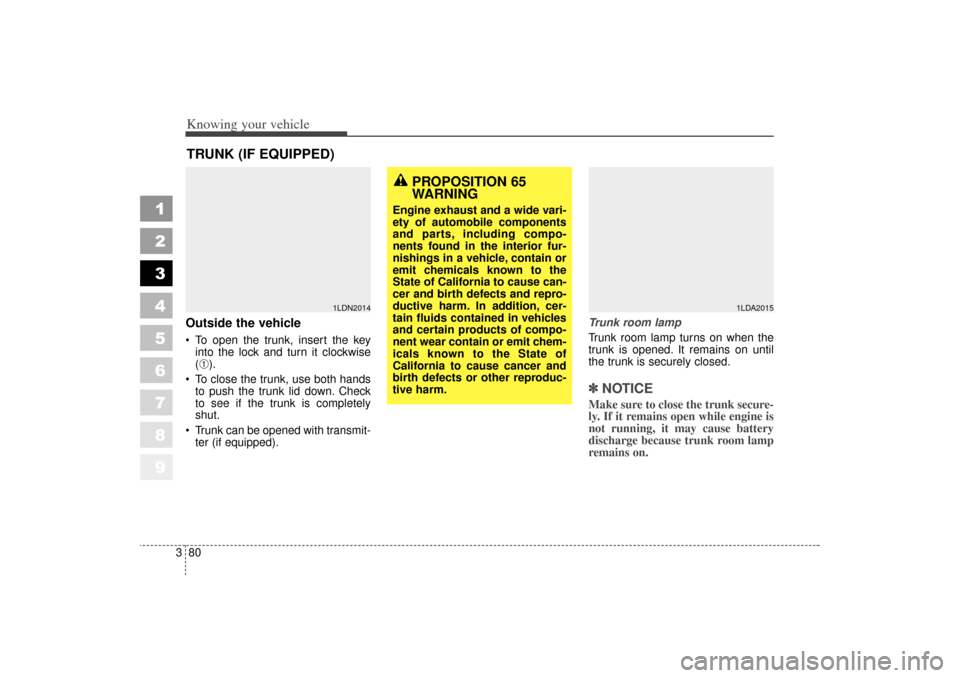
Outside the vehicle To open the trunk, insert the key
into the lock and turn it clockwise
(
➀).
To close the trunk, use both hands
to push the trunk lid down. Check
to see if the trunk is completely
shut.
Trunk can be opened with transmit-
ter (if equipped). Trunk room lamp
Trunk room lamp turns on when the
trunk is opened. It remains on until
the trunk is securely closed.
✽ ✽
NOTICEMake sure to close the trunk secure-
ly. If it remains open while engine is
not running, it may cause battery
discharge because trunk room lamp
remains on.
TRUNK (IF EQUIPPED)
1LDN2014
PROPOSITION 65
WARNING
Engine exhaust and a wide vari-
ety of automobile components
and parts, including compo-
nents found in the interior fur-
nishings in a vehicle, contain or
emit chemicals known to the
State of California to cause can-
cer and birth defects and repro-
ductive harm. In addition, cer-
tain fluids contained in vehicles
and certain products of compo-
nent wear contain or emit chem-
icals known to the State of
California to cause cancer and
birth defects or other reproduc-
tive harm.
1LDA2015
LD CAN (ENG) new 3-1~.qxd 7/29/05 10:29 AM Page 80
Page 92 of 273
381
1
2
3
4
5
6
7
8
9
Knowing your vehicle
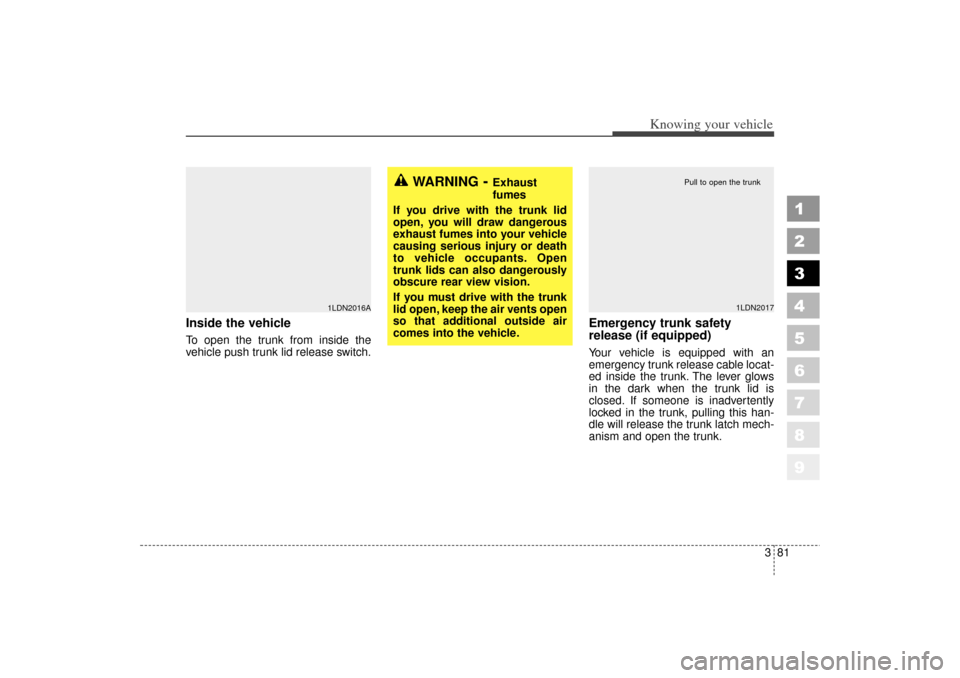
Inside the vehicleTo open the trunk from inside the
vehicle push trunk lid release switch.
Emergency trunk safety
release (if equipped)Your vehicle is equipped with an
emergency trunk release cable locat-
ed inside the trunk. The lever glows
in the dark when the trunk lid is
closed. If someone is inadvertently
locked in the trunk, pulling this han-
dle will release the trunk latch mech-
anism and open the trunk.
WARNING
- Exhaust
fumes
If you drive with the trunk lid
open, you will draw dangerous
exhaust fumes into your vehicle
causing serious injury or death
to vehicle occupants. Open
trunk lids can also dangerously
obscure rear view vision.
If you must drive with the trunk
lid open, keep the air vents open
so that additional outside air
comes into the vehicle.
1LDN2016A
1LDN2017
Pull to open the trunk
LD CAN (ENG) new 3-1~.qxd 7/29/05 10:29 AM Page 81
Page 93 of 273
Knowing your vehicle82
3
1
2
3
4
5
6
7
8
9
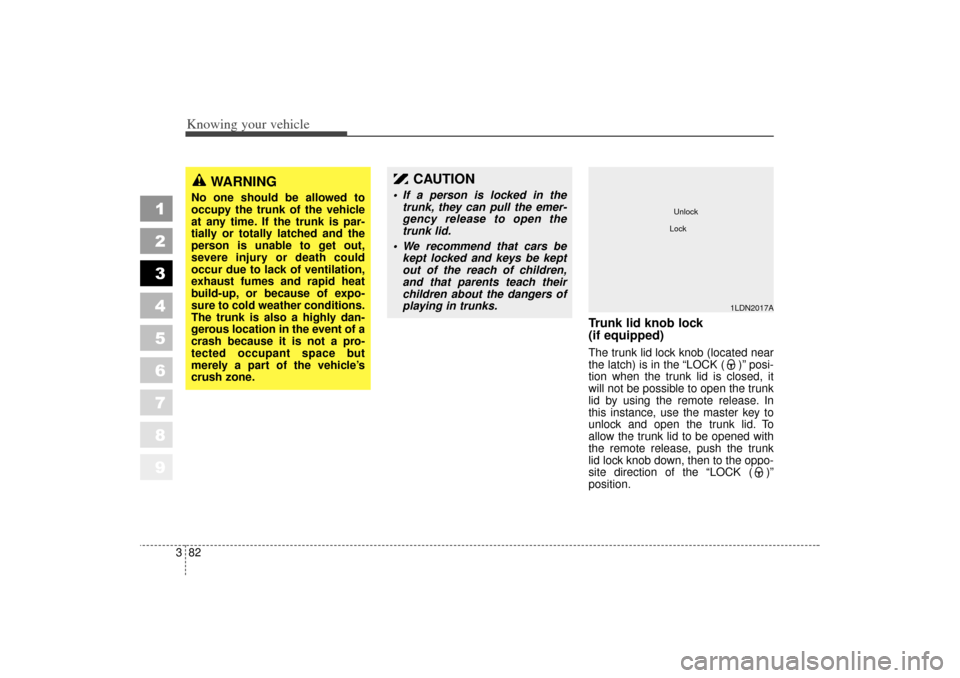
Trunk lid knob lock
(if equipped)The trunk lid lock knob (located near
the latch) is in the “LOCK ( )”posi-
tion when the trunk lid is closed, it
will not be possible to open the trunk
lid by using the remote release. In
this instance, use the master key to
unlock and open the trunk lid. To
allow the trunk lid to be opened with
the remote release, push the trunk
lid lock knob down, then to the oppo-
site direction of the “LOCK ( )”
position.
WARNING
No one should be allowed to
occupy the trunk of the vehicle
at any time. If the trunk is par-
tially or totally latched and the
person is unable to get out,
severe injury or death could
occur due to lack of ventilation,
exhaust fumes and rapid heat
build-up, or because of expo-
sure to cold weather conditions.
The trunk is also a highly dan-
gerous location in the event of a
crash because it is not a pro-
tected occupant space but
merely a part of the vehicle’s
crush zone.
CAUTION
If a person is locked in the trunk, they can pull the emer-
gency release to open the
trunk lid.
We recommend that cars be kept locked and keys be kept
out of the reach of children,
and that parents teach their
children about the dangers of
playing in trunks.
1LDN2017A
UnlockLock
LD CAN (ENG) new 3-1~.qxd 7/29/05 10:29 AM Page 82
Page 94 of 273

383
1
2
3
4
5
6
7
8
9
Knowing your vehicle
Opening the hood:1. Pull the release lever on the lowerleft side of the instrument panel to
unlatch the hood. The hood should
pop open slightly. 2. Go to the front of the vehicle, raise
the hood slightly, push the second-
ary latch (
➀) inside of the hood
center and lift (➁) the hood. 3. Lift the hood and hold it open with
the support rod by inserting the
free end of the rod into the slot.
HOOD
1LDA2020
1LDN2021
1LDA2166
CAUTION
Grasp the support rod in the
area wrapped in rubber. The rub-
ber will help prevent you from
being burned by hot metal when
the engine is hot.
LD CAN (ENG) new 3-1~.qxd 7/29/05 10:29 AM Page 83
Page 95 of 273
Knowing your vehicle84
3
1
2
3
4
5
6
7
8
9
Closing the hood1. Before closing the hood, check the
following:
• All filler caps in engine compart- ment must be correctly installed.
Gloves, rags or any other com- bustible material must be
removed from the engine com-
partment.
2. Secure the support rod in its clip.
3. Lower the hood to about 12 inches (30 cm) height and then let it drop
to properly lock in place.
Make sure the hood is properly
locked before driving.
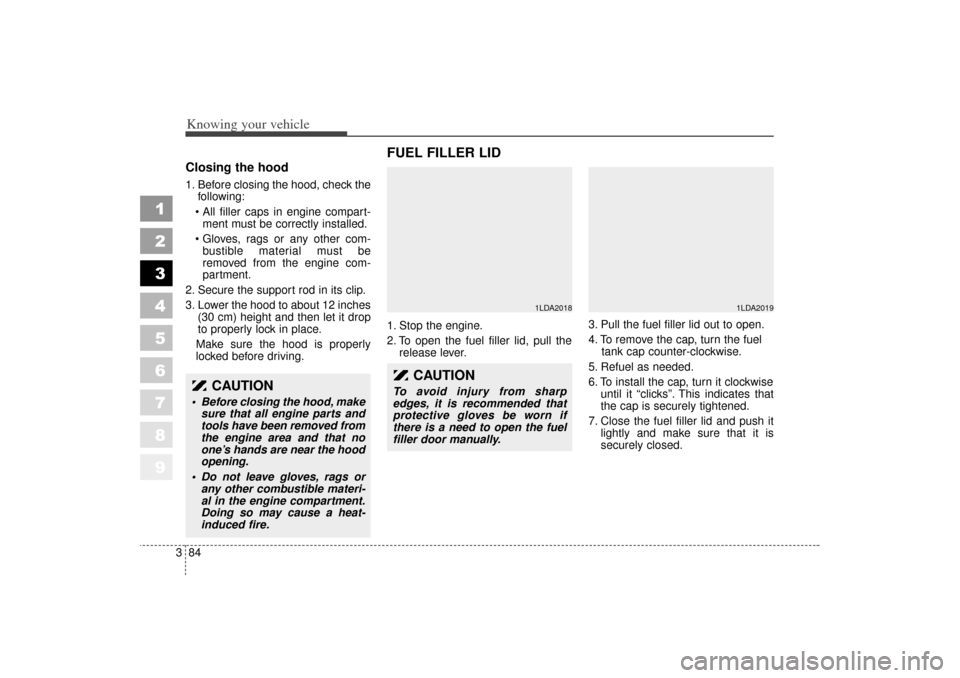
FUEL FILLER LID 1. Stop the engine.
2. To open the fuel filler lid, pull the release lever. 3. Pull the fuel filler lid out to open.
4. To remove the cap, turn the fuel
tank cap counter-clockwise.
5. Refuel as needed.
6. To install the cap, turn it clockwise until it “clicks”. This indicates that
the cap is securely tightened.
7. Close the fuel filler lid and push it lightly and make sure that it is
securely closed.
1LDA2018
1LDA2019
CAUTION
• Before closing the hood, makesure that all engine parts and
tools have been removed from
the engine area and that no
one’s hands are near the hood
opening.
Do not leave gloves, rags or any other combustible materi-
al in the engine compartment.
Doing so may cause a heat-
induced fire.
CAUTION
To avoid injury from sharp
edges, it is recommended that
protective gloves be worn if
there is a need to open the fuel
filler door manually.
LD CAN (ENG) 3-84~.qxd 7/29/05 10:15 AM Page 84
Page 96 of 273
385
1
2
3
4
5
6
7
8
9
Knowing your vehicle
WARNING
- Refueling
If pressurized fuel sprays out, it
can cause serious injuries.
Always remove the fuel cap
carefully and slowly. If the cap is
venting fuel or if you hear a
hissing sound, wait until the
condition stops before com-
pletely removing the cap.
WARNING
Automotive fuels are flamma-
ble/explosive materials. When
refueling, please note the fol-
lowing guidelines carefully.
Failure to follow these guide-
lines may result in severe per-
sonal injury, severe burns or
death by fire or explosion.
• Before refueling always note the location of the Emergency
Gasoline Shut-Off, if available,
at the gas station facility.
(Continued)
(Continued)
Before touching the fuel noz-zle or fuel filler cap, you
should eliminate potentially
dangerous static electricity
discharge by touching anoth-
er metal part of the front of the
vehicle, a safe distance away
from the fuel filler neck, noz-
zle, or other gas source.
Do not get back into a vehicle once you have begun refuel-
ing. Do not touch, rub or slide
against any item or fabric
(polyester, satin, nylon, etc.)
capable of producing static
electricity. Static electricity
discharge can ignite fuel
vapors resulting in explosion.
If you must re-enter the vehi-
cle, you should once again
eliminate potentially danger-
ous static electricity dis-
charge by touching a metal
part of the vehicle, away from
the fuel filler neck, nozzle or
other gasoline source.
(Continued)
(Continued)
When using a portable fuel con-tainer be sure to place the con-
tainer on the ground prior to
refueling. Static electricity dis-
charge from the container can
ignite fuel vapors causing a fire.
Once refueling has begun, con-
tact with the vehicle should be
maintained until the filling is
complete. Use only portable
fuel containers designed to
carry and store gasoline.
Do not use cellular phones around a gas station or while
refueling any vehicle. Electric
current and/or electronic
interference from cellular
phones can potentially ignite
fuel vapors causing a fire. If
you must use your cellular
phone, use it in a place away
from the gas station.
(Continued)
LD CAN (ENG) 3-84~.qxd 7/29/05 10:15 AM Page 85
Page 97 of 273
Knowing your vehicle86
3
1
2
3
4
5
6
7
8
9
✽ ✽
NOTICE• Make sure to refuel with gasoline
(unleaded fuel) only for the gaso-
line engine vehicles.
Check to make sure the fuel filler cap is securely closed after refuel-
ing.
If the fuel filler cap requires replacement, use only a genuine
Kia cap or the equivalent specified
for your vehicle. An incorrect fuel
filler cap can result in a serious
malfunction of the fuel system or
emission control system. Correct
replacement caps are available at
authorized Kia dealers.
Do not spill fuel on the exterior surfaces of the vehicle. Any type of
fuel spilled on painted surfaces
may damage the paint.
A loose fuel filler cap may cause the “Check Engine” (Malfunction
Indicator) light in the instrument
panel to illuminate unnecessarily.
If the fuel filler lid will not open in cold weather because the area
around it is frozen, push or lightly
tap the lid.
(Continued)
When refueling always shut
the engine off. Sparks pro-
duced by electrical compo-
nents related to the engine
can ignite fuel vapors causing
a fire. Always insure that the
engine is OFF before and dur-
ing refueling. Once refueling
is complete, check to make
sure the fuel filler cap and
door are securely closed,
before starting the engine.
Do not light any fire around a gas station. DO NOT use
matches or a lighter and DO
NOT SMOKE or leave a lit cig-
arette in your vehicle while at
a gas station especially during
refueling. Automotive fuel is
highly flammable and can,
when ignited, result in explo-
sion by flames.
(Continued)
(Continued)
If a fire breaks out during refu-eling, leave the vicinity of the
vehicle, and immediately con-
tact the manager of the gas
station or contact the police
and local fire department.
Follow any safety instructions
they provide.
LD CAN (ENG) 3-84~.qxd 7/29/05 10:15 AM Page 86
Page 98 of 273
387
1
2
3
4
5
6
7
8
9
Knowing your vehicle
Auto fuel cutoff switch (if equipped)The auto fuel cutoff switch is located
on the driver’s side of the engine
compartment. In the event of a colli-
sion or sudden impact, the auto fuel
cutoff device cuts off the fuel supply.
If this device is activated, it must be
reset by pressing in on the top of the
switch before the engine can be
restarted.
MIRRORS Outside rearview mirror Be sure to adjust mirror angles
before driving.
Your vehicle is equipped with both
left-hand and right-hand outside
rearview mirrors. The mirrors can be
adjusted remotely with the control
levers or remote switch, depending
on the type your vehicle has. The
mirror heads can be folded back to
prevent damage during an automatic
car wash or when passing in a nar-
row street.
✽ ✽NOTICEDo not scrape ice off the mirror
face; this may damage the surface of
the glass. If ice should restrict move-
ment of the mirror, do not force the
mirror for adjustment. To remove
ice, use a deicer spray, or a sponge
or soft cloth with very warm water.
CAUTION
The right outside rearview
mirror is convex. Objects seen
in the mirror are closer than
they appear.
Use your interior rearview mir- ror or direct observation to
determine the actual distance
of following vehicles when
changing lanes.
WARNING
Before resetting the auto fuel
cutoff switch, the fuel line
should be checked for fuel
leaks.
1LDA5002A
LD CAN (ENG) 3-84~.qxd 7/29/05 10:15 AM Page 87
Page 99 of 273
Knowing your vehicle88
3
1
2
3
4
5
6
7
8
9
Manual remote control
(if equipped)
To adjust an outside mirror, move the
control lever located at the forward
inside area of the window frame. Electric remote control
(if equipped)
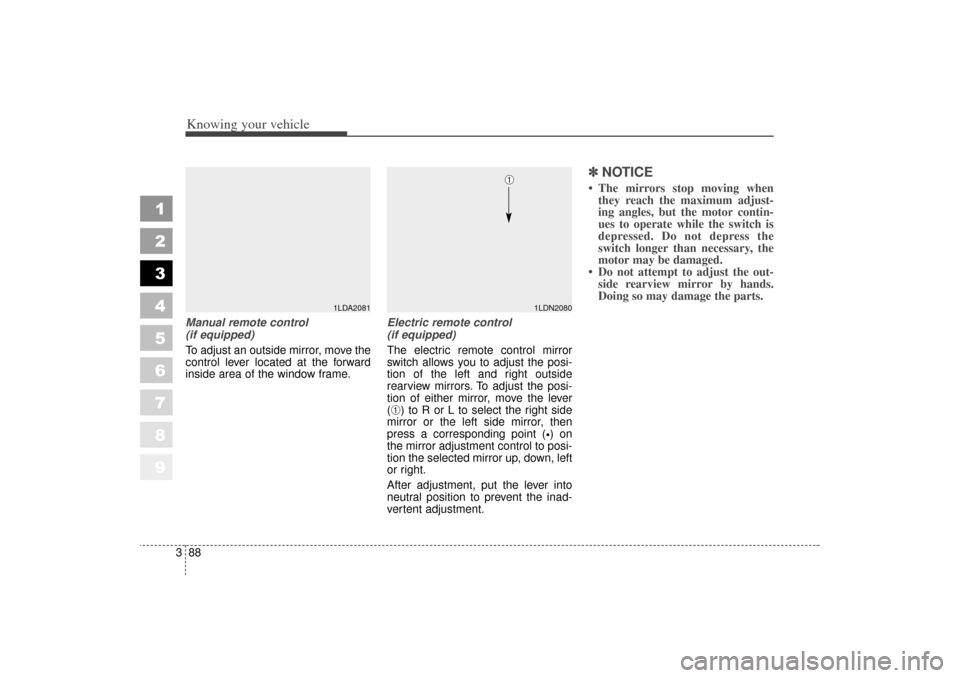
The electric remote control mirror
switch allows you to adjust the posi-
tion of the left and right outside
rearview mirrors. To adjust the posi-
tion of either mirror, move the lever
(
➀) to R or L to select the right side
mirror or the left side mirror, then
press a corresponding point ( ) on
the mirror adjustment control to posi-
tion the selected mirror up, down, left
or right.
After adjustment, put the lever into
neutral position to prevent the inad-
vertent adjustment.
✽ ✽ NOTICE The mirrors stop moving when
they reach the maximum adjust-
ing angles, but the motor contin-
ues to operate while the switch is
depressed. Do not depress the
switch longer than necessary, the
motor may be damaged.
Do not attempt to adjust the out- side rearview mirror by hands.
Doing so may damage the parts.
1LDN2080
➀
1LDA2081
LD CAN (ENG) 3-84~.qxd 7/29/05 10:15 AM Page 88
Page 100 of 273
389
1
2
3
4
5
6
7
8
9
Knowing your vehicle
Folding the outside rearview
mirror
Manual type
To fold outside rearview mirror, grasp
the housing of mirror and then fold it
toward the rear of the vehicle.Outside rearview mirror heater
(if equipped)
The outside rearview mirror heater is
actuated in connection with the rear
window defroster. To heat the outside
rearview mirror glass, push the but-
ton for the rear window defroster.
The outside rearview mirror glass will
be heated for defrosting or defogging
and will give you improved rear
vision in inclement weather condi-
tions. Push the button again to turn
the heater off. The outside rearview
mirror heater automatically turns off
after 20 minutes.
Day/night rearview mirror Adjust the rearview mirror to center
on the view through the rear window.
Make this adjustment before you
start driving.
1LDA2083
CAUTION
Do not place objects in the rear
seat or cargo area which would
interfere with your vision out
the rear window.
LD CAN (ENG) 3-84~.qxd 7/29/05 10:15 AM Page 89