brake light KIA Sportage 2010 SL / 3.G Owner's Manual
[x] Cancel search | Manufacturer: KIA, Model Year: 2010, Model line: Sportage, Model: KIA Sportage 2010 SL / 3.GPages: 371, PDF Size: 5.23 MB
Page 148 of 371
1
2
3
4
5
6
7
8
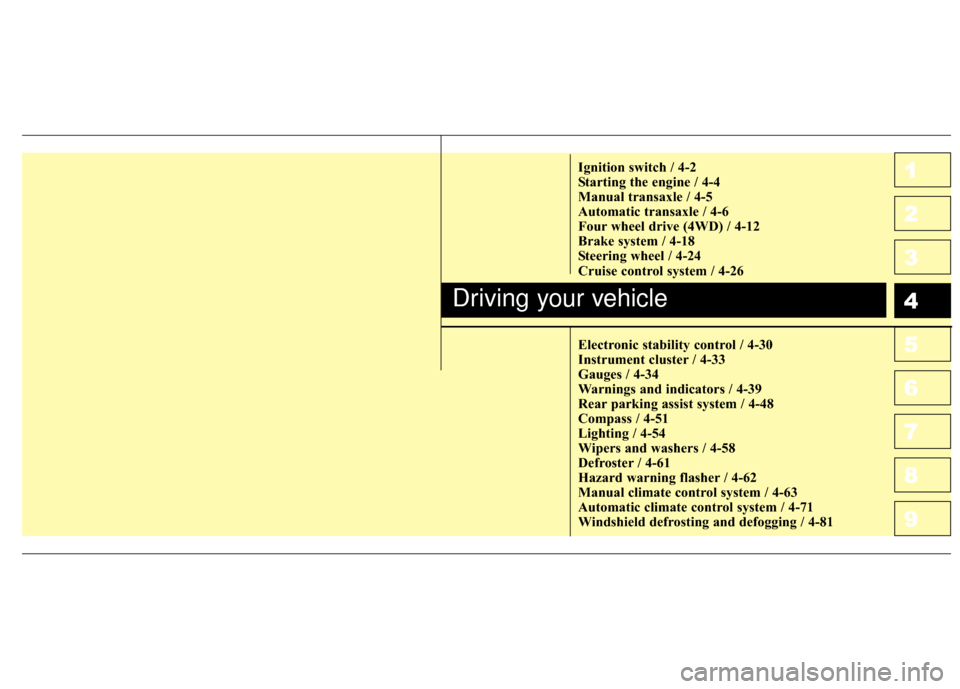
9Ignition switch / 4-2
Starting the engine / 4-4
Manual transaxle / 4-5
Automatic transaxle / 4-6
Four wheel drive (4WD) / 4-12
Brake system / 4-18
Steering wheel / 4-24
Cruise control system / 4-26
Electronic stability control / 4-30
Instrument cluster / 4-33
Gauges / 4-34
Warnings and indicators / 4-39
Rear parking assist system / 4-48
Compass / 4-51
Lighting / 4-54
Wipers and washers / 4-58
Defroster / 4-61
Hazard warning flasher / 4-62
Manual climate control system / 4-63
Automatic climate control system / 4-71
Windshield defrosting and defogging / 4-81
Driving your vehicle
10
Page 152 of 371

Manual transaxle operation
The manual transaxle has five for-
ward gears.
Press the clutch pedal down fully
while shifting, then release it slowly.
A special safety feature prevents
inadvertent shifting from 5 (Fifth) to
R (Reverse). The gearshift lever must
be returned to the neutral position
before shifting into R (Reverse).
Make sure the vehicle is completelystopped before shifting into R(Reverse).
Never operate the engine with thetachometer (rpm) in the red zone.
✽ ✽ NOTICE
To avoid premature clutch wear and
damage, do not drive with your foot
resting on the clutch pedal. Also,
don’t use the clutch to hold the vehi-
cle stopped on an upgrade, while
waiting for a traffic light, etc.
Downshifting
When you must slow down in heavy
traffic or while driving up steep hills,
downshift before the engine starts to
labor. Downshifting reduces the
chance of stalling and gives better
acceleration when you again need to
increase your speed. When the vehi-
cle is traveling down steep hills,
downshifting helps maintain safe
speed and prolongs brake life.
MANUAL TRANSAXLE (IF EQUIPPED)
1KMA3052
WARNING- Manual
transaxle
Before leaving the driver’s seat,
always set the parking brake
fully and shut the engine off.
Then make sure the transaxle is
shifted into 1
stgear when the
vehicle is parked on a level or
uphill grade, and shifted into R
(Reverse) on a downhill grade.
Unexpected and sudden vehicle
movement can occur if these
precautions are not followed in
the order identified.
45
Driving your vehicle
1
2
3
4
5
6
7
8
9
Page 156 of 371

49
Driving your vehicle
1
2
3
4
5
6
7
8
9
R (reverse)
Use this position to drive the vehicle
backward.
✽ ✽
NOTICE
Always come to a complete stop
before shifting into or out of R
(Reverse); you may damage the
transaxle if you shift into R while
the vehicle is in motion.
N (neutral)
The wheels and transaxle are not
locked. The vehicle will roll freely
even on the slightest incline unless
the parking brake or service brakes
are applied.
D (drive)
This is the normal forward driving
position. The transaxle will automati-
cally shift through a 4-gear
sequence, providing the best fuel
economy and power.
For extra power when passing anoth-
er vehicle or climbing grades,
depress the accelerator fully, at
which time the transaxle will auto-
matically downshift to the next lower
gear.
✽ ✽
NOTICE
Always come to a complete stop
before shifting into D (Drive).
Page 166 of 371

419
Driving your vehicle
1
2
3
4
5
6
7
8
9
Disc brakes wear indicator
Your vehicle has disc brakes.
When your brake pads are worn and
it's time for new pads, you will hear a
high-pitched warning sound from
your front brakes or rear brakes (if
equipped). You may hear this sound
come and go or it may occur when-
ever you depress the brake pedal.
Please remember that some dri-
ving conditions or climates may
cause a brake squeal when you
first apply (or lightly apply) the
brakes. This is normal and does
not indicate a problem with your
brakes.
✽ ✽NOTICE
To avoid costly brake repairs, do not
continue to drive with worn brake
pads.
WARNING- Brake wear
This brake wear warning sound
means your vehicle needs ser-
vice. If you ignore this audible
warning, you will eventually lose
braking performance, which
could lead to a serious accident.
CAUTION
Always replace brake pads as complete front or rear axle setsto ensure smooth brake perfor-mance.
(Continued)
Wet brakes may result in the vehicle not slowing down at
the usual rate and pulling to
one side when the brakes are
applied. After going through
water, apply the brakes lightly
to regain smooth braking per-
formance.
Page 167 of 371

Driving your vehicle
20
4
1
2
3
4
5
6
7
8
9
Parking brake
To apply the parking brake, pull the
parking brake handle fully and firmly
upward while applying the service
brake. To release the parking brake, pull the
handle up slightly and push the
release button, then lower the handle
to the released position while holding
the button in.
CAUTION
Driving with the parking brake
applied will cause excessivebrake pad and brake rotor wear.
OKM049050OKM049051
WARNING- Parking brake
To prevent unintentional movement when stopped, do
not use just the gear shift
lever to hold the vehicle in
position. Set the parking
brake AND make sure the
gearshift lever is securely
positioned in 1st (First) gear
or R (Reverse) for manual
transaxle equipped vehicles
and in P (Park) for automatic
transaxle equipped vehicles.
Never allow a person who is unfamiliar with the vehicle or
children to touch the parking
brake. If the parking brake is
released unintentionally, seri-
ous injury may occur.
Page 168 of 371

421
Driving your vehicle
1
2
3
4
5
6
7
8
9
Check the brake warning light by
turning the ignition switch ON (do not
start the engine). This light will be
illuminated when the parking brake is
applied with the ignition switch in the
START or ON position.
Before driving, be sure the parking
brake is fully released and the brake
warning light is off.If the brake warning light remains on
after the parking brake is released,
there may be a malfunction in the
brake system. Immediate attention is
necessary.
If at all possible, cease driving the
vehicle immediately. If that is not pos-
sible, use extreme caution while
operating the vehicle and only con-
tinue to drive the vehicle until you
can reach a safe location or repair
shop.
Parking on curbed streets
When parking your vehicle on an
uphill grade, park as close to the
curb as possible and turn the front
wheels away from the curb so that
the front wheels will contact the
curb if the vehicle moves back-
ward.
When parking your vehicle on a downhill grade, park as close to the
curb as possible and turn the front
wheels toward the curb so that the
front wheels will contact the curb if
the vehicle moves forward.
W-75
Page 170 of 371

423
Driving your vehicle
1
2
3
4
5
6
7
8
9
✽ ✽NOTICE
• If the ABS warning light is on and
stays on, you may have a problem
with the ABS system. In this case,
however, your regular brakes will
work normally.
• The ABS warning light will stay on for approximately 3 seconds after
the ignition switch is ON. During
that time, the ABS will go through
self-diagnosis and the light will go
off if everything is normal. If the
light stays on, you may have a
problem with your ABS system.
Contact an authorized Kia dealer
as soon as possible.
✽ ✽ NOTICE
• When you drive on a road having
poor traction, such as an icy road,
and operate your brakes continu-
ously, the ABS will be active con-
tinuously and the ABS warning
light may illuminate. Pull your car
over to a safe place and stop the
engine.
• Restart the engine. If the ABS warning light is off, then your ABS
system is normal. Otherwise, you
may have a problem with the ABS.
Contact an authorized Kia dealer
as soon as possible.
✽ ✽ NOTICE
When you jump start your vehicle
because of a drained battery, the
engine may not run as smoothly and
the ABS warning light may turn on
at the same time. This happens
because of the low battery voltage. It
does not mean your ABS is malfunc-
tioning.
• Do not pump your brakes!
• Have the battery recharged before
driving the vehicle.
W-78
Page 174 of 371

427
Driving your vehicle
1
2
3
4
5
6
7
8
9
3. Push down the - / SET switch, andrelease it at the speed you want.
The “SET” indicator light in the
instrument cluster will illuminate.
Release the accelerator at the
same time. The desired speed will
automatically be maintained.
The SET function cannot be activateduntil approximately 2 seconds after theCRUISE ON-OFF button has beenengaged.
On a steep grade, the vehicle maymomentarily slow down while goingdownhill.
To cancel cruise control, do
one of the following:
Press the brake pedal.
Press the clutch pedal with a manu- al transaxle or shift into N (Neutral)
with an automatic transaxle.
Pull the CANCEL switch.
Each of these actions will cancel cruise control operation (the “SET”indicator light in the instrument clus-ter will go OFF), but it will not turn thesystem off. If you wish to resumecruise control operation, push up the
+ / RES switch located on your steer-
ing wheel. You will return to your pre- viously preset speed.
WARNING
If the cruise control is left on,
(CRUISE indicator light in the
instrument cluster illuminated)
the cruise control can be
switched on accidentally. Keep
the cruise control system off
(CRUISE indicator light OFF)
when cruise control is not in
use.
8KMB21878KMB2188
Page 177 of 371

Driving your vehicle
30
4
1
2
3
4
5
6
7
8
9
The Electronic Stability Control
(ESC) monitors information from
various vehicle sensors and then
compares the driver's commands
with the actual behavior of the
vehicle.
If an unstable condition occurs - a
sudden evasive movement for
example - ESC intervenes within
fractions of a second via the engine
computer and brake system and
attempts to stabilize the vehicle.
ESC operation
ESC ON condition
ON, ESC and ESC OFF
indicator lights illuminate
for approximately 3 sec-
onds, then ESC is turned
on.
ton for at least half a sec-
ond after turning the igni-
tion ON to turn ESC off.
(ESC OFF indicator will
illuminate). To turn the
ESC on, press the ESC
OFF button (ESC OFF
indicator light will go off).
you may hear a slight tick-
ing sound. This is the ESC
performing an automatic
system self-check and
does not indicate a prob-
lem.
When operating
When the ESC is in opera-
tion, ESC indicator light
blinks.
Stability Control is operat-
ing properly, you can feel a
slight pulsation in the vehi-
cle. This is only the effect
of brake control and indi-
cates nothing unusual.
mud or slippery road,
pressing the accelerator
pedal may not cause the
engine rpm (revolutions
per minute) to increase.
ELECTRONIC STABILITY CONTROL (IF EQUIPPED)
-
ESC
6KMN2128
Page 179 of 371

Driving your vehicle
32
4
1
2
3
4
5
6
7
8
9
ESC OFF usage
When driving
It’s a good idea to keep the ESC
turned on for daily driving whenev-
er possible.
To turn ESC off while driving, press the ESC OFF button while driving
on a flat road surface.
Never press ESC OFF button while
ESC is operating (ESC indicator light
blinks).
If ESC is turned off while ESC is
operating, the vehicle may slip out of
control.
✽ ✽
NOTICE
• When measuring the vehicle speed
with a chassis dynamo-meter,
make sure the ESC is turned off
(ESC OFF light illuminated). If
the ESC is left on, it may prevent
the vehicle speed from increasing,
and cause a false diagnosis of a
faulty speedometer.
• Turning the ESC off does not affect ABS or brake system opera-
tion. WARNING- ESC
Never press the ESC OFF but-
ton while ESC is operating.
If the ESC is turned off while
ESC is operating, the vehicle
may slip out of control.
To turn ESC off while driving,
press the ESC OFF button while
driving on a flat road surface.