KIA Sportage 2016 QL / 4.G Owner's Manual
Manufacturer: KIA, Model Year: 2016, Model line: Sportage, Model: KIA Sportage 2016 QL / 4.GPages: 501, PDF Size: 18.95 MB
Page 181 of 501
Features of your vehicle
94
4
D210000AEN
Do not use the interior lights for
extended periods when the engine is
not running.
It may cause battery discharge.
D210200AAM-EU
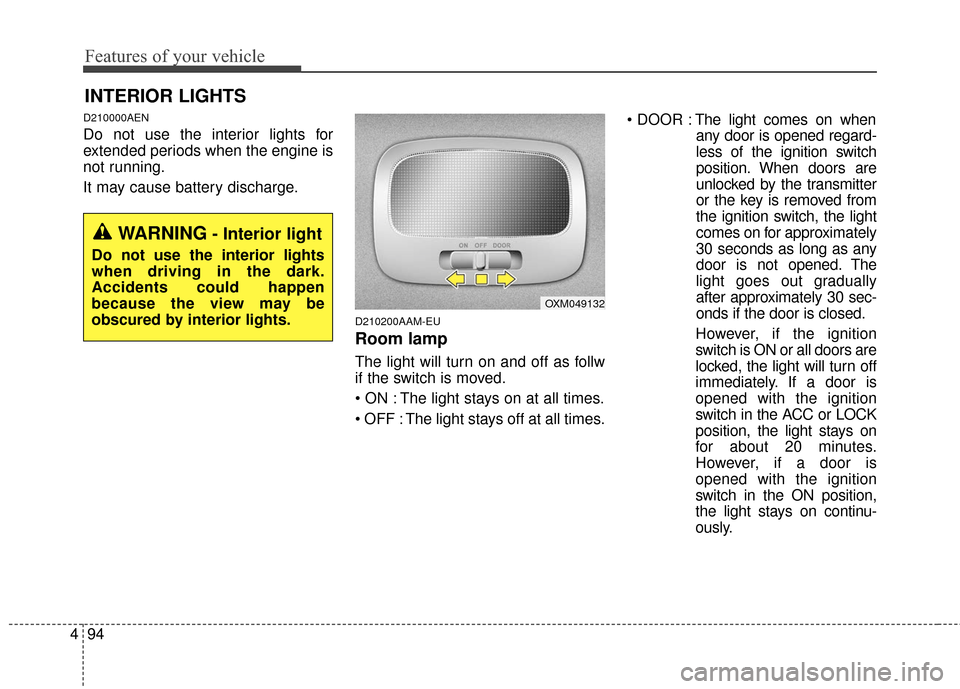
Room lamp
The light will turn on and off as follw
if the switch is moved.
The light stays on at all times.
The light stays off at all times.
The light comes on when
any door is opened regard-
less of the ignition switch
position. When doors are
unlocked by the transmitter
or the key is removed from
the ignition switch, the light
comes on for approximately
30 seconds as long as any
door is not opened. The
light goes out gradually
after approximately 30 sec-
onds if the door is closed.
However, if the ignition
switch is ON or all doors are
locked, the light will turn off
immediately. If a door is
opened with the ignition
switch in the ACC or LOCK
position, the light stays on
for about 20 minutes.
However, if a door is
opened with the ignition
switch in the ON position,
the light stays on continu-
ously.
INTERIOR LIGHTS
OXM049132
WARNING- Interior light
Do not use the interior lights
when driving in the dark.
Accidents could happen
because the view may be
obscured by interior lights.
Page 182 of 501
495
Features of your vehicle
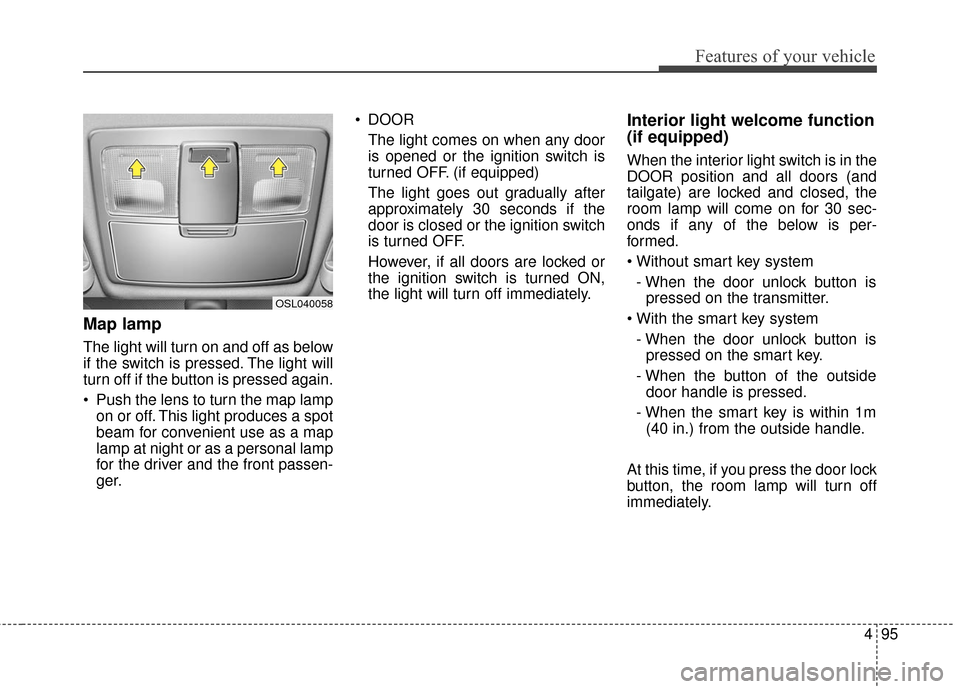
Map lamp
The light will turn on and off as below
if the switch is pressed. The light will
turn off if the button is pressed again.
Push the lens to turn the map lampon or off. This light produces a spot
beam for convenient use as a map
lamp at night or as a personal lamp
for the driver and the front passen-
ger. DOOR
The light comes on when any door
is opened or the ignition switch is
turned OFF. (if equipped)
The light goes out gradually after
approximately 30 seconds if the
door is closed or the ignition switch
is turned OFF.
However, if all doors are locked or
the ignition switch is turned ON,
the light will turn off immediately.
Interior light welcome function
(if equipped)
When the interior light switch is in the
DOOR position and all doors (and
tailgate) are locked and closed, the
room lamp will come on for 30 sec-
onds if any of the below is per-
formed.
- When the door unlock button is pressed on the transmitter.
- When the door unlock button is pressed on the smart key.
- When the button of the outside door handle is pressed.
- When the smart key is within 1m (40 in.) from the outside handle.
At this time, if you press the door lock
button, the room lamp will turn off
immediately.
OSL040058
Page 183 of 501
Features of your vehicle
96
4
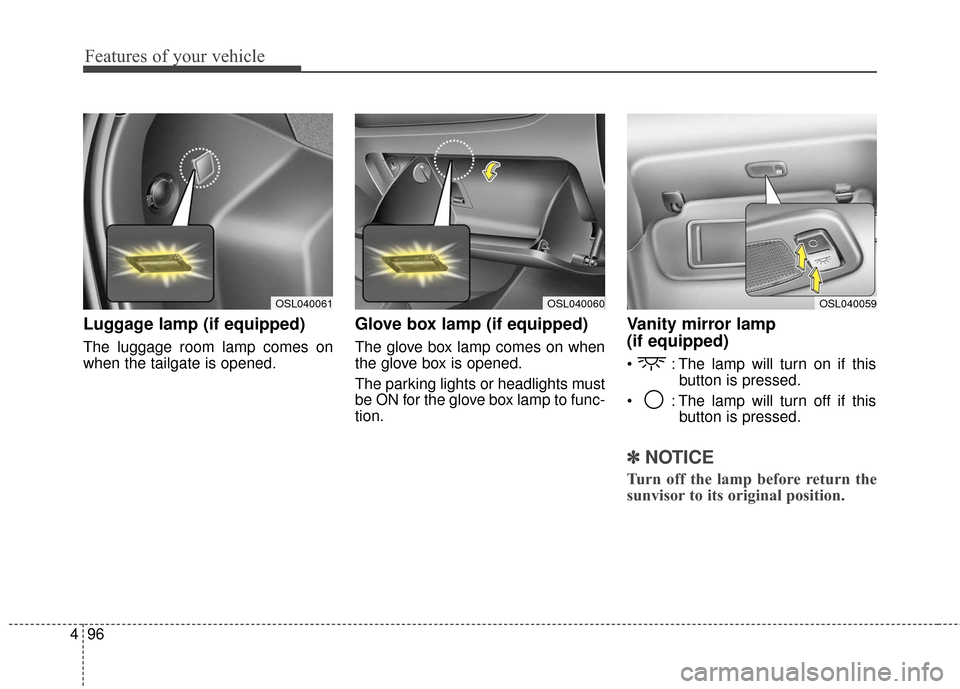
Luggage lamp (if equipped)
The luggage room lamp comes on
when the tailgate is opened.
Glove box lamp (if equipped)
The glove box lamp comes on when
the glove box is opened.
The parking lights or headlights must
be ON for the glove box lamp to func-
tion.
Vanity mirror lamp
(if equipped)
: The lamp will turn on if this
button is pressed.
: The lamp will turn off if this button is pressed.
✽ ✽NOTICE
Turn off the lamp before return the
sunvisor to its original position.
OSL040059OSL040061OSL040060
Page 184 of 501
497
Features of your vehicle
DEFROSTER
220000AUN
If you want to defrost and defog the
front windshield, refer to “Windshield
defrosting and defogging” in this sec-
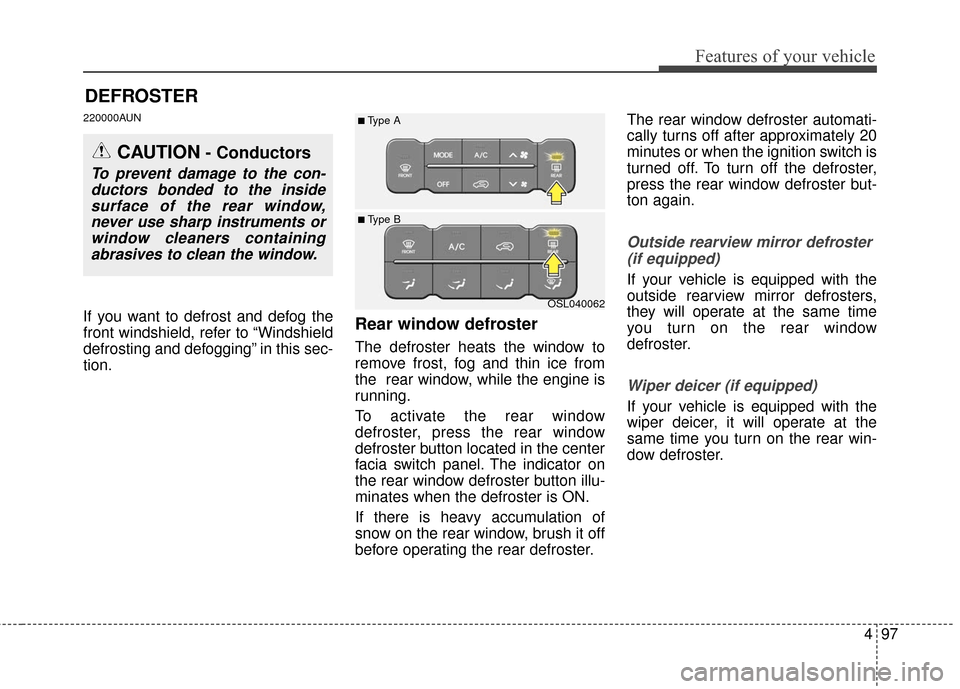
tion.Rear window defroster
The defroster heats the window to
remove frost, fog and thin ice from
the rear window, while the engine is
running.
To activate the rear window
defroster, press the rear window
defroster button located in the center
facia switch panel. The indicator on
the rear window defroster button illu-
minates when the defroster is ON.
If there is heavy accumulation of
snow on the rear window, brush it off
before operating the rear defroster.The rear window defroster automati-
cally turns off after approximately 20
minutes or when the ignition switch is
turned off. To turn off the defroster,
press the rear window defroster but-
ton again.
Outside rearview mirror defroster
(if equipped)
If your vehicle is equipped with the
outside rearview mirror defrosters,
they will operate at the same time
you turn on the rear window
defroster.
Wiper deicer (if equipped)
If your vehicle is equipped with the
wiper deicer, it will operate at the
same time you turn on the rear win-
dow defroster.
CAUTION- Conductors
To prevent damage to the con-ductors bonded to the insidesurface of the rear window,never use sharp instruments orwindow cleaners containingabrasives to clean the window.
OSL040062
■ Type B
■Type A
Page 185 of 501
Features of your vehicle
98
4
Heating and air conditioning
1.Start the engine.
2.Set the mode to the desired posi-
tion.
For improving the effectiveness of
heating and cooling;
- Heating:
- Cooling:
3.Set the temperature control to the desired position.
4.Set the air intake control to the out- side (fresh) air position (if
equipped).
5.Set the fan speed control to the desired speed.
6.If air conditioning is desired, turn the air conditioning system (if
equipped) on.
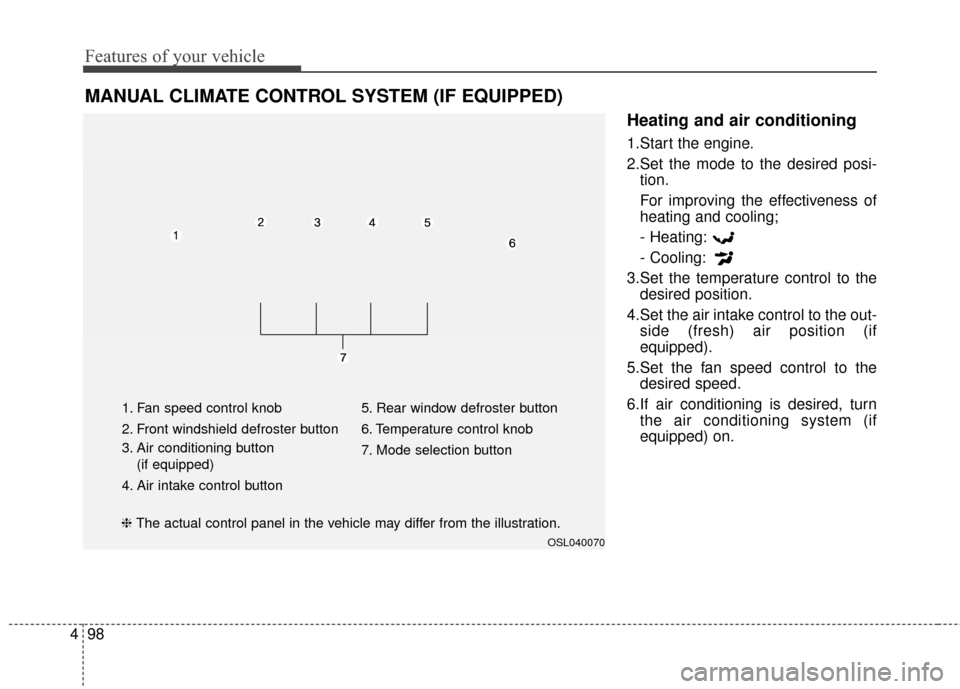
MANUAL CLIMATE CONTROL SYSTEM (IF EQUIPPED)
OSL040070
1. Fan speed control knob
2. Front windshield defroster button
3. Air conditioning button
(if equipped)
4. Air intake control button 5. Rear window defroster button
6. Temperature control knob
7. Mode selection button
❈
The actual control panel in the vehicle may differ from the illustration.
Page 186 of 501
499
Features of your vehicle
Mode selection
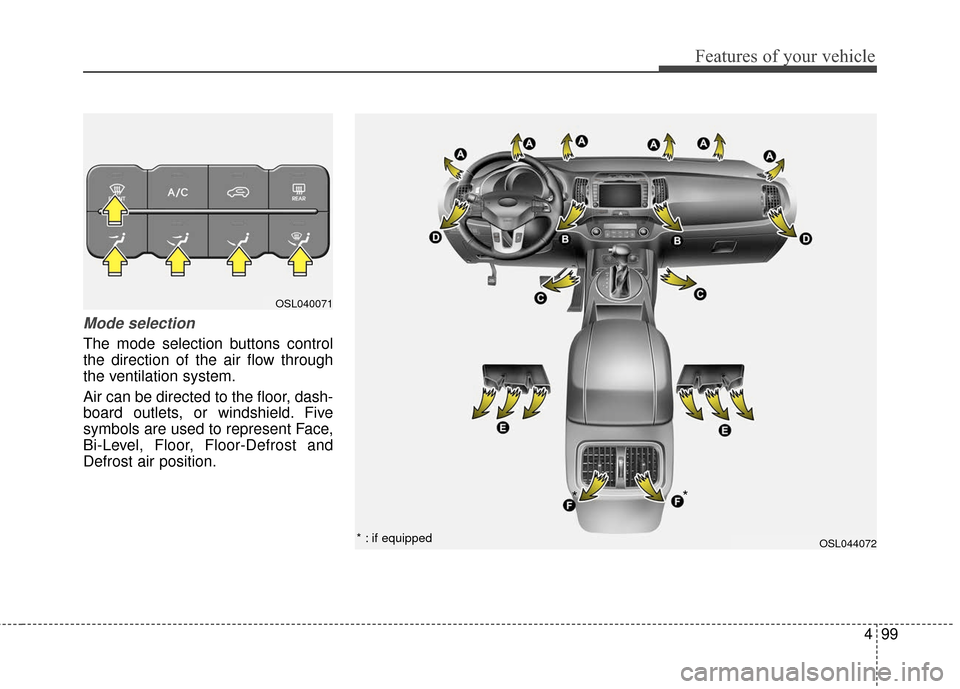
The mode selection buttons control
the direction of the air flow through
the ventilation system.
Air can be directed to the floor, dash-
board outlets, or windshield. Five
symbols are used to represent Face,
Bi-Level, Floor, Floor-Defrost and
Defrost air position.
OSL040071
OSL044072* : if equipped
**
Page 187 of 501
Features of your vehicle
100
4
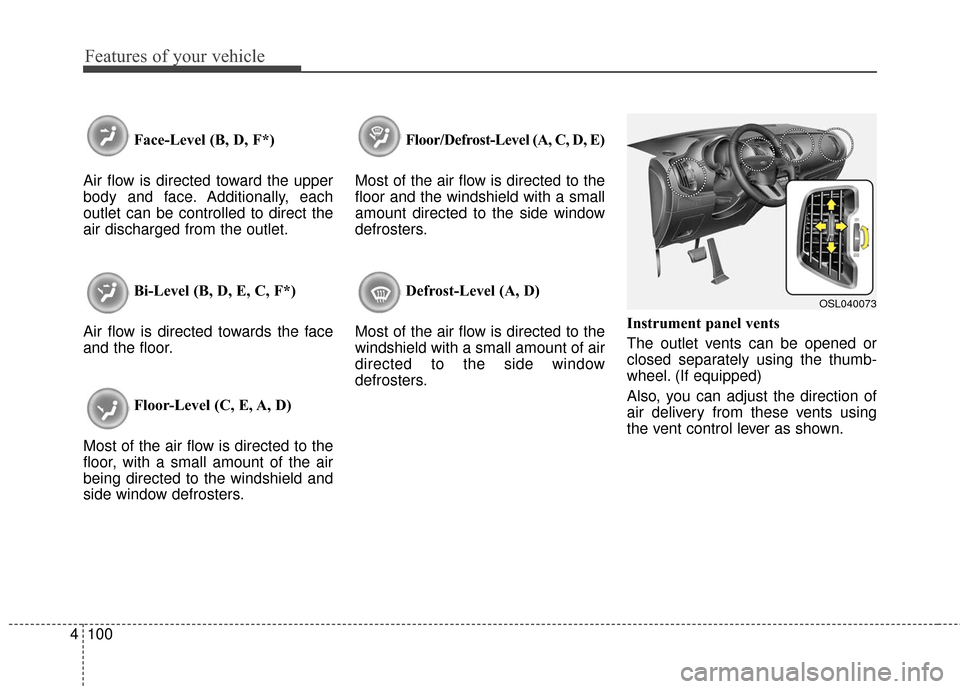
Face-Level (B, D, F*)
Air flow is directed toward the upper
body and face. Additionally, each
outlet can be controlled to direct the
air discharged from the outlet.
Bi-Level (B, D, E, C, F*)
Air flow is directed towards the face
and the floor.
Floor-Level (C, E, A, D)
Most of the air flow is directed to the
floor, with a small amount of the air
being directed to the windshield and
side window defrosters. Floor/Defrost-Level (A, C, D, E)
Most of the air flow is directed to the
floor and the windshield with a small
amount directed to the side window
defrosters.
Defrost-Level (A, D)
Most of the air flow is directed to the
windshield with a small amount of air
directed to the side window
defrosters. Instrument panel vents
The outlet vents can be opened or
closed separately using the thumb-
wheel. (If equipped)
Also, you can adjust the direction of
air delivery from these vents using
the vent control lever as shown.
OSL040073
Page 188 of 501
4101
Features of your vehicle
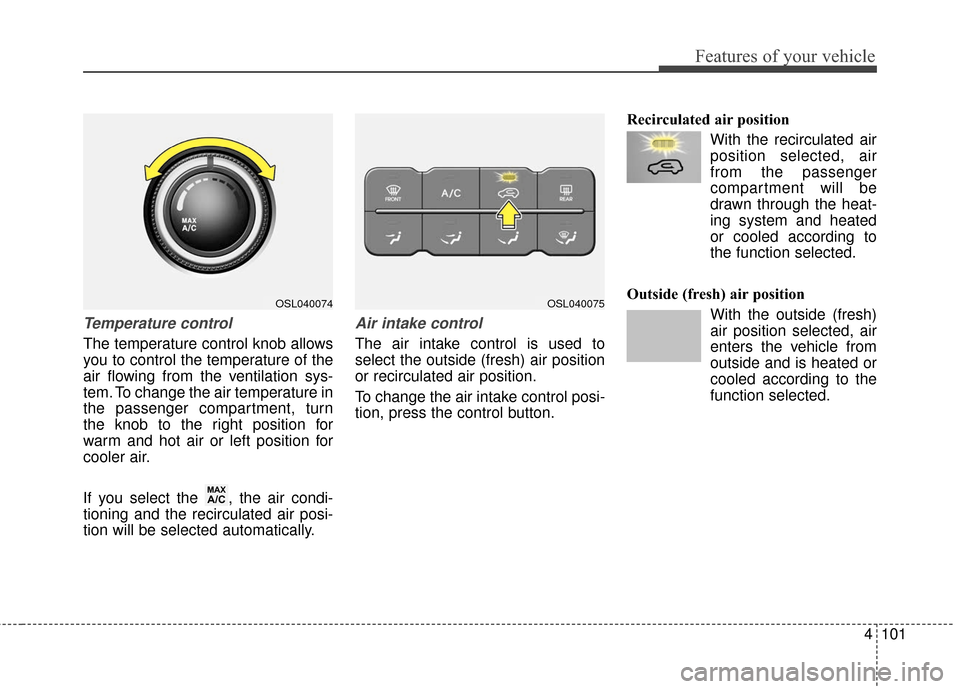
Temperature control
The temperature control knob allows
you to control the temperature of the
air flowing from the ventilation sys-
tem. To change the air temperature in
the passenger compartment, turn
the knob to the right position for
warm and hot air or left position for
cooler air.
If you select the , the air condi-
tioning and the recirculated air posi-
tion will be selected automatically.
Air intake control
The air intake control is used to
select the outside (fresh) air position
or recirculated air position.
To change the air intake control posi-
tion, press the control button.Recirculated air position
With the recirculated airposition selected, air
from the passenger
compartment will be
drawn through the heat-
ing system and heated
or cooled according to
the function selected.
Outside (fresh) air position With the outside (fresh)
air position selected, air
enters the vehicle from
outside and is heated or
cooled according to the
function selected.
MAXA/C
OSL040074OSL040075
Page 189 of 501
Features of your vehicle
102
4
Prolonged operation of the heater in
the recirculated air position (without
air conditioning selected) may cause
fogging of the windshield and side
windows and the air within the pas-
senger compartment may become
stale.
In addition, prolonged use of the air
conditioning with the recirculated air
position selected will result in exces-
sively dry air in the passenger com-
partment.
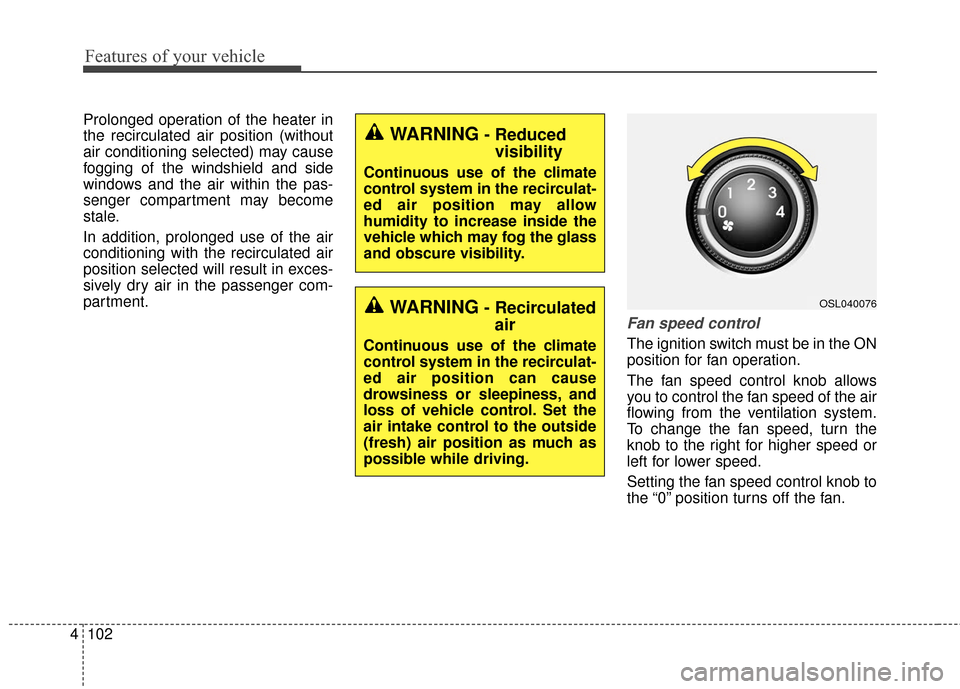
Fan speed control
The ignition switch must be in the ON
position for fan operation.
The fan speed control knob allows
you to control the fan speed of the air
flowing from the ventilation system.
To change the fan speed, turn the
knob to the right for higher speed or
left for lower speed.
Setting the fan speed control knob to
the “0” position turns off the fan.
OSL040076
WARNING- Reduced
visibility
Continuous use of the climate
control system in the recirculat-
ed air position may allow
humidity to increase inside the
vehicle which may fog the glass
and obscure visibility.
WARNING- Recirculatedair
Continuous use of the climate
control system in the recirculat-
ed air position can cause
drowsiness or sleepiness, and
loss of vehicle control. Set the
air intake control to the outside
(fresh) air position as much as
possible while driving.
Page 190 of 501
4103
Features of your vehicle
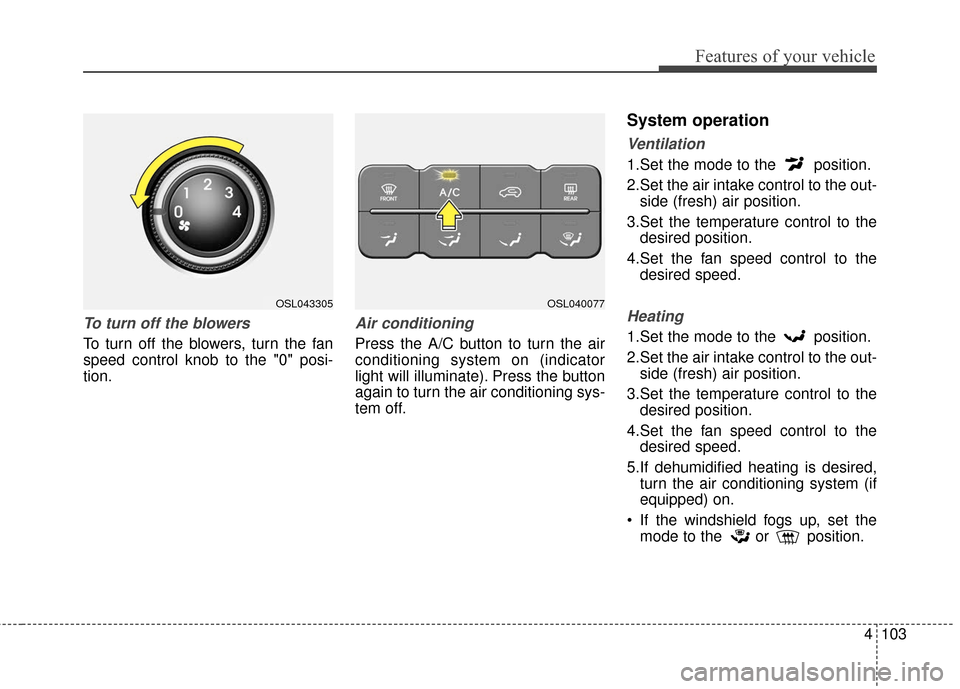
To turn off the blowers
To turn off the blowers, turn the fan
speed control knob to the "0" posi-
tion.
Air conditioning
Press the A/C button to turn the air
conditioning system on (indicator
light will illuminate). Press the button
again to turn the air conditioning sys-
tem off.
System operation
Ventilation
1.Set the mode to the position.
2.Set the air intake control to the out-side (fresh) air position.
3.Set the temperature control to the desired position.
4.Set the fan speed control to the desired speed.
Heating
1.Set the mode to the position.
2.Set the air intake control to the out-side (fresh) air position.
3.Set the temperature control to the desired position.
4.Set the fan speed control to the desired speed.
5.If dehumidified heating is desired, turn the air conditioning system (if
equipped) on.
If the windshield fogs up, set the mode to the or position.
OSL040077OSL043305