park assist KIA TELLURIDE 2020 Navigation System Quick Reference Guide
[x] Cancel search | Manufacturer: KIA, Model Year: 2020, Model line: TELLURIDE, Model: KIA TELLURIDE 2020Pages: 219, PDF Size: 9.16 MB
Page 44 of 219
2-6
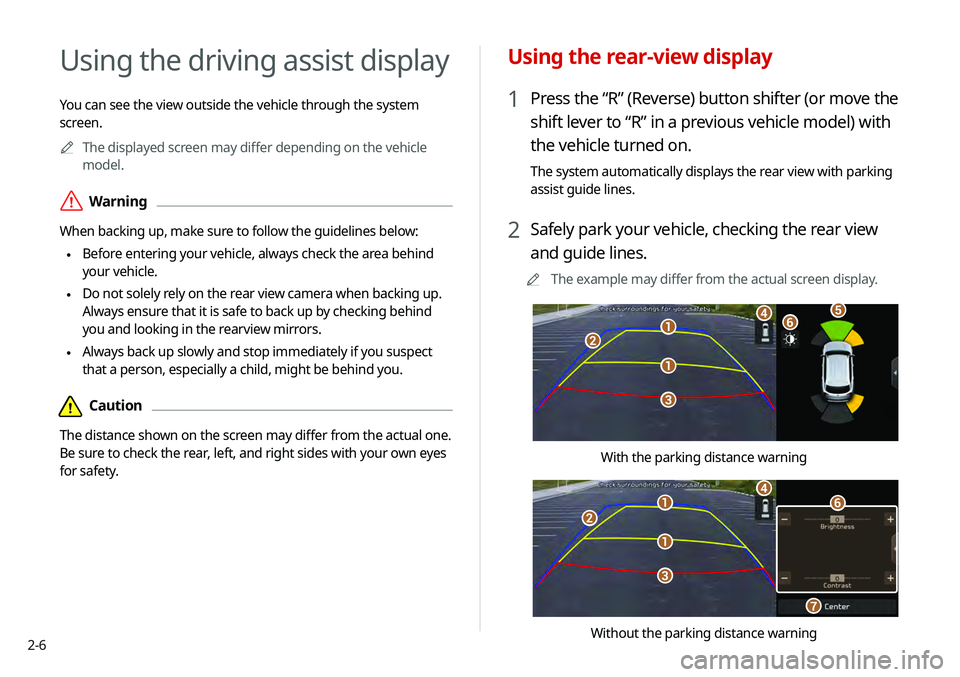
Using the rear-view display
1 Press the “R” (Reverse) button shifter (or move the
shift lever to “R” in a previous vehicle model) with
the vehicle turned on.
The system automatically displays the rear view with parking
assist guide lines.
2 Safely park your vehicle, checking the rear view
and guide lines.
0000
A
The example may differ from the actual screen display.
\037
\037
\036
\035
\034\033\032
With the parking distance warning
\037
\037
\036
\035
\034
\033
\032
Without the parking distance warning
Using the driving assist display
You can see the view outside the vehicle through the system
screen.
0000
A
The displayed screen may differ depending on the vehicle
model.
\335Warning
When backing up, make sure to follow the guidelines below:
\225 Before entering your vehicle, always check the area behind
your vehicle.
\225 Do not solely rely on the rear view camera when backing up.
Always ensure that it is safe to back up by checking behind
you and looking in the rearview mirrors.
\225 Always back up slowly and stop immediately if you suspect
that a person, especially a child, might be behind you.
\334Caution
The distance shown on the screen may differ from the actual one.
Be sure to check the rear, left, and right sides with your own eyes
for safety.
Page 45 of 219
2-7
0000
A
Available settings may differ depending on the vehicle model
and specifications.
0000
A
You can change the motion settings of the rear camera. On
the All Menus screen, touch Setup >
Advanced >
Extend
Rear Camera Use and then check Extend Rear Camera Use to
turn on the function. The rear view appears continuously even
when you change the shift position other than “R” (Reverse)
after reversing (if equipped).
> See “Extend Rear Camera Use (if
equipped).”
0000
A
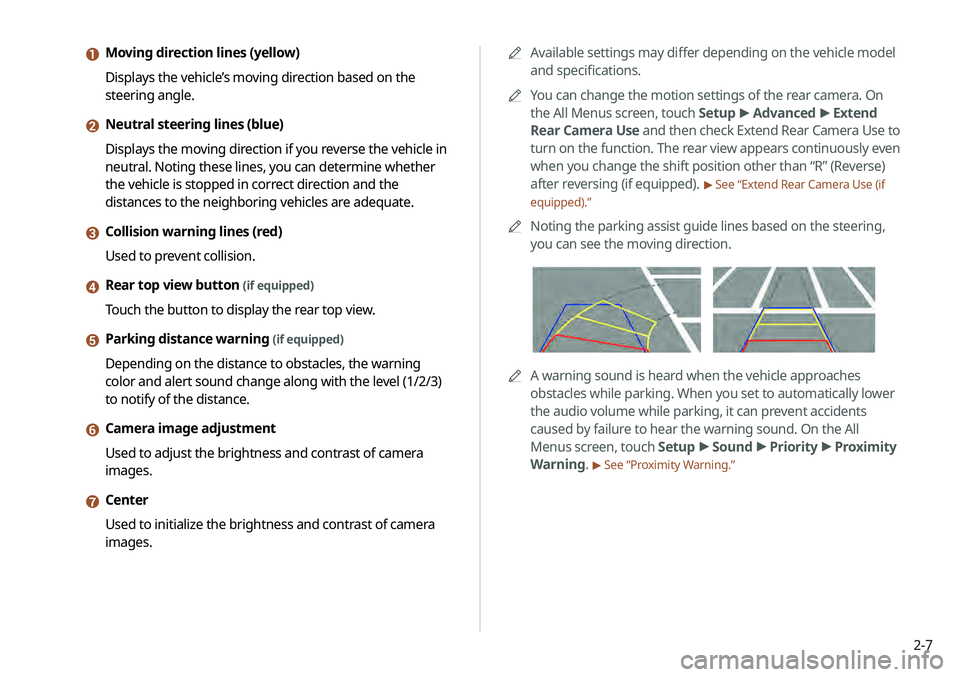
Noting the parking assist guide lines based on the steering,
you can see the moving direction.
0000AA warning sound is heard when the vehicle approaches
obstacles while parking. When you set to automatically lower
the audio volume while parking, it can prevent accidents
caused by failure to hear the warning sound. On the All
Menus screen, touch Setup >
Sound >
Priority >
Proximity
Warning.
> See “Proximity Warning.”
a Moving direction lines (yellow)
Displays the vehicle’s moving direction based on the
steering angle.
b Neutral steering lines (blue)
Displays the moving direction if you reverse the vehicle in
neutral. Noting these lines, you can determine whether
the vehicle is stopped in correct direction and the
distances to the neighboring vehicles are adequate.
c Collision warning lines (red)
Used to prevent collision.
d Rear top view button (if equipped)
Touch the button to display the rear top view.
e Parking distance warning (if equipped)
Depending on the distance to obstacles, the warning
color and alert sound change along with the level (1/2/3)
to notify of the distance.
f Camera image adjustment
Used to adjust the brightness and contrast of camera
images.
g Center
Used to initialize the brightness and contrast of camera
images.
Page 46 of 219
![KIA TELLURIDE 2020 Navigation System Quick Reference Guide 2-8
Viewing the surround view while driving
1 In order to see the surround view, press the []
button.
The system displays both the front view and surround view.
0000
A
The surround view monitor funct KIA TELLURIDE 2020 Navigation System Quick Reference Guide 2-8
Viewing the surround view while driving
1 In order to see the surround view, press the []
button.
The system displays both the front view and surround view.
0000
A
The surround view monitor funct](/img/2/54882/w960_54882-45.png)
2-8
Viewing the surround view while driving
1 In order to see the surround view, press the []
button.
The system displays both the front view and surround view.
0000
A
The surround view monitor function operates only when
any of the following conditions is met.
-The driving speed is below 9mph with the shift position
in “D” (Drive).
-The vehicle is statinoary and the shift position is in “D”
(Drive) or “N” (Neutral).
Viewing the rear top view display (if equipped)
You can look down the rear view from the top through the rear-
view display.
1 On the rear-view screen, touch .
2 Check the top view display and assist guide lines.
0000
A
The guide lines appear on the rear top view.
-Displays the space required to open the trunk (tailgate).
After a parking, check whether the space is sufficient to
open the trunk and there is no obstacle.
-Displays the extension line from the center of the
vehicle. According to the steering direction, the moving
direction of the center is displayed on the screen.
Surround View Monitor (if equipped)
You can check the surroundings by using multiple cameras on the
vehicle.
0000
A
Use the +/- button on the right of the screen to zoom in or
out.
Page 141 of 219
7-13
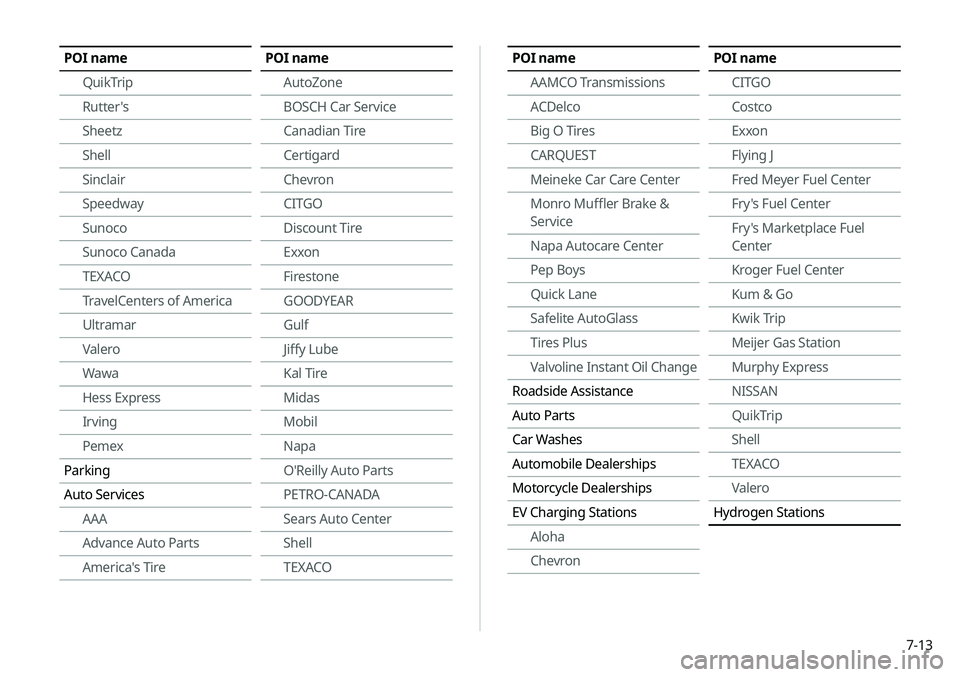
POI nameAAMCO Transmissions
ACDelco
Big O Tires
CARQUEST
Meineke Car Care Center
Monro Muffler Brake &
Service
Napa Autocare Center
Pep Boys
Quick Lane
Safelite AutoGlass
Tires Plus
Valvoline Instant Oil Change
Roadside Assistance
Auto Parts
Car Washes
Automobile Dealerships
Motorcycle Dealerships
EV Charging Stations Aloha
ChevronPOI name
CITGO
Costco
Exxon
Flying J
Fred Meyer Fuel Center
Fry's Fuel Center
Fry's Marketplace Fuel
Center
Kroger Fuel Center
Kum & Go
Kwik Trip
Meijer Gas Station
Murphy Express
NISSAN
QuikTrip
Shell
TEXACO
Valero
Hydrogen StationsPOI name
QuikTrip
Rutter's
Sheetz
Shell
Sinclair
Speedway
Sunoco
Sunoco Canada
TEXACO
TravelCenters of America
Ultramar
Valero
Wawa
Hess Express
Irving
Pemex
Parking
Auto Services AAA
Advance Auto Parts
America's TirePOI name
AutoZone
BOSCH Car Service
Canadian Tire
Certigard
Chevron
CITGO
Discount Tire
Exxon
Firestone
GOODYEAR
Gulf
Jiffy Lube
Kal Tire
Midas
Mobil
Napa
O'Reilly Auto Parts
PETRO-CANADA
Sears Auto Center
Shell
TEXACO
Page 156 of 219
8-6
Diagnosing the vehicle
If you are curious about whether or not there is a problem with
your vehicle, you can diagnose your vehicle. With the diagnosis
result, you can also reserve a maintenance service.
1 Park your vehicle in a safe location.
0000
A
The vehicle must be stationary because some components
cannot be diagnosed while driving.
2 On the All Menus screen, touch UVO >
Vehicle
Diagnostics.
Remote vehicle diagnosis starts.
0000
A
Keep the screen on until the diagnosed result appears.
When you switch to another screen during diagnosis, the
diagnosis service is canceled.
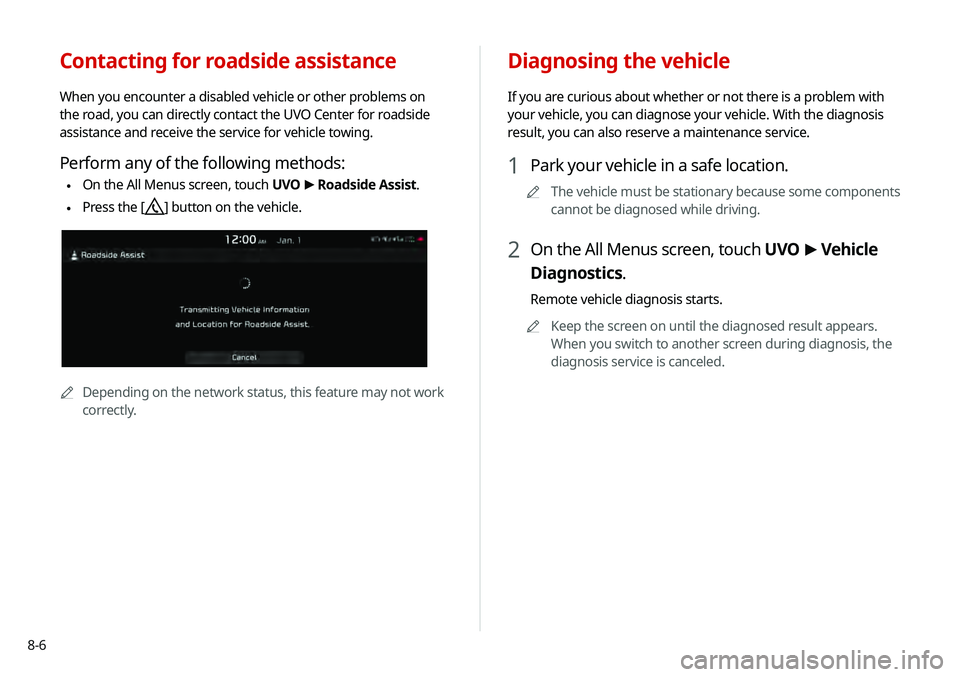
Contacting for roadside assistance
When you encounter a disabled vehicle or other problems on
the road, you can directly contact the UVO Center for roadside
assistance and receive the service for vehicle towing.
Perform any of the following methods:
\225On the All Menus screen, touch UVO
>
Roadside Assist.
\225 Press the [] button on the vehicle.
0000A
Depending on the network status, this feature may not work
correctly.
Page 208 of 219
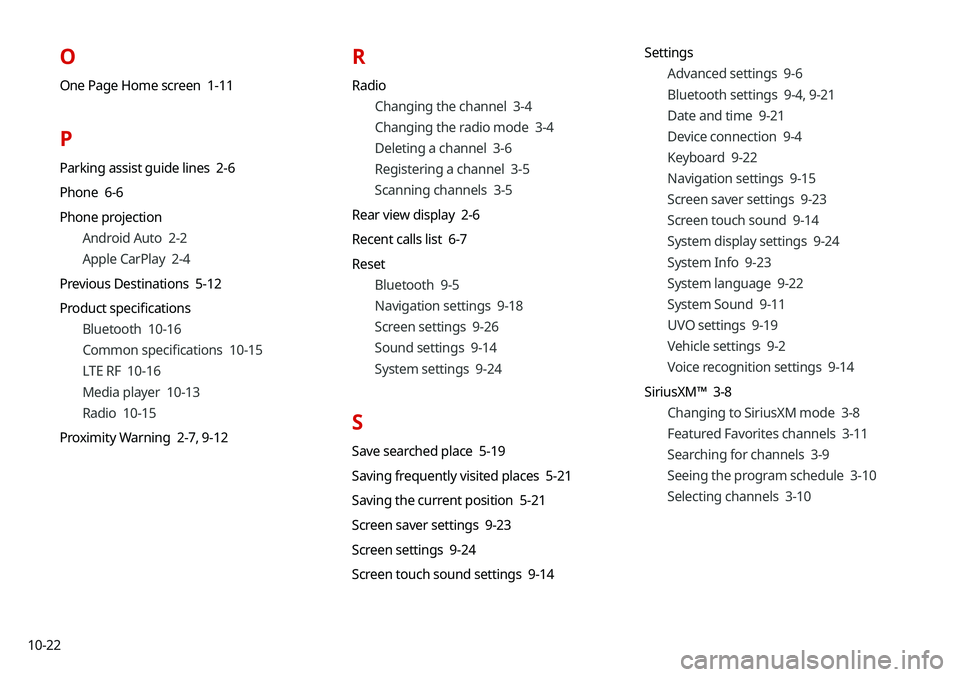
10-22
O
One Page Home screen 1-11
P
Parking assist guide lines 2-6
Phone 6-6
Phone projectionAndroid Auto 2-2
Apple CarPlay 2-4
Previous Destinations 5-12
Product specifications Bluetooth 10-16
Common specifications 10-15
LTE RF 10-16
Media player 10-13
Radio 10-15
Proximity Warning 2-7, 9-12
R
Radio
Changing the channel 3-4
Changing the radio mode 3-4
Deleting a channel 3-6
Registering a channel 3-5
Scanning channels 3-5
Rear view display 2-6
Recent calls list 6-7
Reset Bluetooth 9-5
Navigation settings 9-18
Screen settings 9-26
Sound settings 9-14
System settings 9-24
S
Save searched place 5-19
Saving frequently visited places 5-21
Saving the current position 5-21
Screen saver settings 9-23
Screen settings 9-24
Screen touch sound settings 9-14 Settings
Advanced settings 9-6
Bluetooth settings 9-4, 9-21
Date and time 9-21
Device connection 9-4
Keyboard 9-22
Navigation settings 9-15
Screen saver settings 9-23
Screen touch sound 9-14
System display settings 9-24
System Info 9-23
System language 9-22
System Sound 9-11
UVO settings 9-19
Vehicle settings 9-2
Voice recognition settings 9-14
SiriusXM™ 3-8 Changing to SiriusXM mode 3-8
Featured Favorites channels 3-11
Searching for channels 3-9
Seeing the program schedule 3-10
Selecting channels 3-10