navigation system Lexus ES300h 2014 Navigation Manual
[x] Cancel search | Manufacturer: LEXUS, Model Year: 2014, Model line: ES300h, Model: Lexus ES300h 2014Pages: 424, PDF Size: 16.46 MB
Page 110 of 424
109
3. ADDRESS BOOK
ES350/300h_Navi_OM33A66U_(U)13.07.11 10:10
3
NAVIGATION SYSTEM
1Press the “MENU” button on the
Remote Touch. (See “Remote Touch”
on page 10.)
2Select “Setup” on the “Menu” screen.
3Select “Navigation” on the “Setup”
screen.
4Select “Home” .
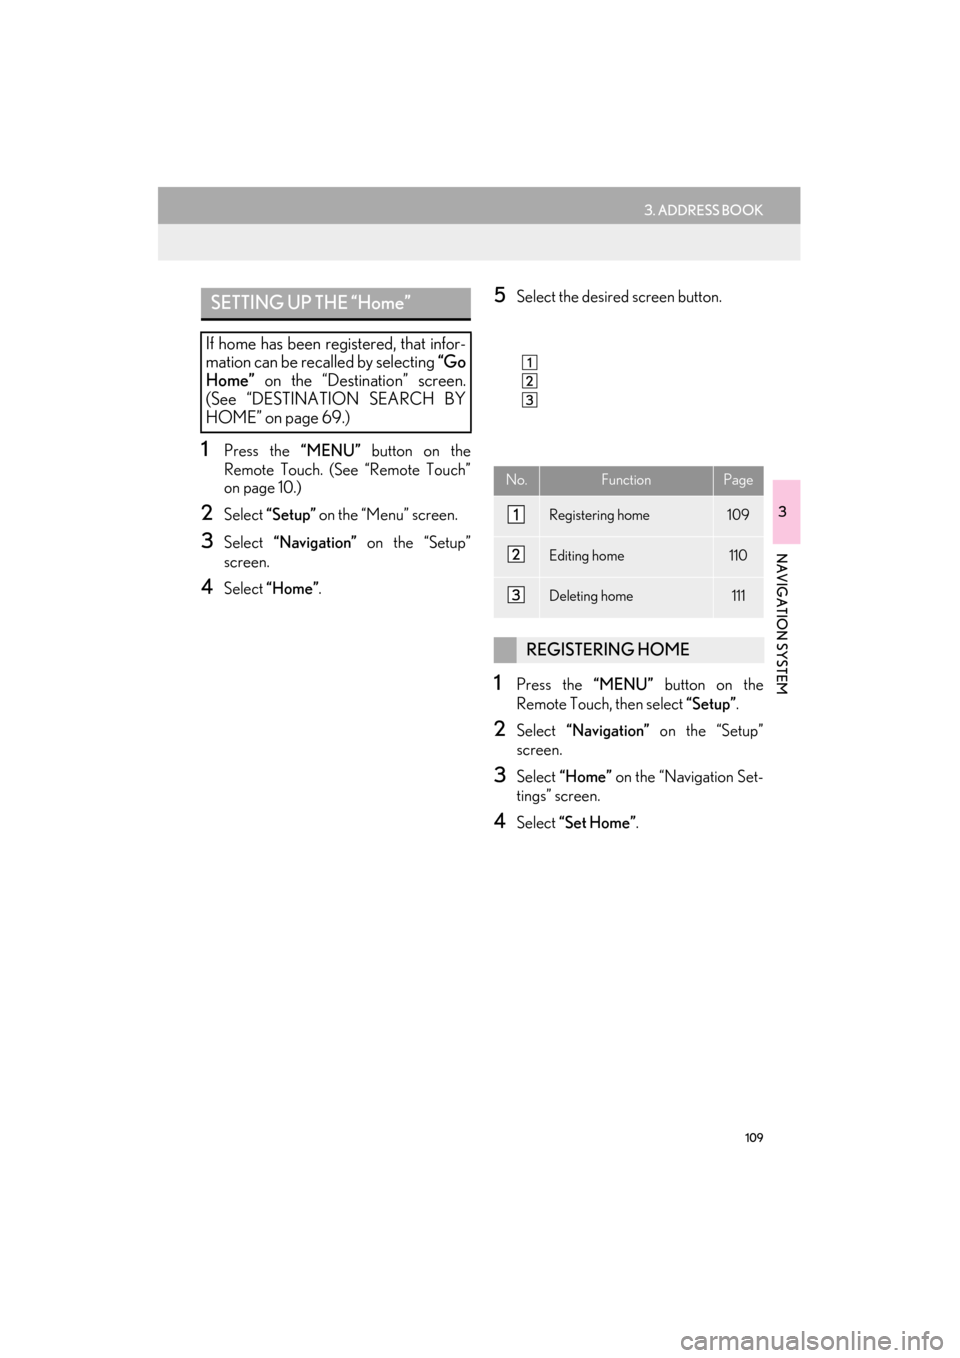
5Select the desired screen button.
1Press the “MENU” button on the
Remote Touch, then select “Setup”.
2Select “Navigation” on the “Setup”
screen.
3Select “Home” on the “Navigation Set-
tings” screen.
4Select “Set Home” .
SETTING UP THE “Home”
If home has been registered, that infor-
mation can be recalled by selecting “Go
Home” on the “Destination” screen.
(See “DESTINATION SEARCH BY
HOME” on page 69.)
No.FunctionPage
Registering home109
Editing home110
Deleting home111
REGISTERING HOME
Page 112 of 424
111
3. ADDRESS BOOK
ES350/300h_Navi_OM33A66U_(U)13.07.11 10:10
3
NAVIGATION SYSTEM
1Press the “MENU” button on the
Remote Touch, then select “Setup”.
2Select “Navigation” on the “Setup”
screen.
3Select “Home” on the “Navigation Set-
tings” screen.
4Select “Delete” .
5Select “Yes” to delete home and select
“No” to cancel the deletion.
1Press the “MENU” button on the
Remote Touch. (See “Remote Touch”
on page 10.)
2Select “Setup” on the “Menu” screen.
3Select “Navigation” on the “Setup”
screen.
4Select “Preset Destinations”.
DELETING HOMESETTING UP THE “Preset
Destinations”
If preset destination has been regis-
tered, that information can be recalled
by using “Preset Destinations” on the
“Navigation Settings” screen. (See
“DESTINATION SEARCH BY PRE-
SET DESTINATIONS” on page 69.)
Page 114 of 424
113
3. ADDRESS BOOK
ES350/300h_Navi_OM33A66U_(U)13.07.11 10:10
3
NAVIGATION SYSTEM
1Press the “MENU” button on the
Remote Touch, then select “Setup”.
2Select “Navigation” on the “Setup”
screen.
3Select “Preset Destinations” on the
“Navigation Settings” screen.
4Select “Edit”.
5Select the screen button of the desired
preset destination.
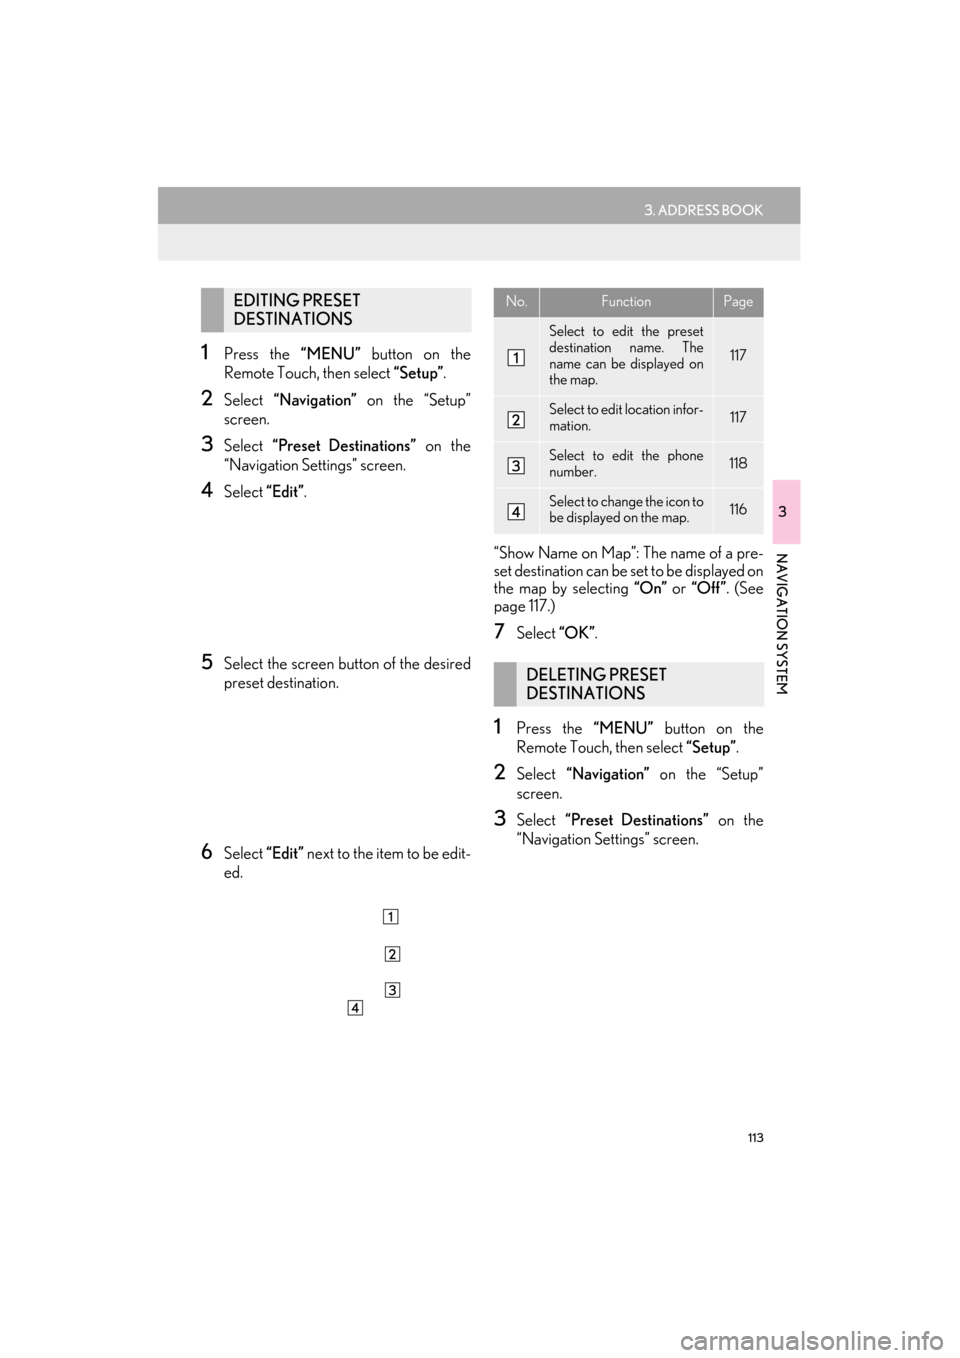
6Select “Edit” next to the item to be edit-
ed. “Show Name on Map”: The name of a pre-
set destination can be set to be displayed on
the map by selecting
“On” or “Off ” . (See
page 117.)
7Select “OK”.
1Press the “MENU” button on the
Remote Touch, then select “Setup”.
2Select “Navigation” on the “Setup”
screen.
3Select “Preset Destinations” on the
“Navigation Settings” screen.
EDITING PRESET
DESTINATIONSNo.FunctionPage
Select to edit the preset
destination name. The
name can be displayed on
the map.
117
Select to edit location infor-
mation.117
Select to edit the phone
number.118
Select to change the icon to
be displayed on the map.116
DELETING PRESET
DESTINATIONS
Page 116 of 424
115
3. ADDRESS BOOK
ES350/300h_Navi_OM33A66U_(U)13.07.11 10:10
3
NAVIGATION SYSTEM
1Press the “MENU” button on the
Remote Touch, then select “Setup”.
2Select “Navigation” on the “Setup”
screen.
3Select “Address Book” on the “Naviga-
tion Settings” screen.
4Select “New”.
5Select the desired screen button and
enter the location in the same way as for
a destination search. (See “DESTINA-
TION SEARCH” on page 68.)
�zAfter the address book entry has been reg-
istered, the “Edit Address Book Entry”
screen will be displayed.
6Select “OK”.
1Press the “MENU” button on the
Remote Touch, then select “Setup”.
2Select “Navigation” on the “Setup”
screen.
3Select “Address Book” on the “Naviga-
tion Settings” screen.
4Select “Edit”.
5Select the screen button of the desired
address book entry.
REGISTERING ADDRESS
BOOK ENTRIES
�zTo edit registered information, see
“EDITING ADDRESS BOOK
ENTRIES” on page 115.
INFORMATION
●
Up to 100 address book entries can be
registered.
EDITING ADDRESS BOOK
ENTRIES
The icon, name, location and/or phone
number of a registered address book
entry can be edited.
Page 118 of 424
117
3. ADDRESS BOOK
ES350/300h_Navi_OM33A66U_(U)13.07.11 10:10
3
NAVIGATION SYSTEM
3Select either or to adjust the di-
rection. Then select “OK”.
■TO CHANGE “Name”
1Select “Edit”.
2Enter the name usin g the alphanumeric
keys.
�z Up to 70 characters can be entered.
3Select “OK”.
�zThe previous screen will be displayed.
■ DISPLAYING ADDRESS BOOK
ENTRY NAMES
1Select “On” to display the name on the
map and select “Off” to not display it.
■TO CHANGE “Location”
1Select “Edit”.
2Select one of the 8 directional screen
buttons to move the cursor to the de-
sired point on the map.
3Select “OK”.
�zThe previous screen will be displayed.
INFORMATION
●
The bell sounds only when the vehicle
approaches this point in the direction that
has been set.
Page 120 of 424
119
3. ADDRESS BOOK
ES350/300h_Navi_OM33A66U_(U)13.07.11 10:10
3
NAVIGATION SYSTEM
1Press the “MENU” button on the
Remote Touch. (See “Remote Touch”
on page 10.)
2Select “Setup” on the “Menu” screen.
3Select “Navigation” on the “Setup”
screen.
4Select “A r e a s t o A v o i d ” .
5Select the desired screen button.
1Press the “MENU” button on the
Remote Touch, then select “Setup”.
2Select “Navigation” on the “Setup”
screen.
3Select “A r e a s t o A v o i d ” on the “Naviga-
tion Settings” screen.
4Select “New”.
SETTING UP THE “Areas to
Avoid”
Areas to be avoided because of traffic
jams, construction work or other rea-
sons can be registered as areas to avoid.
No.FunctionPage
Registering areas to avoid119
Editing areas to avoid120
Deleting areas to avoid123
REGISTERING AREAS TO
AVOID
Page 122 of 424
121
3. ADDRESS BOOK
ES350/300h_Navi_OM33A66U_(U)13.07.11 10:10
3
NAVIGATION SYSTEM
6Select “Edit” next to the item to be edit-
ed.
“Show Name on Map”:
The name of an area to
be avoided can be set to be displayed on the
map by selecting “On” or “Off ” .
(See page
121.)
“Active”: The area to avoid feature can be
set to “On” or “Off” .
7Select “OK”.
■TO CHANGE “Name”
1Select “Edit”.
2Enter the name usin g the alphanumeric
keys.
�z Up to 70 characters can be entered.
3Select “OK”.
�zThe previous screen will be displayed.
■ DISPLAYING NAMES OF AREAS
TO BE AVOIDED
1Select “On”, next to “Show Name on
Map”, to display the name of an area to
be avoided on the map. Select “Off ” not
to display it.
No.FunctionPage
Select to edit the name of
the area to avoid. The name
can be displayed on the
map.
121
Select to edit area location.122
Select to edit area size.122
Page 124 of 424
123
3. ADDRESS BOOK
ES350/300h_Navi_OM33A66U_(U)13.07.11 10:10
3
NAVIGATION SYSTEM
1Press the “MENU” button on the
Remote Touch, then select “Setup”.
2Select “Navigation” on the “Setup”
screen.
3Select “A r e a s t o A v o i d ” on the “Naviga-
tion Settings” screen.
4Select “Delete” .
5Select the area to be deleted.
6Select “Delete”.
7Select “Yes” to delete the area(s) and
select “No” to cancel the deletion.
DELETING AREAS TO AVOID
Screen buttonFunction
“Select All”Select all re gistered ar-
eas to avoid.
“Unselect All”Select to cancel the
“Select All” function.
Page 126 of 424
125
ES350/300h_Navi_OM33A66U_(U)13.07.11 10:10
3
NAVIGATION SYSTEM
4. SETUP
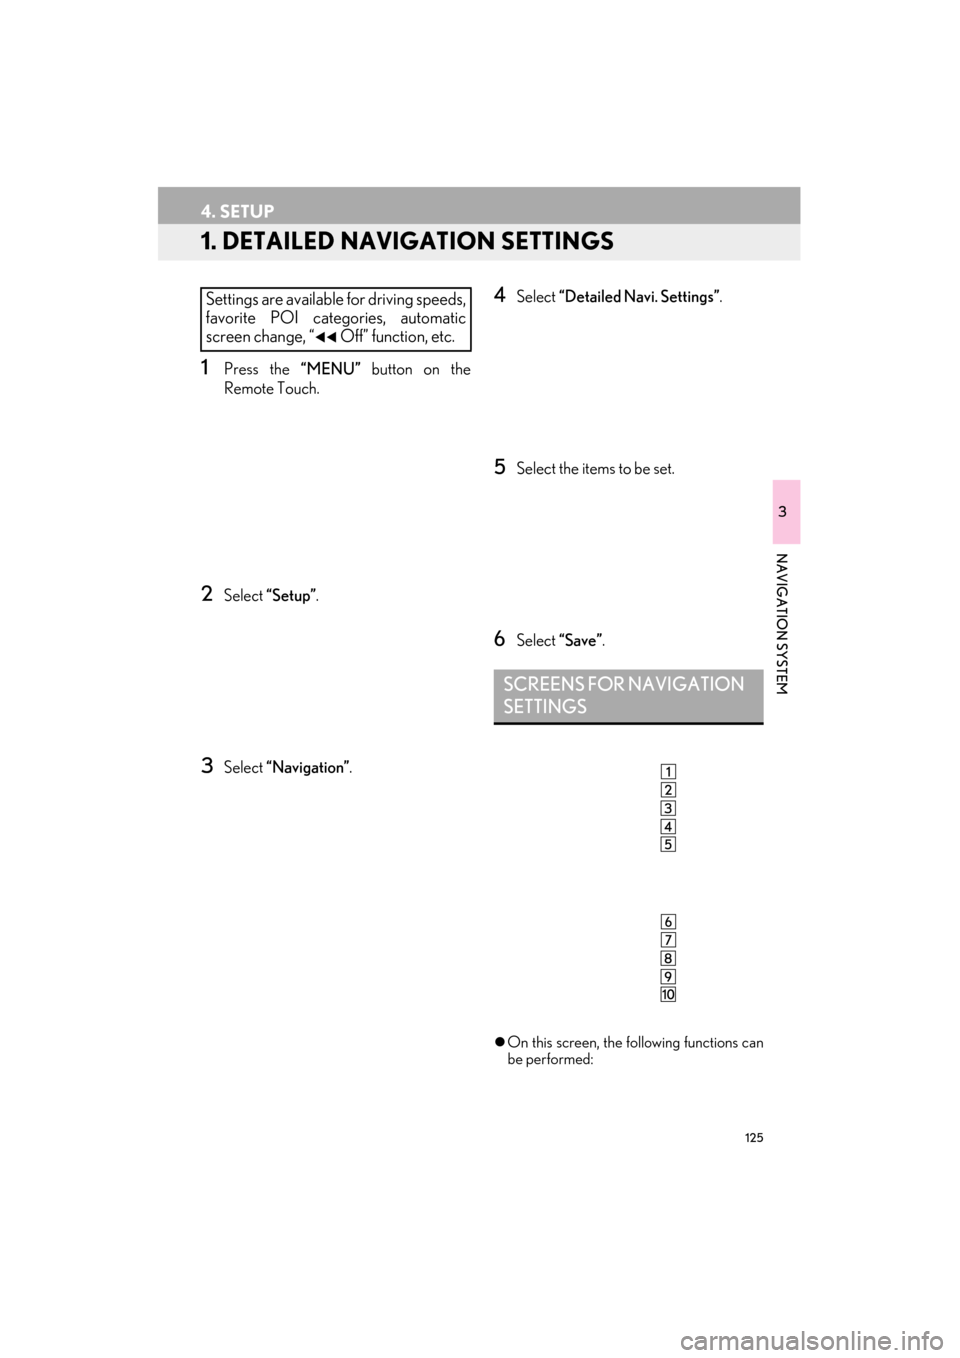
1. DETAILED NAVIGATION SETTINGS
1Press the “MENU” button on the
Remote Touch.
2Select “Setup” .
3Select “Navigation” .
4Select “Detailed Navi. Settings” .
5Select the items to be set.
6Select “Save”.
�zOn this screen, the following functions can
be performed:
Settings are available for driving speeds,
favorite POI categories, automatic
screen change, “
�W�WOff” function, etc.
SCREENS FOR NAVIGATION
SETTINGS
Page 128 of 424
127
4. SETUP
ES350/300h_Navi_OM33A66U_(U)13.07.11 10:10
3
NAVIGATION SYSTEM
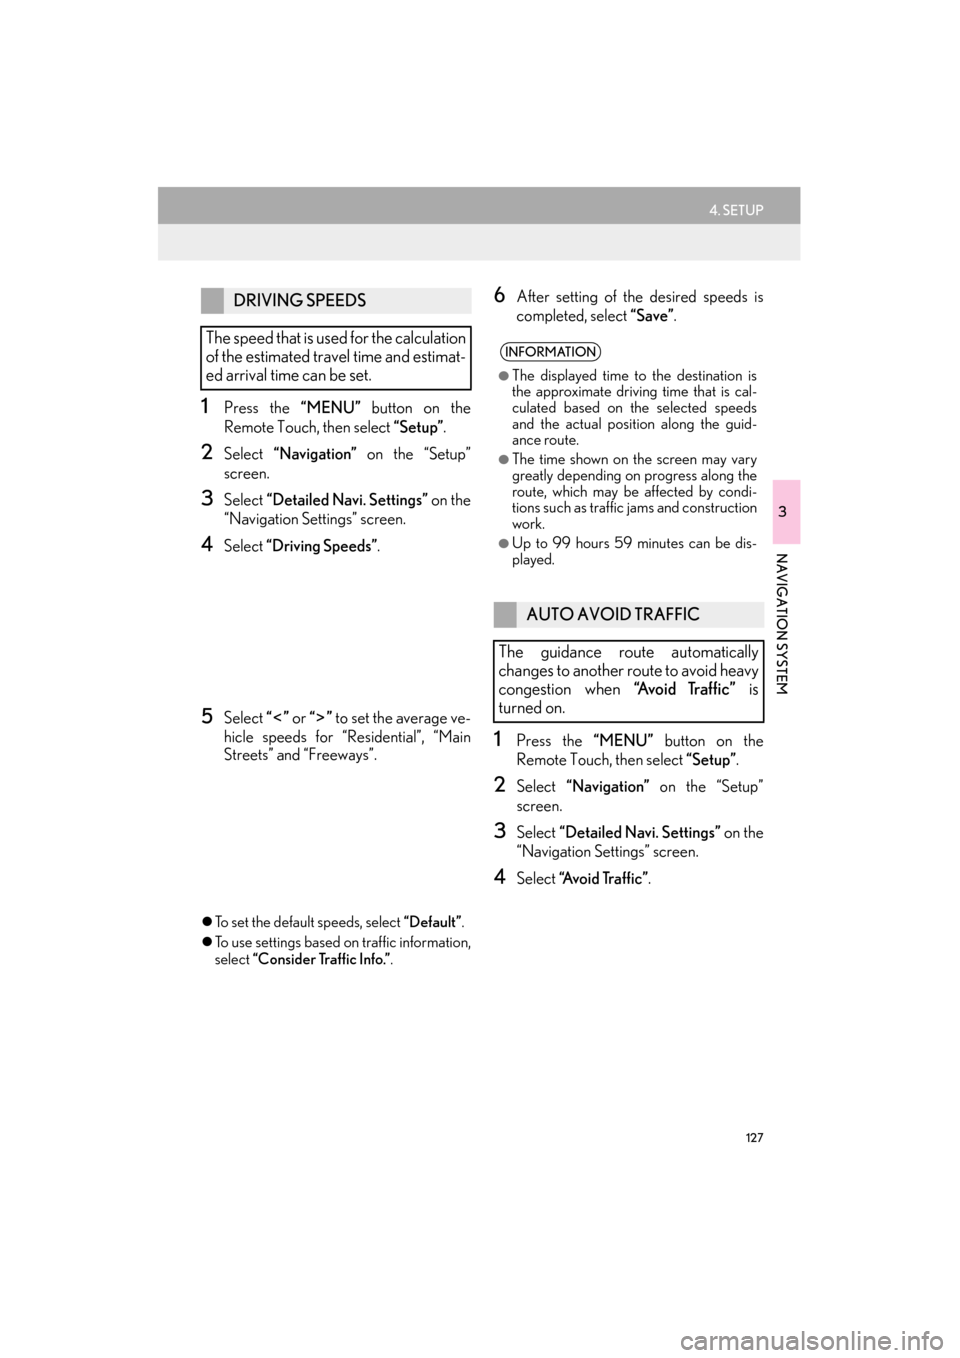
1Press the “MENU” button on the
Remote Touch, then select “Setup”.
2Select “Navigation” on the “Setup”
screen.
3Select “Detailed Navi. Settings” on the
“Navigation Settings” screen.
4Select “Driving Speeds” .
5Select “” or “” to set the average ve-
hicle speeds for “Residential”, “Main
Streets” and “Freeways”.
�z To set the default speeds, select “Default”.
�z To use settings based on traffic information,
select “Consider Traffic Info.” .
6After setting of the desired speeds is
completed, select “Save”.
1Press the “MENU” button on the
Remote Touch, then select “Setup”.
2Select “Navigation” on the “Setup”
screen.
3Select “Detailed Navi. Settings” on the
“Navigation Settings” screen.
4Select “A v o i d Tr a f f i c ” .
DRIVING SPEEDS
The speed that is used for the calculation
of the estimated travel time and estimat-
ed arrival time can be set.
INFORMATION
●
The displayed time to the destination is
the approximate driving time that is cal-
culated based on the selected speeds
and the actual position along the guid-
ance route.
●The time shown on the screen may vary
greatly depending on progress along the
route, which may be affected by condi-
tions such as traffic jams and construction
work.
●Up to 99 hours 59 minutes can be dis-
played.
AUTO AVOID TRAFFIC
The guidance route automatically
changes to another route to avoid heavy
congestion when “Avoid Traffic” is
turned on.