Lexus ES350 2012 Navigation Manual
Manufacturer: LEXUS, Model Year: 2012, Model line: ES350, Model: Lexus ES350 2012Pages: 391, PDF Size: 38.15 MB
Page 251 of 391
AUDIO/VIDEO SYSTEM
250
D
Other function
“RPT”:
Use this control to automatic re-
play the track you are currently listening to.
Repeating a track—
While the track is playing, touch “RPT”
briefly.
“RPT” appears on the screen. When the
track is finished, the player will automati-
cally play it again. To cancel the repeat,
touch “RPT” once again. “RAND”:
Use this for automatic and ran-
dom selection of tracks on the album that
you are currently listening to.
Playing the tracks in the album in ran-
dom order—
While the track is playing, touch
“RAND” briefly.
“RAND” appears on the screen. The sys-
tem selects a track in the album you are
currently listening to. To cancel this func-
tion, touch “RAND”once again.
INFORMATION
Depending on the portable player that
is connected to the system, certain
functions may not be available.
ES350 NAVI (U)
Finish
Page 252 of 391
AUDIO/VIDEO SYSTEM
251
Connecting a USB memory or iPod en-
ables you to enjoy music from the ve-
hicle speakers.
CAUTION
Do not operate the player ’s controls
or connect the USB memory or iPod
while driving.
NOTICE
DDo not leave your portable player in
the car. In particular, high tempera-
tures inside the vehicle may dam-
age the portable player.
DDo not push down on or apply un-
necessary pressure to the portable
player while it is connected as this
may damage the portable player or
its terminal.
DDo not insert foreign objects into
the port as this may damage the
portable player or its terminal.
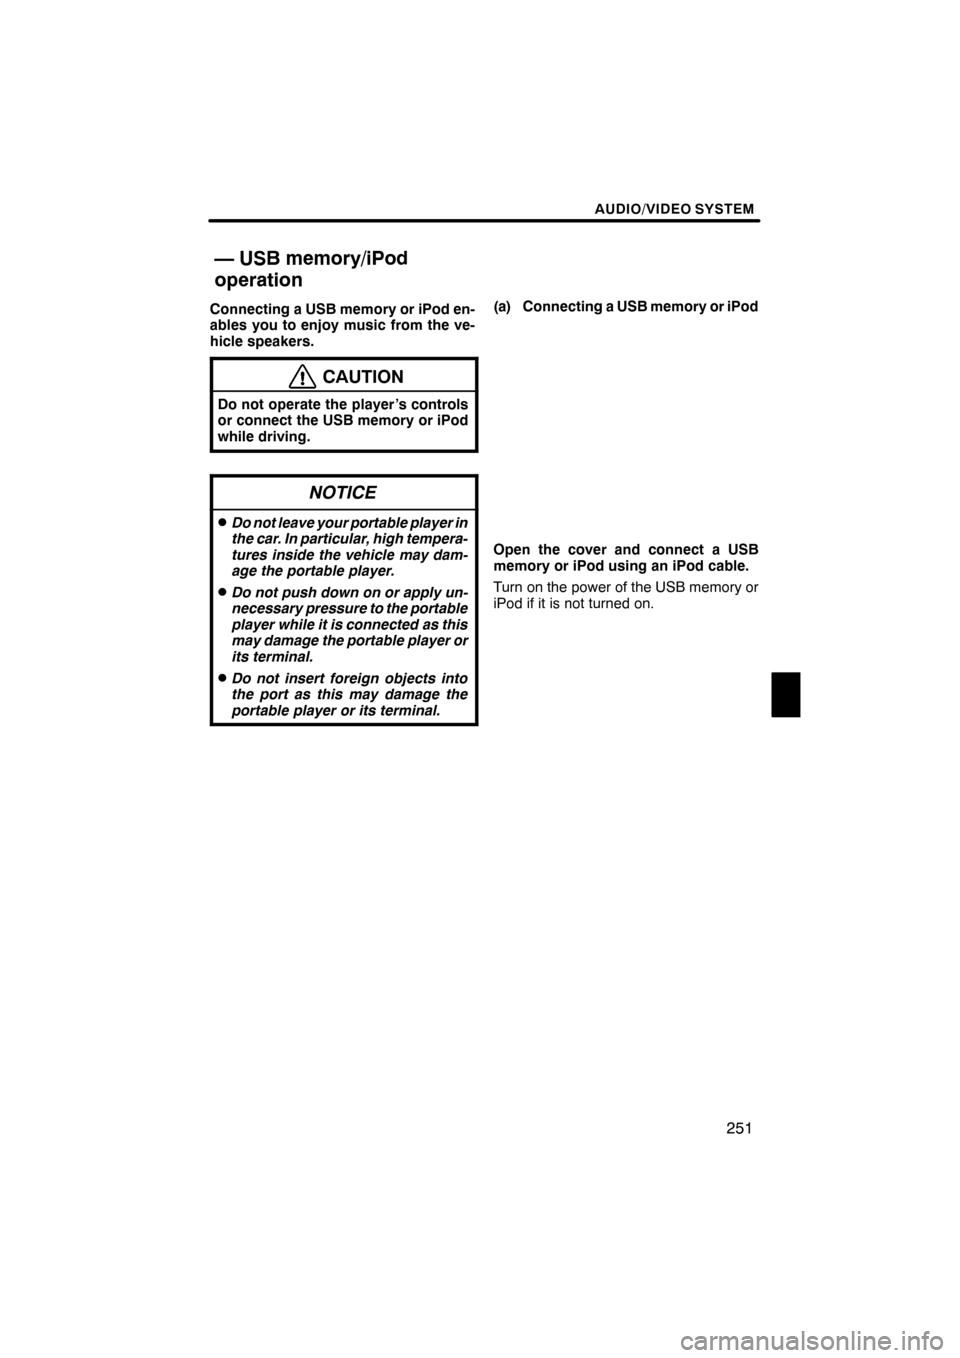
(a) Connecting a USB memory or iPod
Open the cover and connect a USB
memory or iPod using an iPod cable.
Turn on the power of the USB memory or
iPod if it is not turned on.
ES350 NAVI (U)
Finish
— USB memory/iPod
operation
7
Page 253 of 391
AUDIO/VIDEO SYSTEM
252
(b) Playing a USB memory or iPod
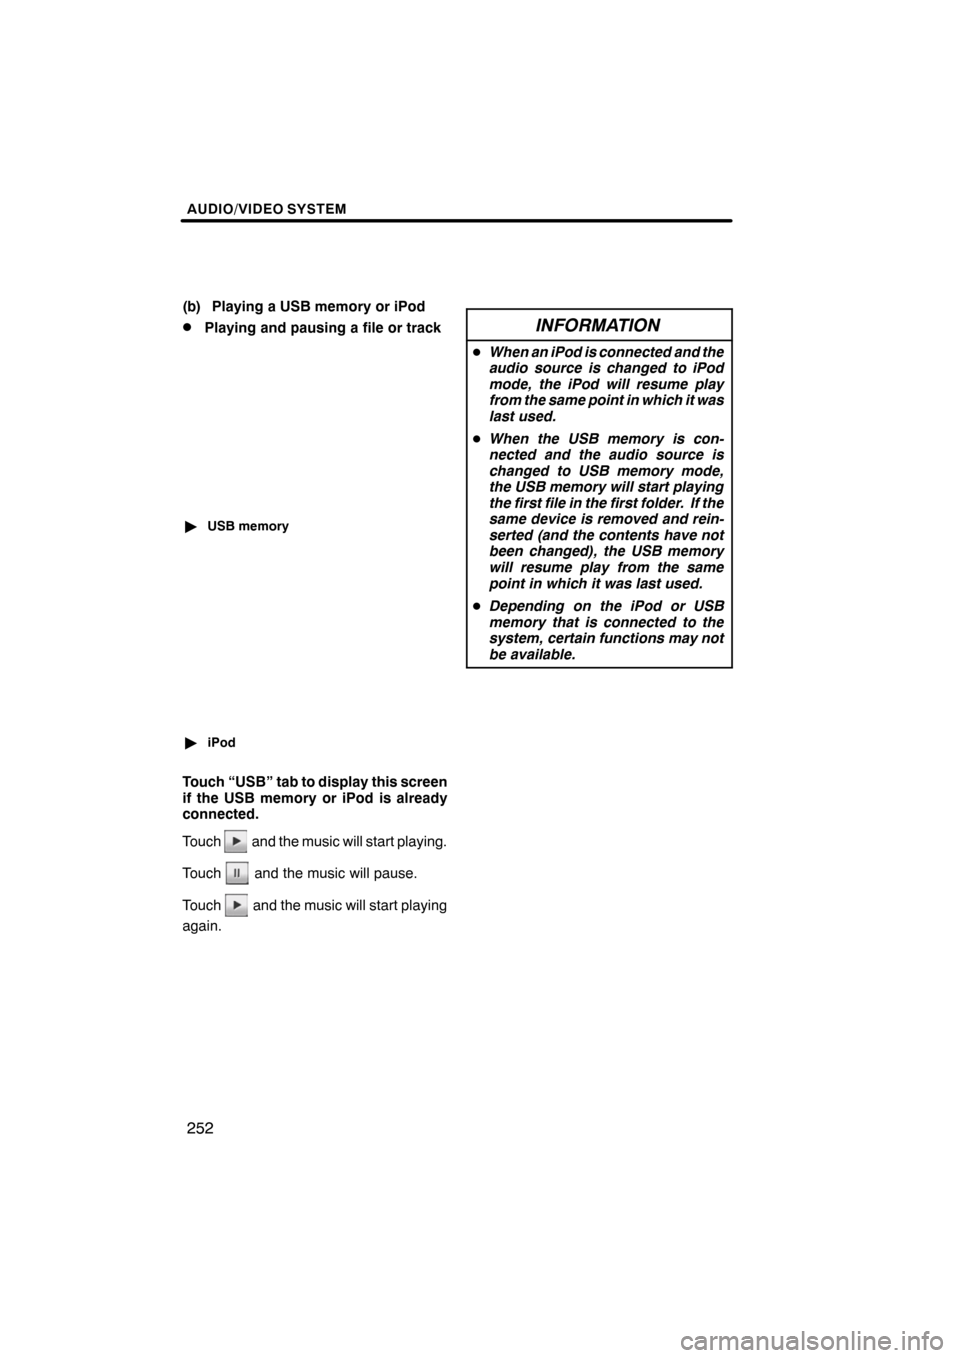
DPlaying and pausing a file or track
"USB memory
"iPod
Touch “USB” tab to display this screen
if the USB memory or iPod is already
connected.
Touch
and the music will start playing.
Touch
and the music will pause.
Touch
and the music will start playing
again.
INFORMATION
D When an iPod is connected and the
audio source is changed to iPod
mode, the iPod will resume play
from the same point in which it was
last used.
D When the USB memory is con-
nected and the audio source is
changed to USB memory mode,
the USB memory will start playing
the first file in the first folder. If the
same device is removed and rein-
serted (and the contents have not
been changed), the USB memory
will resume play from the same
point in which it was last used.
D Depending on the iPod or USB
memory that is connected to the
system, certain functions may not
be available.
ES350 NAVI (U)
Finish
Page 254 of 391
AUDIO/VIDEO SYSTEM
253
D
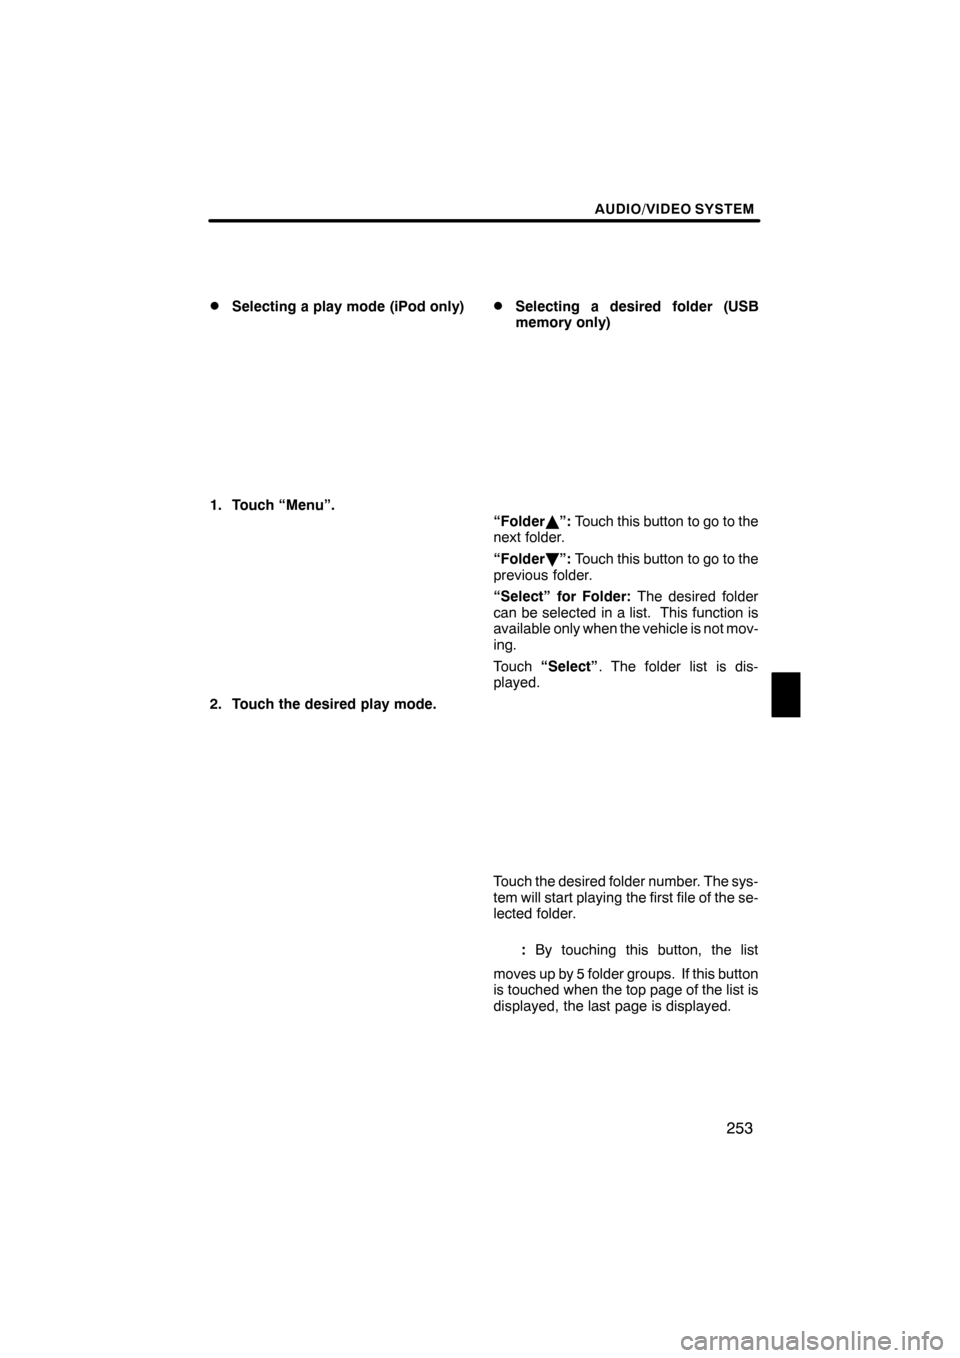
Selecting a play mode (iPod only)
1. Touch “Menu”.
2. Touch the desired play mode.
DSelecting a desired folder (USB
memory only)
“Folder
Y”: Touch this button to go to the
next folder.
“Folder B”: Touch this button to go to the
previous folder.
“Select” for Folder: The desired folder
can be selected in a list. This function is
available only when the vehicle is not mov-
ing.
Touch “Select” . The folder list is dis-
played.
Touch the desired folder number. The sys-
tem will start playing the first file of the se-
lected folder.
: By touching this button, the list
moves up by 5 folder groups. If this button
is touched when the top page of the list is
displayed, the last page is displayed.
ES350 NAVI (U)
Finish
7
Page 255 of 391
AUDIO/VIDEO SYSTEM
254
:By touching this button, the list
moves down by 5 folder groups. If this but-
ton is touched when the last page of the list
is displayed, the top page is displayed.DSelecting a desired file or track
“SEEK/TRACK” button: Use for direct
access to a desired file or track.
Push the “
”or “”button of “SEEK/
TRACK” and repeat it until the desired file
or track appears on the screen. As you
release the button, the USB memory or
iPod will start playing the selected file or
track from the beginning.
Fast forward:
Push and hold the “
”button of “SEEK/
TRACK” to fast forward the player. When
you release the button, the player will re-
sume playing from that position.
Reverse:
Push and hold the “
”button of “SEEK/
TRACK” to reverse the player. When you
release the button, the player will resume
playing.
ES350 NAVI (U)
Finish
Page 256 of 391
AUDIO/VIDEO SYSTEM
255
“TUNE·FILE” knob:Use for direct access
to a desired file or track in the player.
Turn the “TUNE·FILE” knob to step up or
down all the files or tracks in the player you
are currently listening to.
" USB memory
"iPod
“Select” for File or Track: The desired
file or track can be selected in a list. This
function is available only when the vehicle
is not moving.
Touch “Select” . The file or track list is dis-
played.
ES350 NAVI (U)
Finish
7
Page 257 of 391
AUDIO/VIDEO SYSTEM
256
Touch the desired file or track number. The
changer will start playing the selected file
or track from the beginning.
:By touching this button, the list
moves up by 5 file or track groups. If this
button is touched when the top page of the
list is displayed, the last page is displayed.
: By touching this button, the list
moves down by 5 file or track groups. If
this button is touched when the last page
of the list is displayed, the top page is dis-
played.
DSearching for a desired file (USB
memory only)
Touch “SCAN” briefly while the music
is playing.
“SCAN” appears on the screen. The play-
er will play the next file for 10 seconds,
then scan again. To select a file, touch
“SCAN” a second time. If the player
reaches the end of the memory, it will con-
tinue scanning at file1.
After all the files are scanned in one pass,
normal play resumes.
ES350 NAVI (U)
Finish
Page 258 of 391
AUDIO/VIDEO SYSTEM
257
D
Searching for a desired folder (USB
memory only)
Touch “SCAN” for longer than a second
while the music is playing.
“FLD.SCAN” appears on the screen. The
program at the beginning of each folder will
be played for 10 seconds. To continue lis-
tening to the program of your choice, touch
“SCAN”
a second time.
After all the folders are scanned in one
pass, normal play resumes.
DOther function
" USB memory
"iPod
“RPT”: Use this control to automatic re-
play the file or track you are currently lis-
tening to.
Repeating a file or track—
While the file or track is playing, touch
“RPT” briefly.
“RPT” appears on the screen. When the
file or track is finished, the player will auto-
matically play it again. To cancel the re-
peat, touch “RPT”once again.
Repeating a folder (USB memory only)
—
While the folder is playing, touch “RPT”
for longer than a second.
“FLD.RPT” appears on the screen. When
the folder is finished, the changer will auto-
matically go back to the beginning of the
folder and play the folder again. To cancel
it, touch “RPT”once again.
ES350 NAVI (U)
Finish
7
Page 259 of 391
AUDIO/VIDEO SYSTEM
258
“RAND”:Use this for automatic and ran-
dom selection of files or tracks on the fold-
er that you are currently listening to.
Playing the file or track in random or-
der—
While the file or track is playing, touch
“RAND” briefly.
“RAND” appears on the screen. The sys-
tem selects a file or track you are currently
listening to. To cancel this function, touch
“RAND” once again.
Playing the files in all files in random or-
der —
Touch “RAND” for longer than a second
while the music is playing. “FLD.RAND”
appears on the screen. The system se-
lects a file in all files. To cancel it, touch
“RAND” once again.
When a file is skipped or the system is in-
operative, touch “RAND”to reset.
Some parts of the audio system can be ad-
justed using the switches on the steering
wheel.
Details of the specific switches, controls,
and features are described below.
1Volume control switch
2“” switch
3“MODE” switch
1Volume control switch
Push “
+”side to increase the volume. The
volume continues to increase while the
switch is being pressed.
Push “
–”side to decrease the volume.
The volume continues to decrease while
the switch is being pressed.
ES350 NAVI (U)
Finish
Audio/video remote controls
(steering switches)
Page 260 of 391
AUDIO/VIDEO SYSTEM
259
2“” switch
Radio
This switch has the following features—
To select a preset station:
Quickly push and release the “
”or “”
side of the switch. Do this again to select
the next or previous preset station.
To seek a station:
Push and hold the “
”or “”side of the
switch until you hear a beep. Do this again
to find the next station. If you push the
switch on either side during the seek
mode, seeking will be cancelled.
To step up or down the frequency, push
and hold the switch even after you hear a
beep. When you release from the switch,
the radio will begin seeking up or down for
a station. Do this again to find the next sta-
tion.
XM rSatellite Radio—
To select a preset channel, push the “
”
or “”side of the switch. Repeat until a
desired channel is found.
CD changer or DVD changer
Use this switch to skip up or down to a dif-
ferent track, file or chapter in either direc-
tion.
To select a desired track, file or chapter:
Quickly push and release the “
”or “”
side of the switch until the track, file or
chapter you want to play is set. If you want
to return to the beginning of the current
track, file or chapter, push the “
”side of
the switch once, quickly.
To select a desired disc:
Push and hold the “
”or “”switch until
you hear a beep to change to the next or
the previous disc. Repeat this operation
until you reach the disc you want to listen
to. Bluetooth
raudio player
Use this switch to skip up or down to a dif-
ferent track or album in either direction.
To select a desired track:
Quickly push and release the “
”or “”
side of the switch until the track you want
to listen to is set. If you want to return to the
beginning of the current track, push the
“
” side of the switch once quickly.
To select a desired album:
Push and hold “
”or “”switch until
you hear a beep to change to the next or
the previous album. Repeat this operation
until you reach the album you want to listen
to.
USB memory/iPod
Use this switch to skip up or down to a dif-
ferent file or track in either direction.
To select a desired file or track:
Push the “
”or “”side of the switch
until the file or track you want to listen to is
set. If you want to return to the beginning
of the current file or track, push the “
”
side of the switch once quickly.
To select a desired folder (USB memory
only):
Push and hold “
”or “”switch until
you hear a beep to change to the next or
the previous folder. Repeat this operation
until you reach the folder you want to listen
to.
3“MODE” switch
Push “MODE” switch to select an audio
mode. Each push changes the mode se-
quentially if the desired mode is ready to
use.
To turn the audio/video system on, push
the “MODE” switch.
To turn the audio/video system off, push
and hold the “MODE”switch until you hear
a beep.
ES350 NAVI (U)
Finish
7