wheel Lexus GX460 2010 Using The Bluetooth Audio System /
[x] Cancel search | Manufacturer: LEXUS, Model Year: 2010, Model line: GX460, Model: Lexus GX460 2010Pages: 825, PDF Size: 9.27 MB
Page 67 of 825

67
1-3. Adjustable components (seats, mirrors, steering wheel, etc.)
1
Before driving
GX460_U.S.A. (OM60E69U)
■Customization
The distance that the driver’s seat moves backward during the auto away function
can be changed. (Customizable features P. 7 8 1 )
CAUTION
■Seat adjustment
To reduce the risk of sliding under the lap belt during a collision, do not recline the
seat more than necessary.
If the seat is too reclined, the lap belt may slide past the hips and apply restraint
forces directly to the abdomen, or yo ur neck may contact the shoulder belt,
increasing the risk of death or serious injury in the event of an accident.
Adjustments should not be made while driv ing as the seat may unexpectedly move
and cause the driver to lose control of the vehicle.
Page 68 of 825

68
1-3. Adjustable components (seats, mirrors, steering wheel, etc.)
GX460_U.S.A. (OM60E69U)
Rear seats
Second seats (without third seats)
Seatback angle adjustment
lever
Second seats (with third seats) Seatback angle adjustment
lever
Seat position adjustment
lever
Third seats (if equipped) Seatback angle adjustment
switch
Page 69 of 825

69
1-3. Adjustable components (seats, mirrors, steering wheel, etc.)
1
Before driving
GX460_U.S.A. (OM60E69U)
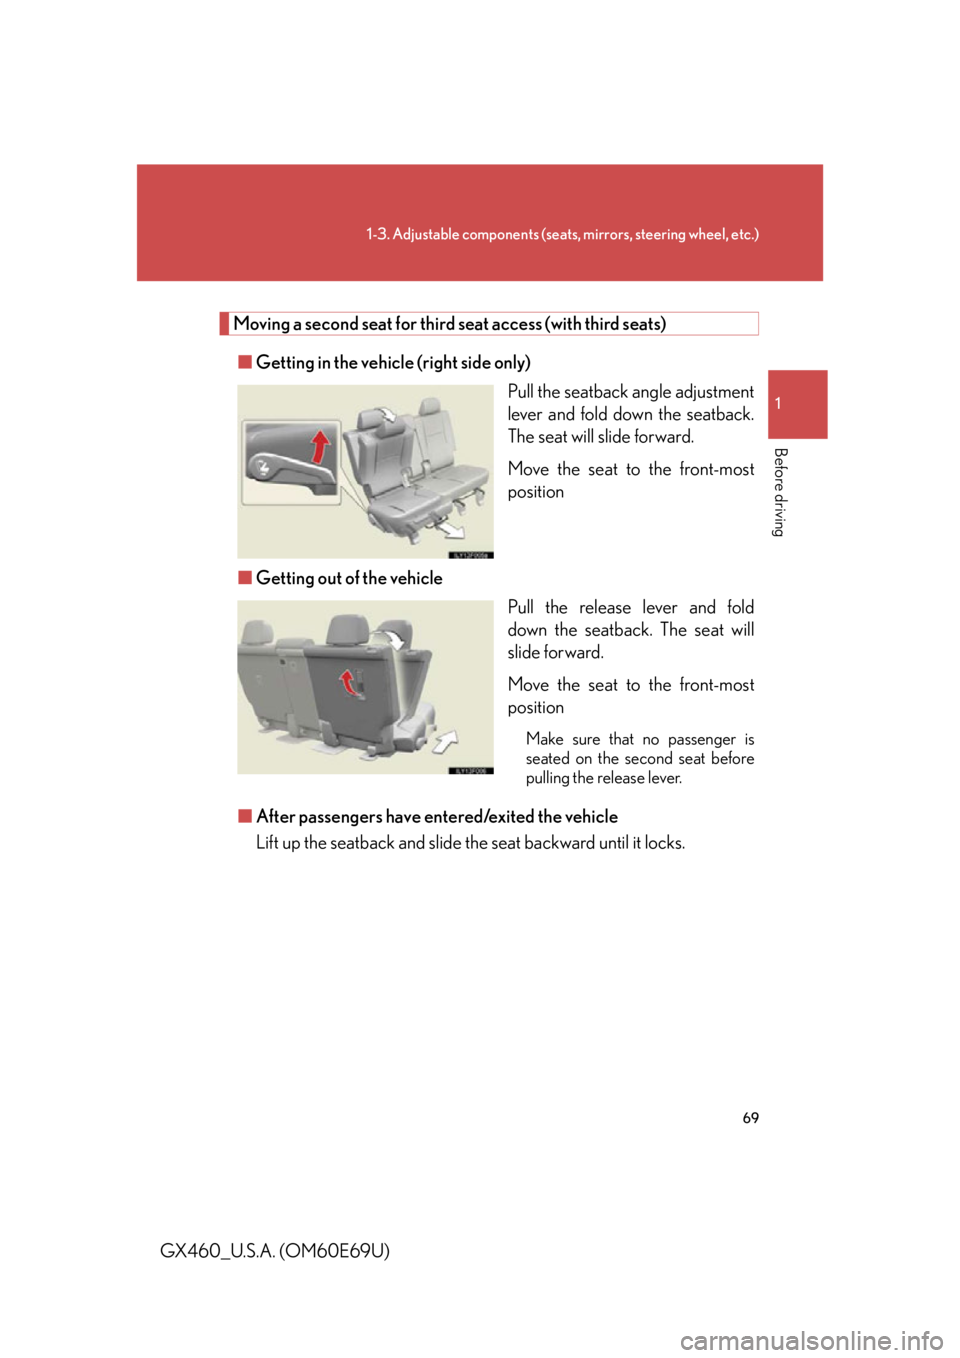
Moving a second seat for third seat access (with third seats)■ Getting in the vehicle (right side only)
Pull the seatback angle adjustment
lever and fold down the seatback.
The seat will slide forward.
Move the seat to the front-most
position
■ Getting out of the vehicle
Pull the release lever and fold
down the seatback. The seat will
slide forward.
Move the seat to the front-most
position
Make sure that no passenger is
seated on the second seat before
pulling the release lever.
■After passengers have entered/exited the vehicle
Lift up the seatback and slide the seat backward until it locks.
Page 70 of 825

70
1-3. Adjustable components (seats, mirrors, steering wheel, etc.)
GX460_U.S.A. (OM60E69U)
Folding down the second seatbacks (without third seats)■ Before folding down the second seatbacks
Stow the center seat belt buckle
with the hook-and-loop fastener
and lower the head restraints to
the lowest position.
■ Folding down second seatbacks
Pull the lever and fold down the
outer seat head restraint.
Swing the bottom cushion up by
pulling the lock release strap.
STEP1
STEP2
Page 71 of 825

71
1-3. Adjustable components (seats, mirrors, steering wheel, etc.)
1
Before driving
GX460_U.S.A. (OM60E69U)Push the seatback lock release
button and fold them down.
To return the second seatbacks to
their original positions, lift them up
until they lock.
Folding down the second seatbacks (with third seats)
■ Before folding down the second seatbacks
Lower the head restraints to the
lowest position.
■ Folding down second seatbacks
Pull the seatback lock release
lever and fold them down.
To return the second seatbacks to
their original positions, lift them up
until they lock.
STEP3
Page 72 of 825

72
1-3. Adjustable components (seats, mirrors, steering wheel, etc.)
GX460_U.S.A. (OM60E69U)
■Folding down second center seatback only
■If you cannot raise the second seatback
Pull the center seatback lock release lever
behind the seatback and fold it down.
To return the center seatback to its original
position, lift it up until it locks.
Release the seat belt lock by:
Pushing on the lower front edge of the
seatback to slacken the seat belt.
Let the seat belt retract a little.
Page 73 of 825

73
1-3. Adjustable components (seats, mirrors, steering wheel, etc.)
1
Before driving
GX460_U.S.A. (OM60E69U)
Folding down the third seatsR: Right seat return switch
R: Right seat fold switch
L: Left seat return switch
L: Left seat fold switch
The switches can be operated from
both the rear door side and the
back door side.
■Before folding down the third seats
Use the seat belt hangers to pre-
vent the belts from being tangled.
Page 74 of 825

74
1-3. Adjustable components (seats, mirrors, steering wheel, etc.)
GX460_U.S.A. (OM60E69U)■
Folding down the third seats
Press and hold . Two beeps
sound and the seatback will rise.
When operating is completed, two
beeps sound again.
Press and hold again. Two
beeps sound, the head restraints
will fold forward, and the seat will
be stowed.
When operating is completed, two
beeps sound again.
STEP1
STEP2
Page 75 of 825

75
1-3. Adjustable components (seats, mirrors, steering wheel, etc.)
1
Before driving
GX460_U.S.A. (OM60E69U)■
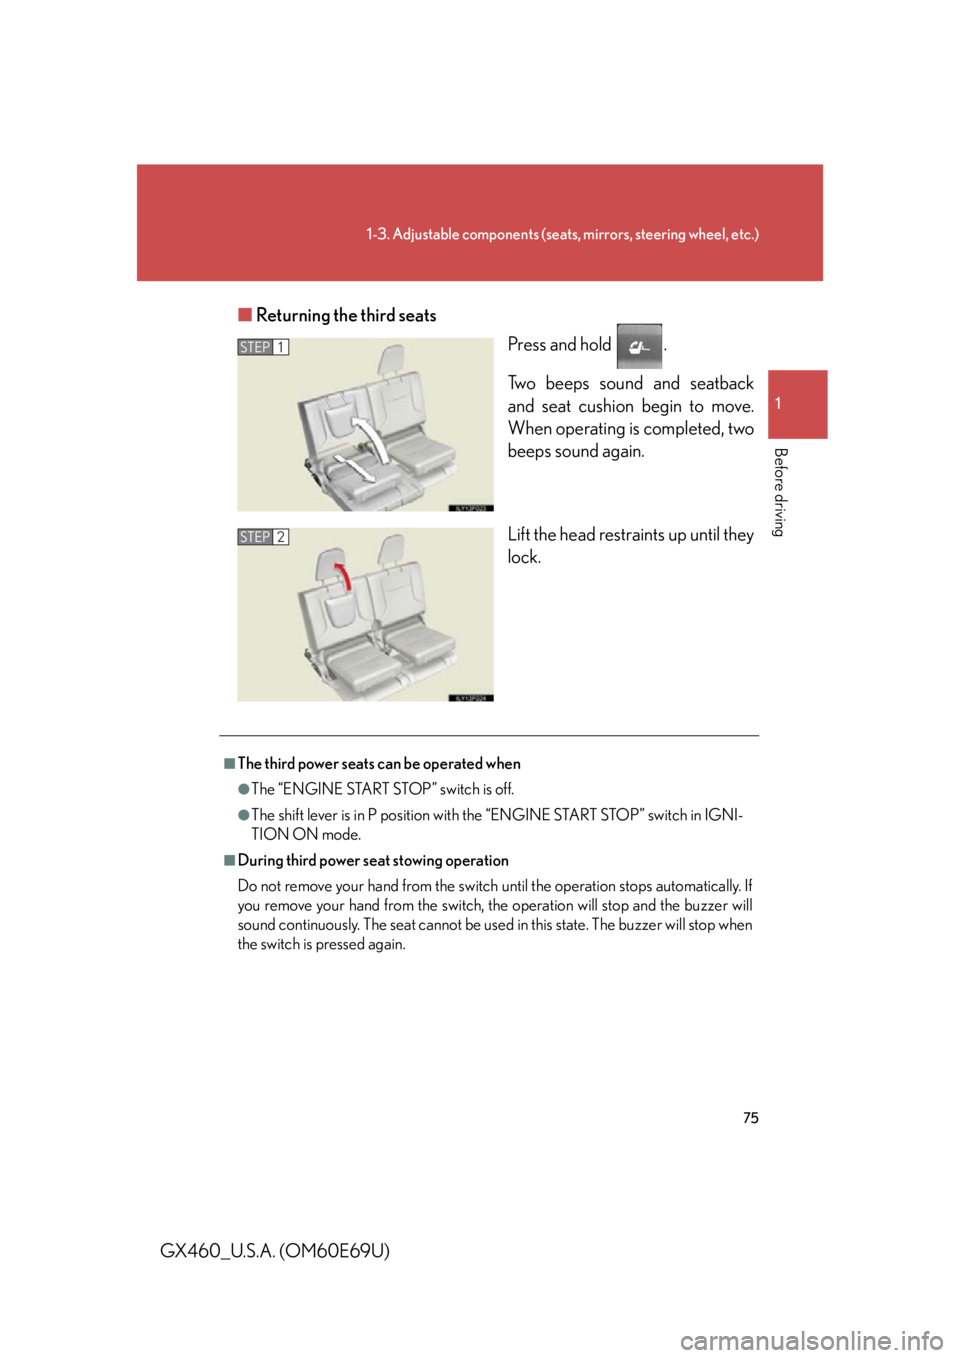
Returning the third seats
Press and hold .
Two beeps sound and seatback
and seat cushion begin to move.
When operating is completed, two
beeps sound again.
Lift the head restraints up until they
lock.
STEP1
STEP2
■The third power seats can be operated when
●The “ENGINE START STOP” switch is off.
●The shift lever is in P position with the “ENGINE START STOP” switch in IGNI-
TION ON mode.
■During third power seat stowing operation
Do not remove your hand from the switch until the operation stops automatically. If
you remove your hand from the switch, the operation will stop and the buzzer will
sound continuously. The seat cannot be used in this state. The buzzer will stop when
the switch is pressed again.
Page 76 of 825

76
1-3. Adjustable components (seats, mirrors, steering wheel, etc.)
GX460_U.S.A. (OM60E69U)
■Enlarging the luggage compartment (vehicles with third seats)
The third seat can be used for sitting when it is in the position shown in of
the folding down the third seats. (P. 7 3 )
This can be convenient for enlarging the luggage compartment, for instance when
the luggage is against the back of the seatback.
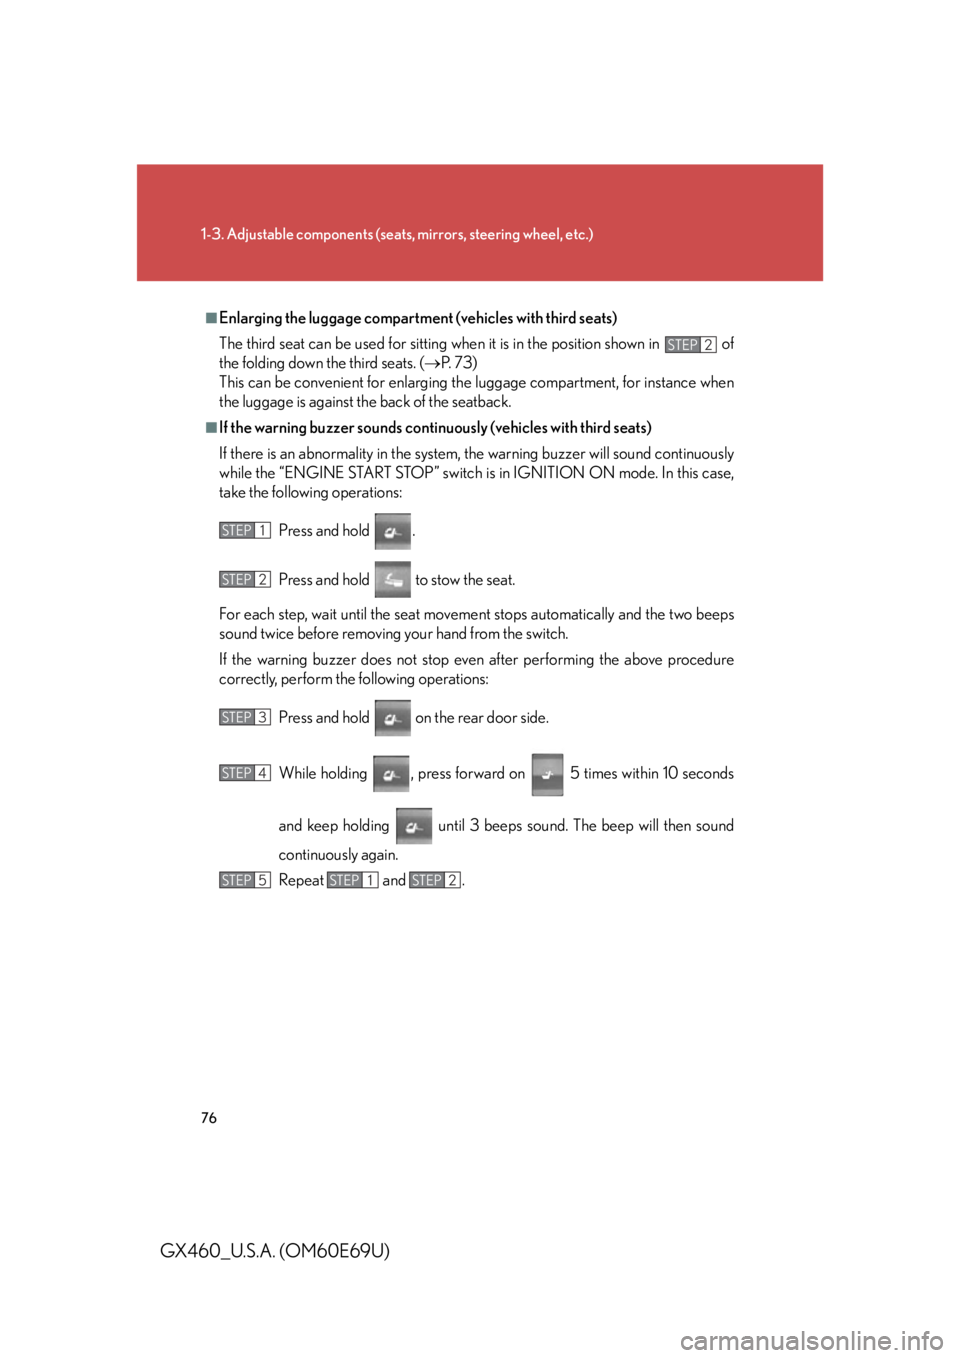
■If the warning buzzer sounds continuously (vehicles with third seats)
If there is an abnormality in the system, the warning buzzer will sound continuously
while the “ENGINE START STOP” switch is in IGNITION ON mode. In this case,
take the following operations:
Press and hold .
Press and hold to stow the seat.
For each step, wait until the seat moveme nt stops automatically and the two beeps
sound twice before removing your hand from the switch.
If the warning buzzer does not stop even after performing the above procedure
correctly, perform the following operations:
Press and hold on the rear door side.
While holding , press forward on 5 times within 10 seconds
and keep holding until 3 beeps sound. The beep will then sound
continuously again.
Repeat and .
STEP2
STEP1
STEP2
STEP3
STEP4
STEP5STEP1STEP2