Lexus GX460 2012 Owner's Manual
Manufacturer: LEXUS, Model Year: 2012, Model line: GX460, Model: Lexus GX460 2012Pages: 839, PDF Size: 11.4 MB
Page 391 of 839

389
2-5. Driving information
2
When driving
GX460_U.S.A. (OM60J00U)
Dinghy towing
NOTICE
■To avoid serious damage to your vehicle
Do not tow your vehicle with four wheels on the ground.
Your vehicle is not designed to be dinghy towed (with 4 wheels on the
ground) behind a motor home.
Page 392 of 839

390
GX460_U.S.A. (OM60J00U)
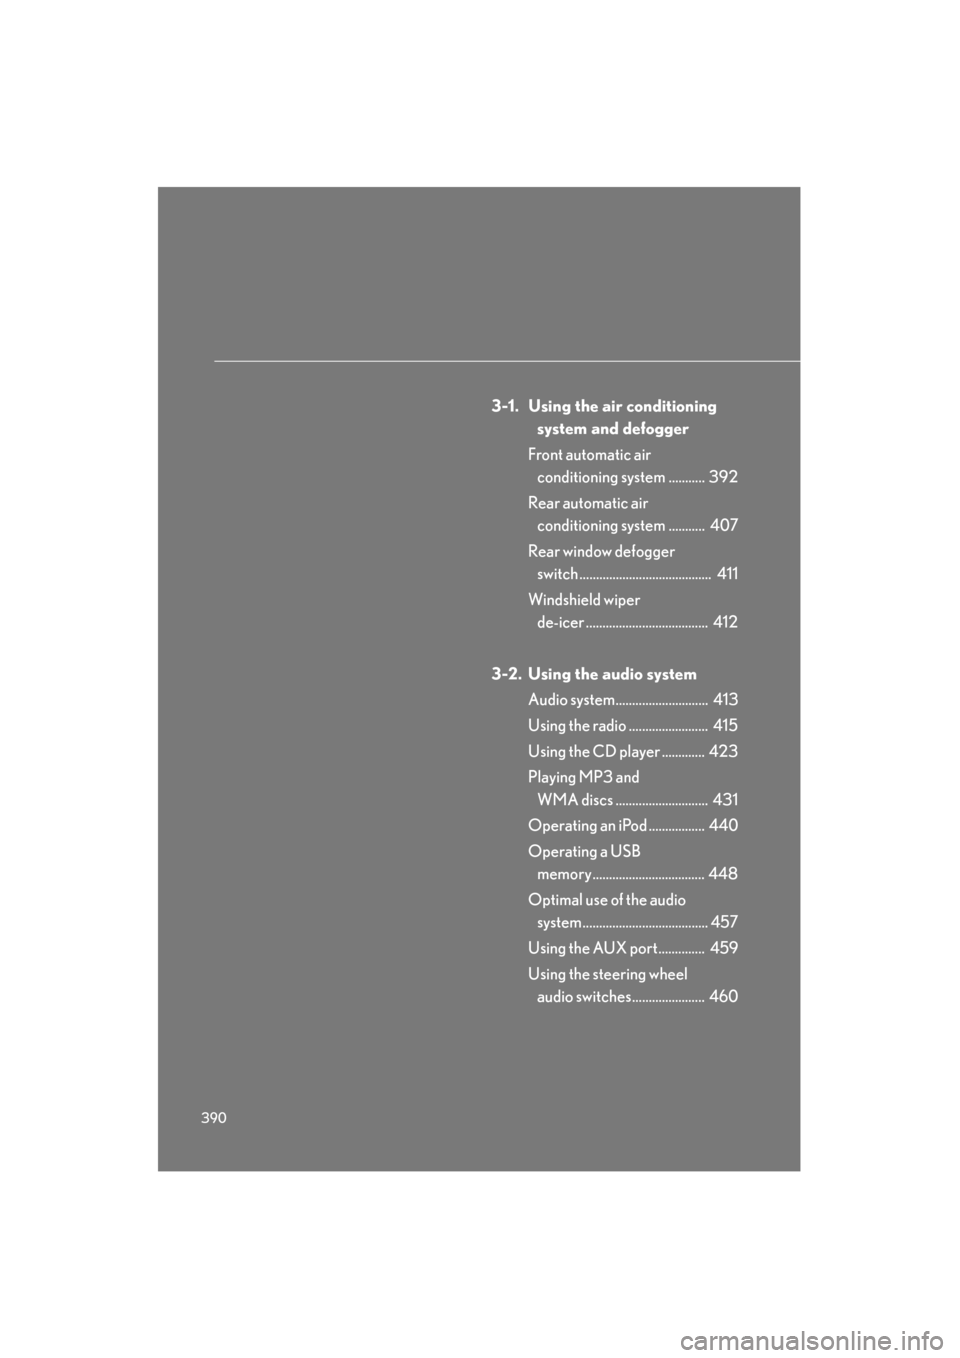
3-1. Using the air conditioning system and defogger
Front automatic air conditioning system ........... 392
Rear automatic air conditioning system ........... 407
Rear window defogger switch ........................................ 411
Windshield wiper de-icer ..................................... 412
3-2. Using the audio system Audio system............................ 413
Using the radio ........................ 415
Using the CD player ............. 423
Playing MP3 and WMA discs ............................ 431
Operating an iPod ................. 440
Operating a USB memory.................................. 448
Optimal use of the audio system ...................................... 457
Using the AUX port.............. 459
Using the steering wheel audio switches...................... 460
Page 393 of 839

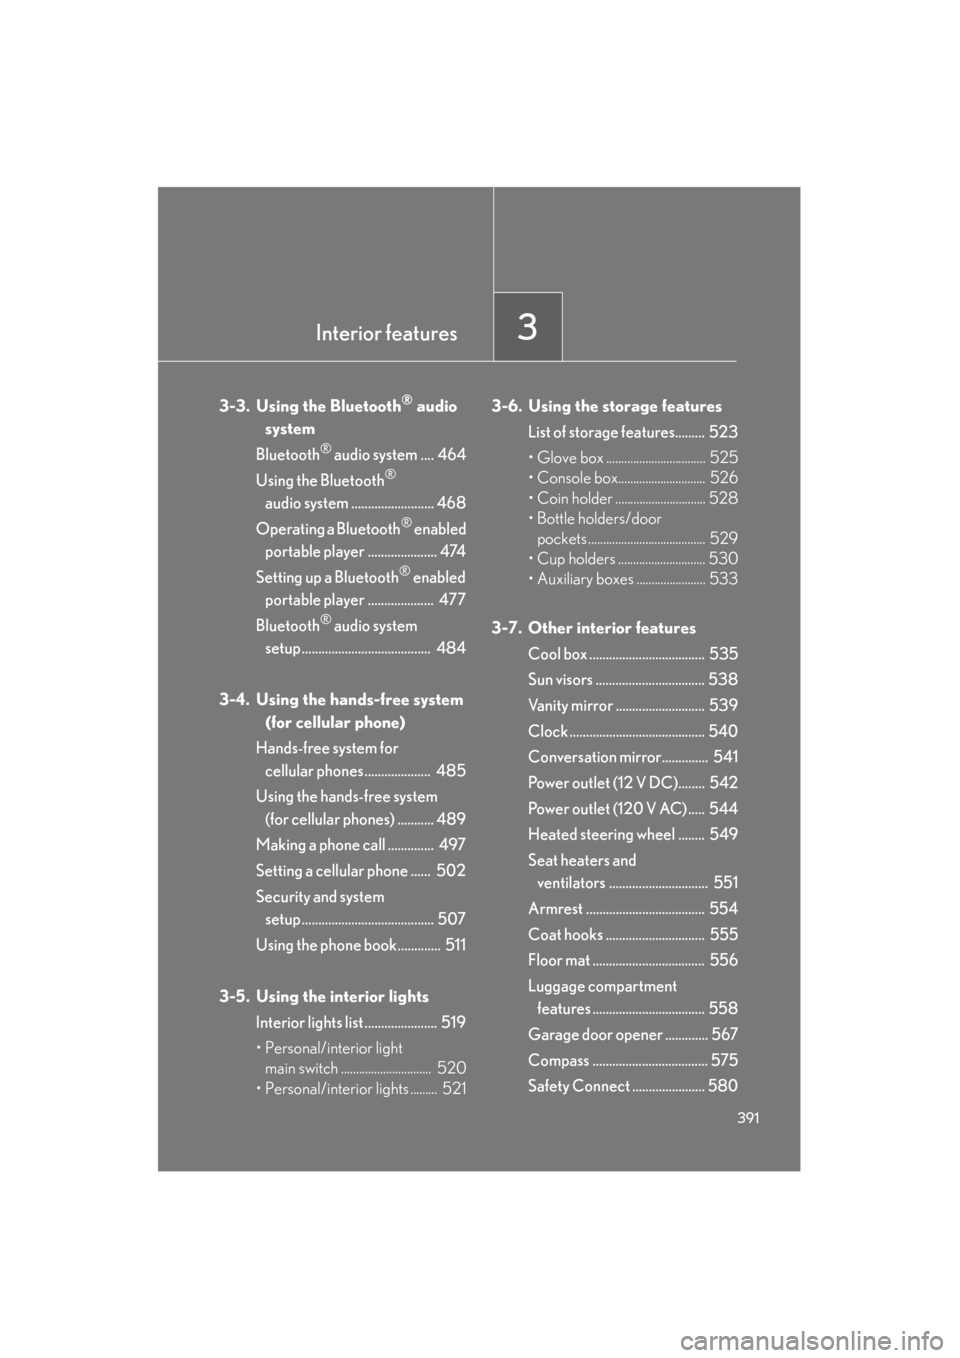
Interior features3
391
GX460_U.S.A. (OM60J00U)
3-3. Using the Bluetooth® audio
system
Bluetooth
® audio system .... 464
Using the Bluetooth
®
audio system ......................... 468
Operating a Bluetooth
® enabled
portable player ..................... 474
Setting up a Bluetooth
® enabled
portable player .................... 477
Bluetooth
® audio system
setup ....................................... 484
3-4. Using the hands-free system (for cellular phone)
Hands-free system for cellular phones.................... 485
Using the hands-free system (for cellular phones) ........... 489
Making a phone call .............. 497
Setting a cellular phone ...... 502
Security and system setup ........................................ 507
Using the phone book............. 511
3-5. Using the interior lights Interior lights list ...................... 519
• Personal/interior light main switch .............................. 520
• Personal/interior lights ......... 521 3-6. Using the storage features
List of storage features......... 523
• Glove box ................................. 525
• Console box............................. 526
• Coin holder .............................. 528
• Bottle holders/door pockets ....................................... 529
• Cup holders ............................. 530
• Auxiliary boxes ....................... 533
3-7. Other interior features Cool box ................................... 535
Sun visors ................................. 538
Vanity mirror ........................... 539
Clock ......................................... 540
Conversation mirror.............. 541
Power outlet (12 V DC)........ 542
Power outlet (120 V AC) ..... 544
Heated steering wheel ........ 549
Seat heaters and ventilators .............................. 551
Armrest .................................... 554
Coat hooks .............................. 555
Floor mat .................................. 556
Luggage compartment features .................................. 558
Garage door opener ............. 567
Compass ................................... 575
Safety Connect ...................... 580
Page 394 of 839

392
GX460_U.S.A. (OM60J00U)
3-1. Using the air conditioning system and defogger
Front automatic air conditioning system
Air outlets and fan speed are automatically adjusted according to the tem-
perature setting.
Vehicles with a navigation system
Refer to the “Navigation System Owner’s Manual”.
Vehicles without a navigation system
Control panel (vehicles without a rear automatic air conditioning
system)
Automatic mode button
Off button
Cooling and dehumidification function on/off button
Air outlet selector button
Micro dust and pollen filter
mode button
Passenger’s side temperature
control button
Dual mode button
Outside/recirculated air mode button
Windshield defogger button
Driver’s side
temperature control button
Fan speed control button
Page 395 of 839

393
3-1. Using the air conditioning system and defogger
3
Interior features
GX460_U.S.A. (OM60J00U)
Control panel (vehicles with a rear automatic air conditioning sys-
tem)
Automatic mode button
Off button
Cooling and dehumidification function on/off button
Air outlet selector button
Micro dust and pollen filter mode button
Front passenger’s side temperature control button3 zone mode button
Outside/recirculated air mode button Windshield defogger button
Driver’s side temperature
control button
Fan speed control button
Rear automatic air
conditioning on/off button
Rear passenger’s side
temperature control
button
Page 396 of 839

394
3-1. Using the air conditioning system and defogger
GX460_U.S.A. (OM60J00U)
Multi-information display (Accessory meters)
Driver’s side temperature displayFront passenger’s side temperature display
Rear passenger’s side temperature display
(vehicles with a rear automatic air conditioning system)
Cooling and dehumidification function on/off display
Fan speed displayAir outlet display
Page 397 of 839

395
3-1. Using the air conditioning system and defogger
3
Interior features
GX460_U.S.A. (OM60J00U)
Using the automatic air conditioning system
Vehicles without a rear autom atic air conditioning system
Press the “AUTO” button.
The air conditioning system begins to operate. Air outlets and fan
speed are automatically adjusted according to the temperature
setting.
Press “ ∧” on the temperature control button on the driver’s side
to increase the temperature and “ ∨” to decrease the tempera-
ture.
When the “DUAL” button is pressed (the indicator on the “DUAL” but-
ton is on) or the passenger’s side temperature control button is pressed,
the temperature for the driver and passenger seats can be adjusted
separately.
Vehicles with a rear automat ic air conditioning system
Press the “AUTO” button.
The air conditioning system begins to operate. Air outlets and fan
speed are automatically adjusted according to the temperature
setting.
Press to switch to automatic air intake mode.
The air conditioning system automatically switches between out-
side air and recirculated air modes.
Press “ ∧” on the temperature control button on the driver’s side
to increase the temperature and “ ∨” to decrease the tempera-
ture.
When the “3ZONE” button is presse d (the indicator on the “3ZONE”
button is on), the front passenger’s side temperature control button is
pressed or “REAR/TEMP” button is pressed, the temperature for the
driver’s, front passenger’s and rear seats (→ P. 407) can be adjusted
separately.
STEP1
STEP2
STEP1
STEP2
STEP3
Page 398 of 839

396
3-1. Using the air conditioning system and defogger
GX460_U.S.A. (OM60J00U)
Adjusting the settings manually■ Basic setting
Vehicles without a rear auto matic air conditioning system
To turn on the air conditioning system and adjust the fan speed,
press “ ∧” on to increase the fan speed and “ ∨” to
decrease the fan speed.
Press to turn the fan off.
To adjust the temperature setting, press “ ∧” on the temperature
control button on the driver’s side to increase the temperature
and “ ∨” to decrease the temperature.
The air conditioning system switch es between individual and simulta-
neous modes each time the “DUAL” button is pressed.
When the “DUAL” button is pressed (the indicator on the “DUAL” but-
ton is on) or the passenger’s side temperature control button is pressed,
the temperature for the driver and passenger seats can be adjusted
separately.
To change the air outlets, press “ <” or “ >” on .
The air outlets used are switched each time either side of the button is
pressed. The air flow shown on the display indicates the following:
STEP1
STEP2
STEP3
Page 399 of 839

397
3-1. Using the air conditioning system and defogger
3
Interior features
GX460_U.S.A. (OM60J00U)Vehicles with a rear automat
ic air conditioning system
To turn on the air conditioning system and adjust the fan speed,
press “ ∧” on to increase the fan speed and “ ∨” to
decrease the fan speed.
Press to turn the fan off.
To adjust the temperature setting, press “ ∧” on the temperature
control button on the driver’s side to increase the temperature
and “ ∨” to decrease the temperature.
The air conditioning system switches between individual and simulta-
neous modes each time the “3ZONE” button is pressed.
When the “3ZONE” button is presse d (the indicator on the “3ZONE”
button is on), the front passenger’s side temperature control button is
pressed or the “REAR/TEMP” button is pressed, the temperature for
the driver’s, front passenger’s and rear seats ( →P. 4 0 7 ) c a n b e a d j u s t e d
separately.
To change the air outlets, press “ <” or “ >” on .
The air outlets used are switched each time either side of the button is
pressed. The air flow shown on the display indicates the following:
STEP1
STEP2
STEP3
Page 400 of 839

398
3-1. Using the air conditioning system and defogger
GX460_U.S.A. (OM60J00U)Air flows to the upper body.
*1: Only the in automatic mode (Air may not always flow.)
*2: Vehicles without a rear automatic air conditioning system
Air flows to the upper body and
feet.
*: Vehicles without a rear automatic air conditioning system