display Lexus GX470 2007 Instrument cluster / LEXUS 2007 GX470 (OM60C64U) User Guide
[x] Cancel search | Manufacturer: LEXUS, Model Year: 2007, Model line: GX470, Model: Lexus GX470 2007Pages: 436, PDF Size: 11.52 MB
Page 181 of 436
Interior features3
161
3-1. Using the air conditioning system and defogger ........... 162
Automatic air conditioning system (without navigation
system)......................................... 162
Rear cooler system .................... 168
Rear window and outside rear view mirror defoggers........... 169
3-2. Using the audio system .......... 171 Audio system type ....................... 171
Using the radio ............................. 173
Using the CD player .................. 181
Playing MP3 and WMA discs .............................................. 188
Optimal use of the audio system .......................................... 194
Using the AUX adapter ........... 197
Using the steering switches ....................................... 198
3-3. Using the rear audio system .................................... 200
Rear seat entertainment system features ...................... 200
Using the DVD player (DVD video) ............................ 205
Using the DVD player (video CD) ................................. 212
Using the DVD player (audio CD/CD text)............... 214 Using the DVD player
(MP3 discs) ............................... 215
Using the video mode............... 217
Changing the initial setting .......................................... 218
3-4. Using the interior lights ....... 225 Interior lights list ........................ 225
3-5. Using the storage features .................................. 228
List of storage features ........... 228
3-6. Other interior features........ 233
Sun visors ..................................... 233
Vanity mirror ............................... 234
Clock.............................................. 235
Outside temperature display ......................................... 236
Ashtrays ........................................ 237
Cigarette lighter ........................ 238
Power outlet ................................ 239
Seat heaters .................................. 241
Armrest ......................................... 243
Floor mats .................................... 244
Luggage compartment features....................................... 245
Garage door opener............... 248
Compass ...................................... 253
Lexus Link System .................... 257
Page 182 of 436
162
3-1. Using the air conditioning system and defogger
Automatic air conditioning system (without navigation system)
Using the automatic mode
Press .The air conditioning system will begin to operate. Air outlets
and fan speed are automatically adjusted according to the
temperature setting.
Press to increase the temperature and to decrease the tem-
perature on the .
The temperature for the driver and passenger seats can be set sepa-
rately.
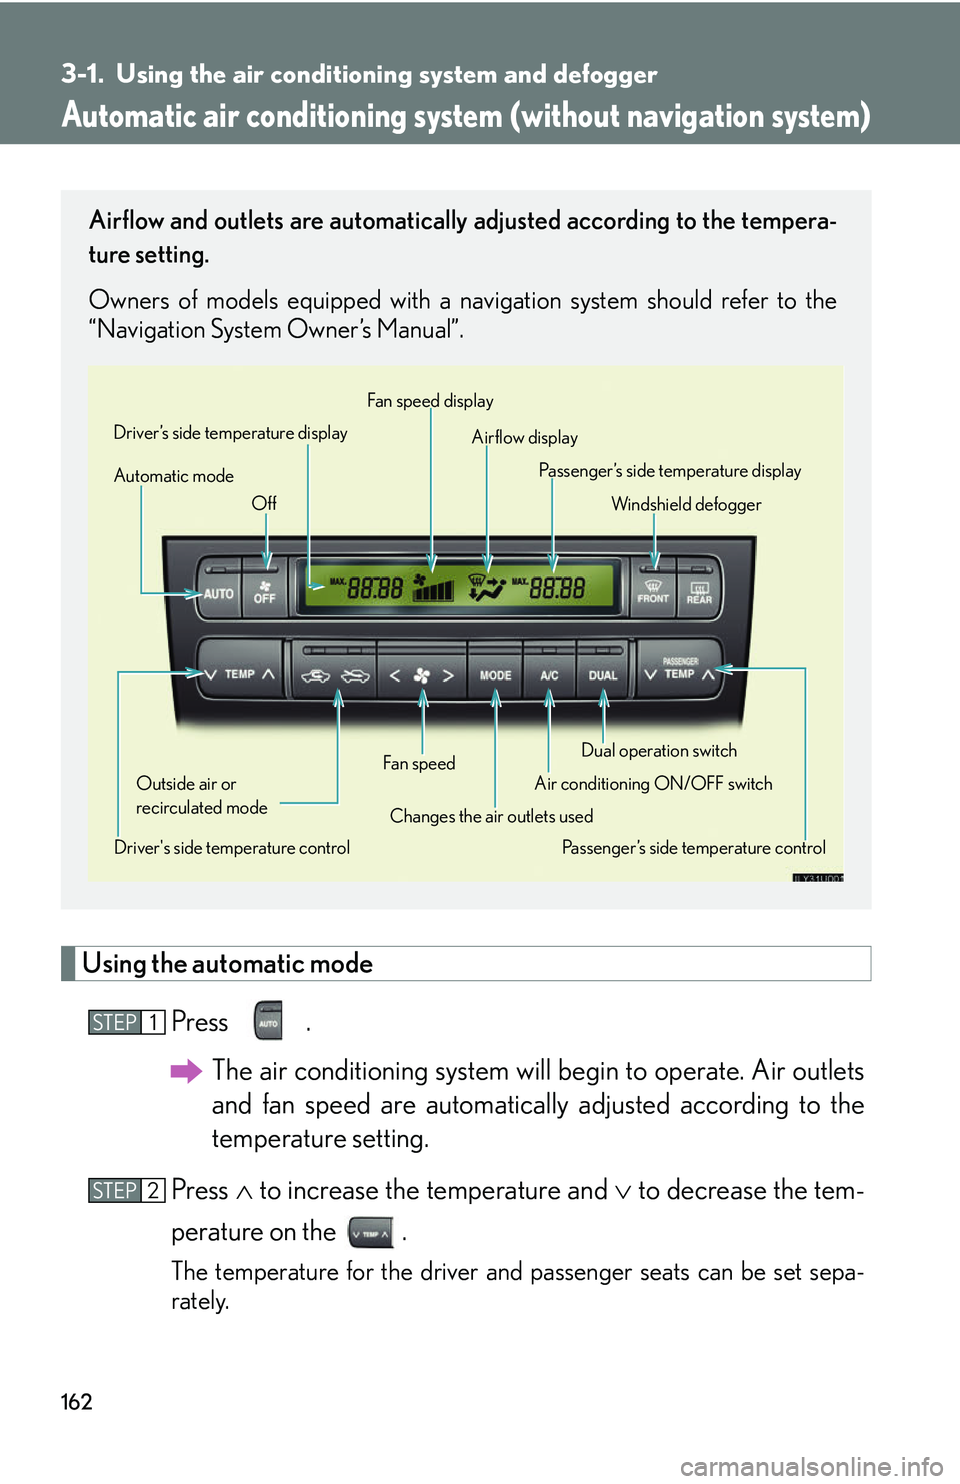
Airflow and outlets are automatically adjusted according to the tempera-
ture setting.
Owners of models equipped with a navigation system should refer to the
“Navigation System Owner’s Manual”.
Automatic mode Driver’s side temperature display
Fan speed
Off
Airflow display
Passenger’s side temperature display
Changes the air outlets used
Driver's side temperature control Air conditioning ON/OFF switch
Outside air or
recirculated mode Winds hield defog ger
Passenger’s side temperature control
Fan speed display
Dual operation switch
STEP1
STEP2
Page 193 of 436
173
3-2. Using the audio system
3
Interior features
Using the radio
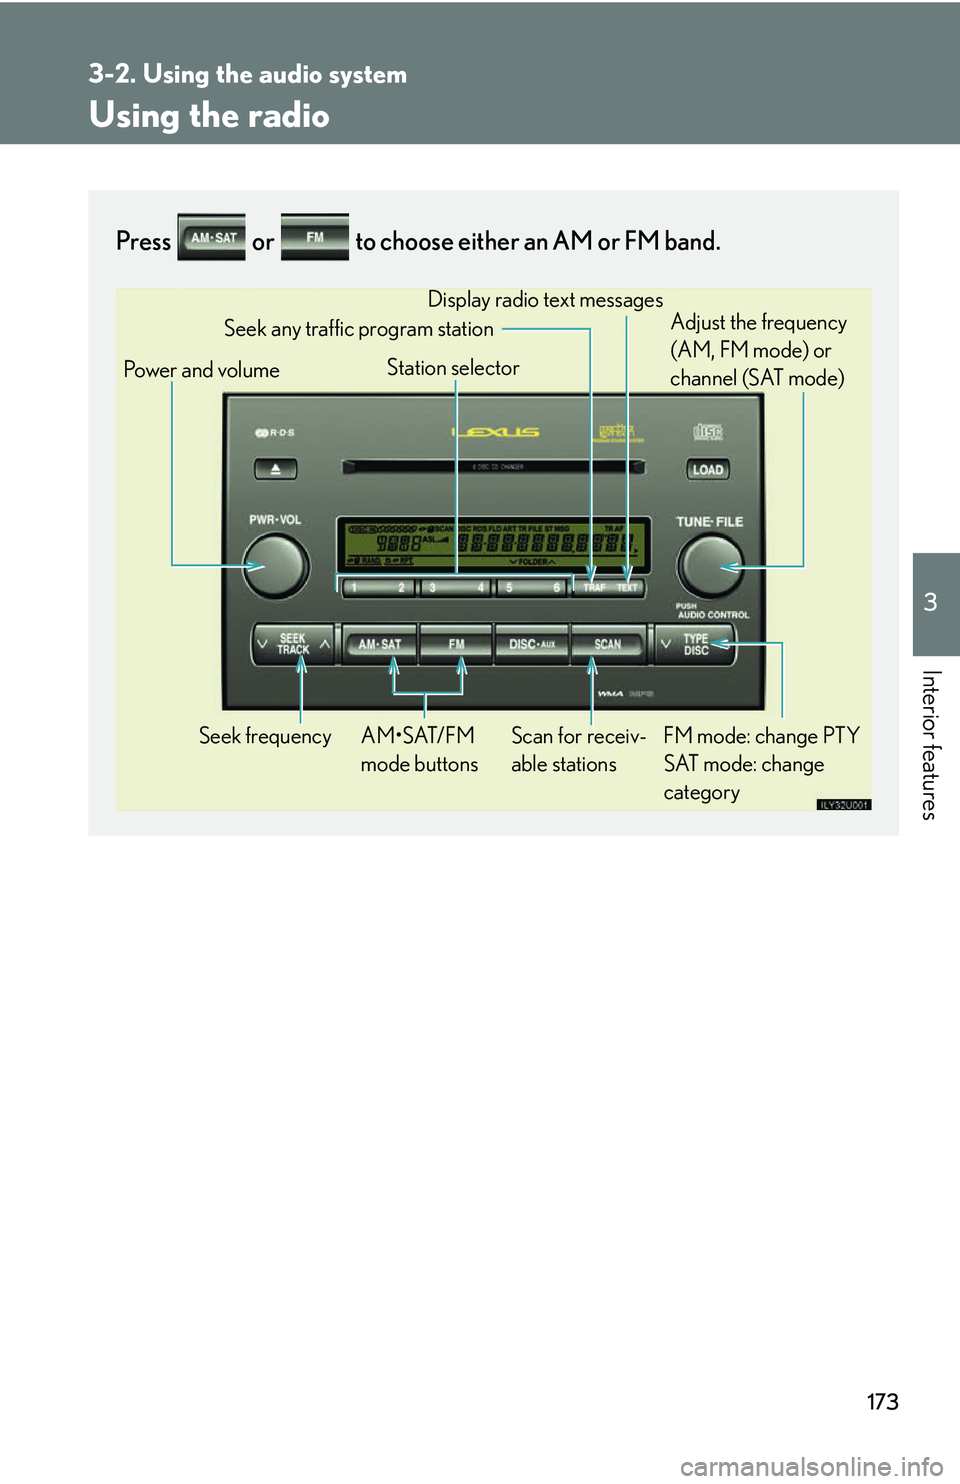
Press or to choose either an AM or FM band.
Power and volumeSeek frequency FM mode: change PTY SAT mode: change
category
AM•SAT/FM
mode buttons Display radio text messages
Adjust the frequency
(AM, FM mode) or
channel (SAT mode)
Scan for receiv-
able stations
Station selector
Seek any traffic program station
Page 194 of 436
174
3-2. Using the audio system
Setting station presets (excluding XM® satellite radio)
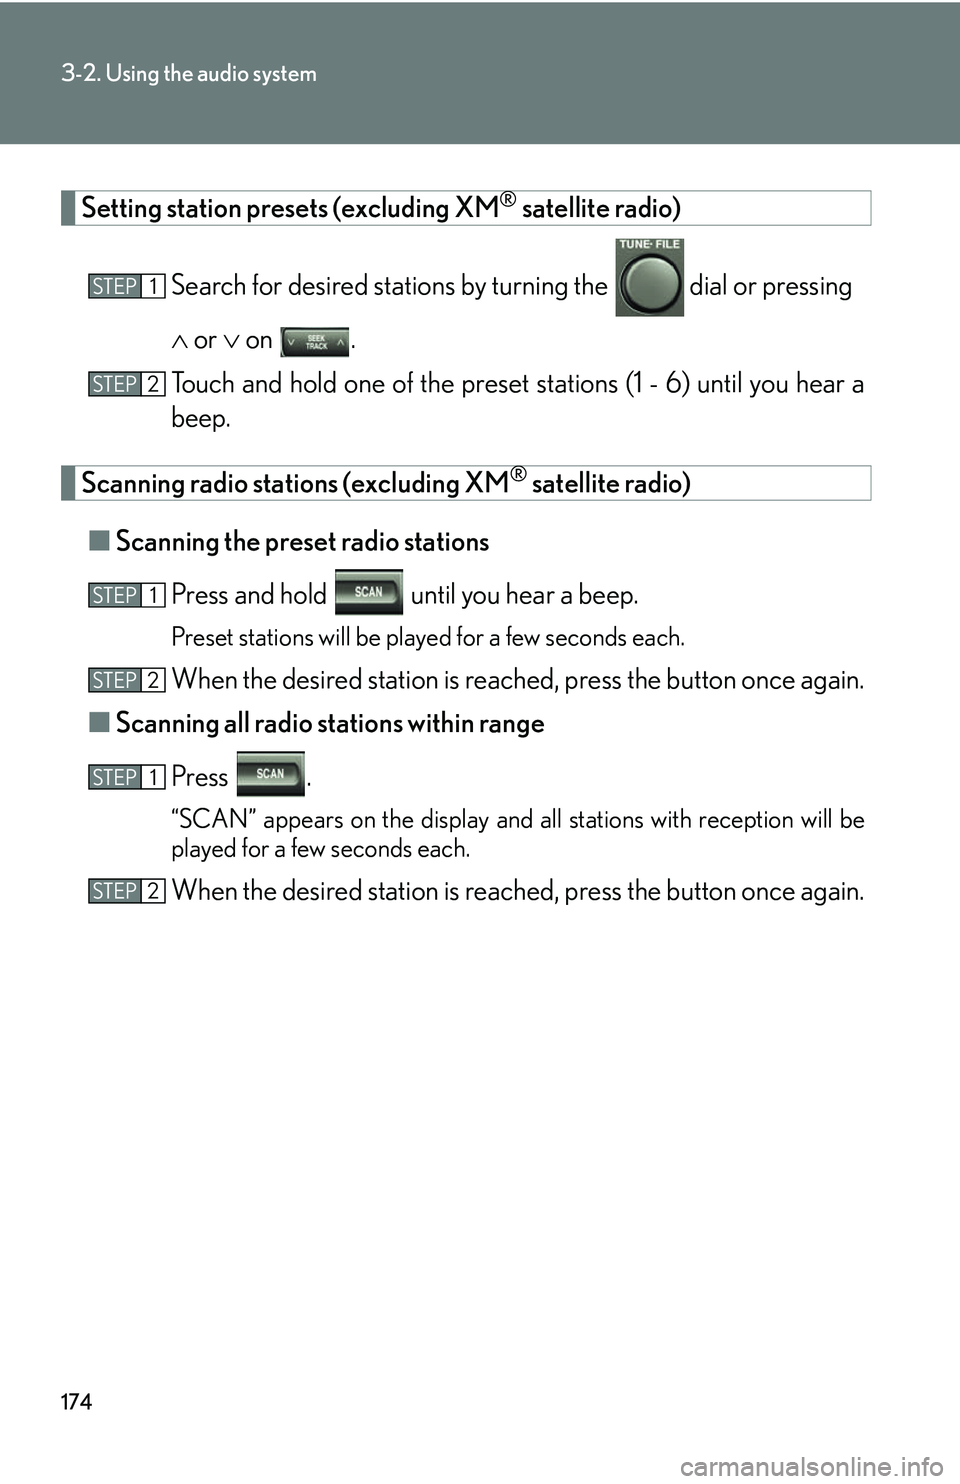
Search for desired stations by turning the
dial or pressing
or on .
Touch and hold one of the preset st ations (1 - 6) until you hear a
beep.
Scanning radio stations (excluding XM® satellite radio)
■ Scanning the preset radio stations
Press and hold until you hear a beep.
Preset stations will be played for a few seconds each.
When the desired station is reach ed, press the button once again.
■ Scanning all radio stations within range
Press .
“SCAN” appears on the display and all stations with reception will be
played for a few seconds each.
When the desired station is reach ed, press the button once again.
STEP1
STEP2
STEP1
STEP2
STEP1
STEP2
Page 195 of 436
175
3-2. Using the audio system
3
Interior features
RDS (Radio Data System) This feature allows your radio to receive station identification information
and program information (classical, ja zz, etc.) from radio stations which
broadcast this information.
■ Receiving RDS broadcasts
Press or on the button during FM reception.
The type of program changes each time the button is pressed.
● ROCK
● EASYLIS (Easy listening)
● CLS/JAZZ (Classical music and Jazz)
● R & B (Rhythm and Blues)
● INFORM (Information)
● RELIGION
● MISC (Miscellaneous)
● ALERT (Emergency messages)
If the system receives no RDS statio ns, “NO PTY” appears on the display.
Press , or or on .
The radio seeks or scans the station by the relevant program type.
If no radio station of that type is found, “NOTHING” appears on the
screen.
STEP1
STEP2
Page 196 of 436
176
3-2. Using the audio system
■Displaying radio station names
Press .
■ Displaying radio text messages
Press .
If MSG shows in the display, a text message will be displayed.
If the text continues past the end of the display, is displayed. Press and
hold until you hear a beep.
■ Traffic announcement
Press .
“TRAF SEEK” appears on the display, and the radio will start seeking
any station broadcasting traffic program information.
If no traffic program station is found, “NO TRAF INFO” appears on the
display.
XM® satellite radio
■ Receiving XM
® satellite radio
Press until “SAT” appears on the display.
The display changes as follows each time the switch is pressed.
AM SAT1 SAT2 SAT3
Turn the dial to select a de sired channel from all the cate-
gories or press or on to select a desired channel in the
current category.
STEP1
STEP2
Page 197 of 436
177
3-2. Using the audio system
3
Interior features
■Presetting XM® satellite radio channels
Select the desired channe l. Touch one of the preset stations (1 - 6) and
hold it until you hear a beep.
■ Changing the channel category
Press or on .
■ Scanning XM
® satellite radio channels
● Scanning channels in the current category
Press .
“SCAN” appears on the screen.
When the desired channel is reached, press the button
again.
● Scanning preset channels
Press and hold until you hear a beep.
When the desired channel is reached, press the button
again.
■ Displaying text information
Press .
The display will show up to 10 characters.
STEP1
STEP2
STEP1
STEP2
Page 202 of 436
182
3-2. Using the audio system
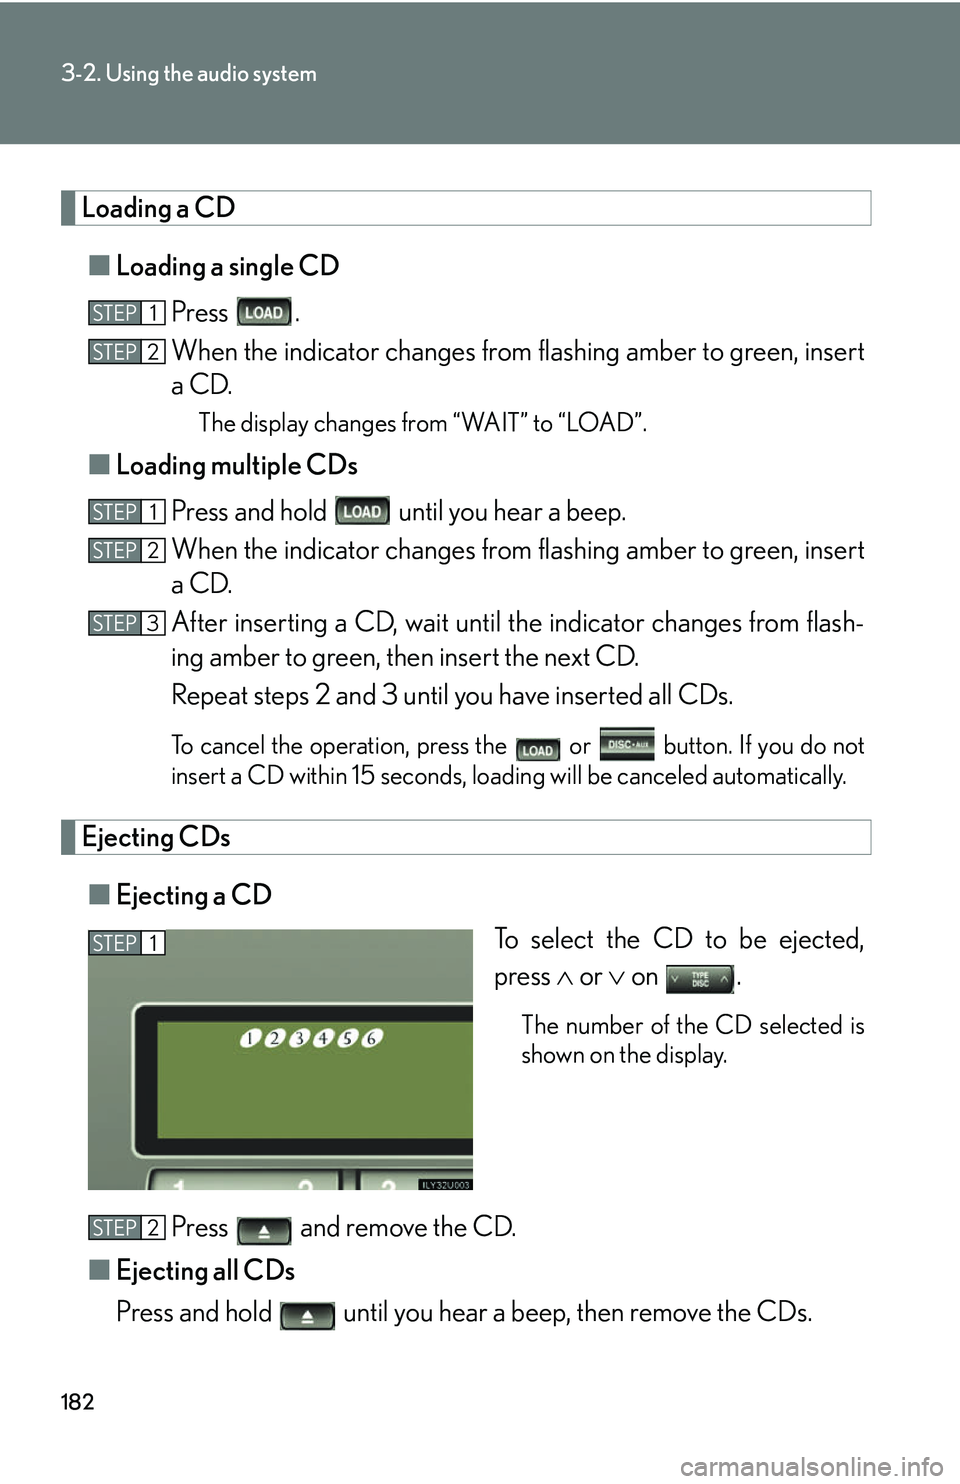
Loading a CD■ Loading a single CD
Press .
When the indicator changes from flashing amber to green, insert
a CD.
The display changes from “WAIT” to “LOAD”.
■ Loading multiple CDs
Press and hold until you hear a beep.
When the indicator changes from flashing amber to green, insert
a CD.
After inserting a CD, wait until th e indicator changes from flash-
ing amber to green, then insert the next CD.
Repeat steps 2 and 3 until you have inserted all CDs.
To cancel the operation, press the or button. If you do not
insert a CD within 15 seconds, loading will be canceled automatically.
Ejecting CDs
■ Ejecting a CD
To select the CD to be ejected,
press or on .
The number of the CD selected is
shown on the display.
Press and remove the CD.
■ Ejecting all CDs
Press and hold until you hear a beep, then remove the CDs.
STEP1
STEP2
STEP1
STEP2
STEP3
STEP1
STEP2
Page 203 of 436
183
3-2. Using the audio system
3
Interior features
Selecting, fast forwarding, rewinding, and scanning tracks■ Selecting a track
Press to move up and to move down using until the desired
track number is displayed.
To fast forward or rewind, press and hold or on .
■Scanning a CD
Press .
“SCAN” appears on the display.
The first 10 seconds of each track will be played.
Press the button again when the desired track is reached.
Selecting a CD
■ To select a CD to play
To select the desired CD, press or on .
■ To scan loaded CDs
Press and hold until you hear a beep.
The first 10 seconds of the first track on each CD will be played.
Press the button again when the desired CD is reached.
STEP1
STEP2
STEP1
STEP2
Page 204 of 436
184
3-2. Using the audio system
Random play■ Current CD
Press (RAND).
Songs are played in random order until random play is canceled.
■All CDs
Press and hold (RAND) until you hear a beep.
Tracks on all loaded CDs are played in random order until the button is
pressed once again.
Repeating a track or a disc
■ Repeating a track
Press (RPT).
■ Repeating a disc
Press and hold (RPT) until you hear a beep.
■Canceling random, repeat and scan playback
Press (RAND, RPT), or again.
■Displaying the title and artist name
If a CD-TEXT disc is inserted, the title of the disc and track will be displayed. Up to
12 letters can be displayed.
■When “ERROR” or “WAIT” is shown on the display.
“ERROR”: This indicates trouble either wi th the CD or within the player. The CD
may be dirty, damaged, or inserted upside down.
“WAIT”: Operation is stopped due to high temperature inside the player. Wait for a
while and then press . Contact your Lexus dealer if the CD still can-
not be played.