brake fluid LEXUS LS430 2003 Factory User Guide
[x] Cancel search | Manufacturer: LEXUS, Model Year: 2003, Model line: LS430, Model: LEXUS LS430 2003Pages: 4500, PDF Size: 87.45 MB
Page 965 of 4500

BLEEDING
HINT:
If any work is performed on the brake system or if air in the brake lines is suspected, bleed the air out of the
brake system.
1.FILL RESERVOIR WITH BRAKE FLUID
Fluid: SAE J1703 or FMVSS No. 116 DOT3
Fig. 2: Filling Reservoir With Brake Fluid
Courtesy of TOYOTA MOTOR SALES, U.S.A., INC.
2.BLEED MASTER CYLINDER
HINT:
Page 966 of 4500

Fig. 3: Bleeding Air Out Of Master Cylinder
Courtesy of TOYOTA MOTOR SALES, U.S.A., INC.
If the master cylinder has been disassembled or if the reservoir becomes empty, bleed the air out of
the master cylinder.
To avoid brake fluid from adhering, cover the painted surface with cloth.
a. Disconnect the 2 brake lines from the master cylinder.
SST 09751-36011
Page 968 of 4500
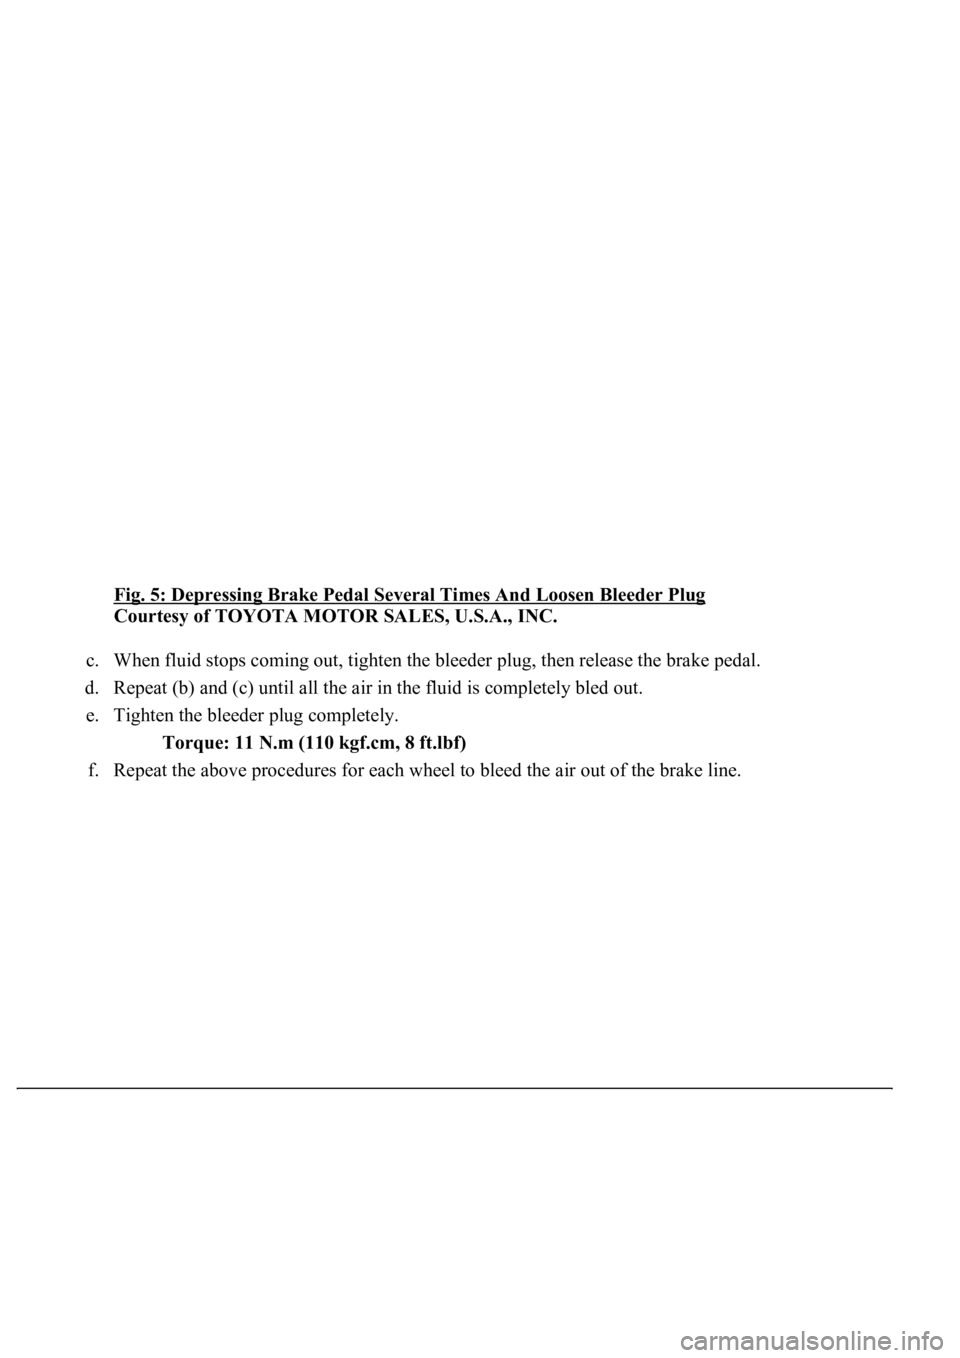
Fig. 5: Depressing Brake Pedal Several Times And Loosen Bleeder Plug
Courtesy of TOYOTA MOTOR SALES, U.S.A., INC.
c. When fluid stops coming out, tighten the bleeder plug, then release the brake pedal.
d. Repeat (b) and (c) until all the air in the fluid is completely bled out.
e. Tighten the bleeder plug completely.
Torque: 11 N.m (110 kgf.cm, 8 ft.lbf)
f. Repeat the above procedures for each wheel to bleed the air out of the brake line.
Page 971 of 4500
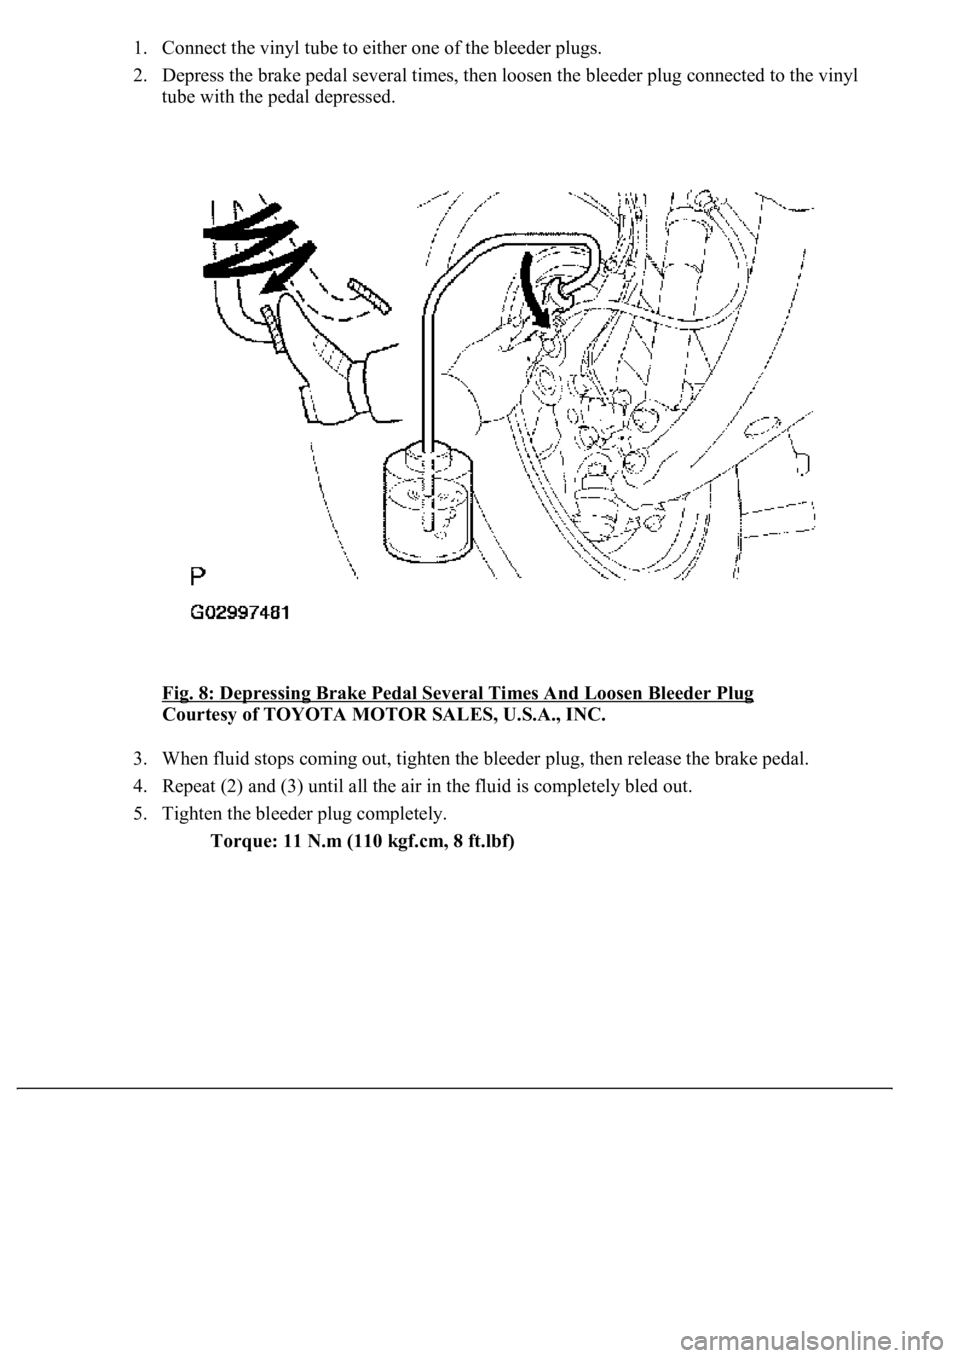
1. Connect the vinyl tube to either one of the bleeder plugs.
2. Depress the brake pedal several times, then loosen the bleeder plug connected to the vinyl
tube with the pedal depressed.
Fig. 8: Depressing Brake Pedal Several Times And Loosen Bleeder Plug
Courtesy of TOYOTA MOTOR SALES, U.S.A., INC.
3. When fluid stops coming out, tighten the bleeder plug, then release the brake pedal.
4. Repeat (2) and (3) until all the air in the fluid is completely bled out.
5. Tighten the bleeder plug completely.
Torque: 11 N.m (110 kgf.cm, 8 ft.lbf)
Page 976 of 4500
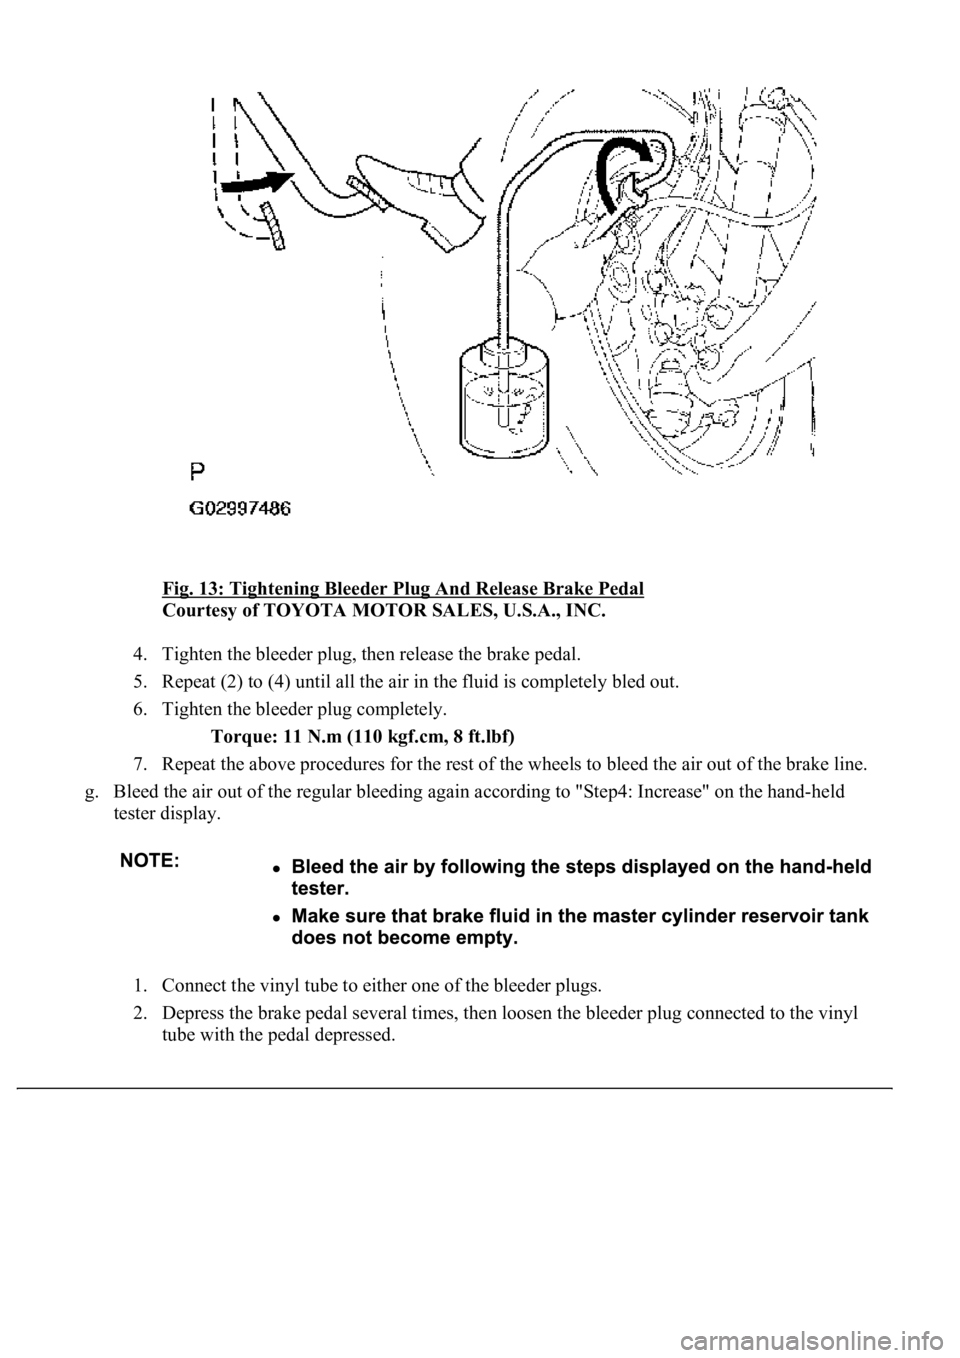
Fig. 13: Tightening Bleeder Plug And Release Brake Pedal
Courtesy of TOYOTA MOTOR SALES, U.S.A., INC.
4. Tighten the bleeder plug, then release the brake pedal.
5. Repeat (2) to (4) until all the air in the fluid is completely bled out.
6. Tighten the bleeder plug completely.
Torque: 11 N.m (110 kgf.cm, 8 ft.lbf)
7. Repeat the above procedures for the rest of the wheels to bleed the air out of the brake line.
g. Bleed the air out of the regular bleeding again according to "Step4: Increase" on the hand-held
tester display.
1. Connect the vinyl tube to either one of the bleeder plugs.
2. Depress the brake pedal several times, then loosen the bleeder plug connected to the vinyl
tube with the pedal depressed.
Page 977 of 4500
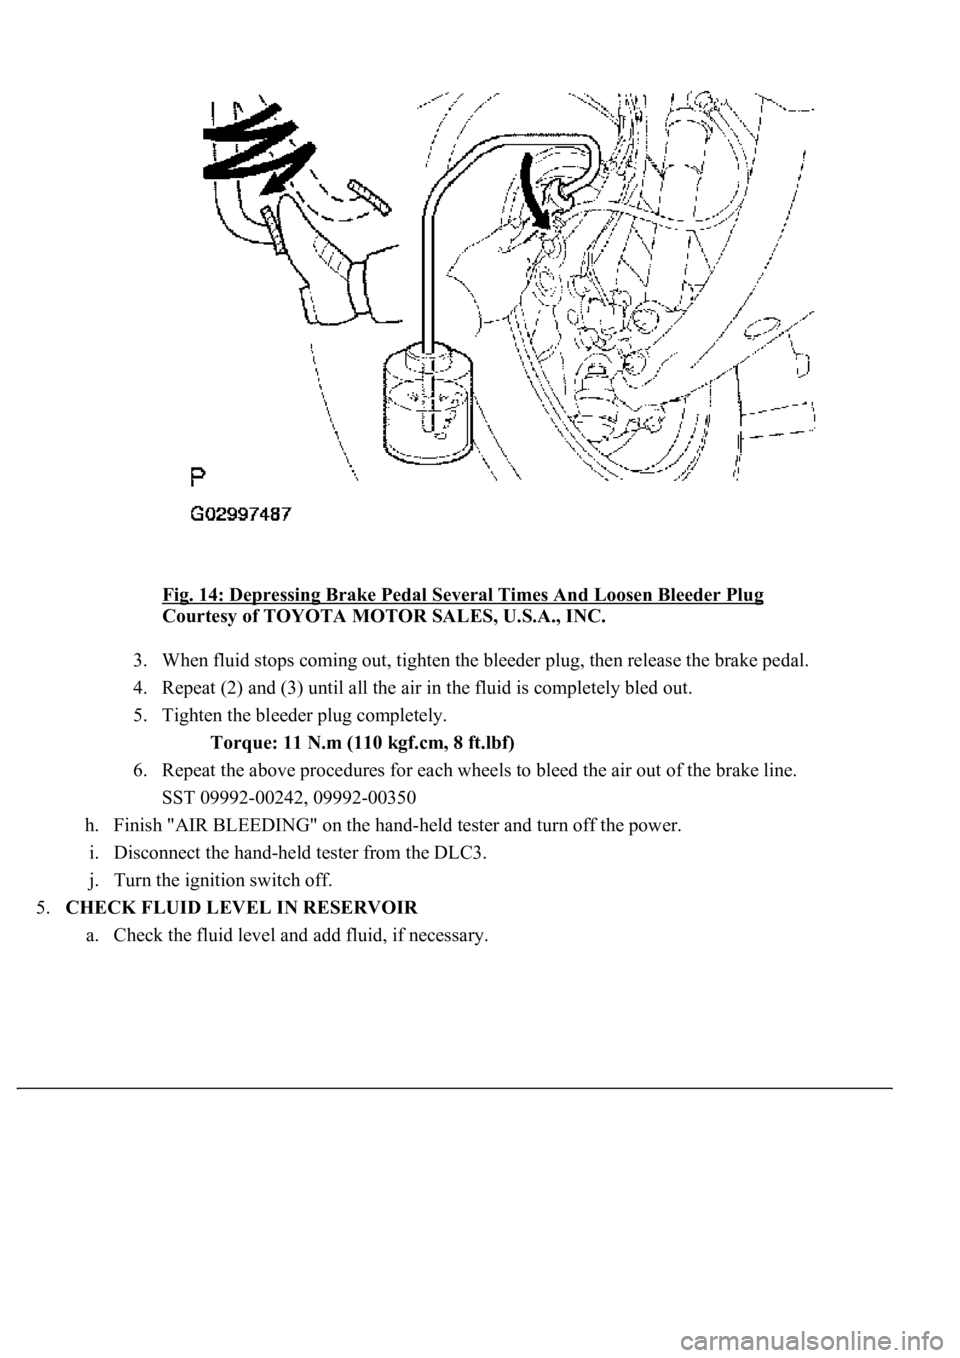
Fig. 14: Depressing Brake Pedal Several Times And Loosen Bleeder Plug
Courtesy of TOYOTA MOTOR SALES, U.S.A., INC.
3. When fluid stops coming out, tighten the bleeder plug, then release the brake pedal.
4. Repeat (2) and (3) until all the air in the fluid is completely bled out.
5. Tighten the bleeder plug completely.
Torque: 11 N.m (110 kgf.cm, 8 ft.lbf)
6. Repeat the above procedures for each wheels to bleed the air out of the brake line.
SST 09992-00242, 09992-00350
h. Finish "AIR BLEEDING" on the hand-held tester and turn off the power.
i. Disconnect the hand-held tester from the DLC3.
j. Turn the ignition switch off.
5.CHECK FLUID LEVEL IN RESERVOIR
a. Check the fluid level and add fluid, if necessar
y.
Page 978 of 4500
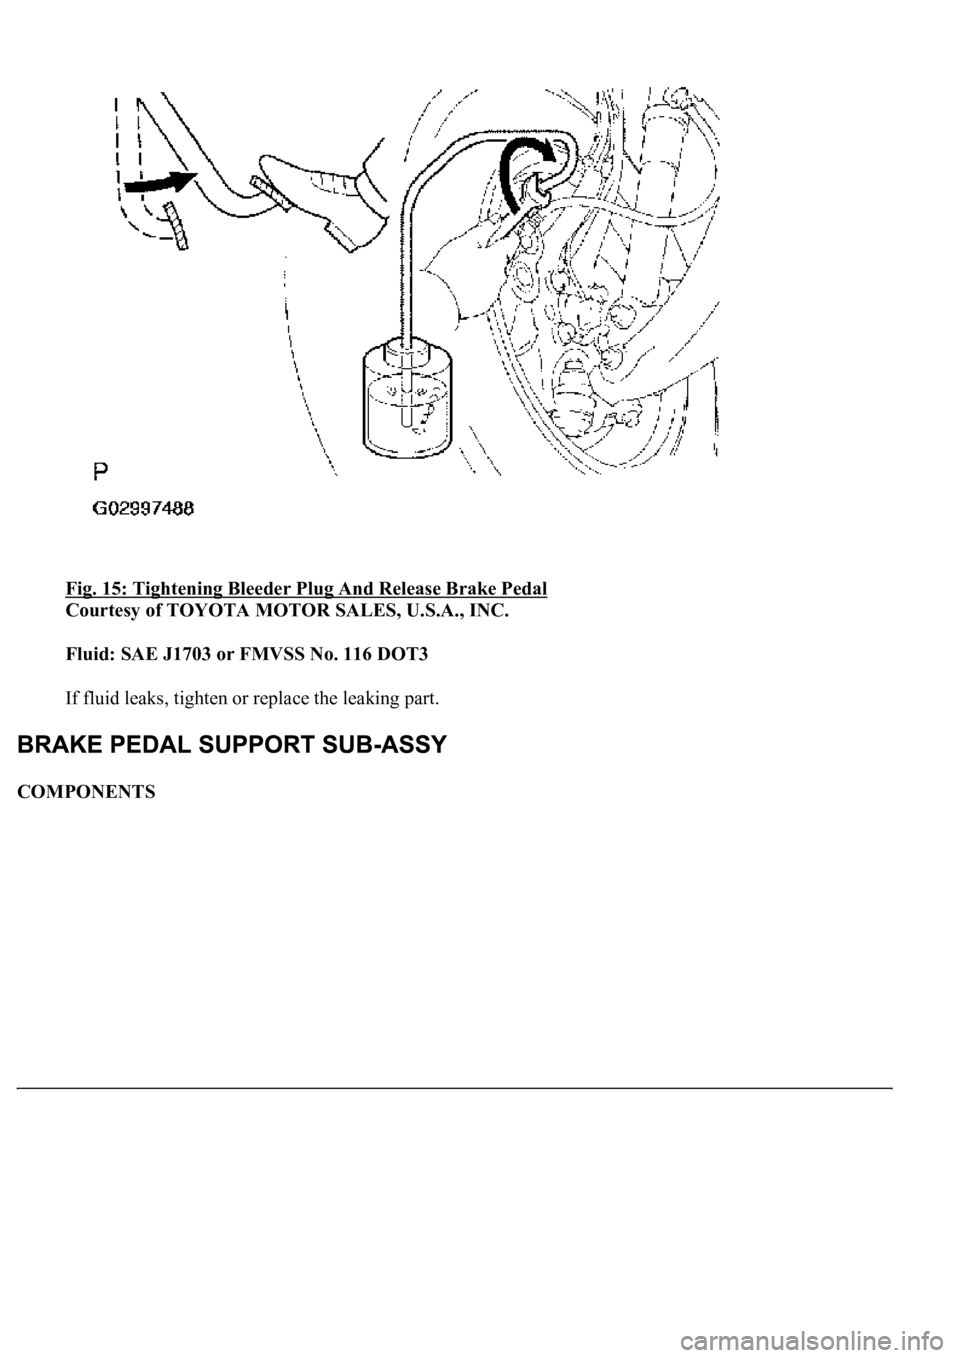
Fig. 15: Tightening Bleeder Plug And Release Brake Pedal
Courtesy of TOYOTA MOTOR SALES, U.S.A., INC.
Fluid: SAE J1703 or FMVSS No. 116 DOT3
If fluid leaks, tighten or replace the leaking part.
COMPONENTS
Page 1005 of 4500

34.CHECK AND ADJUST BRAKE PEDAL HEIGHT (SEE ON-VEHICLE INSPECTION )
35.CHECK PEDAL FREE PLAY (SEE ON
-VEHICLE INSPECTION )
36.CHECK PEDAL RESERVE DISTANCE (SEE ON
-VEHICLE INSPECTION )
37.INSTALL COMBINATION METER ASSY (SEE OVERHAUL
)
38.INSTALL INSTRUMENT CLUSTER FINISH PANEL (SEE REPLACEMENT
)
39.INSTALL INSTRUMENT PANEL UNDER COVER SUB-ASSY NO.2 (SEE REPLACEMENT
)
40.INSTALL INSTRUMENT PANEL AIR BAG ASSY LOWER NO.1 (SEE REPLACEMENT
)
41.INSTALL INSTRUMENT PANEL SAFETY PAD SUB-ASSY NO.1 (SEE REPLACEMENT
)
42.INSTALL OUTER MIRROR SWITCH ASSY
43.INSTALL COIN BOX ASSY
44.INSTALL INSTRUMENT PANEL UNDER COVER SUB-ASSY NO.1 (SEE REPLACEMENT
)
45.INSTALL INSTRUMENT CLUSTER FINISH PANEL CENTER LOWER
46.INSTALL INSTRUMENT CLUSTER FINISH PANEL END
47.INSTALL TURN SIGNAL SWITCH ASSY (SEE REPLACEMENT
)
48.INSTALL SPIRAL CABLE SUB-ASSY (SEE REPLACEMENT
)
49.INSTALL STEERING COLUMN COVER (SEE OVERHAUL
)
50.INSTALL STEERING WHEEL ASSY (SEE OVERHAUL
)
<00360036003700030013001c001c001800130010001800130013001400160003000b0013001c001c00180014001000130018001300140013000f00030013001c001c00180015001000130018001300140013000f00030013001c001c001800160010001300
18001300150013000f00030013001c001c0018001700100013[5021)
51.INSTALL HORN BUTTON ASSY (SEE OVERHAUL
)
52.INSTALL STEERING WHEEL COVER LOWER NO.2
53.INSTALL SWITCH & VOLUME CASE
54.CONNECT BATTERY NEGATIVE TERMINAL
55.INSPECT SRS WARNING LIGHT (SEE DIAGNOSIS SYSTEM
)
56.PERFORM INITIALIZATION (SEE PRECAUTION
)
OVERHAUL
1.REMOVE ENGINE ROOM SIDE COVER
2.SEPARATE ENGINE ROOM NO.3 R/B
a. Remove the bolt and separate the engine room No.3 R/B.
3.DRAIN BRAKE FLUID
a. Draw out fluid with syringe.
4.REMOVE BRAKE MASTER CYLINDER SUB-ASSY
a. Remove the clamp from the 2 brake tubes.
Page 1007 of 4500
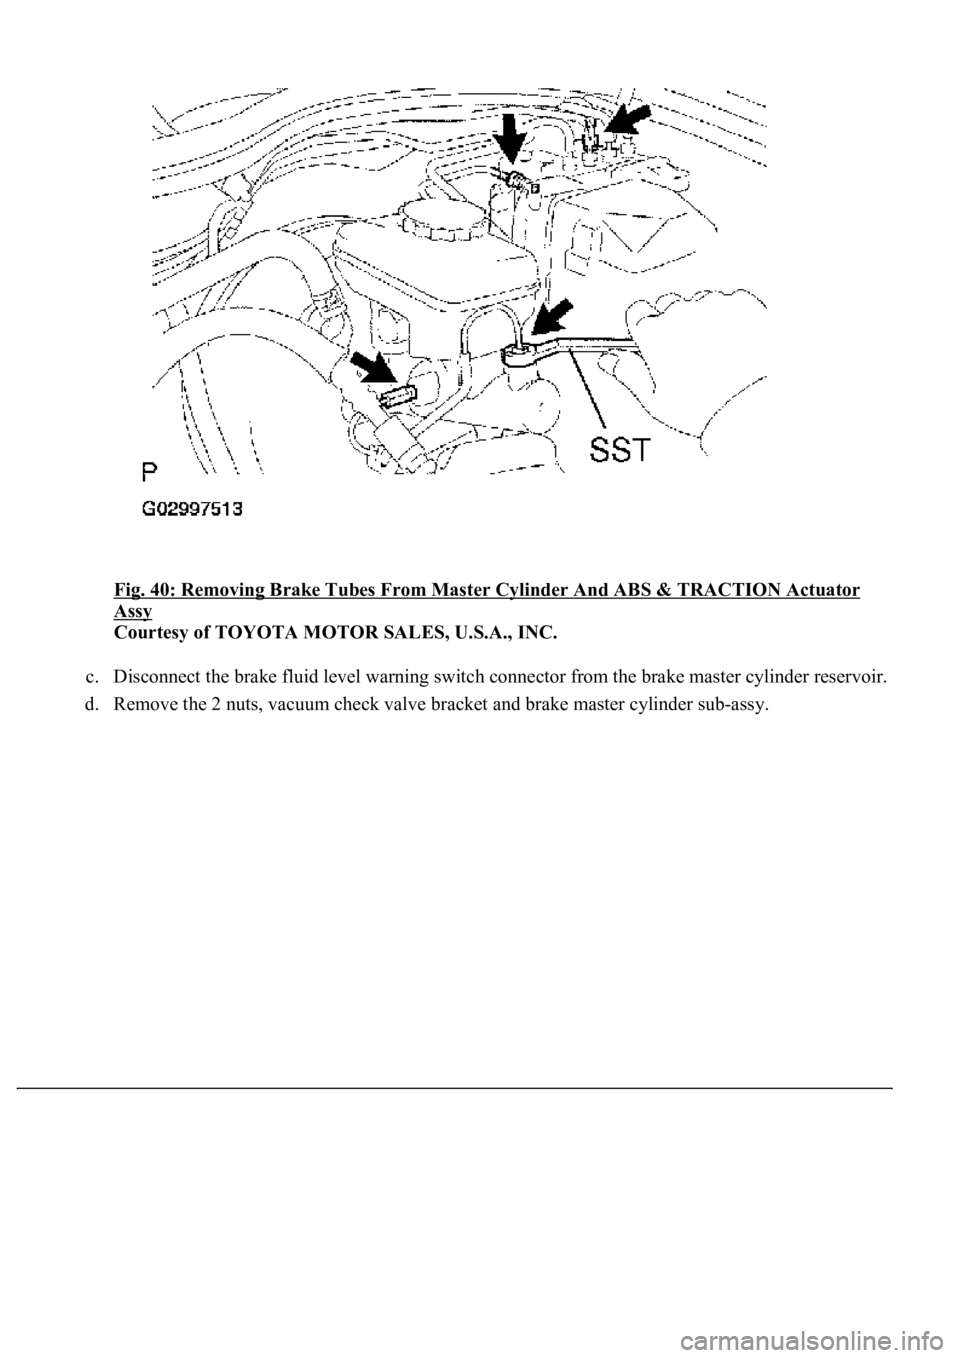
Fig. 40: Removing Brake Tubes From Master Cylinder And ABS & TRACTION Actuator
Assy
Courtesy of TOYOTA MOTOR SALES, U.S.A., INC.
c. Disconnect the brake fluid level warning switch connector from the brake master cylinder reservoir.
d. Remove the 2 nuts, vacuum check valve bracket and brake master c
ylinder sub-assy.
Page 1014 of 4500

Fig. 47: Installing Snap Ring
Courtesy of TOYOTA MOTOR SALES, U.S.A., INC.
10.INSTALL MASTER CYLINDER RESERVOIR GROMMET
a. Apply lithium soap base glycol grease to the 2 master cylinder reservoir grommets.
b. Install the 2 master cylinder reservoir grommets to the master cylinder reservoir sub-assy.
11.INSTALL BRAKE MASTER CYLINDER RESERVOIR SUB-ASSY
a. Install the master cylinder reservoir sub-assy to the master cylinder sub-assy with the set screw.
b. Install the master cylinder reservoir strainer and master cylinder reservoir filler cap.
c. Connect the brake fluid warning switch connector.
12.INSPECT AND ADJUST BRAKE BOOSTER PUSH ROD
a. Depress the brake pedal several times while the engine is stopped to release the pressure.
b. Set SST on the brake master cylinder sub-assy and lower the pin of the SST until it slightly touches
the piston.
c. Apply chalk to the flat surfaced tip of the SST pin.
SST 09737-00013